Updating or removing videos
| Create Video Libraries |
| 1. The Basics |
| 2. Source Folder |
| 3. Movie Setup |
| 4a. TV Show Setup |
| 4b. Seasons Setup |
| 4c. Episodes Setup |
| 5. Music Videos Setup |
| 6. Add Source & Scrape |
| 7. Scraping Problems |
Introduction
This page details the available methods to add, modify and remove videos from your existing video library. These instructions also apply to Music Videos
This page assumes you have an existing Movie, TV Show and/or Music Video library. If you do not have an existing video library, you will need to create one by following the Create Video Library guide.
Note: If you use File View or File Manager, this page does not apply.
Locating Missing Titles
The Event Log will record any files missed when an Update Library is performed. If the log is currently empty, or lists no missing movies, TV Shows or episodes, then perform an Update Library and check the Event Log again.
- See: Event_Log
Add To Library
The following methods are available to scan folders and locate new titles to add to the Library. They can be performed on the entire library, a particular Source, or an individual title.
If you use NFO Files, new titles will be added to the library.
If you have changed the information inside a NFO File for an existing title in the library, this section will not update the library with those changes. You will need to perform one of the Refresh Library methods detailed in Section 4 below.
Add Individual Titles
To scan a single title into the library, follow these steps.
- Navigate to Videos ► Files ► Source folder
- Highlight the title to be added
- Either:
- Press i on your remote or keyboard. This will commence the scrape for this single title, or
- Using the Context Menu, select Scan item to library
To add new Episodes to an existing TV Show...
- Follow the same steps as above
- Select Scan for new content instead
Scan By Source
-
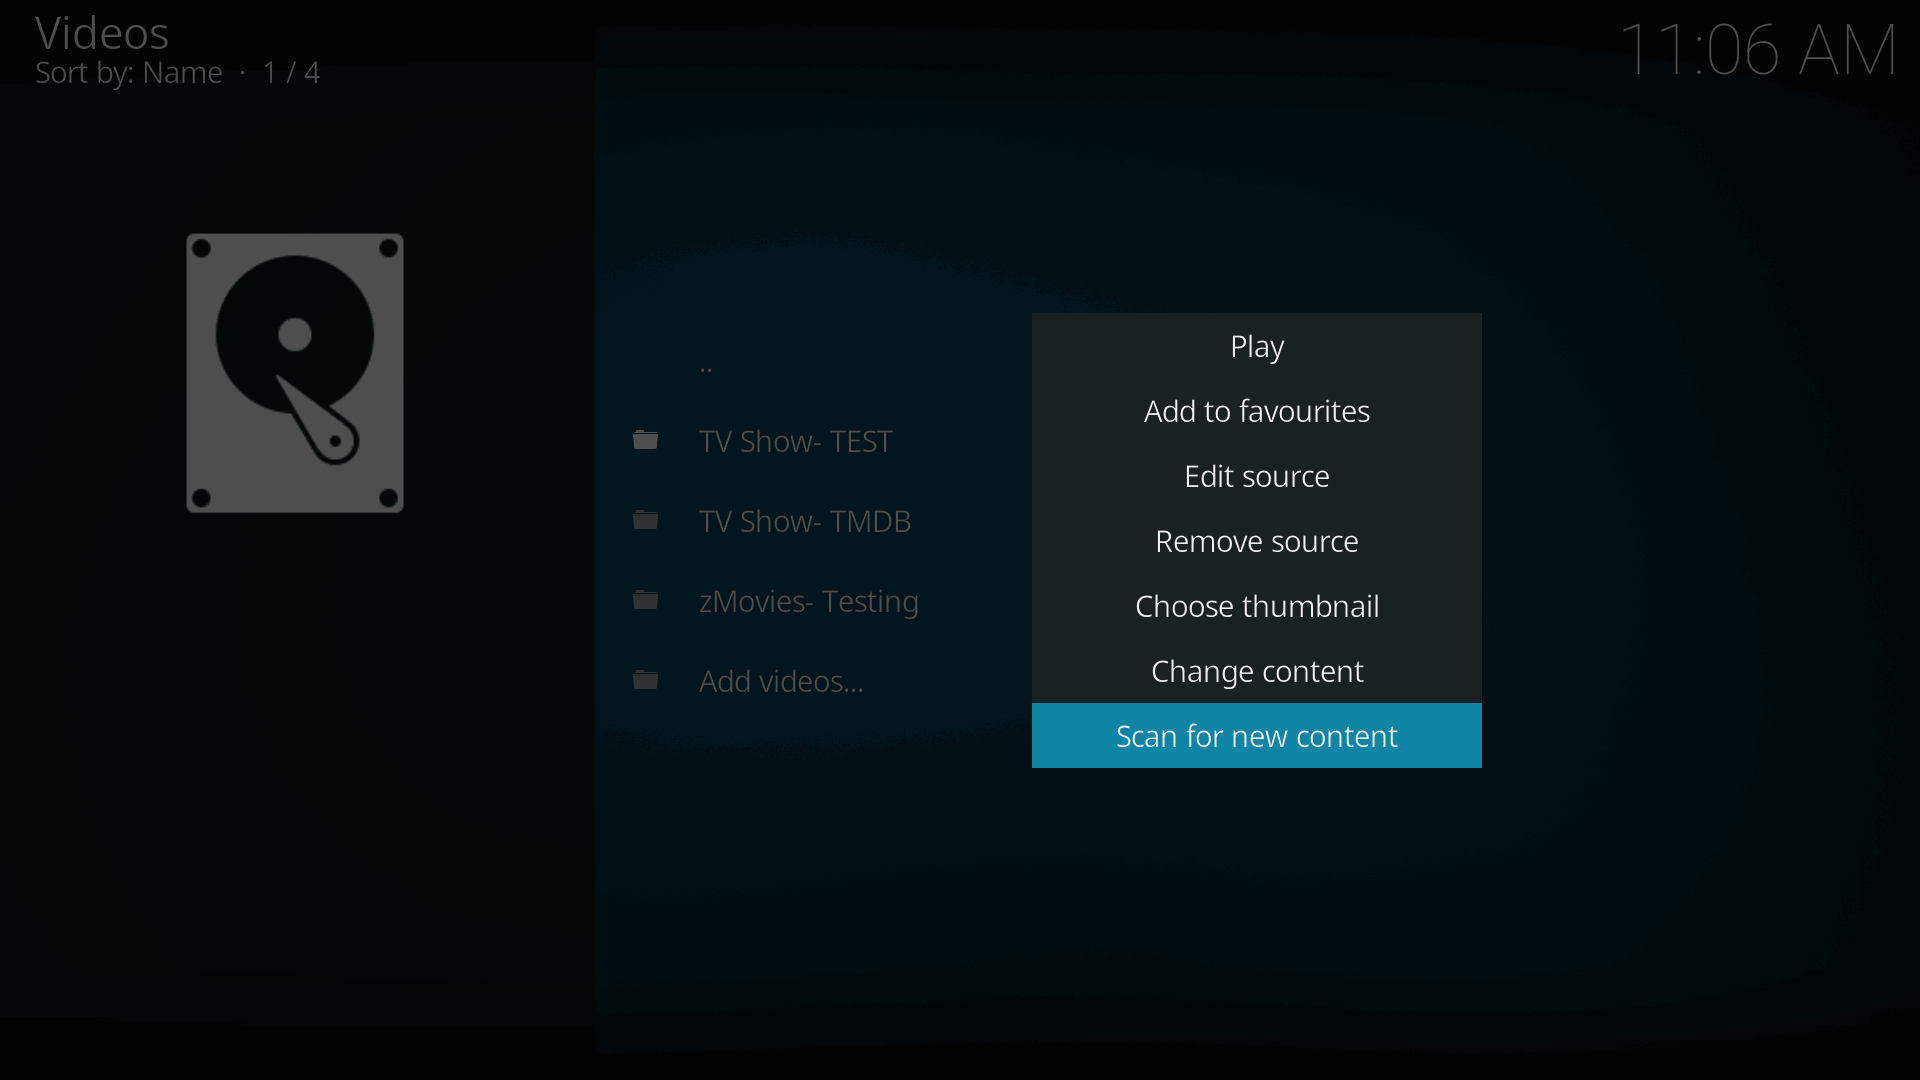 Image 1- From the Context Menu select Scan for new content

When Kodi performs an Update Library it scans each Source, and each file and folder in the Source, searching for new items. For larger libraries this can be quite a lengthy and unnecessary process.
It is possible to reduce the duration of this process by scanning a single source only.
- Navigate to Videos>Files
- Highlight the Source to be scanned for new videos
- Call up the Context Menu (see image)
- Select Scan for new content (see image)
Kodi will scan the selected Source for new content.
Update Library- Automatic
-
 Image 1

By enabling the setting 'Update library on startup' the library will be scanned for new content each time Kodi is started.
If you do not add new titles to your library very often, you should disable this setting and use one of the other methods when new titles are added.
Update Library- Manual

Perform a manual Update Library from the Left Sideblade Menu by selecting Update Library
- See: Basic_controls
Update Library- via Add-ons
- Add-on:XBMC Library Auto Update can be used to schedule automatic updates to the library.
Refresh Library
The Refresh options are used to modify existing library entries. You would use these options when...
- The NFO File has been modified and you would like that change to show in the Library
- The information at the site of the Information Provider has changed, and you would like the new metadata or artwork in the library
These methods will not work in the following situations as they are seen as new titles.
- The path to the entry has changed. eg you moved a movie from D:\ drive to F:\ drive
- The name of the video file or folder has changed.
- The file format has been changed. eg you converted the Bluray folder to a *.mkv file
Use one of the Add To Library options above.
Individual Refresh
-
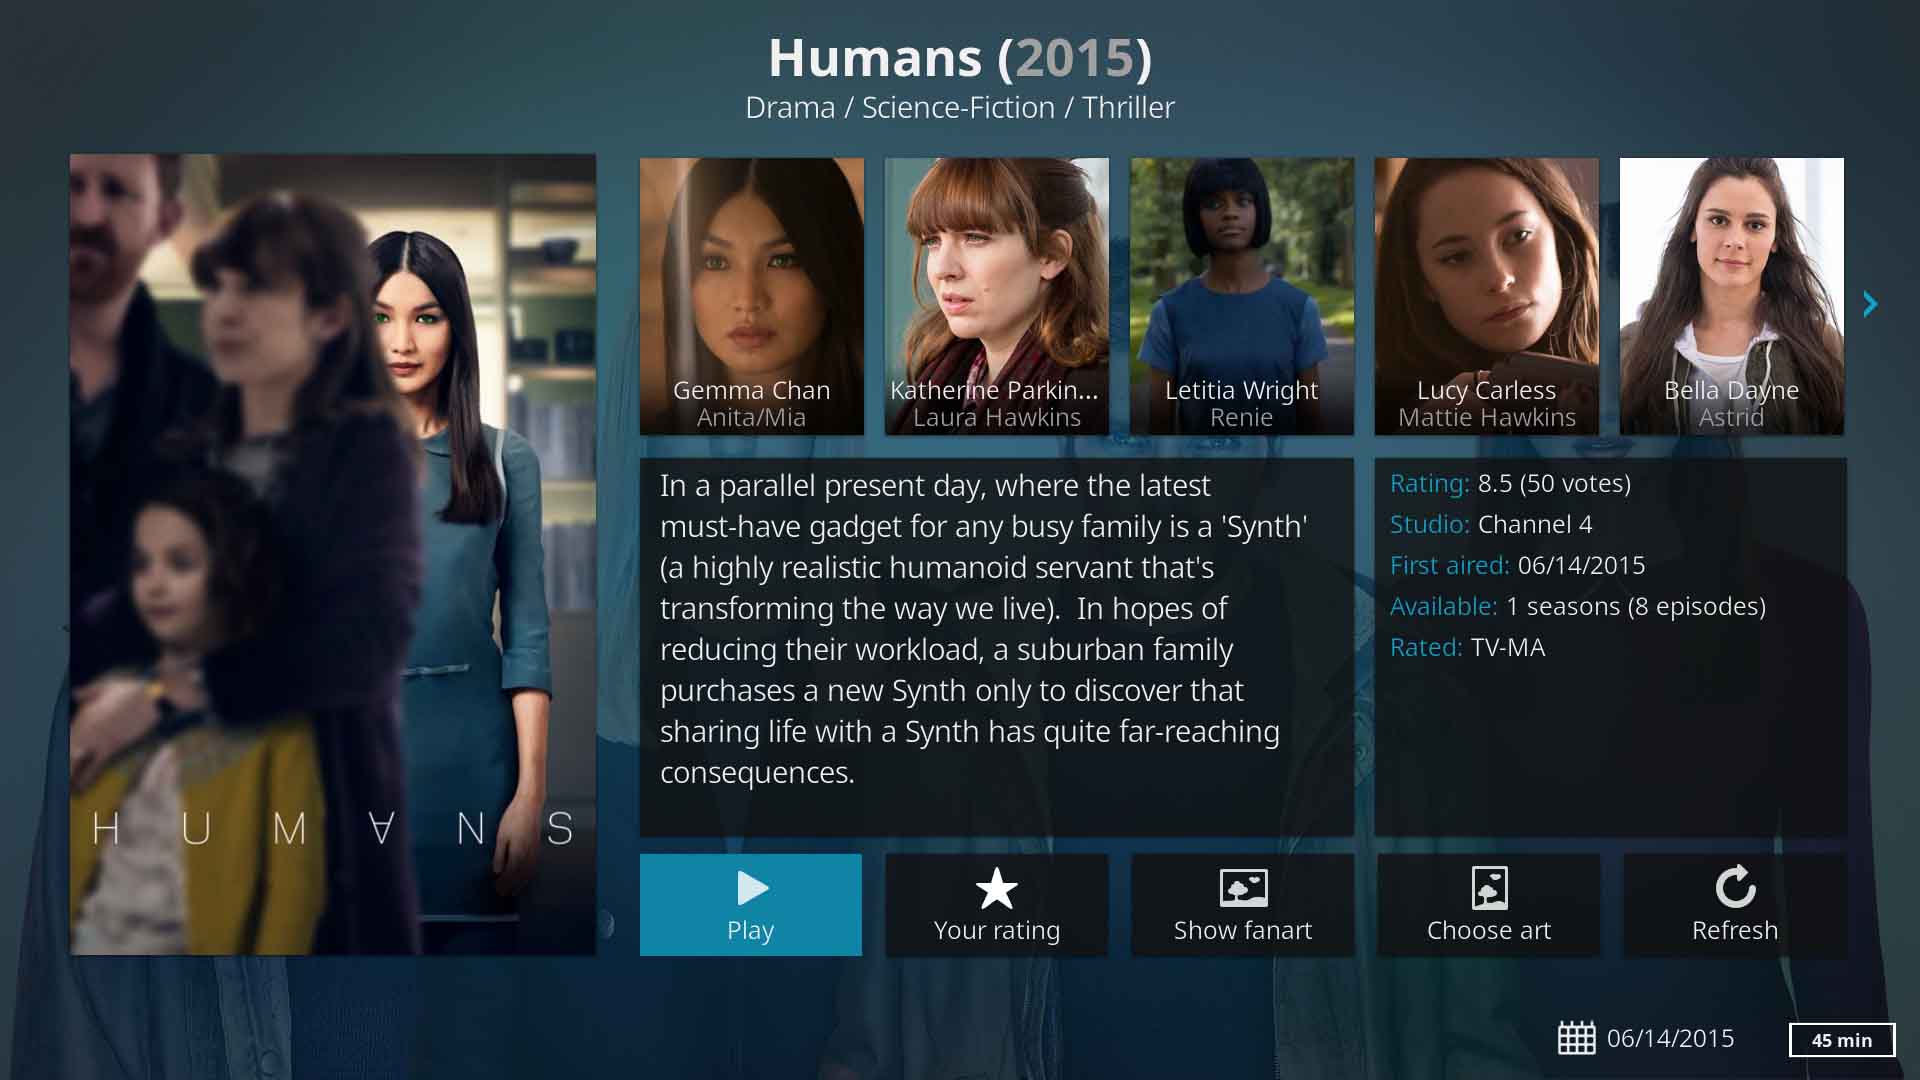 Image 1- Select Refresh from the bottom right corner

Refreshing/updating an individual title can be performed from either File View or Library View.
- Navigate to the title to be updated/refreshed.
- Press i on the remote control or keyboard to call up the Information Page (see image)
- Select Refresh. The Refresh button is off screen. Scroll left or right to access it.
This will update the library data with the new information.
Refresh Source
Use this procedure if there are multiple changes to be added to the library for existing library titles.
Can also be used to scrape bulk new Artwork
-
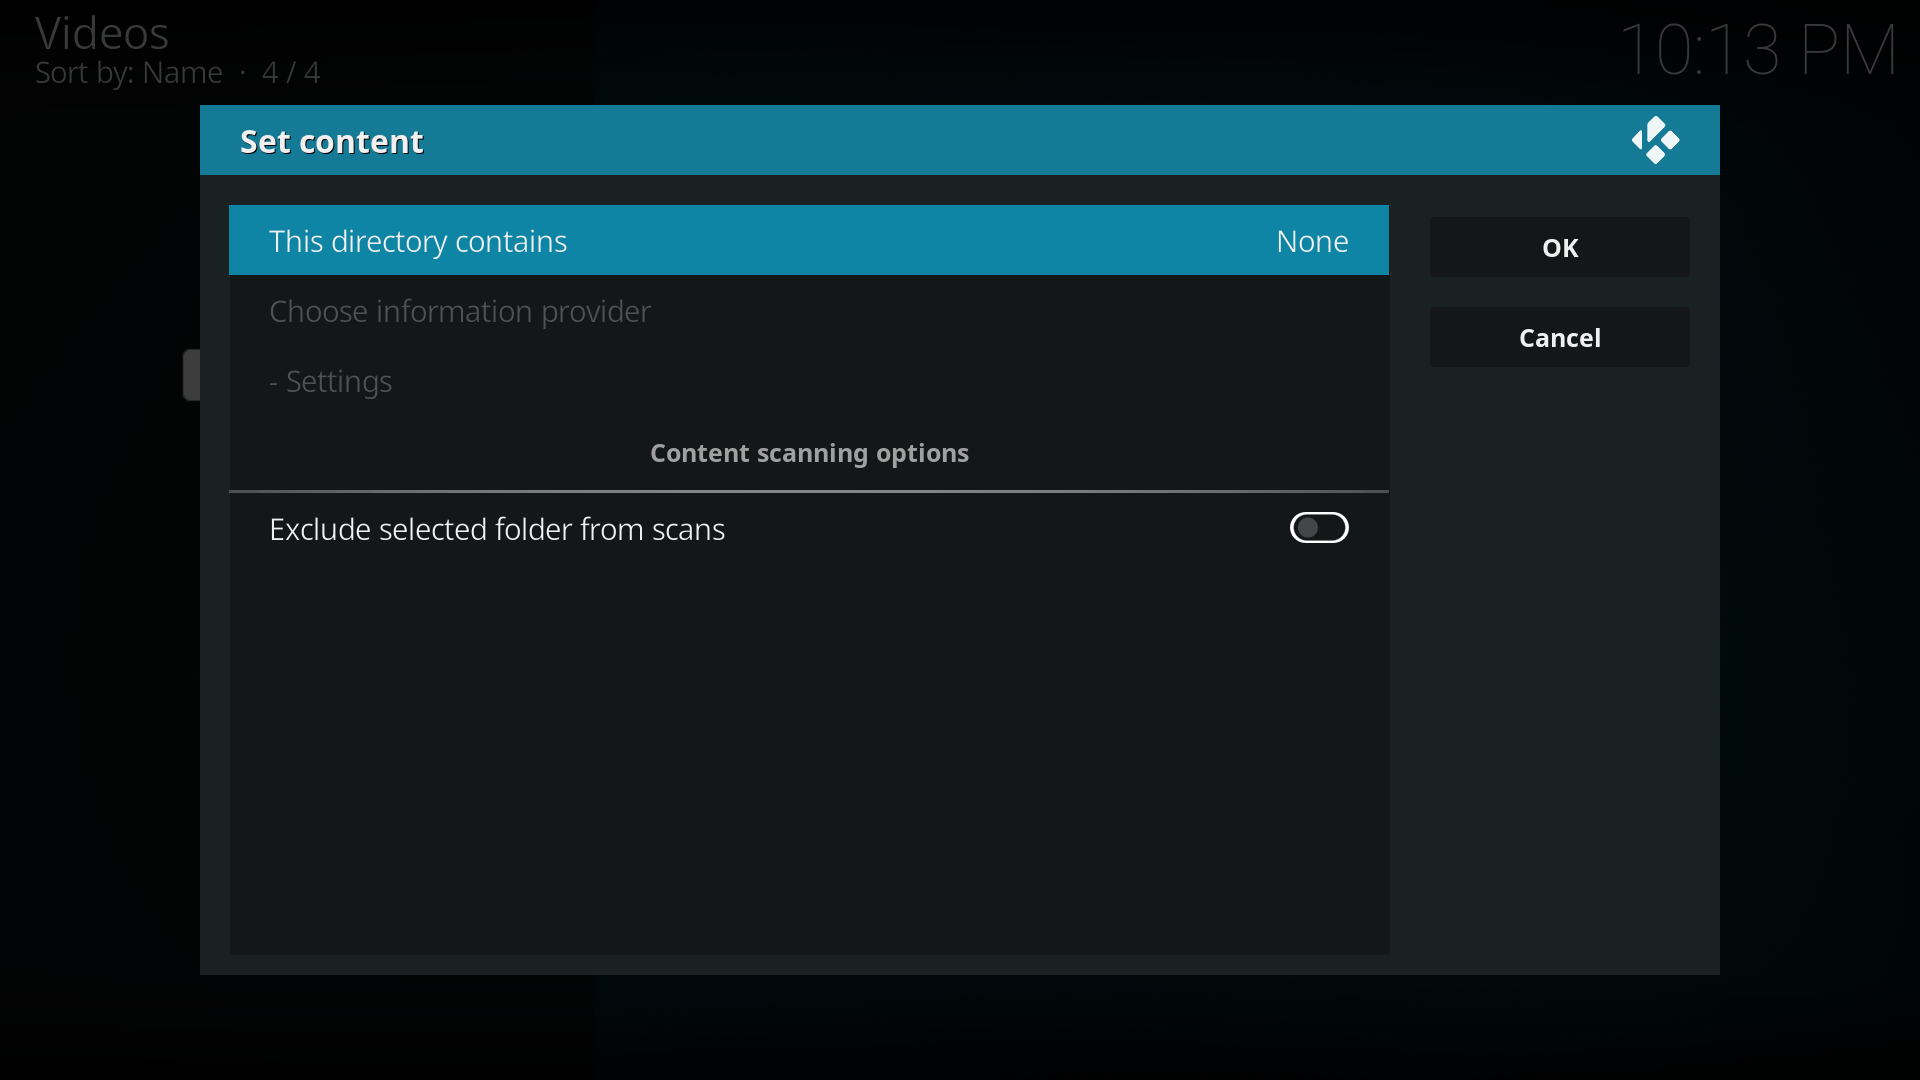 Image 1- Select This directory contains
 -
 Image 2- Select appropriate content


- Navigate to and enter Files
- Highlight the source to be refreshed
- Call up the Context Menu
- Select Change content
- Change the Content Setting by adjusting This directory contains to None
- Select OK
- Kodi will ask Do you want to remove all items within this path from your library?. Select Yes
- Perform a Clean Library from Settings>Media>Library
- Back to step 1 and change the content setting back to its previous setting using Set Content in the context menu
- Kodi will ask Do you want to refresh information for all items within this path? Answer Yes
- Kodi will scan the Source and scrape the videos with the new information.
It is also possible to Refresh the Source by changing the Scraper in use. For example, you may want to change the Information Provider from TheMovieDB to, say, TVDB.
- Navigate to and enter Files
- Highlight the source to be refreshed
- Call up the Context Menu
- Select Change content
- Select Choose information provider
- Select the required scraper add-on
- Select OK
- Kodi will ask Do you want to refresh information for all items within this path? .
- Select Yes if you want to refresh all entries in the library
- Select No if you do not want to refresh all entries. All new titles added from this point on will use the new scraper
Be aware that many users have misused this option and overwritten their library when that was not their intent. If you are changing the scraper to enable you to scrape one title, then this is the wrong method. You should...
- Create a new Source folder which is set to use the new scraper. This ensures that you are not at risk of overwriting your library the next time you have a title that requires a particular scraper
- If you do not want to create a new Source, then follow the above steps but navigate to the actual video and Set Content on that video folder, not the Source folder.
Remove From Library
To remove existing titles from your library, use one of the following solutions.
Note: Deleting the video files and then running a Clean Library in Kodi does not remove library items. One of the following methods must be used.
Remove Individual Titles
-
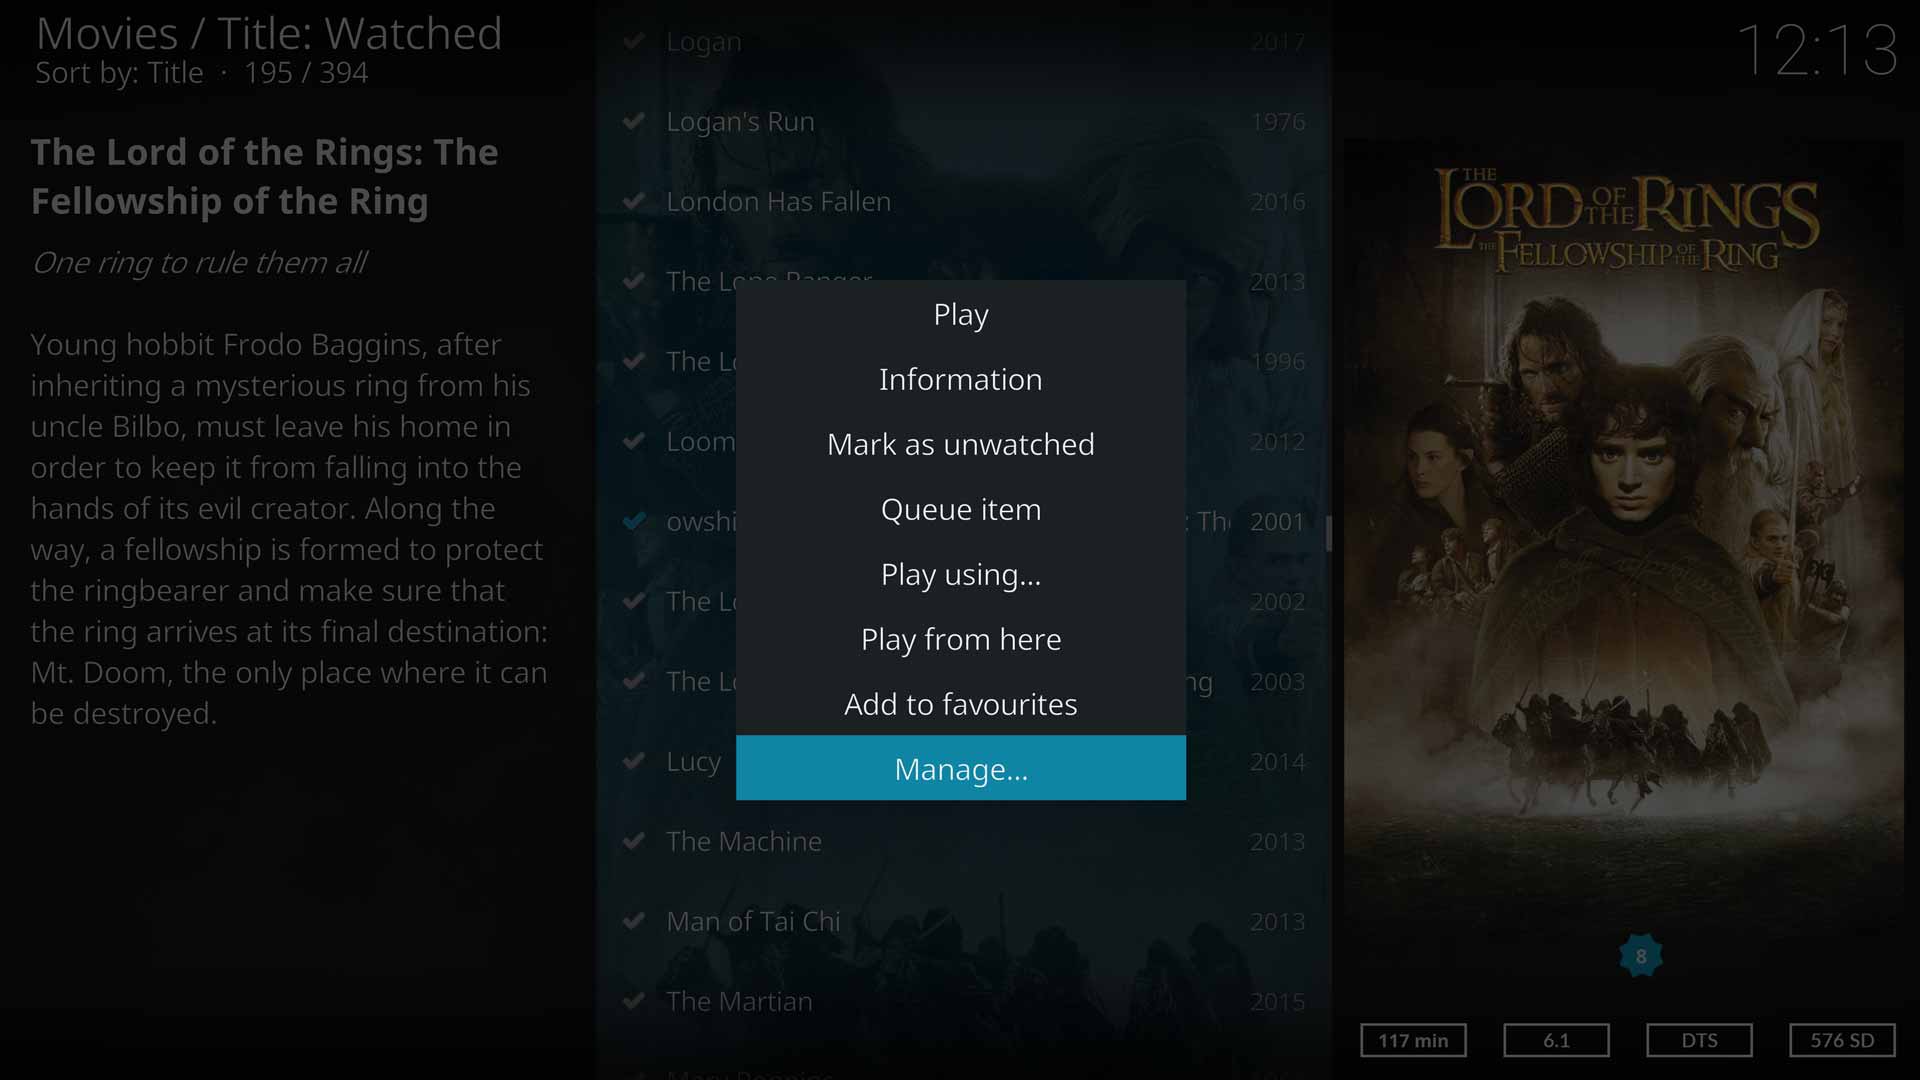 Image 1- Call up the Context Menu
 -
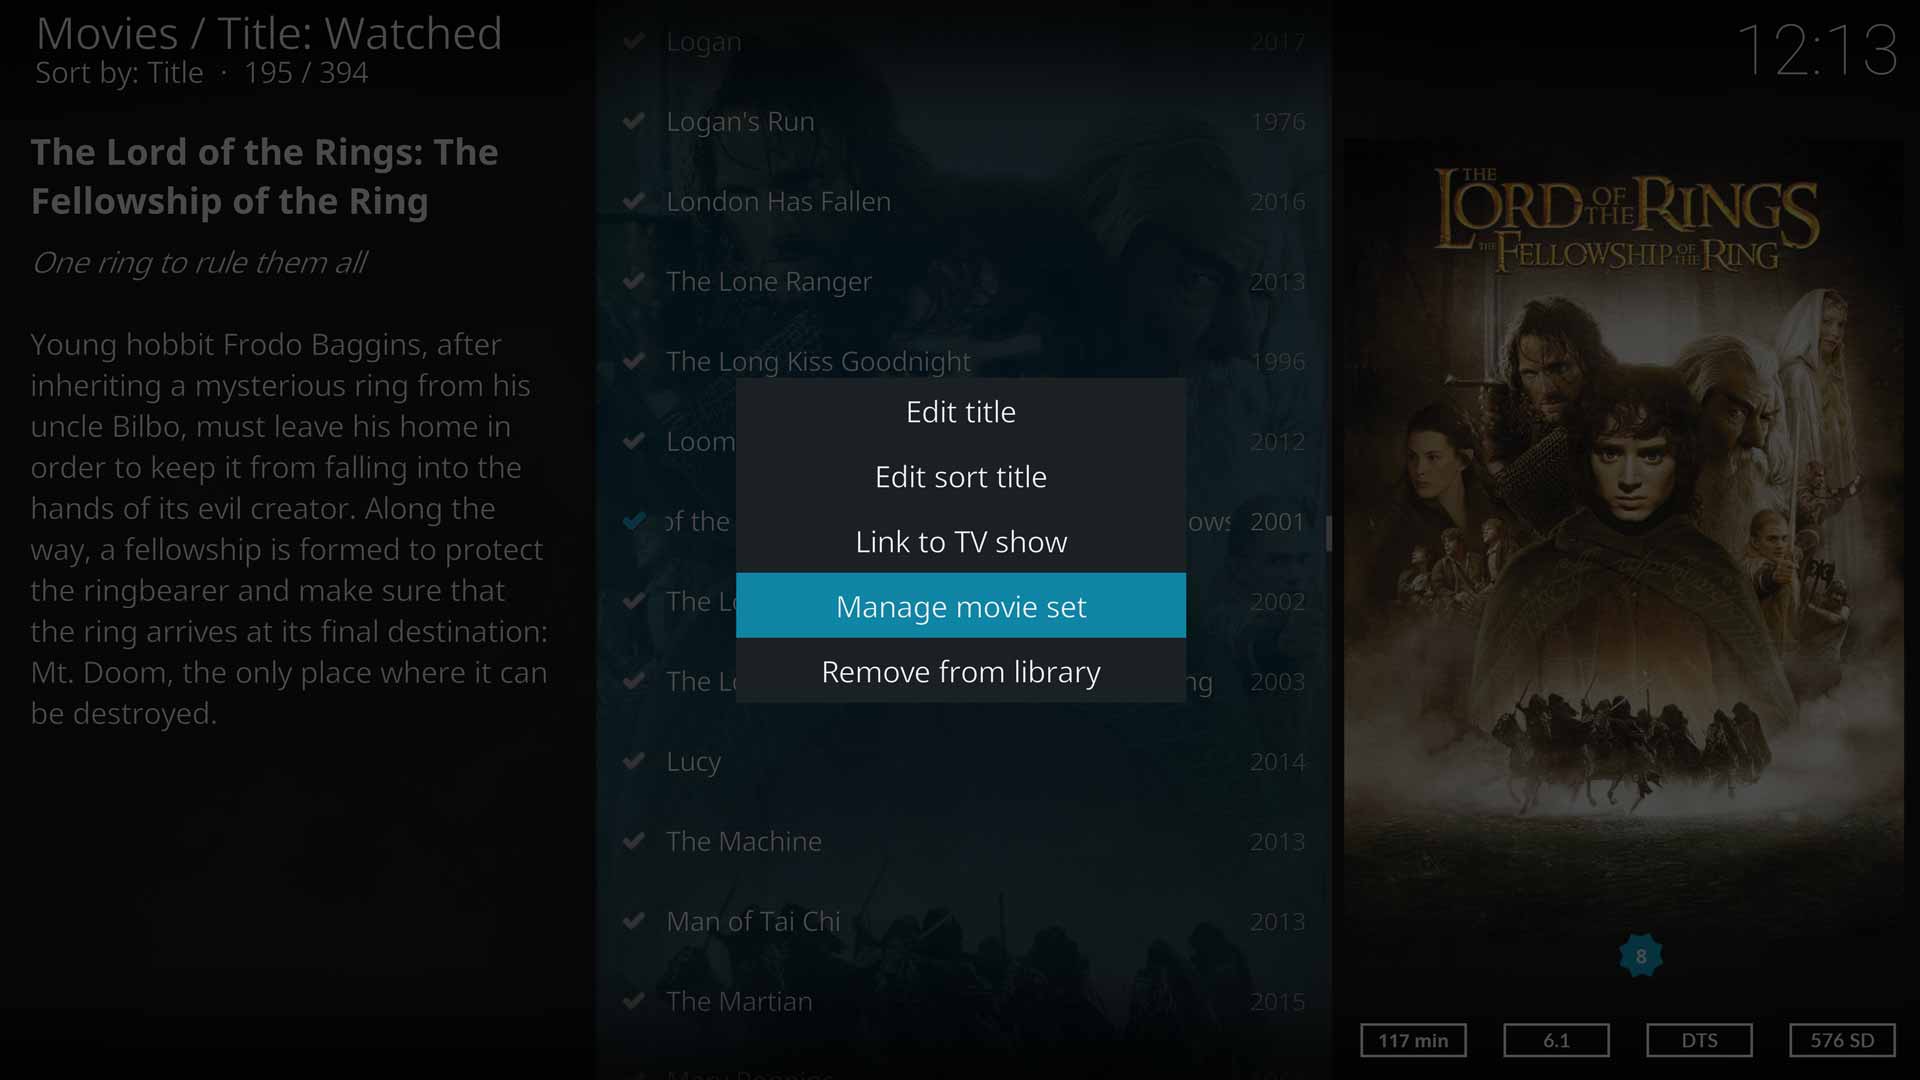 Image 2- Select Remove from library


To remove a single title...
- Navigate to the title to be removed from the library
- Call up the Context Menu (Image 1)
- Select Manage
- Select the last option Remove from library (Image 2)
- When asked Would you really like to remove <title> from library? answer Yes
If you would also like the file deleted from your hard drive, ensure the setting Allow file renaming and deletion is enabled.
Be aware that the deletion setting will only delete the video file. Any artwork, nfo files, trailers, extras, movie folder etc, will not be deleted from the hard disk.
Remove Source
-
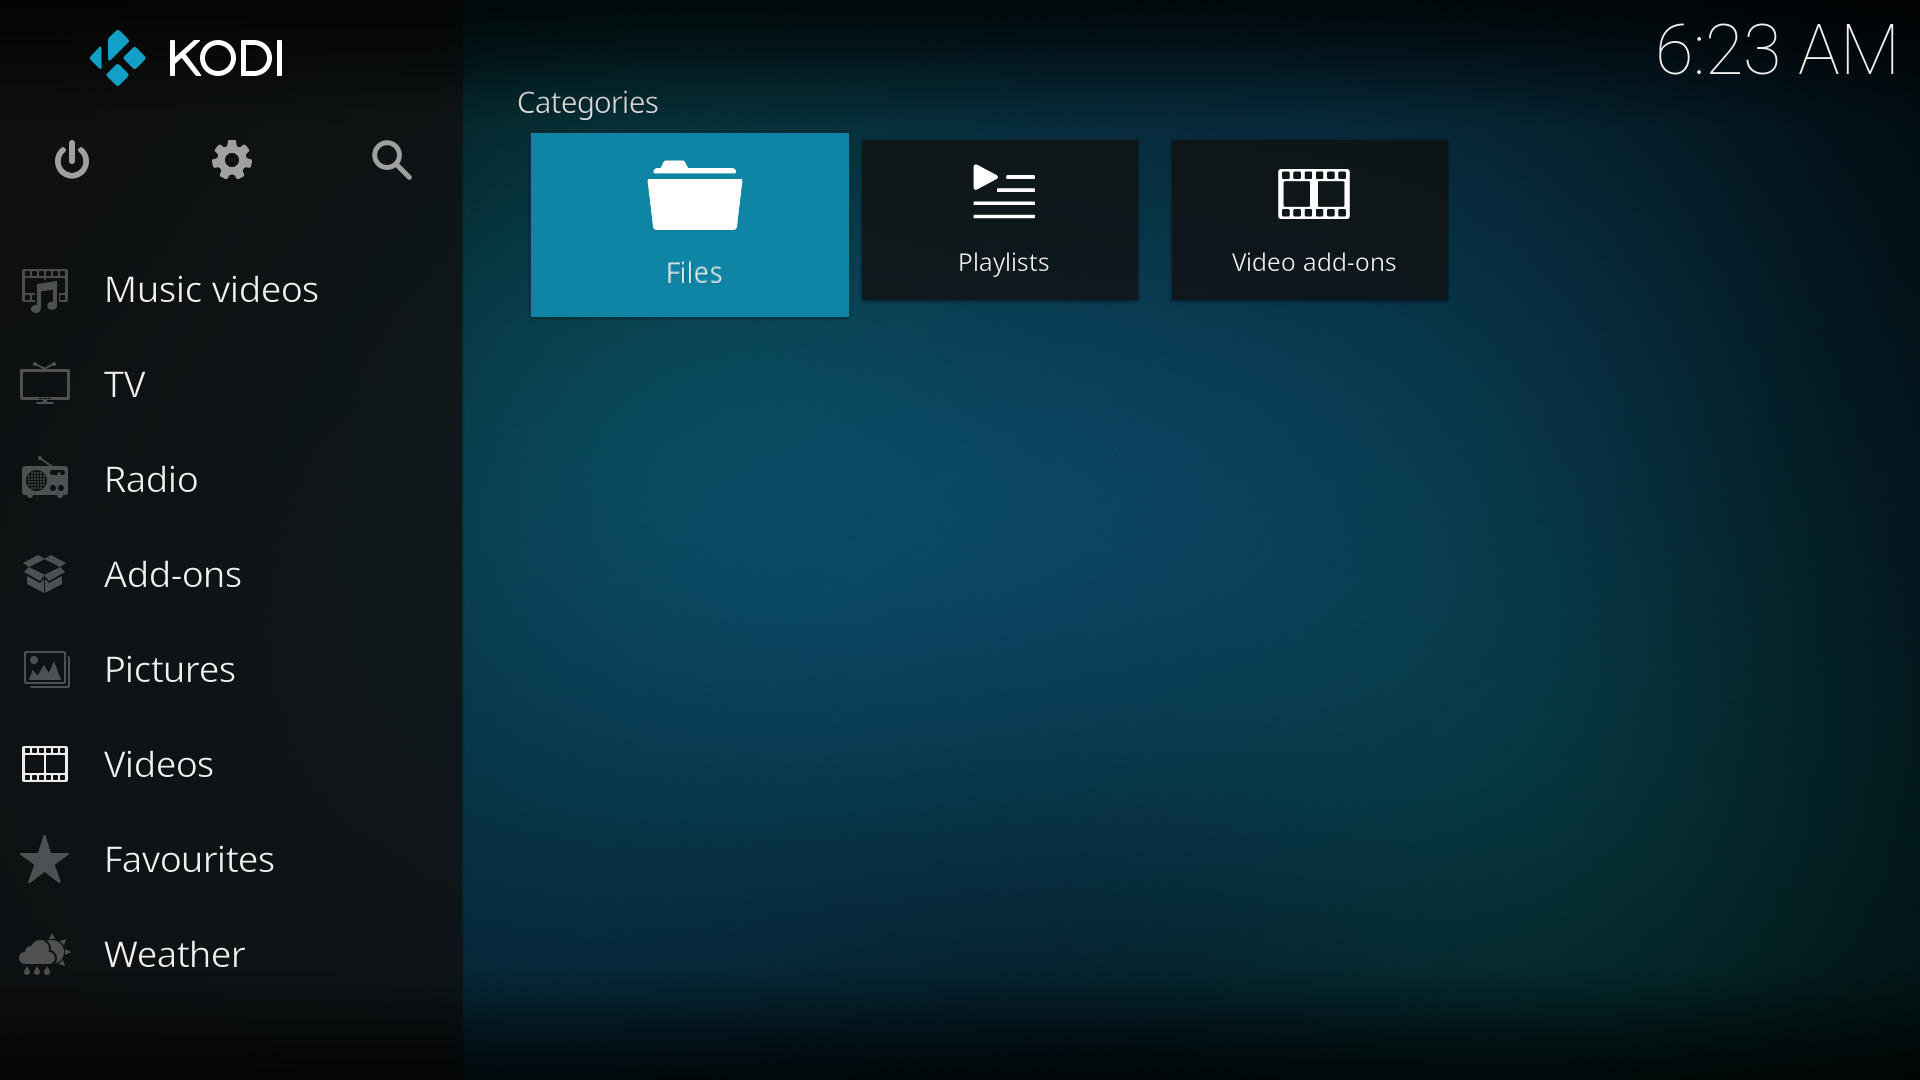 Image 1- Enter Videos>Files
 -
Image 2- Select Remove source
-
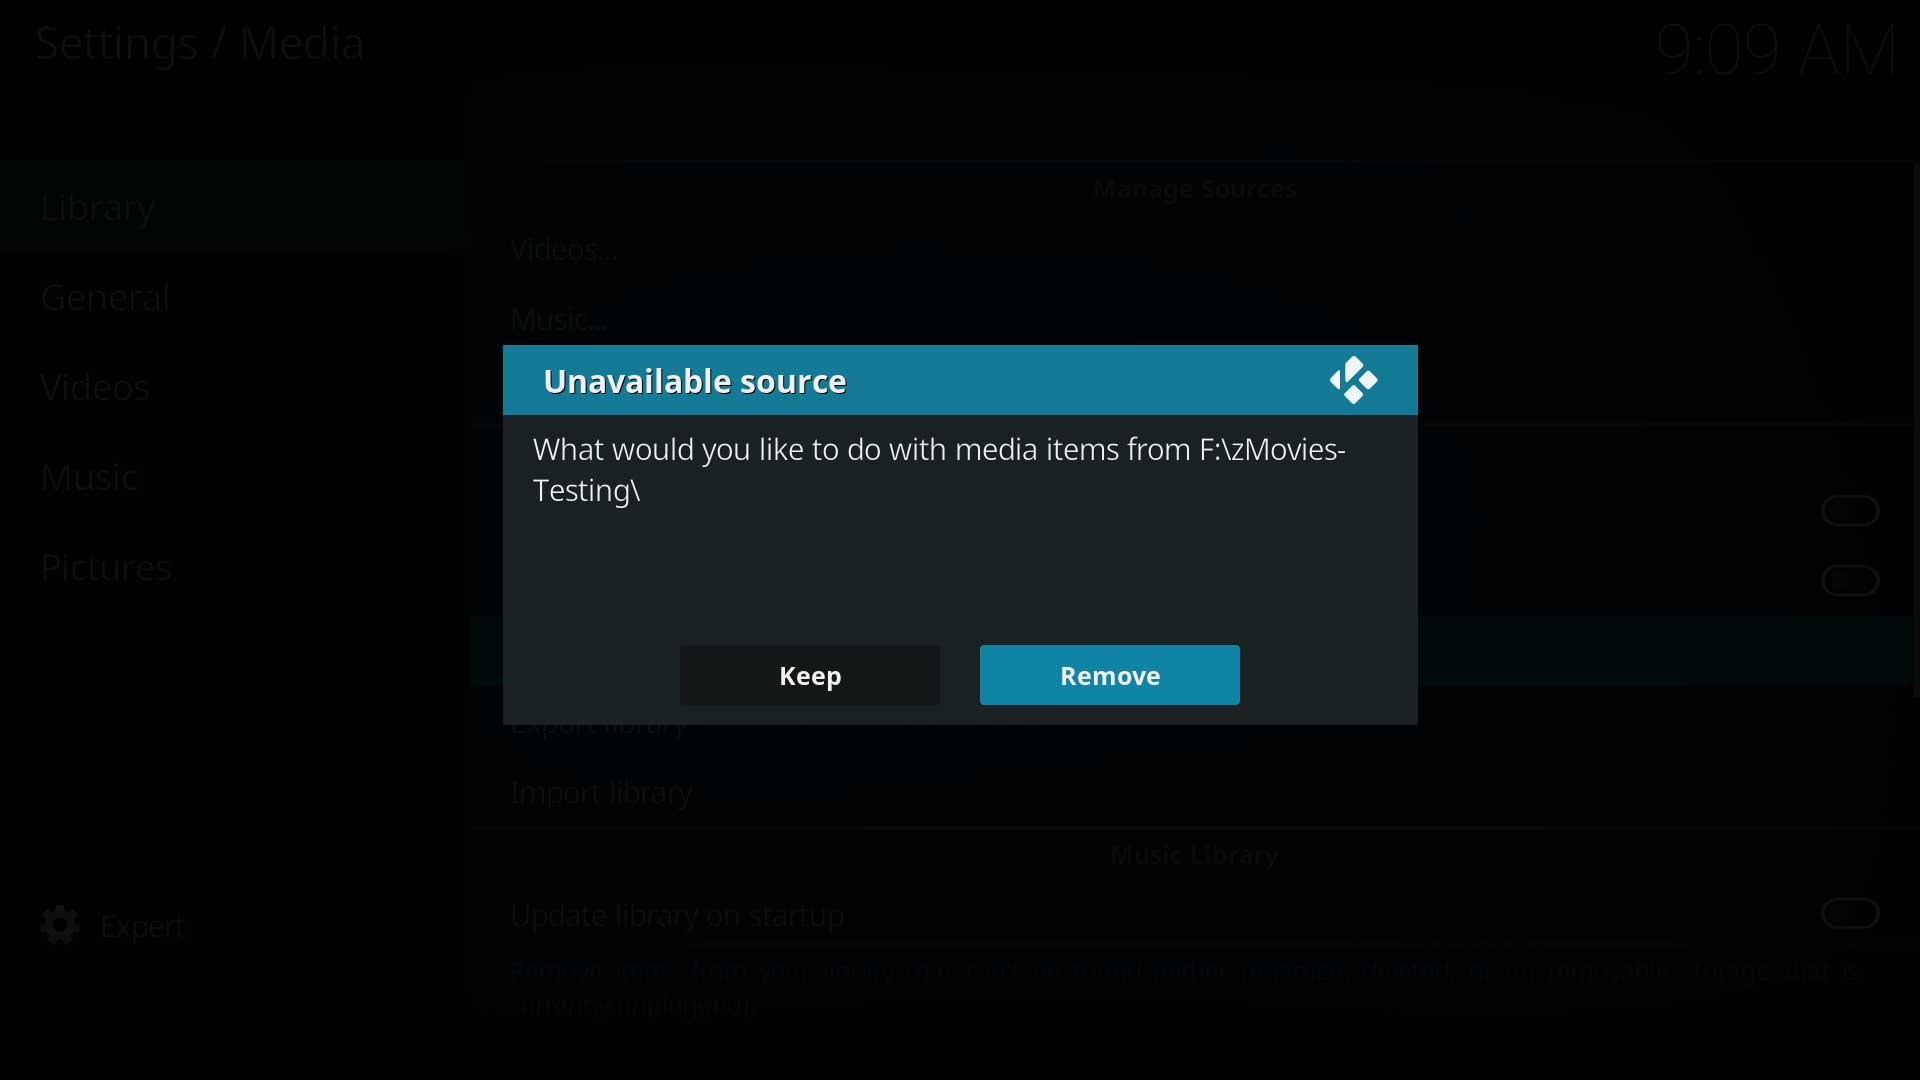 Image 3- Clean Library dialogue. See Step 7


To remove a source, follow these steps:
- Navigate to Videos and enter Files as illustrated in Image 1
- Highlight the source to be removed
- Call up the Context Menu (Image 2)
- Select Remove source (Image 2)
- A confirmation prompt will display- Are you sure? Yes / No
- Select Yes to remove the source
- Select No to cancel the procedure
- If you selected Yes you will then be asked Do you want to remove all items within this path from your library?
- Yes- Will remove the video titles in the Source from the library. (Use this option)
- No- Will keep the library listing of all video titles that are in that source. The source will be removed from File View, but not Library View and all titles will remain.
- Note: If you answered No but would now like to remove the items from the library...
- Re-add the Source in the same manner you first added the source. See: Adding Video Sources
- Answer No when asked Do you want to add the media from this source to your library
- Now repeat these instructions from Step 1 ensuring in Step 6 you select Yes to the question Do you want to remove all items within this path from your library?
- Note: If you answered No but would now like to remove the items from the library...
- To finalise the removal process (See Image 3)
- Navigate to Clean Library in the settings menu
- Perform a Clean Library.
- You will be advised there is an Unavailable Source (the one you just removed) and asked What would you like to do with media items from <the source you removed>'
- Keep- Movies will still remain visible in the library
- Remove- All database entries will be removed (use this option)
Exclude
It is possible to exclude a particular video type (eg. mkv) or a folder from the Video Scraping process.
Exclude Video Types
With the use of the advancedsettings.xml file, you can limit the types of video files displayed. The process can also be used to include additional file types.
A list of additional file-extensions to allow (add) or exclude (remove) in the My Video windows.
Default extensions for VIDEOS:
.001 .3g2 .3gp .asf .asx .avc .avi .avs .bdm .bdmv .bin .bivx .dat .divx .dv .dvr-ms .evo .fli .flv .f4v
.h264 .ifo .img .iso .m2t .m2ts .m2v .m3u .m3u8 .m4v .mkv .mk3d .mov .mp4 .mpd .mpeg .mpg .mpl .mpls .mts
.nrg .nsv .nuv .ogm .ogv .pls .pva .pxml .qt .rcv .rec .rm .rmvb .rss .sdp .strm .svq3 .tp .trp .ts .ty
.url .udf .vc1 .vdr .viv .vob .vp3 .webm .wmv .wpl .wtv .xsp .xspf .xvid .zip
Examples:
<videoextensions>
  <add>.ex1|.ex2</add>
  <remove>.ex3|.ex4</remove>
</videoextensions>
Exclude Folder
It is possible to exclude certain folders, and the contents of those folders, from the scanning and scraping process as follows:
- Using the file browser of your operating system locate the folder to be excluded
- Inside the folder to be excluded, place an empty text file and name it as follows (including the preceding period): .nomedia
Kodi will read the filename and ignore the folder and its contents.
On Windows systems, ensure file extensions are enabled and visible. There should be no file extension for this file.
| Return to top |
|---|