HOW-TO:Configure controllers: Difference between revisions
(creadit goes to garbear http://forum.kodi.tv/showthread.php?tid=252465) |
mNo edit summary |
||
| (30 intermediate revisions by 3 users not shown) | |||
| Line 1: | Line 1: | ||
{{mininav| [[Remote controls]] {{l2| [[Games]] }} | [[Game controllers]]}} | |||
Kodi | Since Kodi v17 (Krypton), Kodi now features an entirely new controller support system. Basic configuration can now be done from within the Kodi interface, without leaving the Kodi GUI. | ||
Currently, you can only configure the physical layout of your controller in Kodi. If you want to modify the actions that each button performs, see [[HOW-TO:Modify joystick.xml]]. | |||
[ | Kodi v17.0 has a bug where analog sticks can get "stuck" when they are first moved. This is fixed in v17.1. If this happens to you, see [[HOW-TO:Fix stuck analog sticks on v17.0]]. | ||
== Configuring controllers == | |||
<gallery widths=360px heights=180px> | |||
File:System settings.jpg|Enter Settings and open System settings | |||
File:Configure attached controllers.jpg|Move to Input and select "Configure attached controllers" | |||
File:Controller configuration utility v17.jpg|The controller-mapping window will open | |||
File:Controller dialog - Press A.jpg|Press Select to start mapping | |||
File:Controller dialog - Press B.jpg|For each item, press the button on your controller | |||
File:Controller dialog - Press Guide.jpg|If a button (like Guide) is missing, let the prompt timeout and continue below | |||
File:Controller dialog - Get more.jpg|You can configure controllers for different game systems | |||
File:Controller dialog - map SNES.jpg|If you have a SNES controller, use the SNES profile | |||
File:Controller dialog - reset controller.jpg|If you want to start over, select "Reset" | |||
</gallery> | |||
== See also == | |||
* {{big|'''[[HOW-TO:Modify joystick.xml]]'''}} | |||
* {{big|'''[[HOW-TO:Share button maps]]'''}} | |||
[[Category:Gaming]] | |||
[[Category:Manual]] | |||
[[Category:Remotes]] | |||
[ | |||
[ | |||
[ | |||
[ | |||
Latest revision as of 02:52, 17 December 2020
Since Kodi v17 (Krypton), Kodi now features an entirely new controller support system. Basic configuration can now be done from within the Kodi interface, without leaving the Kodi GUI.
Currently, you can only configure the physical layout of your controller in Kodi. If you want to modify the actions that each button performs, see HOW-TO:Modify joystick.xml.
Kodi v17.0 has a bug where analog sticks can get "stuck" when they are first moved. This is fixed in v17.1. If this happens to you, see HOW-TO:Fix stuck analog sticks on v17.0.
Configuring controllers
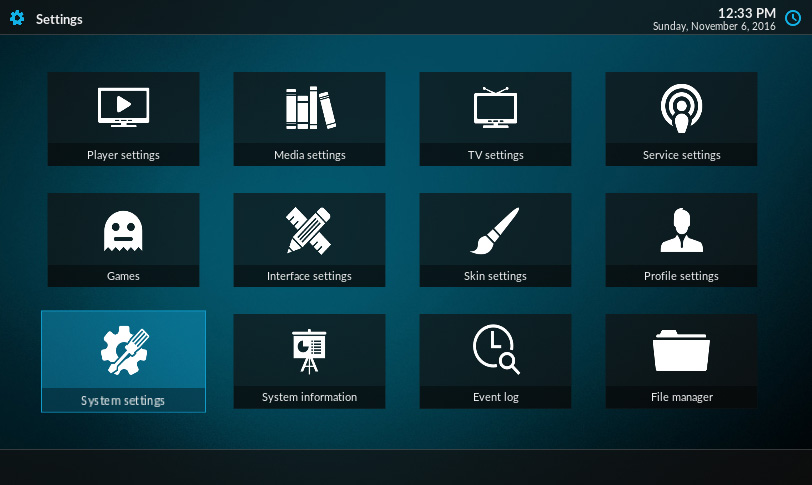
Enter Settings and open System settings
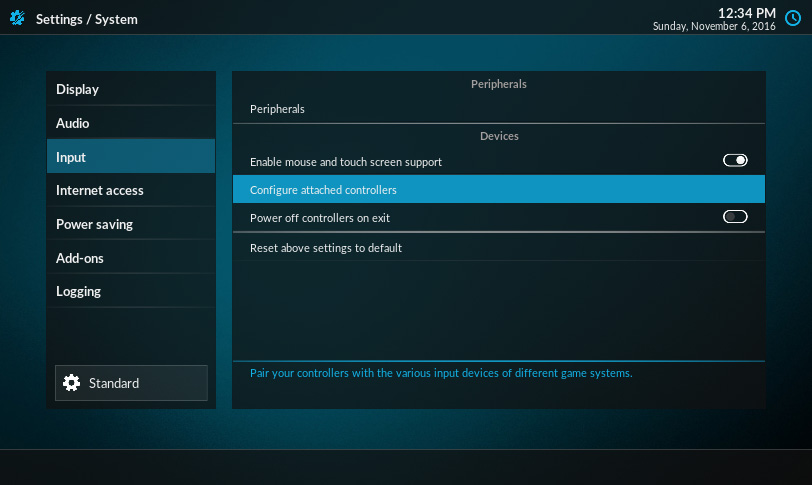
Move to Input and select "Configure attached controllers"
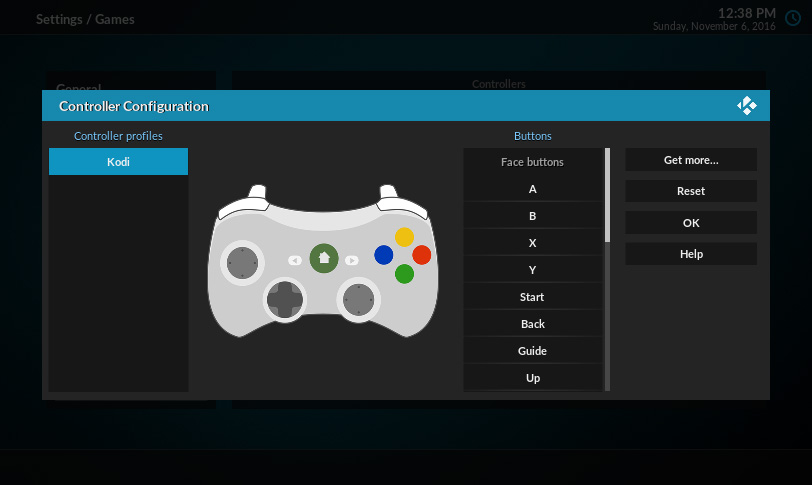
The controller-mapping window will open
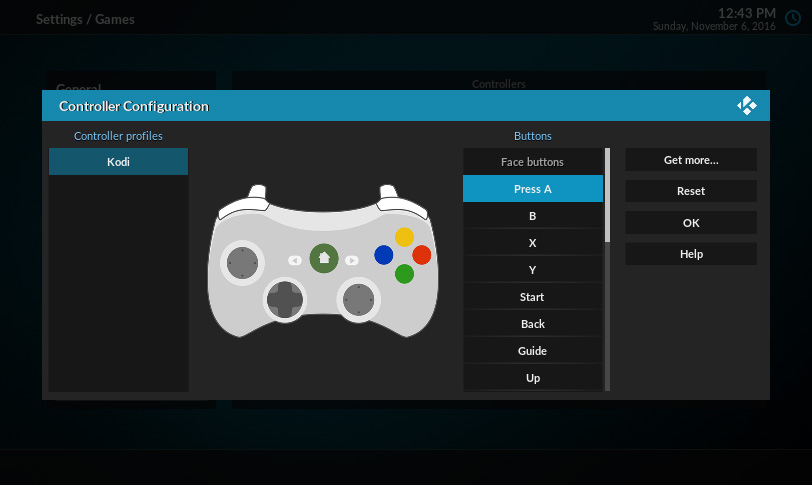
Press Select to start mapping
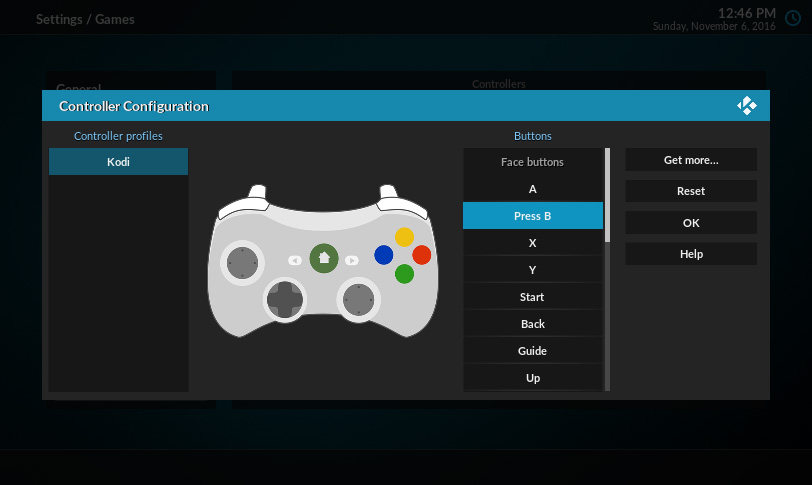
For each item, press the button on your controller
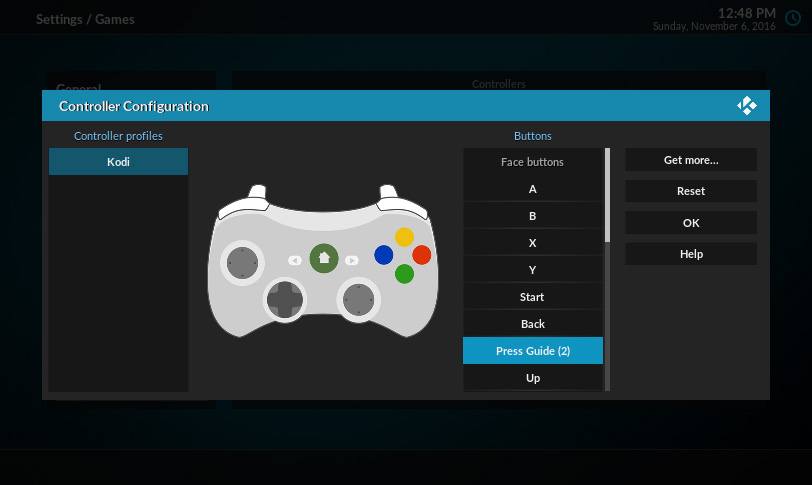
If a button (like Guide) is missing, let the prompt timeout and continue below

You can configure controllers for different game systems
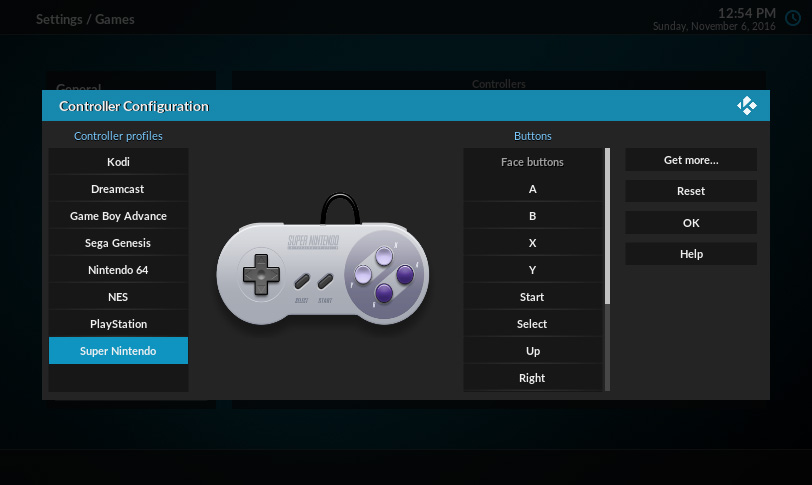
If you have a SNES controller, use the SNES profile
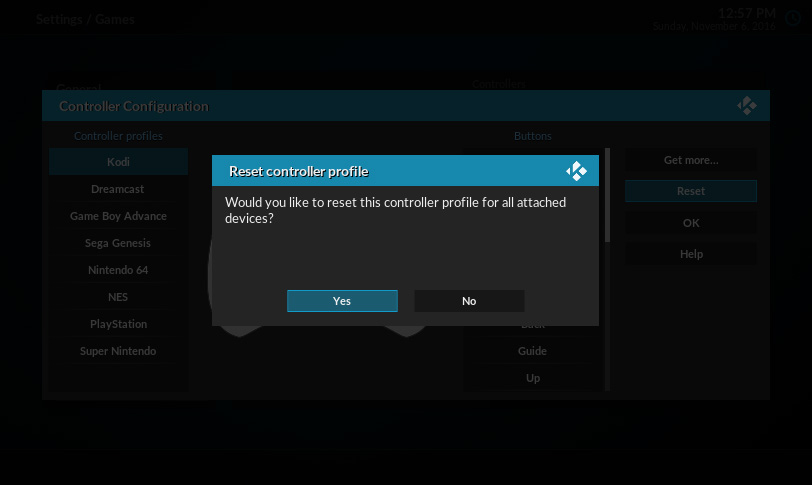
If you want to start over, select "Reset"


