Settings/Player/Videos
This category contains the settings for the playback of videos
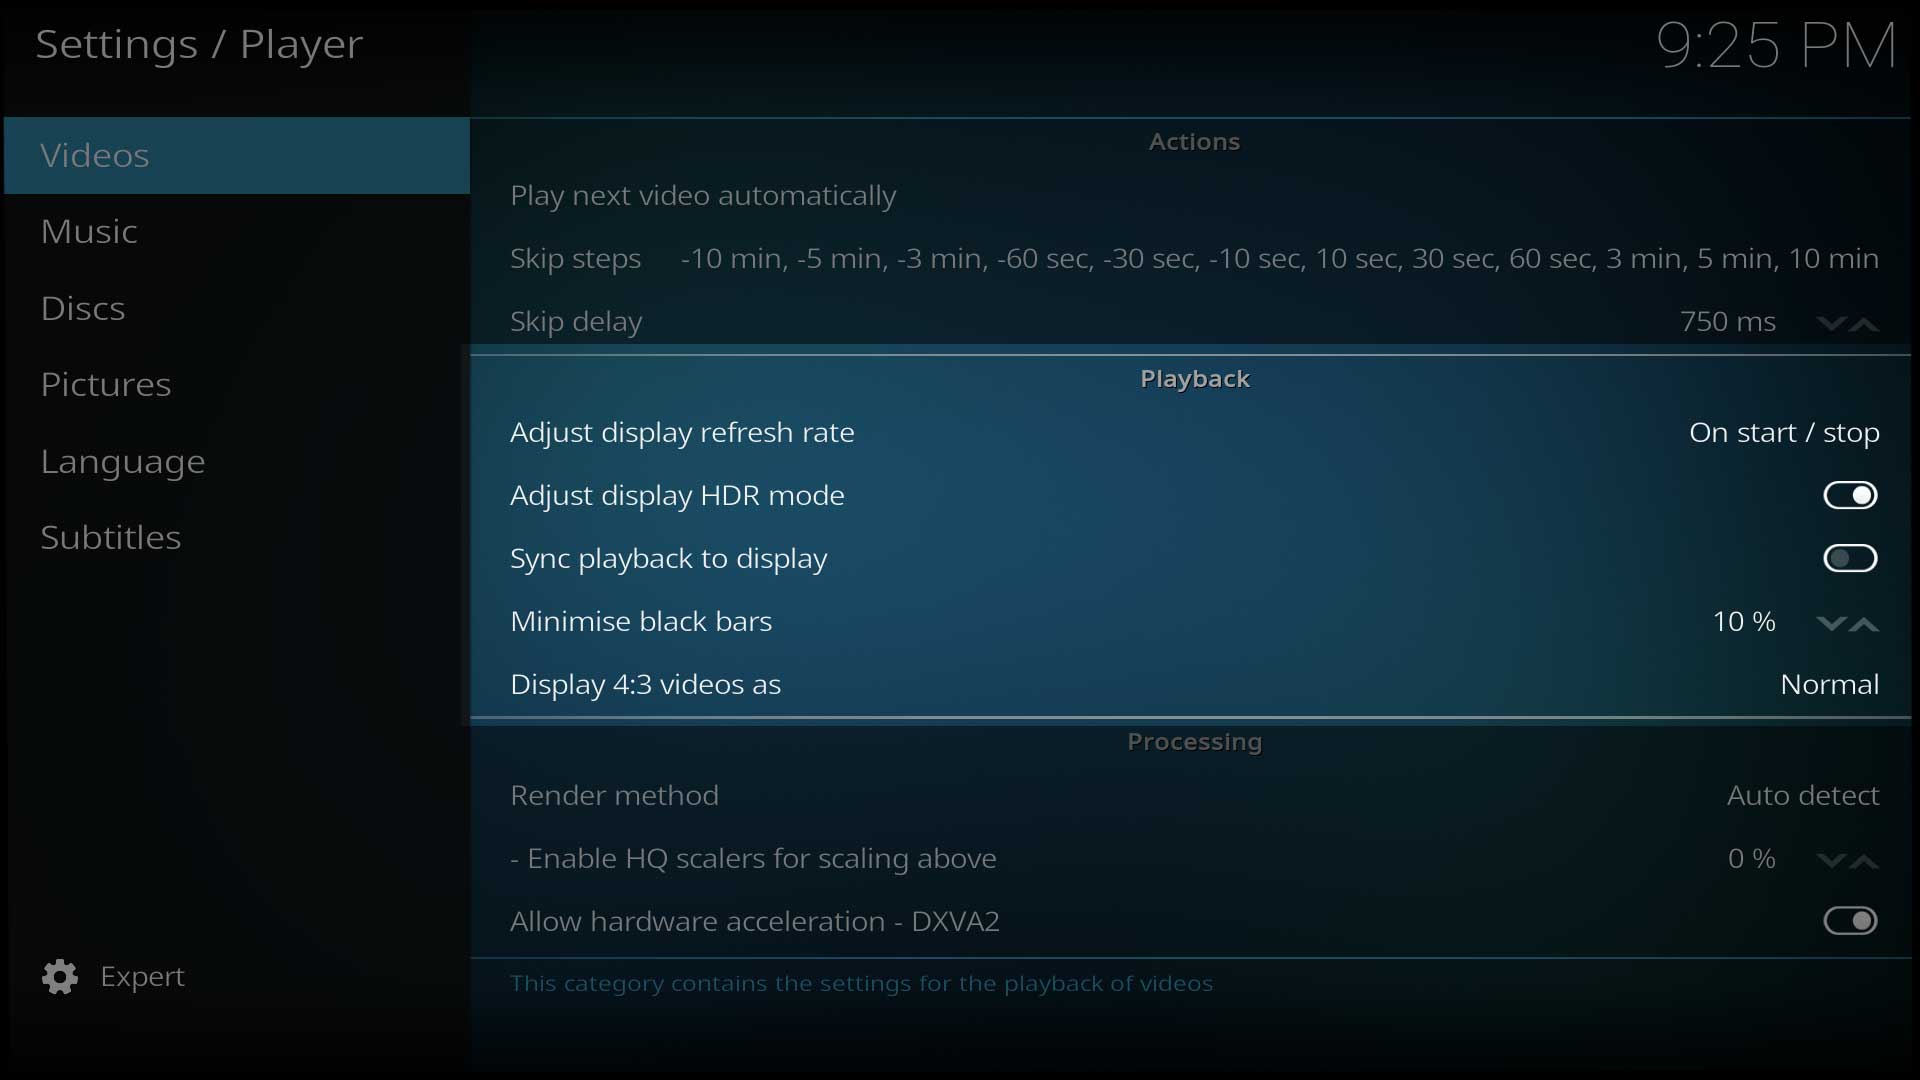
Actions
Play next video automatically
| Settings level: | Basic |
| Description: | A multiselect window gives the option to define which kind of video item will be played next automatically. Available options are: Music Videos, TV shows, Episodes, Movies and Uncategorized. |
- See also: Playlists
Skip steps
| Settings level: | Standard |
| Description: | Defines the amount of time each press of the Skip button will skip forward or backwards. A single press will skip 10 sec forward or back. A double press will skip 30 sec forward or back and so on for each subsequent quick press. Use this setting to change the default skip values. |
- See also: Skip steps
Skip delay
| Settings level: | Standard |
| Description: | Works with the previous setting. If you are having difficulty with the quick multiple presses, this setting allows you to increase the time delay between presses. The selection is none (which will cause the skip step to happen immediately and multiple presses are not possible) or a value between 250 - 3000ms (milliseconds). The default is 750ms. |
Playback
Adjust display refresh rate
| Settings level: | Standard |
| Description: | This setting will switch the refresh rate of the TV / monitor to best match the frame rate of the video stream. This allows for perfectly smooth video playback. This option requires compatible hardware. [1] Using this setting may cause the TV or monitor to blank for a few seconds while adjustments are made. This is the TV adjusting for the new refresh rate and not Kodi.
|
- See also: Player process info
Adjust display HDR mode
| Settings level: | Standard |
| Description: | This setting allows the application to control the HDR mode of the screen.
Note: setting available on platforms that support HDR, with an HDR-capable screen connected. |
Sync playback to display
| Settings level: | Standard | ||
| Description: | This setting enables the syncing of the video to the refresh rate of the monitor by altering the playback speed. When used in conjunction with the previous setting it allows a "fine tune" syncing. For example - watching a movie recorded at 23.967fps on a TV / monitor that is only capable of 50Hz will cause micro stutters, especially during panning shots. When this setting is enabled, the video playback is sped up to 104.271% of its original speed which simulates 25fps playback being a simple division of 50Hz.
|
- See also: Player process info
Minimise black bars
| Settings level: | Advanced |
| Description: | Stretches the video to minimise black bars. Note: May deform the image. |
Display 4:3 videos as
| Settings level: | Advanced |
| Description: | Determines the zoom level that 4:3 videos are shown on widescreen displays. Options are: Normal, Wide zoom, Stretch 16:9, Stretch 16:9- Nonlinear, Zoom |
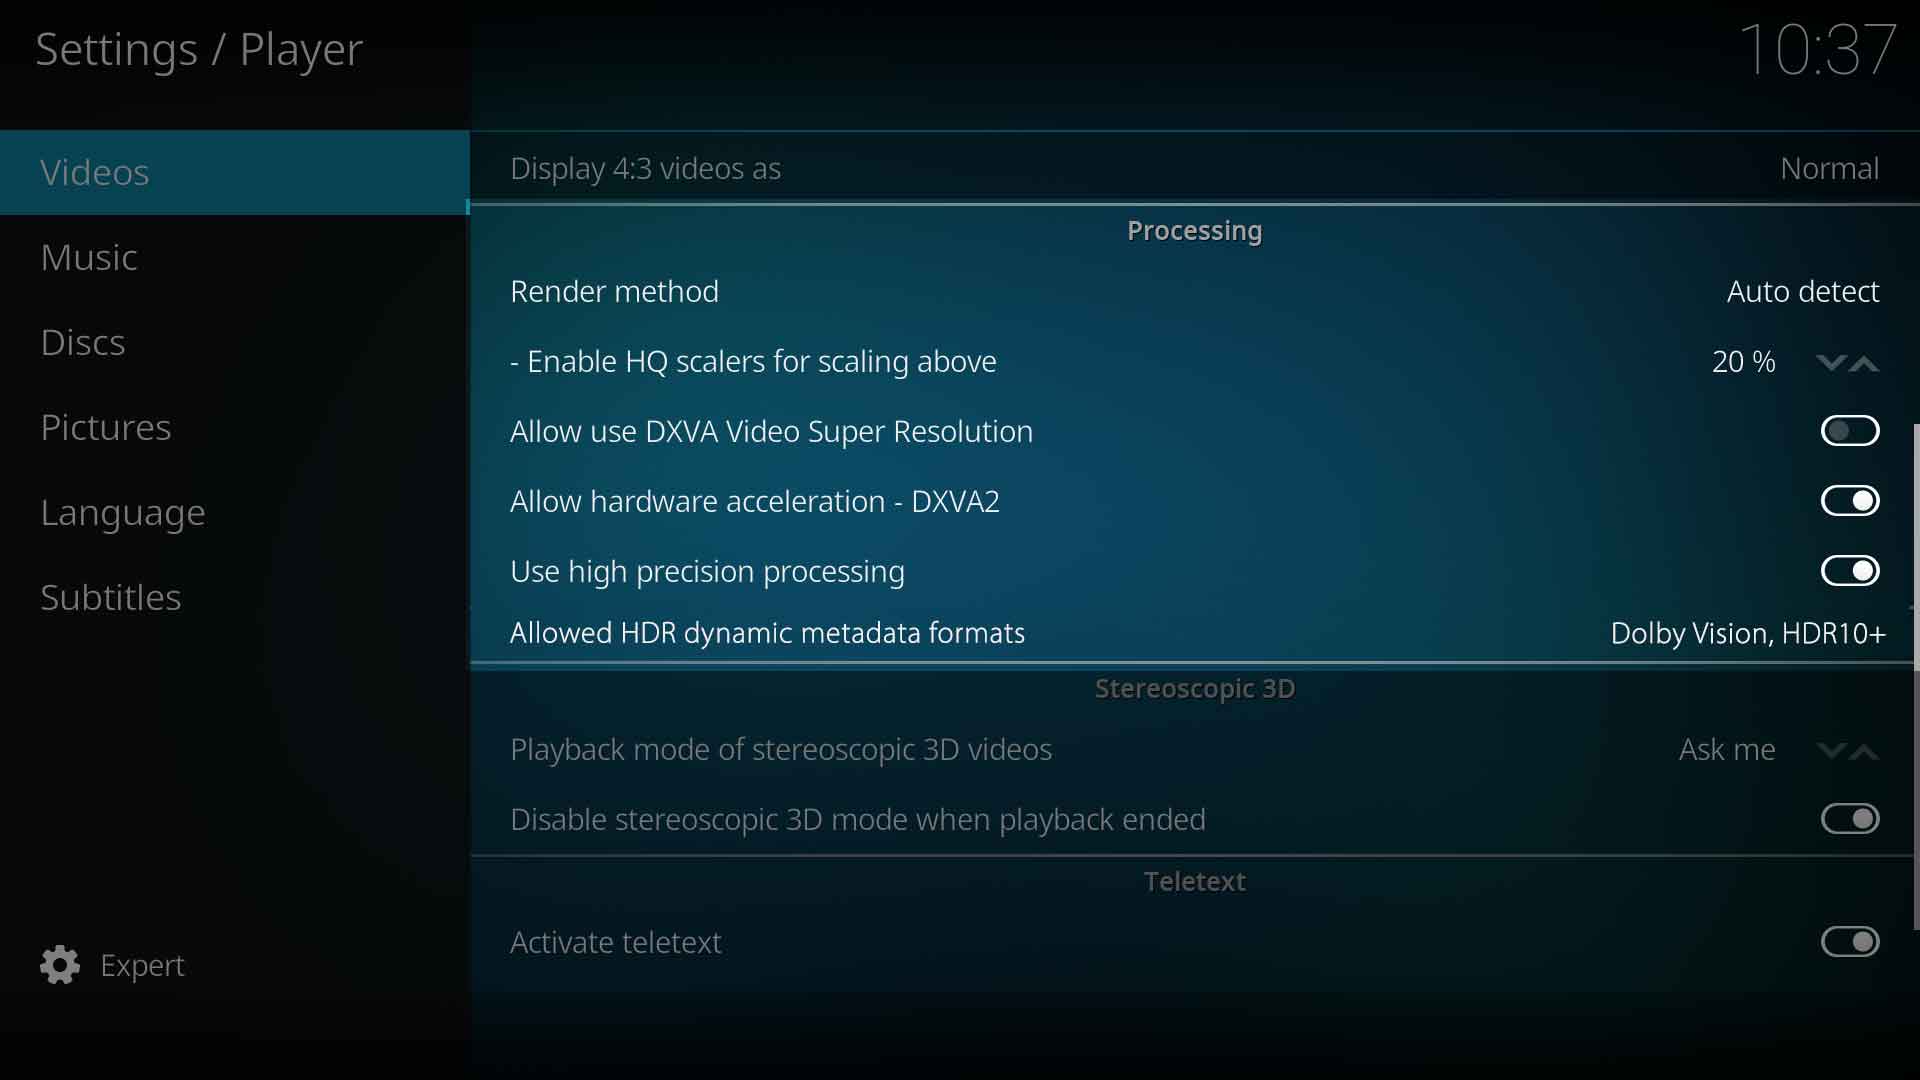
Processing
Render method
| Settings level: | Advanced |
| Description: | Controls the method used by the player to process and display the video, (which is called rendering). |
Enable HQ scalers for scaling above
| Settings level: | Advanced |
| Description: | Use high quality scalers when upscaling a video by at least this percentage. A value below 5% makes little sense as video is processed with high GPU load without any visible picture quality improvements |
Allow use DXVA Video Super Resolution
| Settings level: | Advanced |
| Description: | Enables advanced DXVA upscaler using NVIDIA RTX Video Super Resolution or Intel Video Super Resolution. Used when video source is 1080p or less (progressive only) and source resolution is lower than display resolution. It's only available on specific hardware: NVIDIA RTX 40x, RTX 30x and Intel Arc A770, A750. When used on compatible systems, it may reduce video compression artifacts and somewhat increases the sensation of sharpness and is more noticeable when viewing lower quality videos. |
Platform Specific settings
- The following settings will show up for the Processing section for their respective platforms:
| Windows specific settings (click 'expand' to view) | ||||||||||||
|---|---|---|---|---|---|---|---|---|---|---|---|---|
|
| Linux specific settings (click 'expand' to view) | ||||||||||||||||||||||||||||||||||||||||
|---|---|---|---|---|---|---|---|---|---|---|---|---|---|---|---|---|---|---|---|---|---|---|---|---|---|---|---|---|---|---|---|---|---|---|---|---|---|---|---|---|
|
| Mac OS specific settings (click 'expand' to view) | ||||
|---|---|---|---|---|
|
Use high precision processing
| Settings level: | Advanced |
| Description: | Conversion of 8 bit YUV to RGB is not an exact process with 8 bits destination texture, but can be improved with the use of 10 bits. When enabled the player attempts to find a compatible format of 10 bits or better.
May increase the load on low powered devices. [3] |
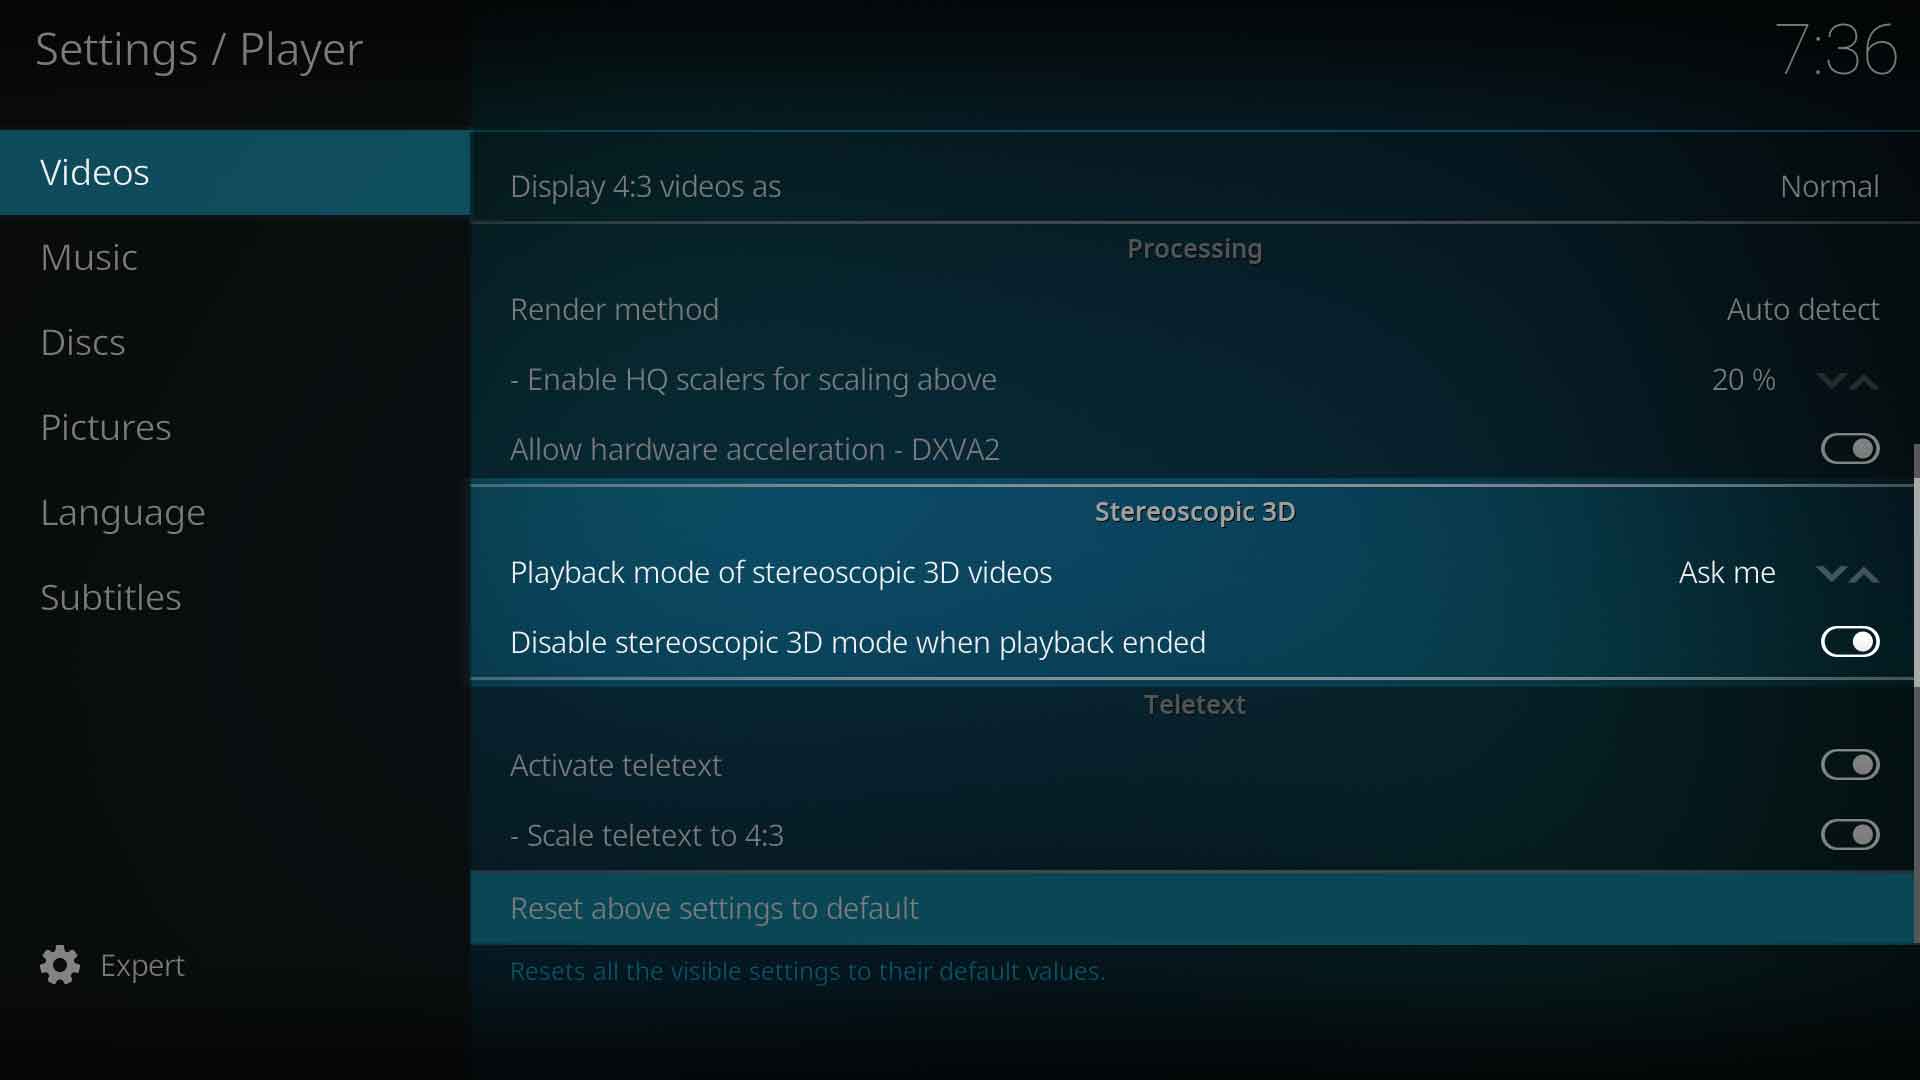
Stereoscopic 3D
Playback mode of stereoscopic videos
| Settings level: | Advanced |
| Description: | Select which mode stereoscopic 3D videos will be played. Ask me - Will show a dialogue to select the desired mode for each playback. |
Disable stereoscopic mode when playback is stopped
| Settings level: | Advanced |
| Description: | While enabled the GUI and some TVs will switch back to 2D mode between videos in a playlist or when playback has ended. While disabled, the GUI and TV will stay in stereoscopic 3D mode. For video playlists with mixed stereoscopic 3D and 2D content, then the GUI will also stay in stereoscopic 3D mode even when a non-stereoscopic 2D video is playing. |
- See also: 3D
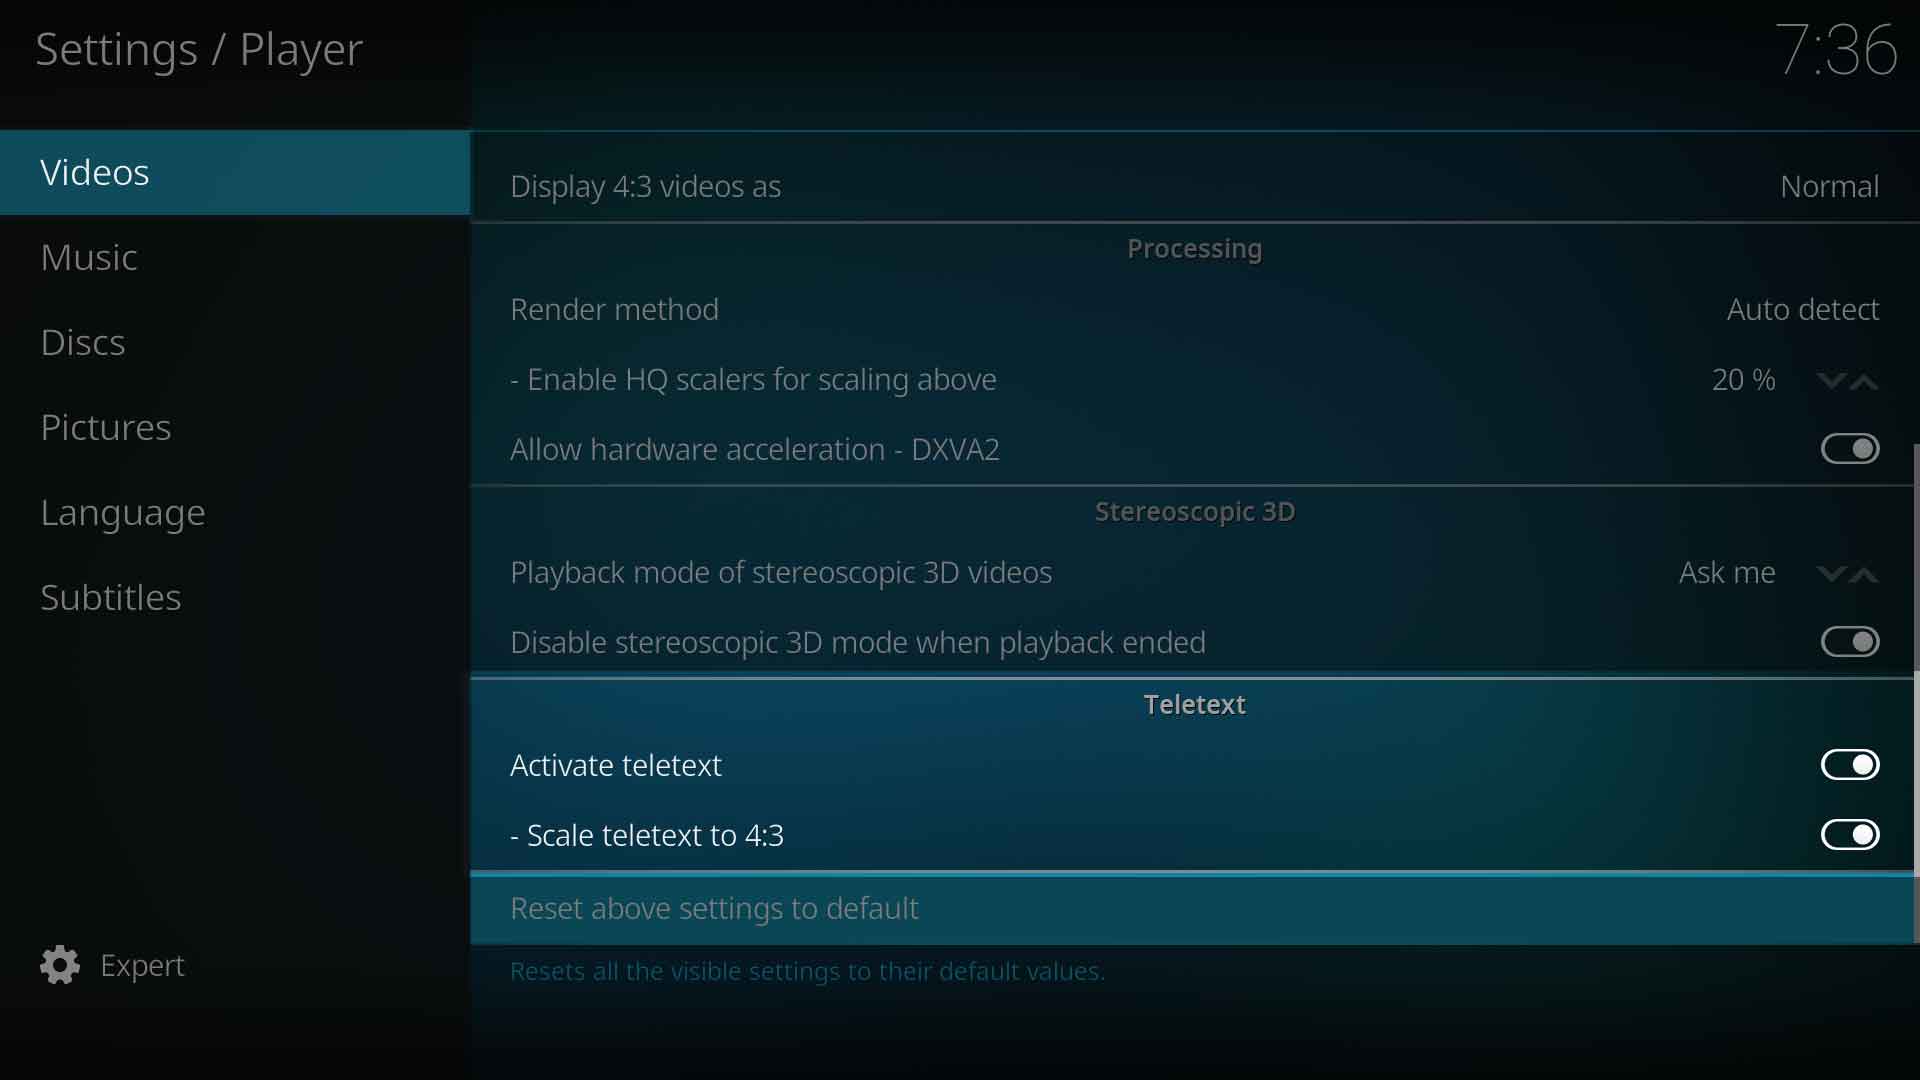
Teletext
Activate Teletext
| Settings level: | Advanced |
| Description: | Enables Teletext when watching a live TV stream. |
Scale Teletext to 4:3
| Settings level: | Advanced |
| Description: | When selected, scales Teletext to 4:3 ratio. |
References
| Return to top |
|---|


