Archive:Kodibuntu: Difference between revisions
>Gamester17 No edit summary |
No edit summary |
||
| (231 intermediate revisions by 34 users not shown) | |||
| Line 1: | Line 1: | ||
{{outdated}} | |||
{{divbox|red||'''Note:''' This Wiki page is outdated and Kodibuntu is not supported anymore. Therefore Kodibuntu is not available anymore at the download page}} | |||
= | <section begin="intro" />Kodibuntu is a combination Kodi/operating system for use on PCs that are mainly just running Kodi. It is an alternative to installing Windows or a larger (and sometimes more complicated) Linux-based OS.<section end="intro" /> | ||
== | == Hardware requirements == | ||
{{see also|Supported hardware}} | |||
Kodibuntu should work with the general hardware requirements for Linux: | |||
{{Collapse top|Click to show hardware requirements -->}} | |||
{{#lst:Supported hardware|Linux}} | |||
{{Collapse bottom}} | |||
== Installing == | |||
Kodibuntu comes in an ISO form that can be written to a USB drive or burned to an optical disc. | |||
== | |||
Download the current stable Kodibuntu image from: '''<code>http://kodi.tv/download/</code>''' | |||
The Complete installation guide can be found here: [http://howtouselinux.net/kodi-linux-part-1/ Kodi Linux - The Complete Guide] | |||
{{note| | |||
* Kodibuntu has only one iso image file for all x86 computers, regardless of GPU. | |||
* Currently, only a '''64-bit''' version is available, but this should cover the vast majority of users. | |||
* A pre release 32bit exists in mirrors with unstable ppa and RC candidate Kodi, which can be upgraded to stable kodi | |||
* There will be no separate Kodibuntu release for Kodi 15.x as it's based on the same OS. To get Kodi 15.x on Kodibuntu, just upgrade the software as suggested below}} | |||
== | == Updating == | ||
Current Kodibuntu is based on a LTS release (long term release) which is supported for 5 years, this means that it isn't required to upgrade the OS base in order to obtain updated or upgraded application packages. | |||
=== How to upgrade Kodi === | |||
{{main|HOW-TO:Install Kodi for Linux#Upgrading}} | |||
{{#lst:HOW-TO:Install Kodi for Linux|Ubuntu upgrade}} | |||
[[ | === When to upgrade the OS === | ||
[[ | |||
[[ | See [https://wiki.ubuntu.com/Releases Current Ubuntu releases] if your current distro is listed under End of life table, you will need to upgrade your OS to a supported release. | ||
[[ | |||
[[ | |||
== Basic use == | |||
=== Desktop mode === | |||
Kodibuntu can boot directly into Kodi or it can also boot into a desktop mode for using applications such as a web browser. | |||
In order to enter desktop mode, follow those steps below: | |||
<gallery widths=500px heights=313px> | |||
File:kodi-exit.png|'''Step 1:''' ''Exit'' Kodi. | |||
File:kodi-session.png|'''Step 2:''' Select ''Lubuntu'' and enter your ''username'' and ''password''. | |||
</gallery> | |||
The username may differ from the one you supplied during installation. So please be aware, that "xbmc" (as shown in the screenshot) might not be the username you will see and/or have to use. | |||
{{note|If you last booted directly or switched to desktop and shutdown the HTPC while in desktop, on next reboot you will get the last used session by default.}} | |||
To return to Kodi, '''logout''', select '''Kodi''' as session in the top-right pulldown menu and enter your ''username'' and ''password'' again. | |||
=== Login === | |||
To login to the command line interface press {{keypress|Ctrl|Alt|F1 - F6 }} or connect over [[SSH]] by using usernamne and password supplied during installation. | |||
{{note|For the use of {{keypress|Ctrl|Alt|F1 - F6 }} no username and password is required. You are logged in directly to the command line.}} | |||
=== Media center === | |||
Kodibuntu contains [[Linux|Kodi for Linux]] compiled with the 'standalone' mode, this enabled certain functions that are not available in normal Kodi installations (Windows, Mac Linux), these functions include Power Management, and Network Management. | |||
=== Using desktop mode === | |||
Chromium is included for web browsing and can be found in the start menu. | |||
In Systems / Package Manager tools - you can install other applications for your specific needs. | |||
==Other Uses== | |||
===KodiBuntu VNC Server=== | |||
https://help.ubuntu.com/community/VNC/Servers | |||
*Install x11vnc | |||
*Set password | |||
**x11vnc -storepasswd | |||
*Test connection by running manual start command. | |||
x11vnc -auth guess -forever -loop -noxdamage -repeat -rfbauth /home/USERNAME/.vnc/passwd -rfbport 5900 -shared | |||
Have x11vnc start automatically via upstart in any environment (<=Utopic) | |||
sudo nano /etc/init/x11vnc.conf | |||
# description "Start x11vnc at boot" | |||
description "x11vnc" | |||
start on runlevel [2345] | |||
stop on runlevel [^2345] | |||
console log | |||
respawn | |||
respawn limit 20 5 | |||
exec /usr/bin/x11vnc -auth guess -forever -loop -noxdamage -repeat -rfbauth /home/USERNAME/.vnc/passwd -rfbport 5900 -shared | |||
== See also == | |||
* [[Linux]] | |||
* [[HOW-TO:Install Kodi for Linux]] | |||
* [[JeOS implementations for Kodi]] | |||
Latest revision as of 07:42, 18 June 2020

|
THIS PAGE IS OUTDATED:
This page or section has not been updated in a long time, no longer applies, refers to features that have been replaced/removed, and/or may not be reliable. This page is only kept for historical reasons, or in case someone wants to try updating it. |
Kodibuntu is a combination Kodi/operating system for use on PCs that are mainly just running Kodi. It is an alternative to installing Windows or a larger (and sometimes more complicated) Linux-based OS.
Hardware requirements
Kodibuntu should work with the general hardware requirements for Linux:
| Click to show hardware requirements --> | ||||||||||||||||||||||||||||||||||
|---|---|---|---|---|---|---|---|---|---|---|---|---|---|---|---|---|---|---|---|---|---|---|---|---|---|---|---|---|---|---|---|---|---|---|
Note: There´s no 304.xxx driver for Ubuntu 18.04 available anymore from the "Graphic Drivers"-ppa. Users who are using GeForce 6-series cards should either stay on an older Ubuntu version or use newer cards |
Installing
Kodibuntu comes in an ISO form that can be written to a USB drive or burned to an optical disc.
Download the current stable Kodibuntu image from: http://kodi.tv/download/
The Complete installation guide can be found here: Kodi Linux - The Complete Guide
Note:
- Kodibuntu has only one iso image file for all x86 computers, regardless of GPU.
- Currently, only a 64-bit version is available, but this should cover the vast majority of users.
- A pre release 32bit exists in mirrors with unstable ppa and RC candidate Kodi, which can be upgraded to stable kodi
- There will be no separate Kodibuntu release for Kodi 15.x as it's based on the same OS. To get Kodi 15.x on Kodibuntu, just upgrade the software as suggested below
Updating
Current Kodibuntu is based on a LTS release (long term release) which is supported for 5 years, this means that it isn't required to upgrade the OS base in order to obtain updated or upgraded application packages.
How to upgrade Kodi
To update Kodi when a new version is released, just do a general system/package or use the following commands in the terminal (or via SFTP):
sudo apt update
sudo apt upgrade --with-new-pkgs
When to upgrade the OS
See Current Ubuntu releases if your current distro is listed under End of life table, you will need to upgrade your OS to a supported release.
Basic use
Desktop mode
Kodibuntu can boot directly into Kodi or it can also boot into a desktop mode for using applications such as a web browser.
In order to enter desktop mode, follow those steps below:
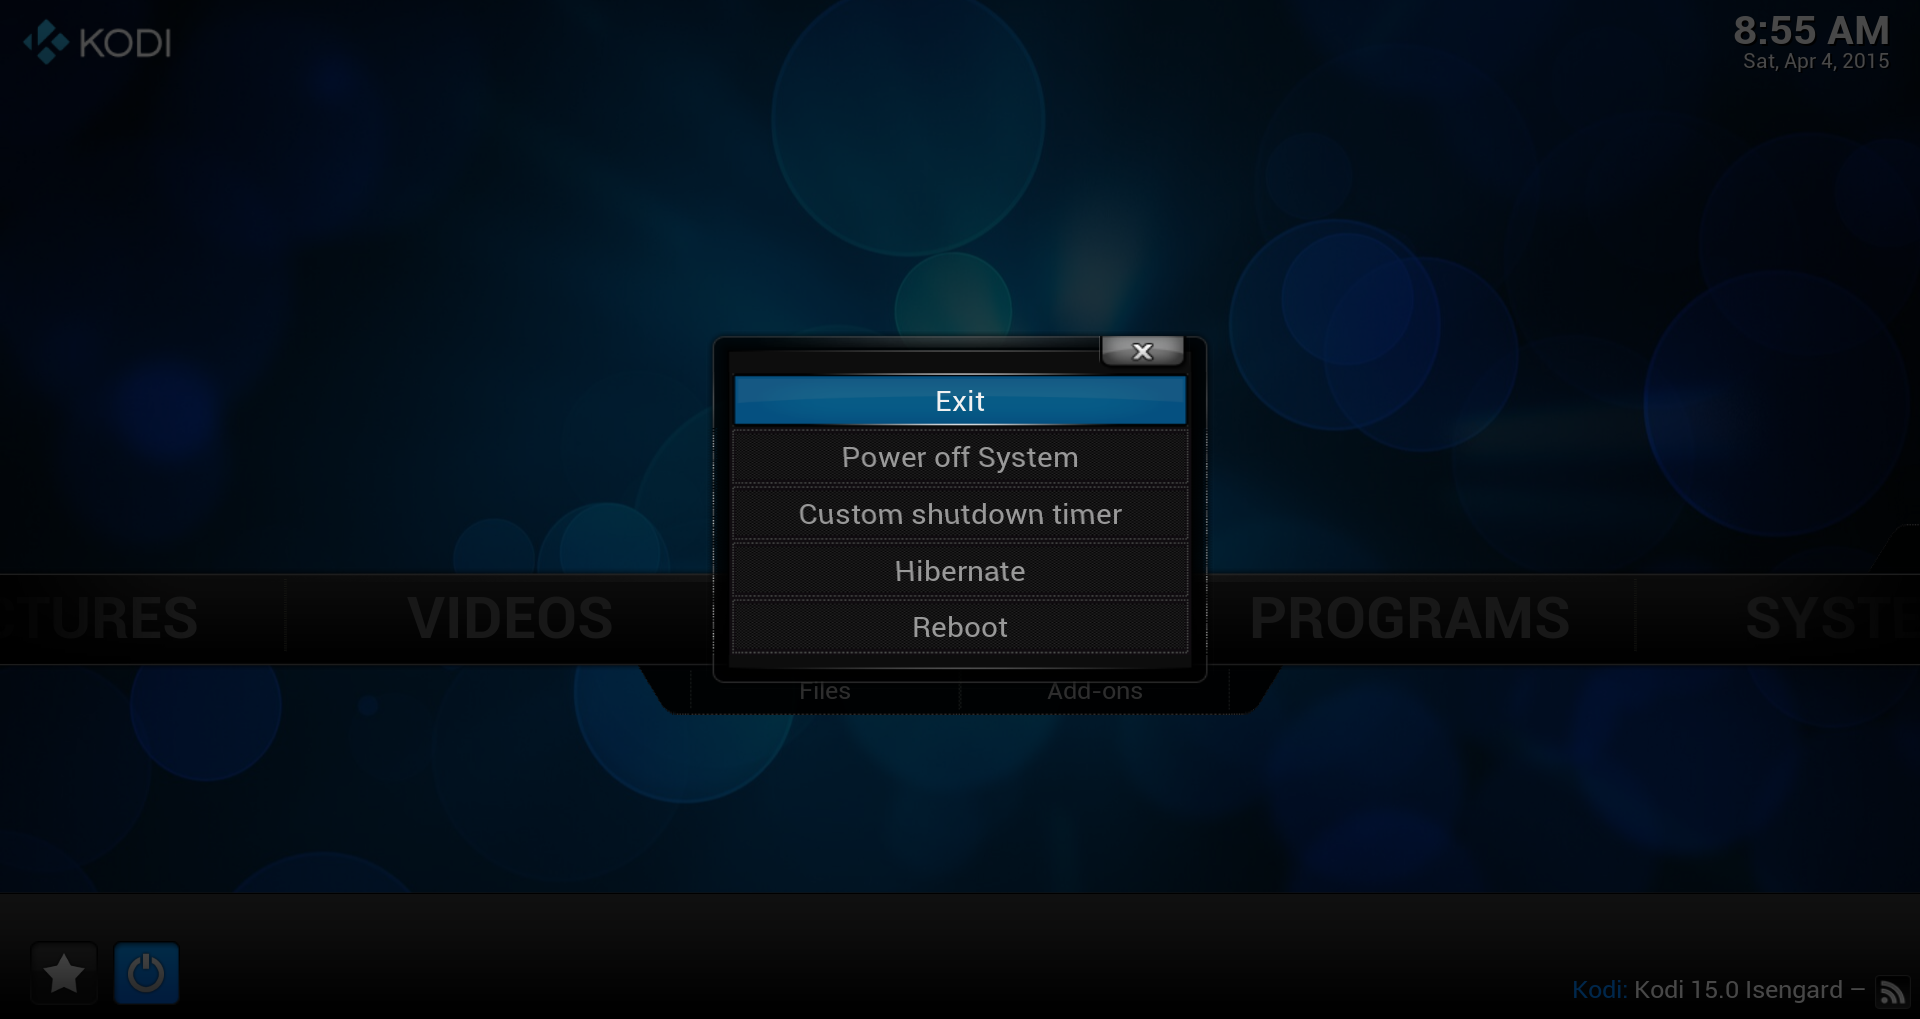
Step 1: Exit Kodi.
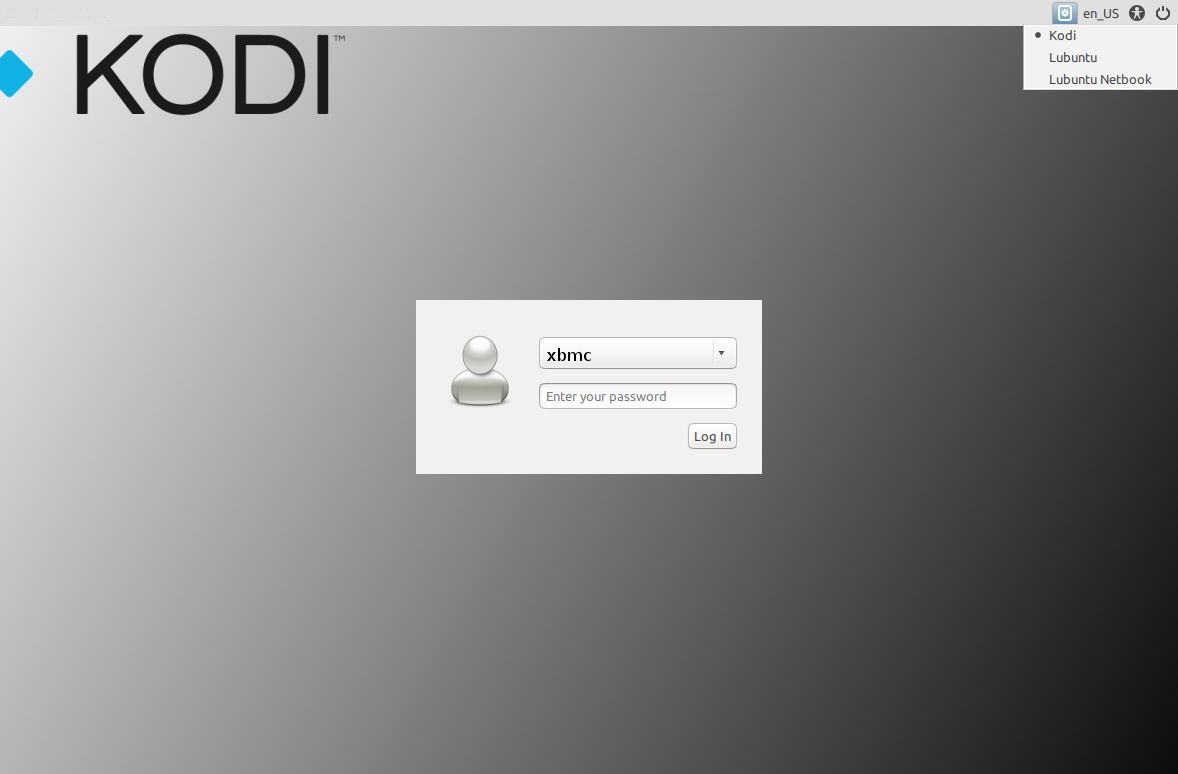
Step 2: Select Lubuntu and enter your username and password.


The username may differ from the one you supplied during installation. So please be aware, that "xbmc" (as shown in the screenshot) might not be the username you will see and/or have to use.
Note: If you last booted directly or switched to desktop and shutdown the HTPC while in desktop, on next reboot you will get the last used session by default.
To return to Kodi, logout, select Kodi as session in the top-right pulldown menu and enter your username and password again.
Login
To login to the command line interface press Ctrl+Alt+F1 - F6 or connect over SSH by using usernamne and password supplied during installation.
Note: For the use of Ctrl+Alt+F1 - F6 no username and password is required. You are logged in directly to the command line.
Media center
Kodibuntu contains Kodi for Linux compiled with the 'standalone' mode, this enabled certain functions that are not available in normal Kodi installations (Windows, Mac Linux), these functions include Power Management, and Network Management.
Using desktop mode
Chromium is included for web browsing and can be found in the start menu.
In Systems / Package Manager tools - you can install other applications for your specific needs.
Other Uses
KodiBuntu VNC Server
https://help.ubuntu.com/community/VNC/Servers
- Install x11vnc
- Set password
- x11vnc -storepasswd
- Test connection by running manual start command.
x11vnc -auth guess -forever -loop -noxdamage -repeat -rfbauth /home/USERNAME/.vnc/passwd -rfbport 5900 -shared
Have x11vnc start automatically via upstart in any environment (<=Utopic)
sudo nano /etc/init/x11vnc.conf
# description "Start x11vnc at boot"
description "x11vnc"
start on runlevel [2345]
stop on runlevel [^2345]
console log
respawn
respawn limit 20 5
exec /usr/bin/x11vnc -auth guess -forever -loop -noxdamage -repeat -rfbauth /home/USERNAME/.vnc/passwd -rfbport 5900 -shared