Compiling Kodi-Game
This tutorial will show you the necessary steps to compile and run with RetroPlayer from the Kodi-Game branch on an Ubuntu system.
Where do I start on Linux?
General and distribution specific guides on HOW-TO compile Kodi for Linux from source code is available in this whis, and there is also an up-to-date README for Ubuntu Linux available in the XBMC Foundation git repo on GitHub.
The recommended Linux development platform is currently 32-bit Ubuntu Desktop (for x86). The code can be obtained by cloning the xbmc git repository hosted on Github. First use your package manager to install git on your system and then execute the following command to clone your own repository:
git clone git://github.com/garbear/xbmc.git
After the clone has completed, follow the compilation/development guide in the new repository (README.linux) to setup the required packages and so on. Team Kodi developers opinion is that the best thing to start with is just to take a look through the source code and try to understand how it all fits together. Test things out, find what works and what does not, then try and track down why.
Alternatively, you can download VirtualBox and follow this guide to install the required software: Ubuntu Desktop (32-bit for x86). Besides from KDevelop, additional development tools that can be useful include Subcommander, Doxygen, Sysprof and PowerTop.
The performance of a virtual machine is not great as there is no 2D or 3D hardware acceleration support under a virtual machine, however it should work good enough to get a lot of development tasks done. Nice is also that you can install/run VirtualBox on Windows, OS X and Linux. The free VirtualBox also enables you to share data seamlessly between the virtual machine and host computer, and also allows you to directly access USB 2.0 devices from within the virtual machine. To improve the performance of your virtual machine, you can increase the number of cores on a multi-core system that is assigned to your virtual machine.
Compiling Kodi-Game branch and binary game add-ons
Start by following the steps in the Kodi compile HOW TO. The only difference is you will need to clone the RetroPlayer branch
git clone https://github.com/garbear/xbmc.git
It is recommended that you build add-ons out-of-tree (other compiling options are available here).
mkdir binary-addons
cd binary-addons

cmake -DADDONS_TO_BUILD="peripheral.joystick game.libretro game.libretro.nestopia" \
      -DCMAKE_BUILD_TYPE=Debug \
      -DCMAKE_INSTALL_PREFIX=$HOME/workspace/xbmc/addons \
      -DPACKAGE_ZIP=1 \
      $HOME/workspace/xbmc/project/cmake/addons

make
Run Kodi
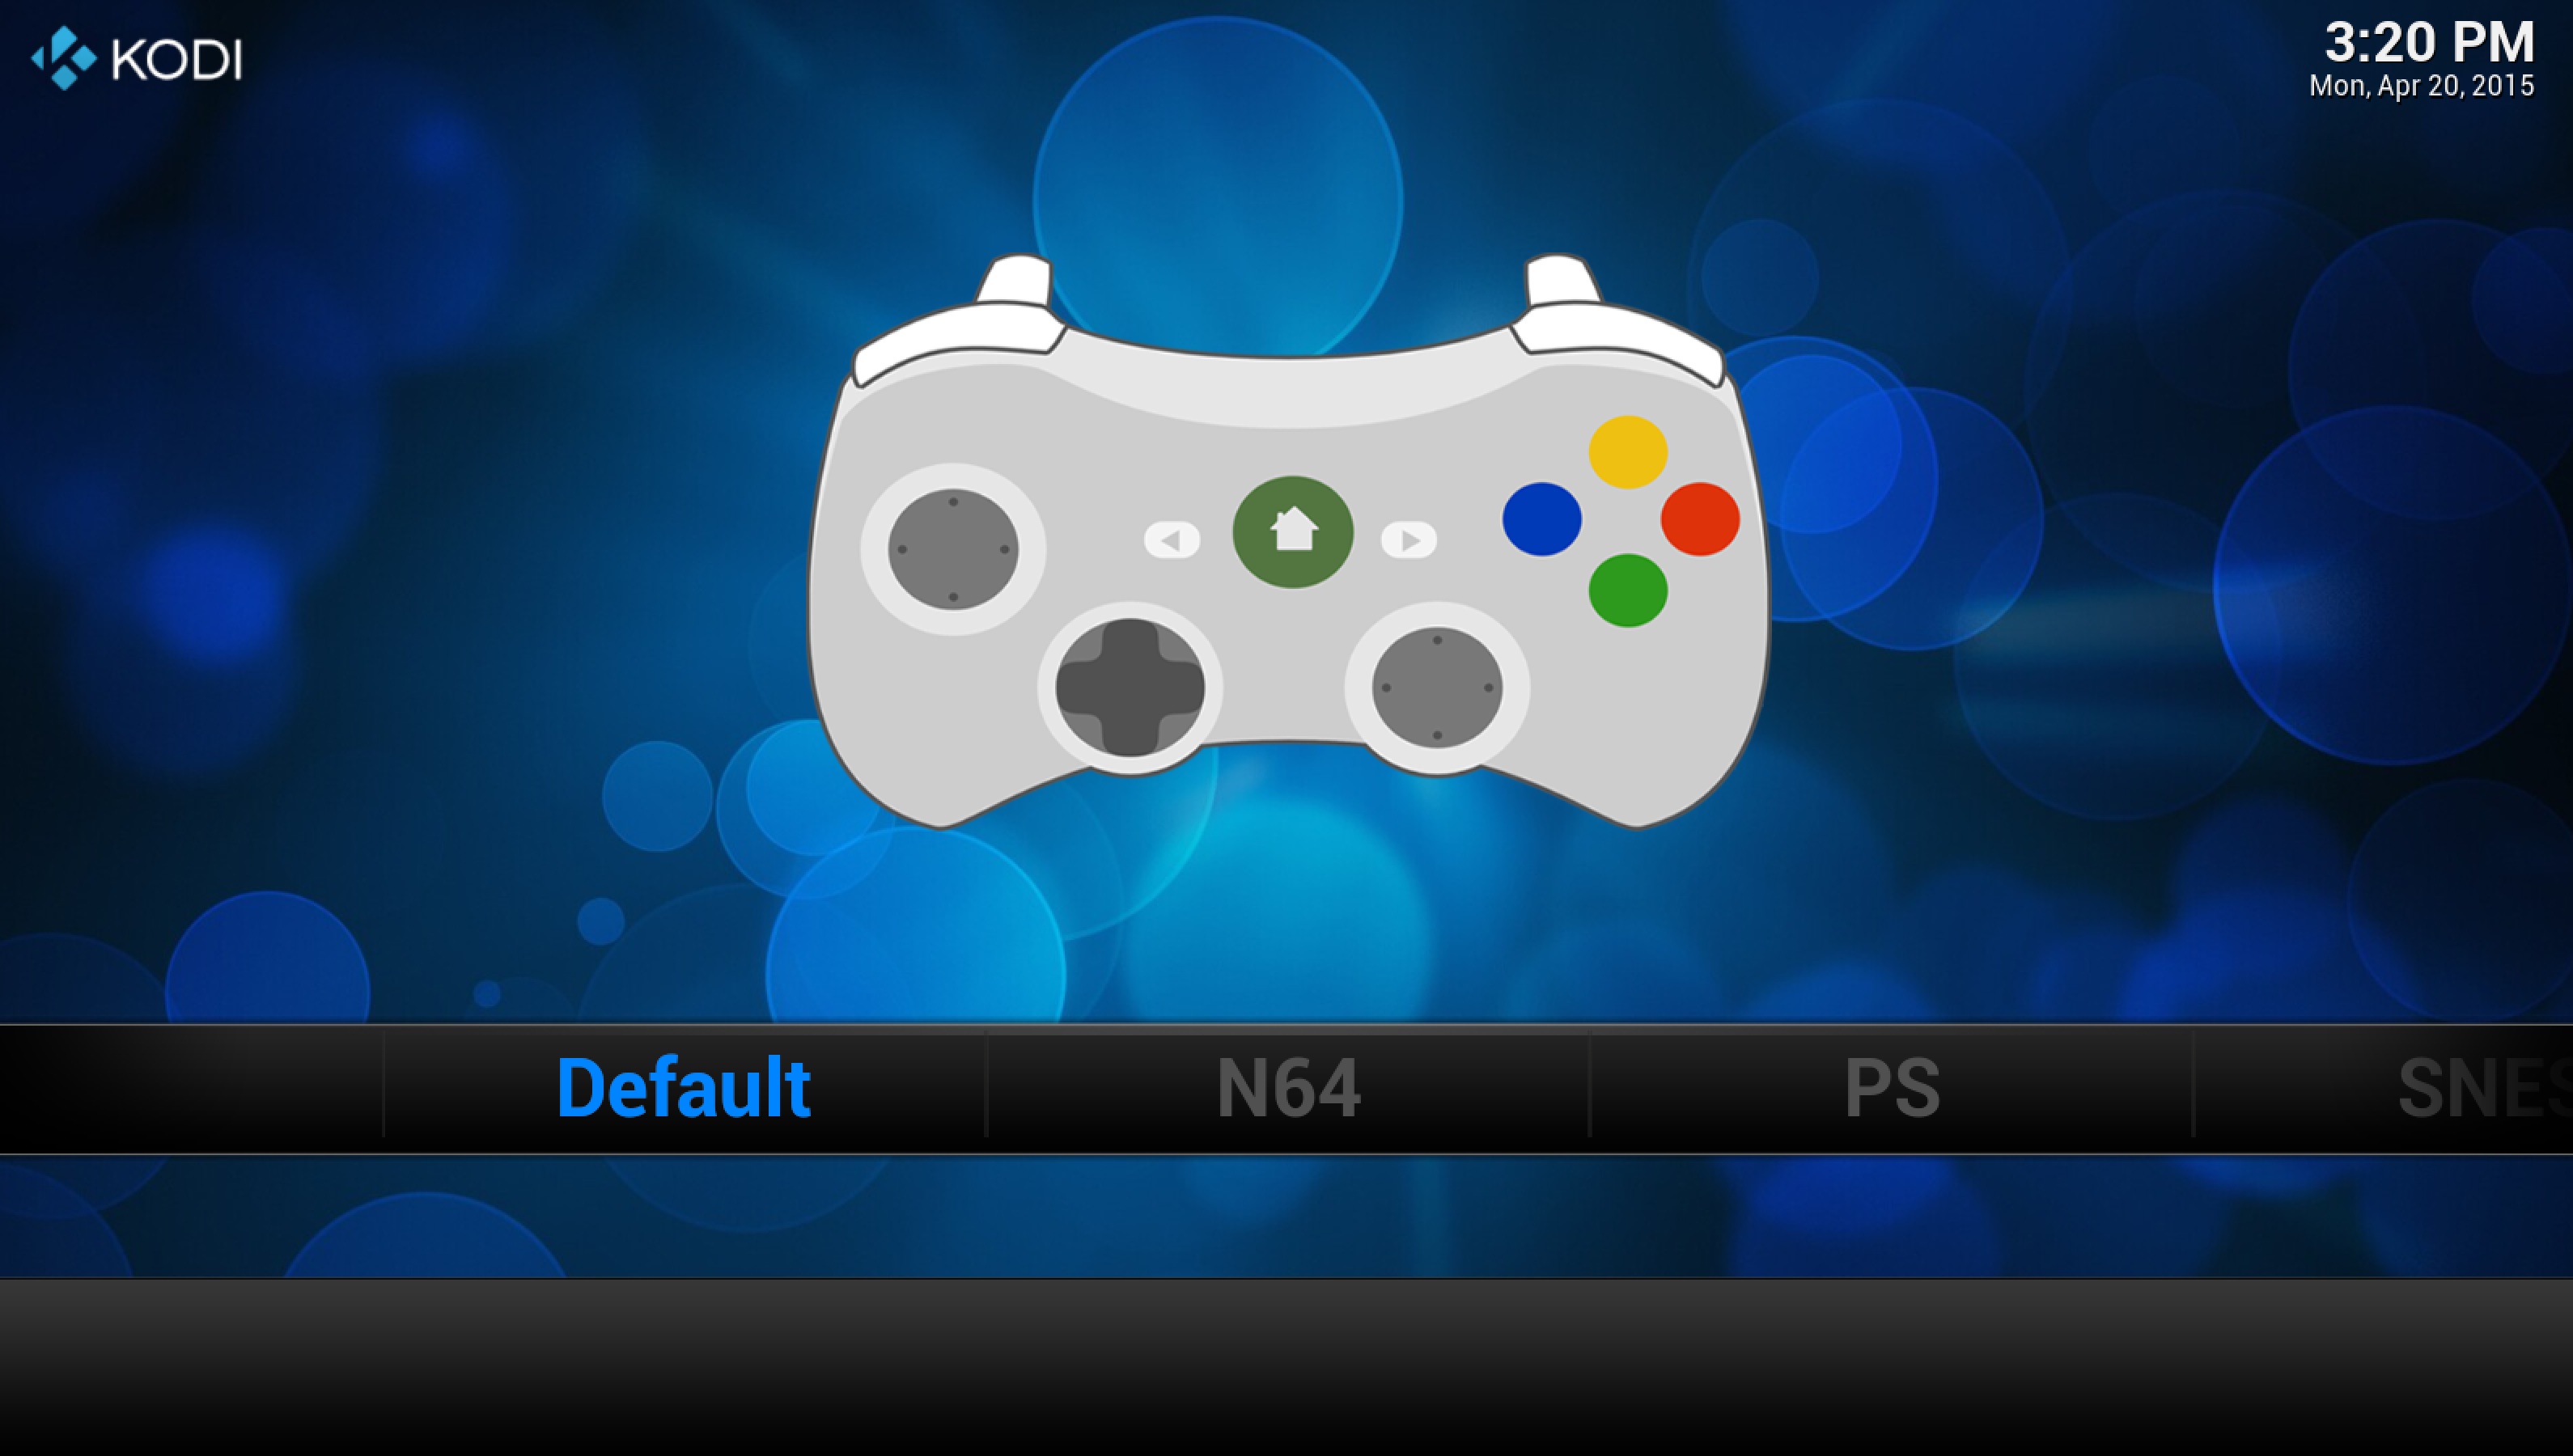
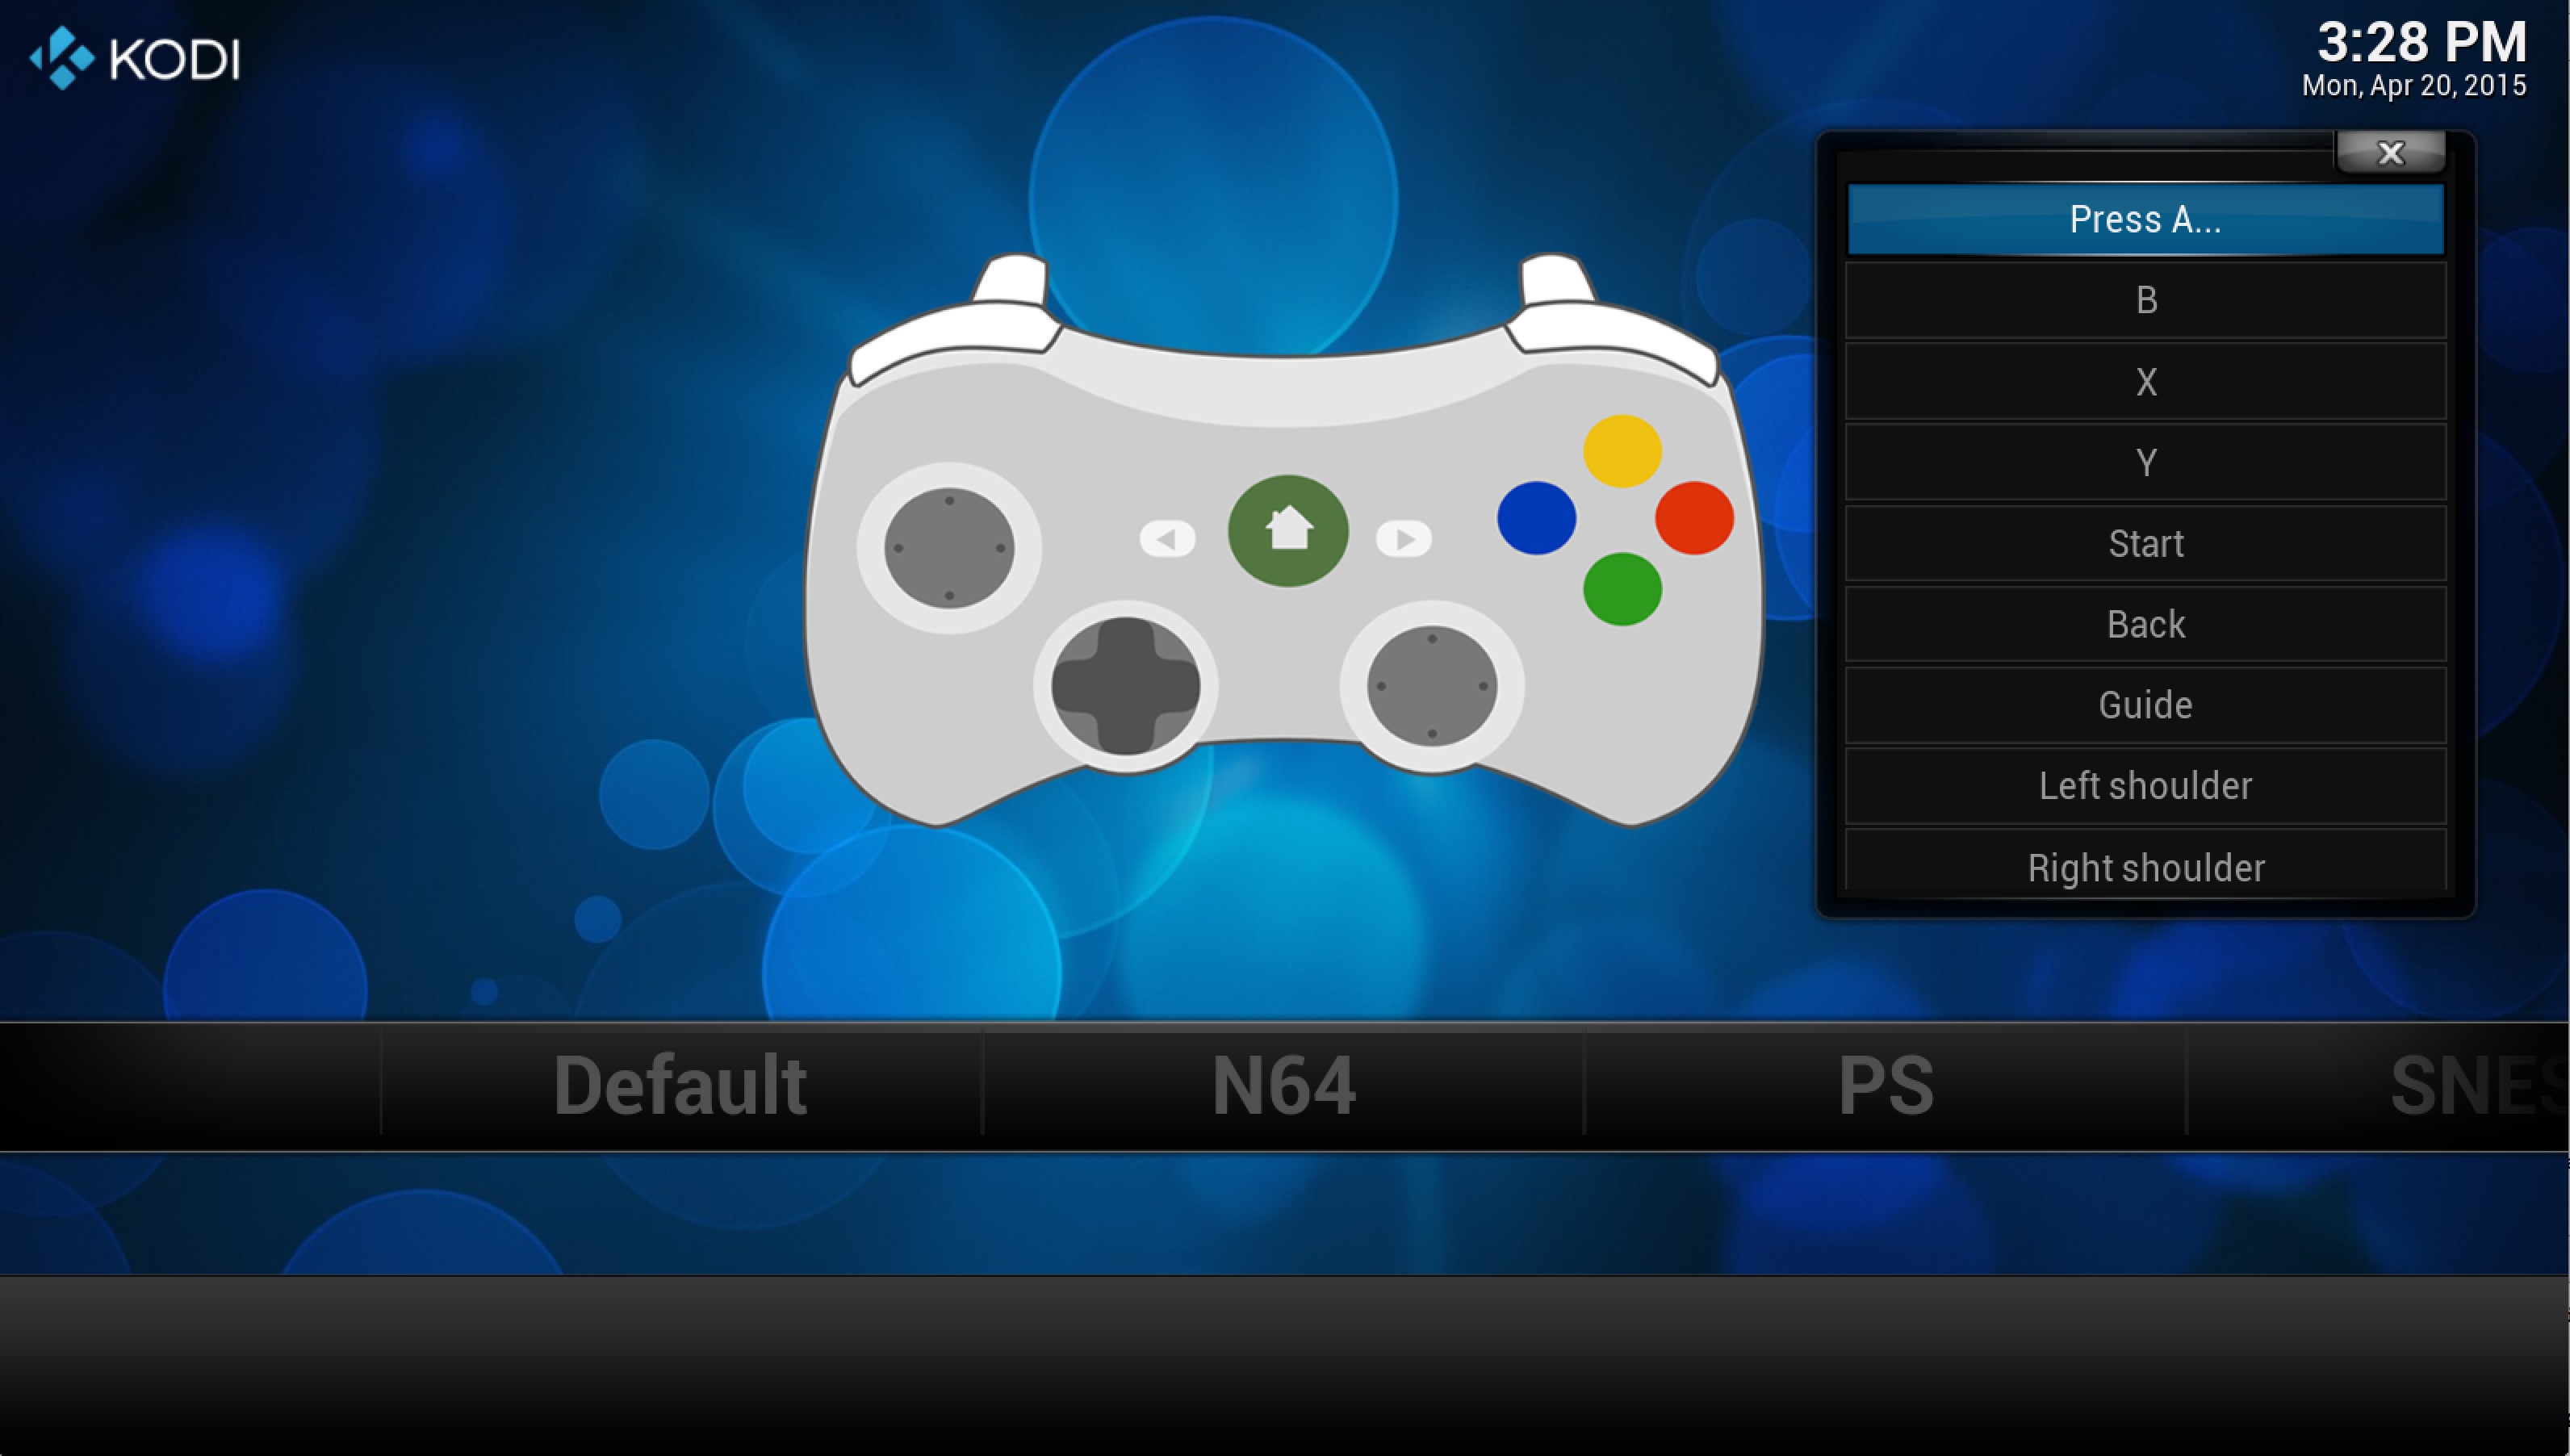
Until button map data has been gathered, input needs to be configured manually. Execute ActivateWindow(GameControllers) (which is mapped to "t" until the window can be launched from the GUI).
From here, choose a controller, choose a button, and then press the key, button, or trigger that should map to the button. To control Kodi with a physical controller, it will need to be mapped to the "Default" controller. To control NES emulators, the keyboard or controller needs to be mapped to the "NES" controller in the configuration utility.
Once you have mapped a keyboard or controller to an emulator's platform's controller, you can control that emulator.
If you have troubles following this guide please write to the forum or ask for help in the #kodi-game IRC channel. This page will then be updated to be more helpful.
See also
- Gaming in Kodi - Index of game related articles
- Game management - A guide to managing game files for and in Kodi
- Game playback controls - A guide that describes the player controls and menus for gaming in Kodi
- Game controllers - Guides for configuring gamepads and jooystick controllers in Kodi
- Game add-ons
- Game development - A guide to developing games for Kodi
- Compiling Kodi with RetroPlayer
- Game management - A guide to managing game files for and in Kodi

