Quick start guide: Difference between revisions
Gamester17 (talk | contribs) No edit summary |
(Updated for v18) |
||
| Line 123: | Line 123: | ||
{{updated| | {{updated|18}} | ||
[[Category:FAQ]] | [[Category:FAQ]] | ||
[[Category:Index]] | [[Category:Index]] | ||
Revision as of 06:30, 18 April 2019
Introduction
Hello and welcome to Kodi!!
Kodi is an award winning, open source, media centre that can play a wide variety of Music and Video formats in addition to viewing Live TV and using add-ons to further enhance your Kodi.
Kodi is designed with the Home Theater in mind using a 10 ft interface rather than on a small monitor while you sit at your desk. Because everything is designed with the home theater experience in mind, the best way to interact with Kodi is with a remote control, rather than a computer mouse. If it helps, think of Kodi as the ultimate DVD-player/set-top-box. Be aware that mouse functionality is limited.
This guide is designed to point you to the correct information that will assist in correctly setting up your Kodi. We strongly recommend you follow the guides to ensure the correct setup.
We strongly urge you to not follow the numerous YouTube video guides as nearly all those guides have been written with the single minded purpose of Piracy and Copyright Infringement. THERE IS NO SUPPORT FOR THAT HERE AT Kodi.
If you have not already downloaded and installed Kodi, return to the previous page and follow the installation instructions for your chosen operating system.
Wiki
The wiki (where you are now) holds a wealth of information. For both the new and intermediate user, the second row Kodi Menu on the wiki Main page is all that you will require. That particular row holds the information for the menu items as seen in Kodi. If you are not sure what a particular function does in Kodi, then choose the appropriate item in that row.
All the links on this page are accessible from the Main Page of the wiki.
Basic Controls
Read this page to familiarise yourself with the menu system and other screens in Kodi.
- See: Basic_controls
Library Mode
- Why do I need a library?
One of the features that makes Kodi so great is the ability to display all types of artwork and metadata (plots, directors, actors etc) in a visually stunning format.
The Libraries are accessed from the Main Menu using...
- Movies, TV Shows or Music Videos for the Video Library
- Music for the Music Library.
To use the numerous features that are only possible with a correctly setup library, then your video and/or music collections need to be added to the library to correctly function.
Kodi consists of two libraries - Music and Video. The following guides have been created to guide you through the setup process of both.

|
Guide to Create, Modify and Re-build your Video Library Kodi has the ability to create separate Movie, TV Show and Music Video libraries that can display your collections in an Artwork and information rich display. Follow these pages to step through the creation of your libraries. |

|
Guide to Create, Modify and Re-build your Music Library The aim of these modules is to provide the required information to enable you to correctly set up, modify, and reinstate your Music library as required. As this guide is created for the new user, most pages have been created with minimal jargon and short explanations in an effort to reduce information overload and confusion. Where extra information is provided, note is made to what can be safely ignored.
|
File Mode
If you do not want to create the libraries and take advantage of these features, then you can hide Menu items and access your media through the inbuilt file browser located from the main menu by selecting Videos then Files.
Be aware that using this mode, Kodi becomes a simple media player with limited functionality. There will be no extended artwork and no movie information amongst many other missing features which all require a library to function. In effect, Kodi is a simple file browser similar to Windows Explorer, and will simply allow you to browse your folders and files as set up on your hard drives.
Adding Pictures
The Pictures option allows you to add your home photo collection to Kodi which you can then easily display on your large, high definition TV screen.
Pictures does not yet use any library functions and is simply a file browser. If you set up either the video or music library, you will be familiar with setting up a source for pictures.
Adding Games
Note! Games support are not available before Kodi v18 Leia! The Games option allows you to add stand-alone games and games running in emulators which can be launch from Kodi.
Games does not yet use any library functions and is simply a file browser. New in Kodi v18 Leia is also many an input manager with many game controller settings for configuring gamepads, joysticks, keyboards, and mouses, for use inside those games/emulators that are running natively inside Kodi's runtime.
Using a remote control
Kodi is primarily designed for the home theatre using the 10-foot user interface principles controlled with a remote control. Alternatively a (wireless) keyboard can be used.
Kodi add-ons
An Add-on is another piece of software that can be added to a program to further expand and enhance the features of that program. Imagine a smart phone and all the additional Apps that can be installed to enhance its functionality. Kodi has the same ability and these apps are referred to as Add-ons. Kodi has a growing list of community driven add-ons which can be installed from a common official repository, while still enabling third-party developers to also host their own unofficial repositories for add-ons that any user can choose to add themselves.
Changing Skins
Most other media players come with a single type of menu interface. Picture your dvd player or your set top box with it's basic menu system. Kodi has the ability to change its user interface (skin) to something that suits your taste. There are over 40 skins to choose from, each with their own attractions and features. Feel free to explore...
To get new skins, go to: Settings → Interface settings → Skin → Skin - Estuary
You will be provided a list of currently installed skins and an option to "Get More..." where you can download additional skins.
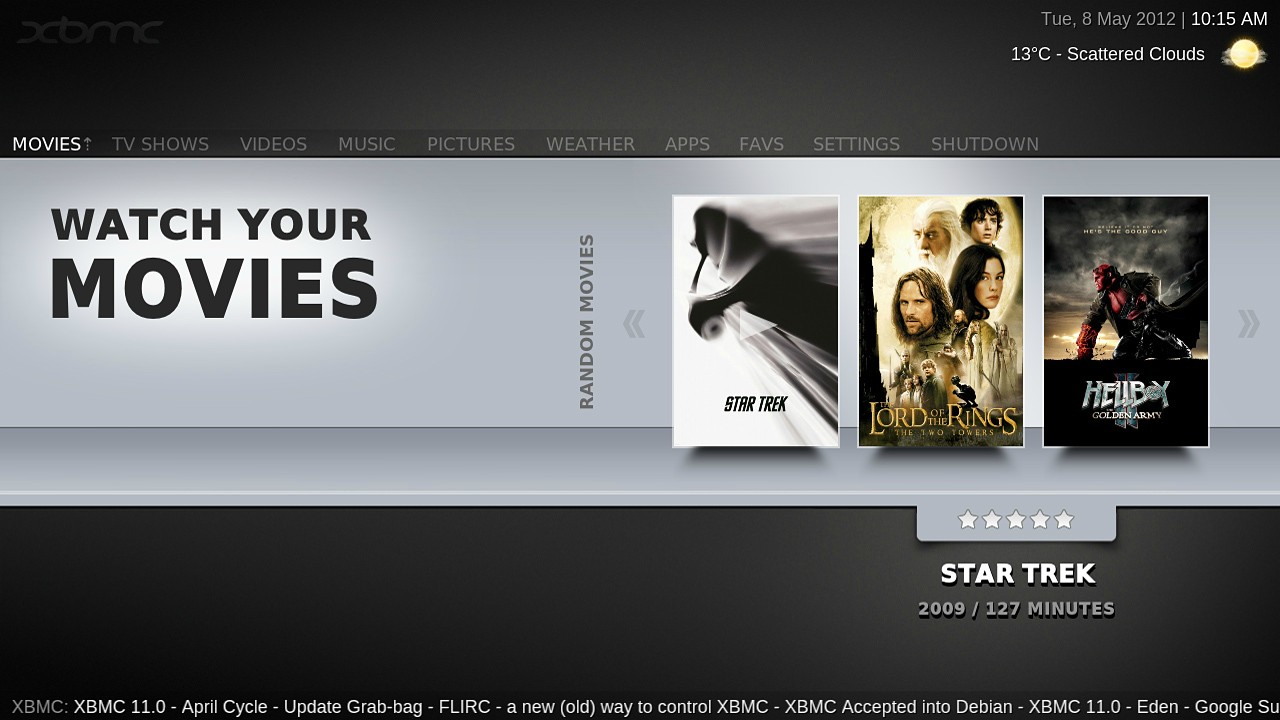
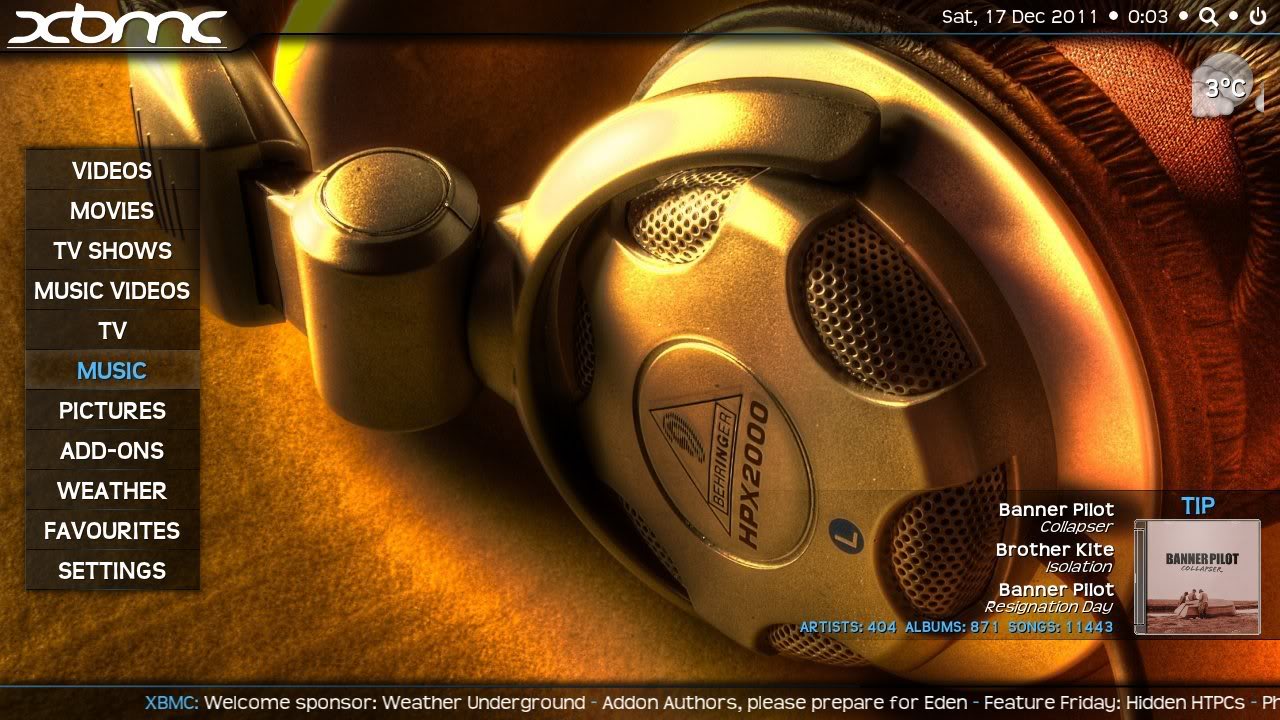
Preview images of a few skins...
- The same home screen using different skins

Estuary - default skin, Kodi 17 & above
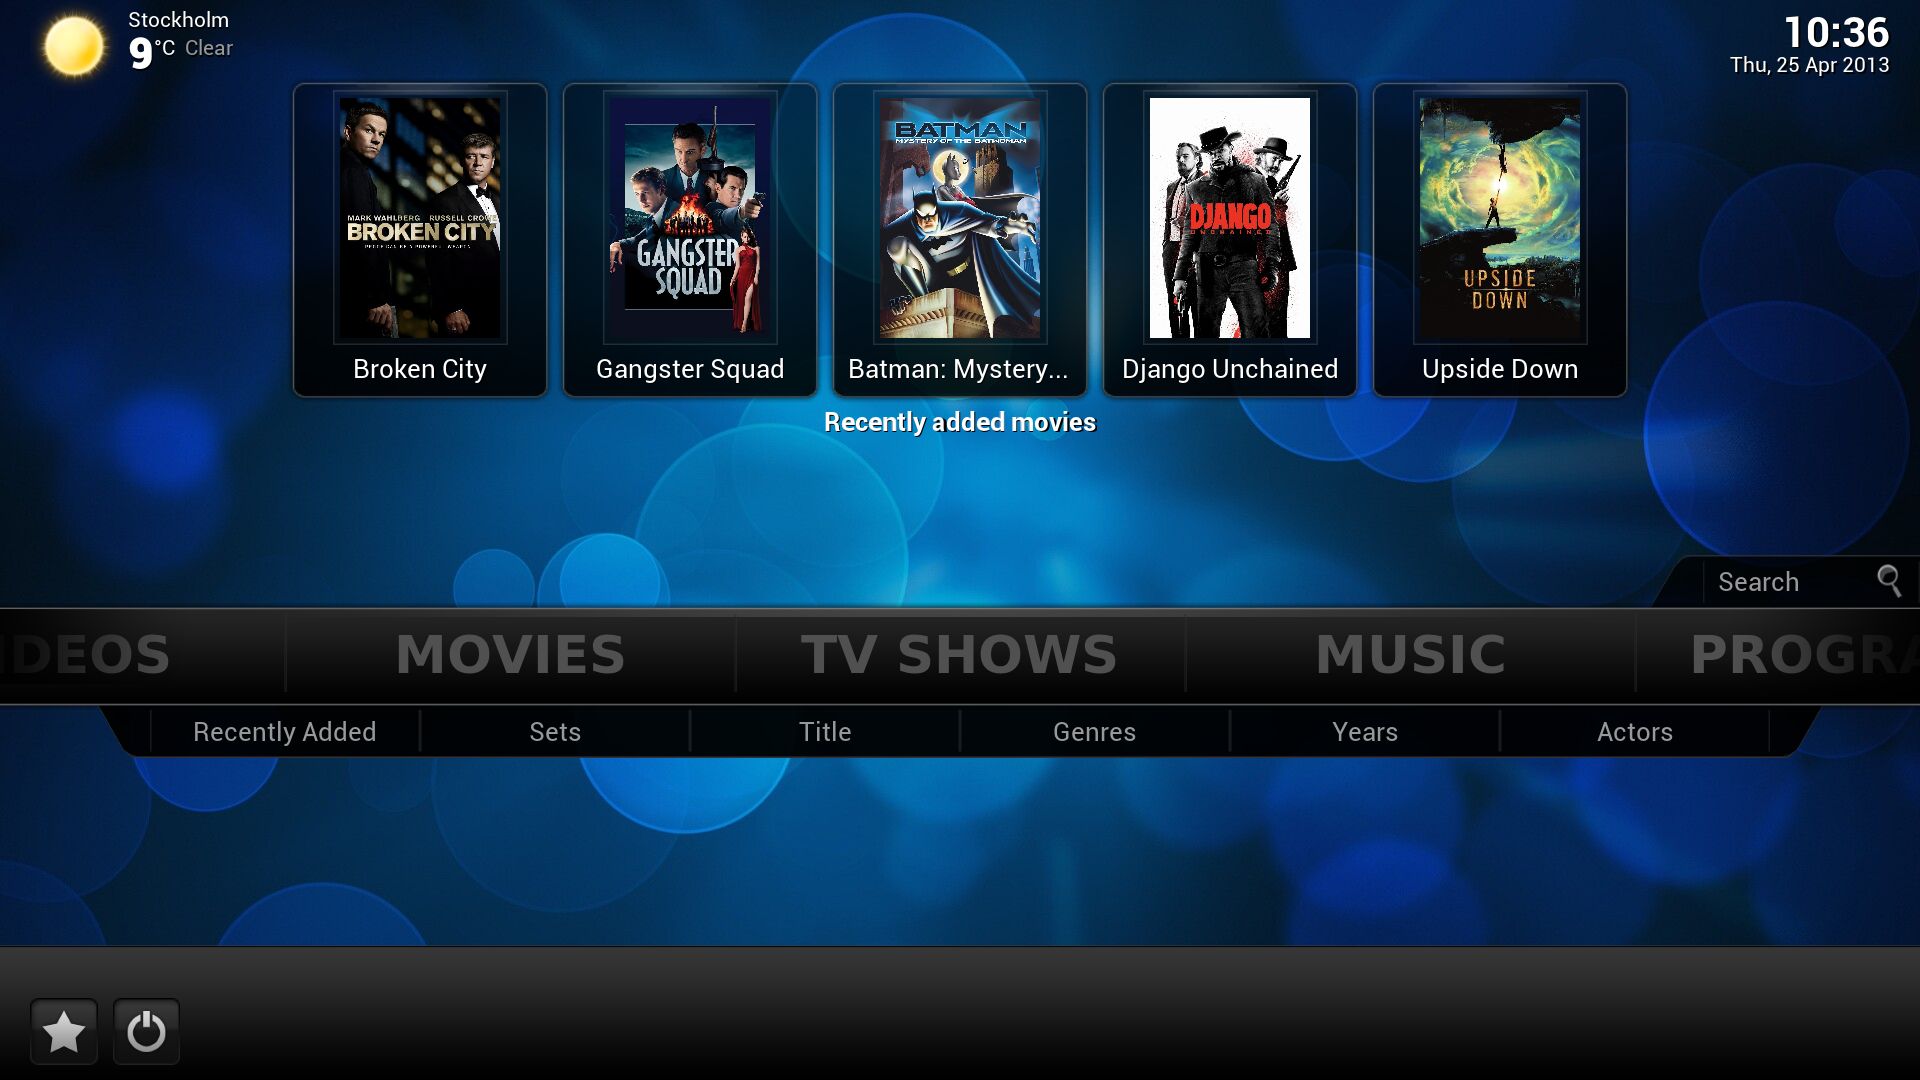
Confluence - default skin, Kodi 16 & below
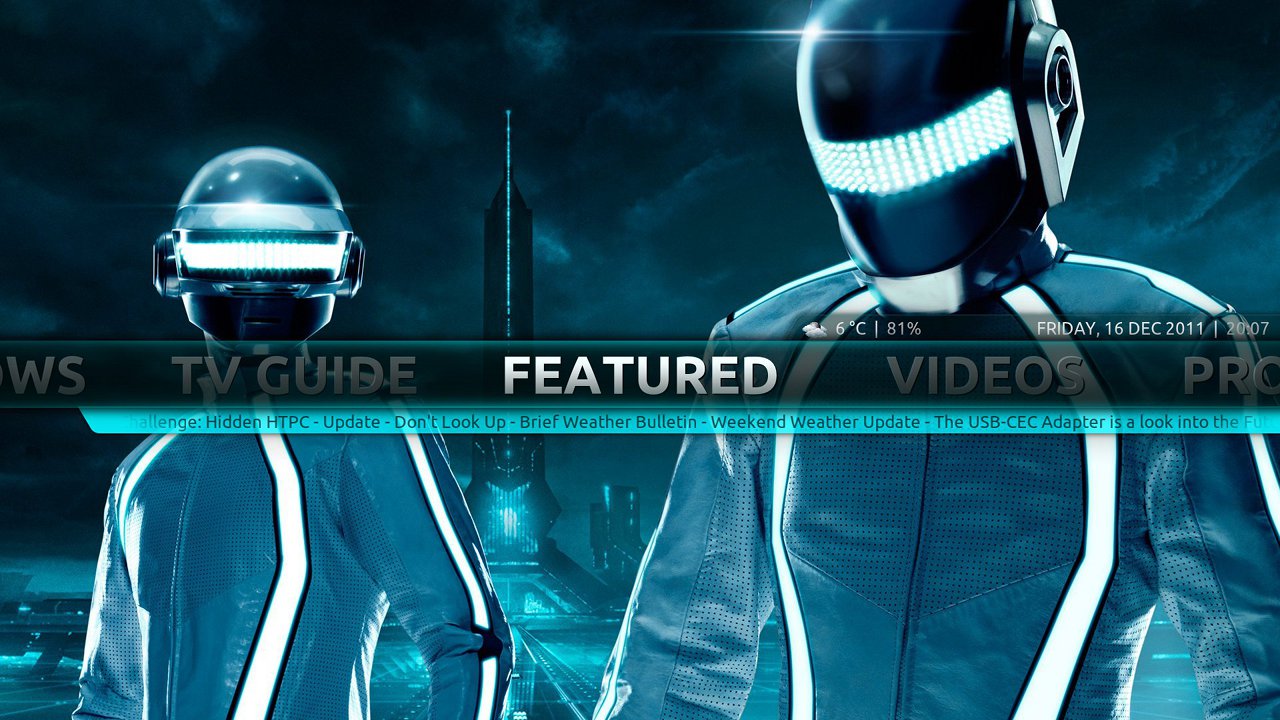
Aeon Nox
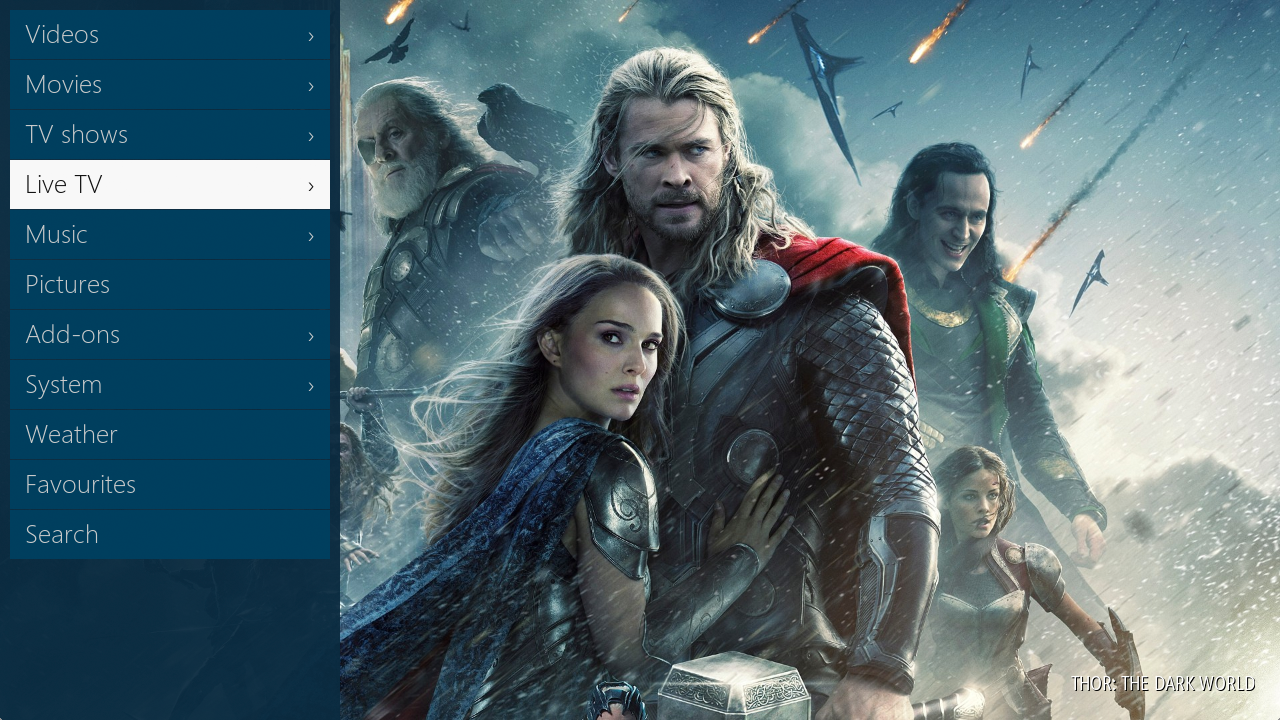
ReFocus
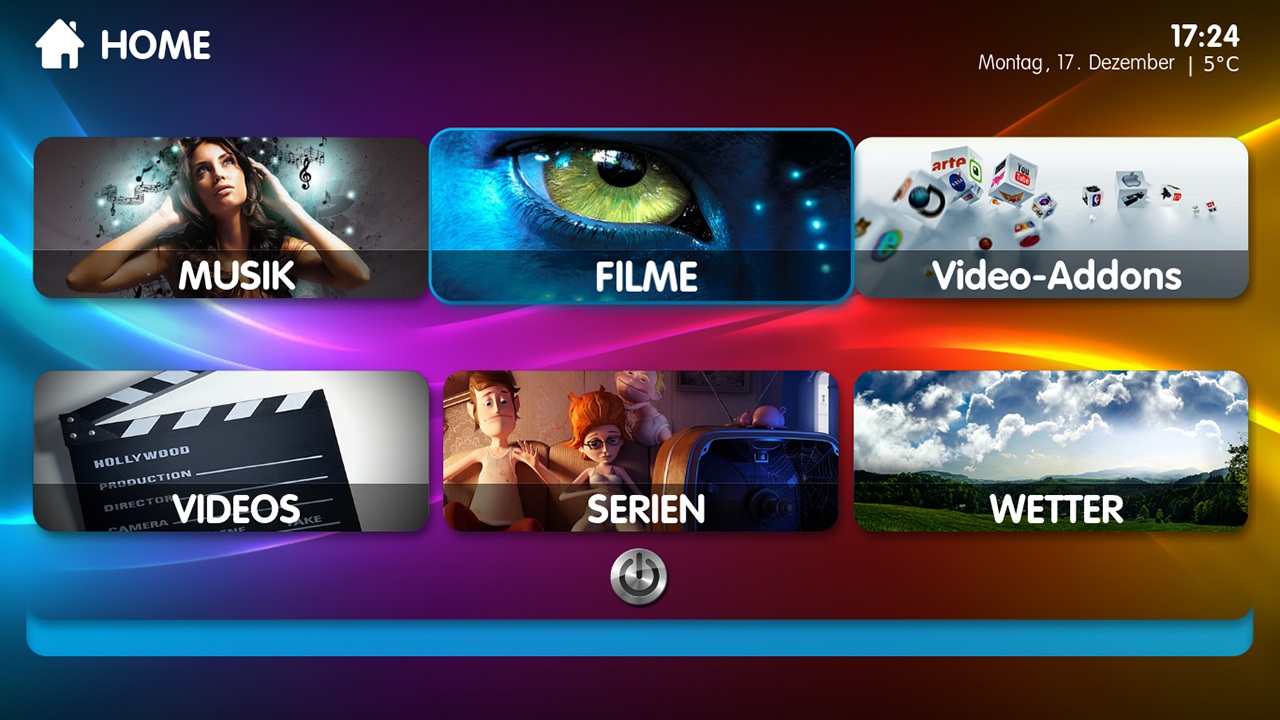
Titan
Welo
Transparency

Rapier

Mimic


| Return to top |
|---|
| Next step: | Video Library Main Menu |
| Next step: | Music Library Main Menu |