Weather: Difference between revisions
No edit summary |
(Updated for v20) |
||
| Line 1: | Line 1: | ||
{{Mininav|Add-ons}} | {{Mininav|Add-ons}} | ||
{{See also|Settings/Services/Weather|label 1=Weather settings}} | |||
Kodi uses add-ons to provide weather information. You can select from various global and regional weather add-ons and customize various location options. | Kodi uses add-ons to provide weather information. You can select from various global and regional weather add-ons and customize various location options. | ||
== Installation == | == Installation == | ||
The installation of a Weather add-on is required | The installation of a Weather add-on is required to display weather information within the Kodi interface. | ||
To install a weather add-on, follow these steps: | |||
<gallery mode="packed | |||
Services weather.JPG| | <gallery mode="packed" heights="260px" caption="What you'll see in Settings (using the default [[Add-on:Estuary|Estuary]] skin)"> | ||
Weather01.jpg| | Services weather.JPG|Image 1 | ||
Weather02.jpg| | Weather01.jpg|Image 2 | ||
Weather02.jpg|Image 3 | |||
</gallery> | </gallery> | ||
# Access the Weather Settings page | # Access the Weather Settings page from {{Highlight|[[Settings/Services/Weather|'''Settings ▶ Services ▶ Weather''']]|bordered=yes}}. (Image 1) | ||
# | # Select '''Service for weather information'''. (Image 1) | ||
# If no add-ons are listed, select '''Get more...''' ( | # If no add-ons are listed, select '''Get more...''' (Image 2) | ||
# From the '''Get more...''' screen, select your preferred provider. ( | # From the '''Get more...''' screen, select your preferred provider. (Image 3) | ||
# Once you have selected a Weather add-on to install, enter the '''Settings''' option shown in Image 1 (no longer disabled once a Weather add-on is installed and available for use) and enter the required location and service details. | # Once you have selected a Weather add-on to install, enter the '''Settings''' option shown in Image 1 (no longer disabled once a Weather add-on is installed and available for use) and enter the required location and service details. | ||
# Upon completion, you will be able to access the complete weather information from the {{Kodi}} main menu and see it displayed more compactly on various pages throughout Kodi according to the skin you're using. | # Upon completion, you will be able to access the complete weather information from the {{Kodi}} main menu and see it displayed more compactly on various pages throughout Kodi according to the skin you're using. | ||
== Currently available<span class="anchor" id="Available Add-ons"></span> == | == Currently available<span class="anchor" id="Available Add-ons"></span> == | ||
The following weather addons are available in the {{kodi}} repository | |||
<dpl> | |||
category = Nexus_add-on_repository | |||
category = Weather_add-ons | |||
notcategory = Outdated | |||
</dpl> | |||
| Line 47: | Line 47: | ||
{{Updated|20}} | |||
[[Category:Karellen]] | [[Category:Karellen]] | ||
[[Category:Settings]] | [[Category:Settings]] | ||
[[Category:Weather_add-ons|*]] | |||
Revision as of 09:08, 19 January 2023
Kodi uses add-ons to provide weather information. You can select from various global and regional weather add-ons and customize various location options.
Installation
The installation of a Weather add-on is required to display weather information within the Kodi interface.
To install a weather add-on, follow these steps:
- What you'll see in Settings (using the default Estuary skin)
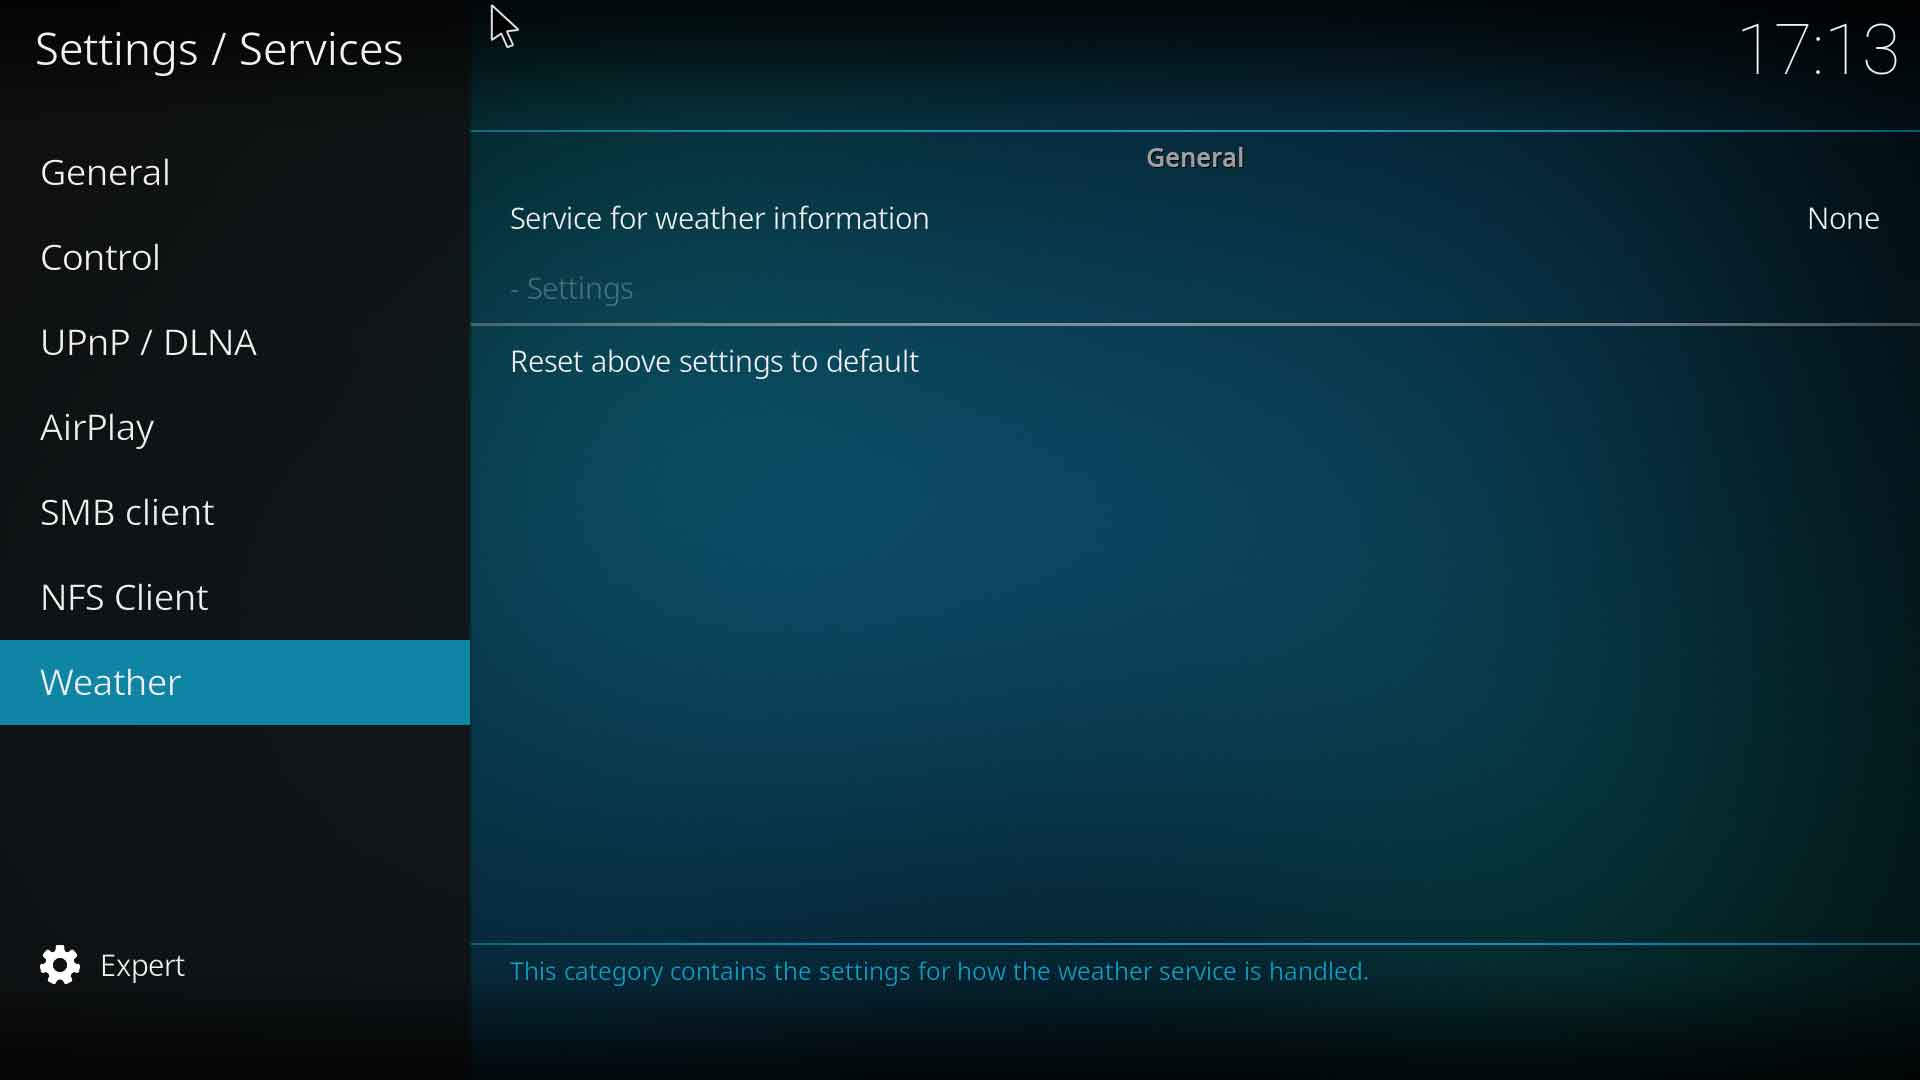
Image 1
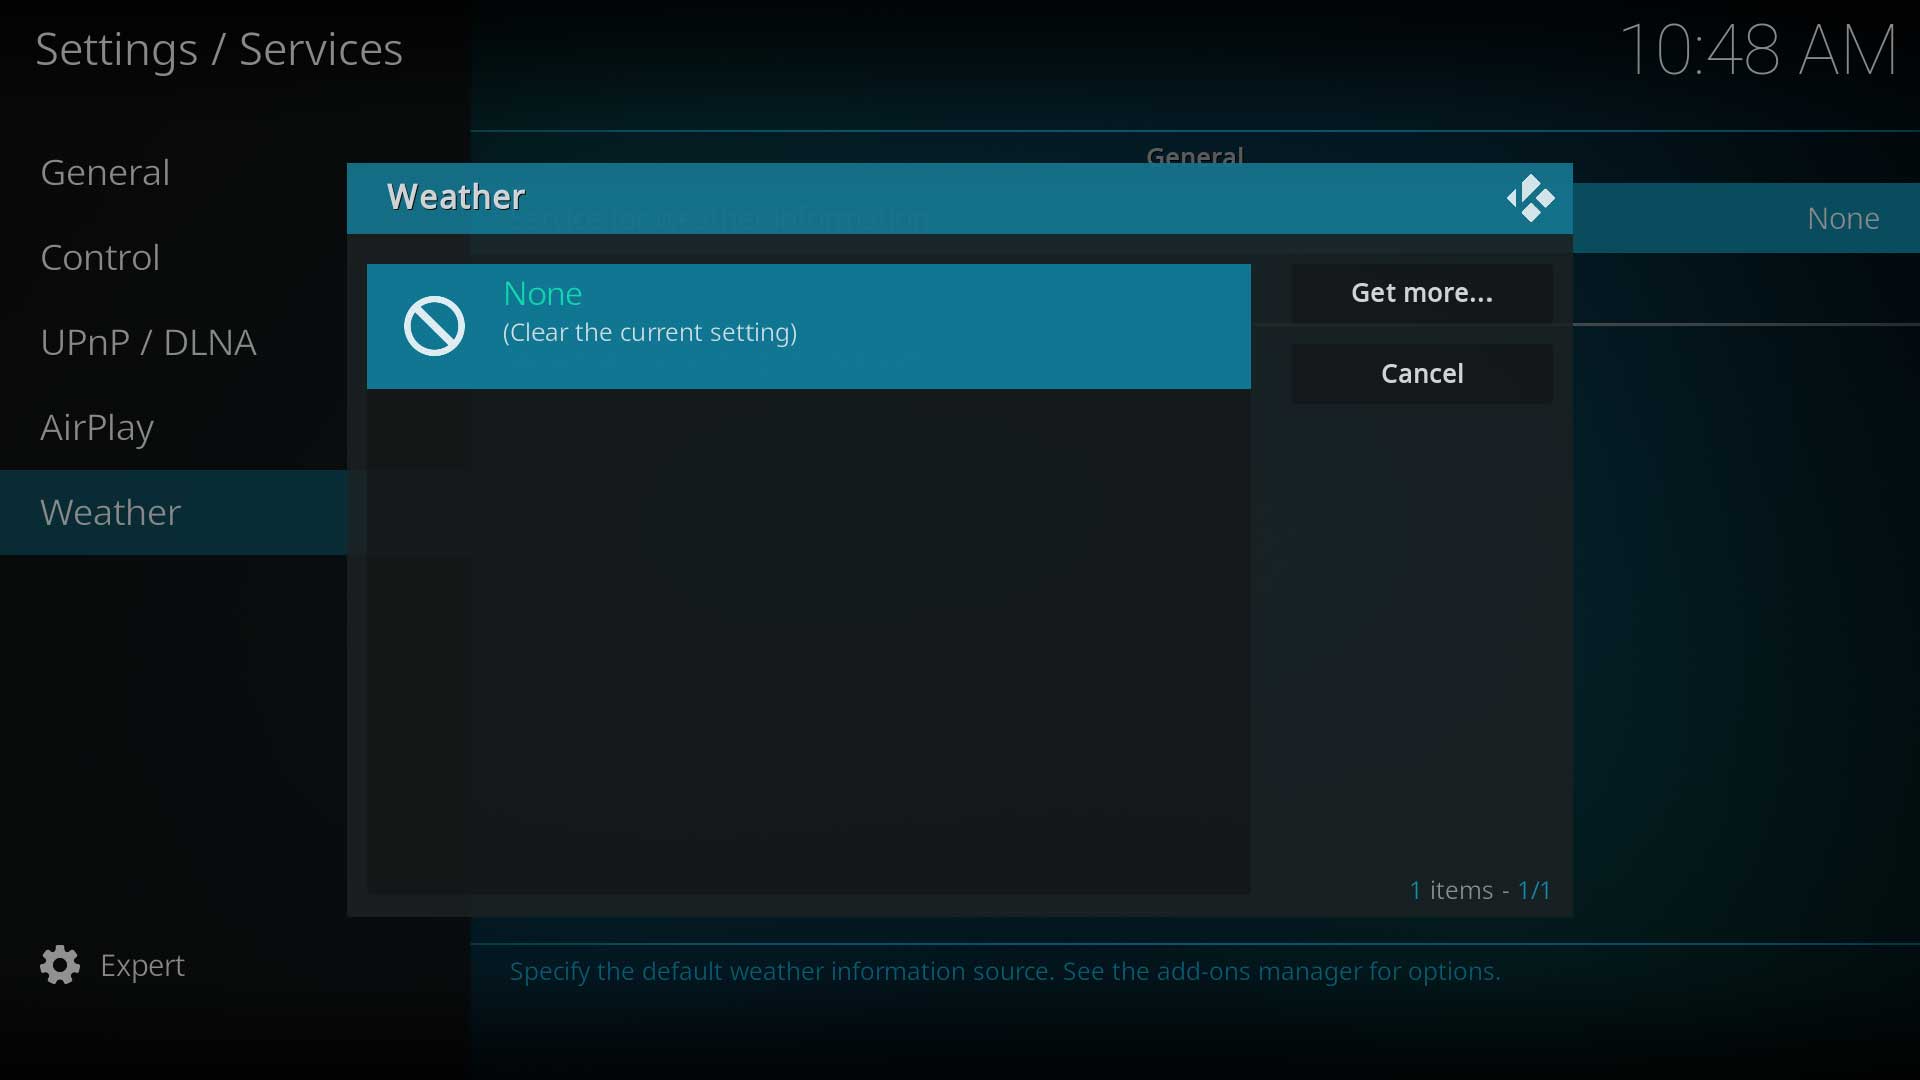
Image 2
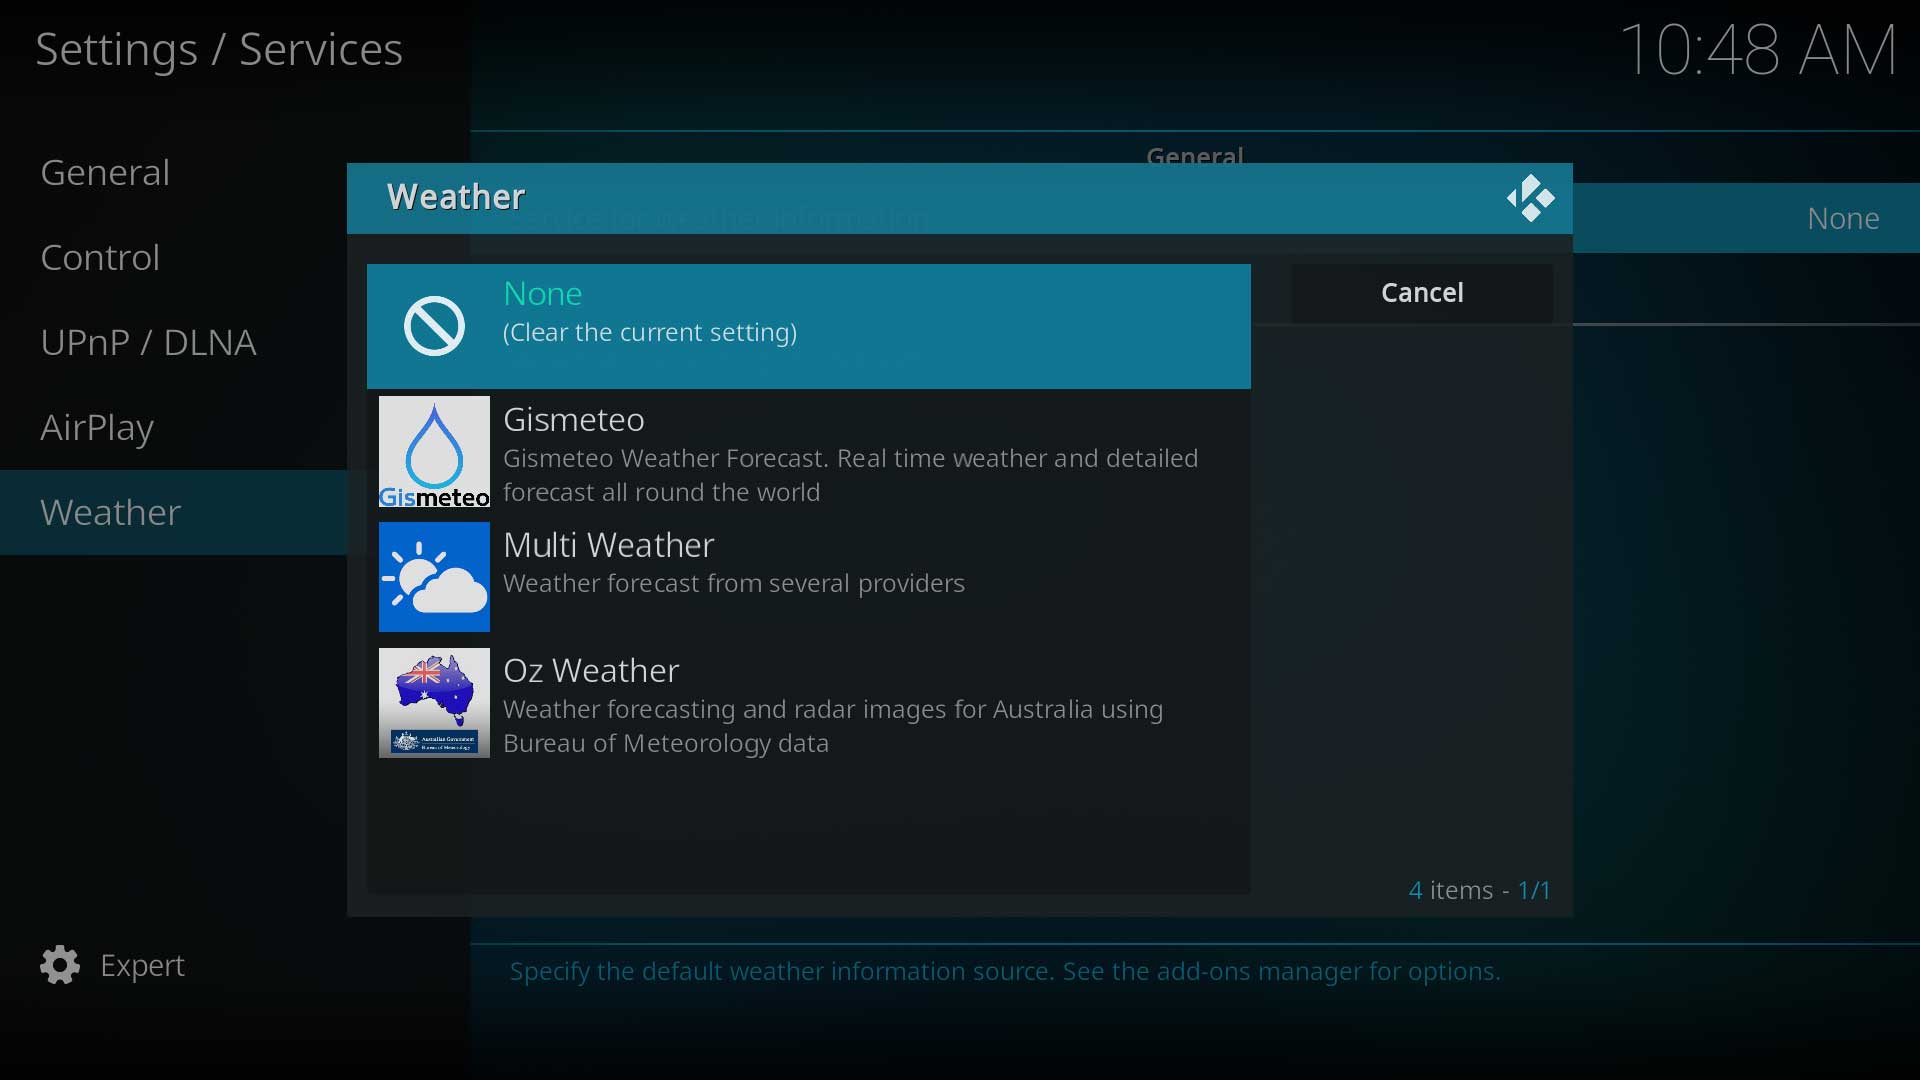
Image 3


- Access the Weather Settings page from Settings ▶ Services ▶ Weather. (Image 1)
- Select Service for weather information. (Image 1)
- If no add-ons are listed, select Get more... (Image 2)
- From the Get more... screen, select your preferred provider. (Image 3)
- Once you have selected a Weather add-on to install, enter the Settings option shown in Image 1 (no longer disabled once a Weather add-on is installed and available for use) and enter the required location and service details.
- Upon completion, you will be able to access the complete weather information from the Kodi main menu and see it displayed more compactly on various pages throughout Kodi according to the skin you're using.
Currently available
The following weather addons are available in the Kodi repository
Temperature units
To change between Celsius and Fahrenheit temperature units go to Settings ▶ Interface Settings ▶ Regional, then select your location under Region default format or change the Temperature unit setting directly to your preference.
Artwork
The default skin Estuary, as well as other skins, support fanart backgrounds that can be installed from the Official add-on repository. Other skins may additionally support a user's own collection of weather fanart.
To install a weather fanart pack in Estuary, go to Settings ▶ Interface ▶ Skin ▶ Configure skin... ▶ Artwork and select Choose weather fanart pack. If none are available, you can once again use the Get more... button to download some.
Estuary only uses the default installed weather icons pack and there is no option to change this. Other skins may have the option to change weather icons. These can be installed either from the skins settings pages or activating a new icon pack from Settings ▶ Add-ons ▶ Install from repository ▶ Look and feel ▶ Image collections.
Installing either of these may require a restart of Kodi if they do not display immediately.