MySQL: Difference between revisions
Jump to navigation
Jump to search
mNo edit summary |
|||
| (189 intermediate revisions by 14 users not shown) | |||
| Line 1: | Line 1: | ||
{{ | {{divbox|orange||<big>'''NOTICE:''' This is considered an advanced (complicated) and experimental feature.</big>}} | ||
{{divbox|red||{{huge|'''NOTICE:''' Every {{kodi}} "client" '''must''' run the same version of {{kodi}}.}}<br />Otherwise they will not be sharing the same library. There can even be differences between [[development builds]], so make sure you always use the same build dates. See '''[[Databases#Database_Versions|Version table]]''' for more info. }} | |||
{{:MySQL/Contents}} | |||
{{See also|Databases}} | |||
= | [[File:Network.png|200px|left]] | ||
;<big><u>Introduction</u></big> | |||
<section begin="intro"/>If you have more than one {{kodi}} device on your local network then you might want to synchronize them by sharing the Kodi library databases via the MySQL protocol. Using shared library databases allows you to store information for either your video or music library in a central database, so that multiple devices can access the same information at the same time.<section end="intro"/> | |||
This gives you the ability to do things like: | |||
* Share watched and unwatched status for your media on all devices | |||
* Stop watching a movie or TV show in one room then finish watching it in another room automatically | |||
* Only one library to maintain for all devices | |||
{{-}} | |||
= | ;{{big|MySQL Protocol & MariaDB}} | ||
MySQL can | <section begin="MariaDB" />When setting up shared Library databases either MySQL or MariaDB can be used as they both use the same MySQL protocol. Since many Linux distributions have dropped including MySQL and now instead now ship MariaDB, it is being more common to use MariaDB for shared Library databases.<section end="MariaDB" /> | ||
{| | {{next|[[MySQL/Setting up MySQL|Setting up MySQL]]}} | ||
| | |||
{{Updated|16}} | |||
{{ | |||
[[Category:How-to]] | [[Category:How-to]] | ||
[[Category:File | [[Category:File sharing]] | ||
[[Category:Guides]] | |||
[[Category:Advanced topics]] | |||
Latest revision as of 04:51, 23 January 2022
|
Share libraries w/MySQL, guide: |
See also: Databases

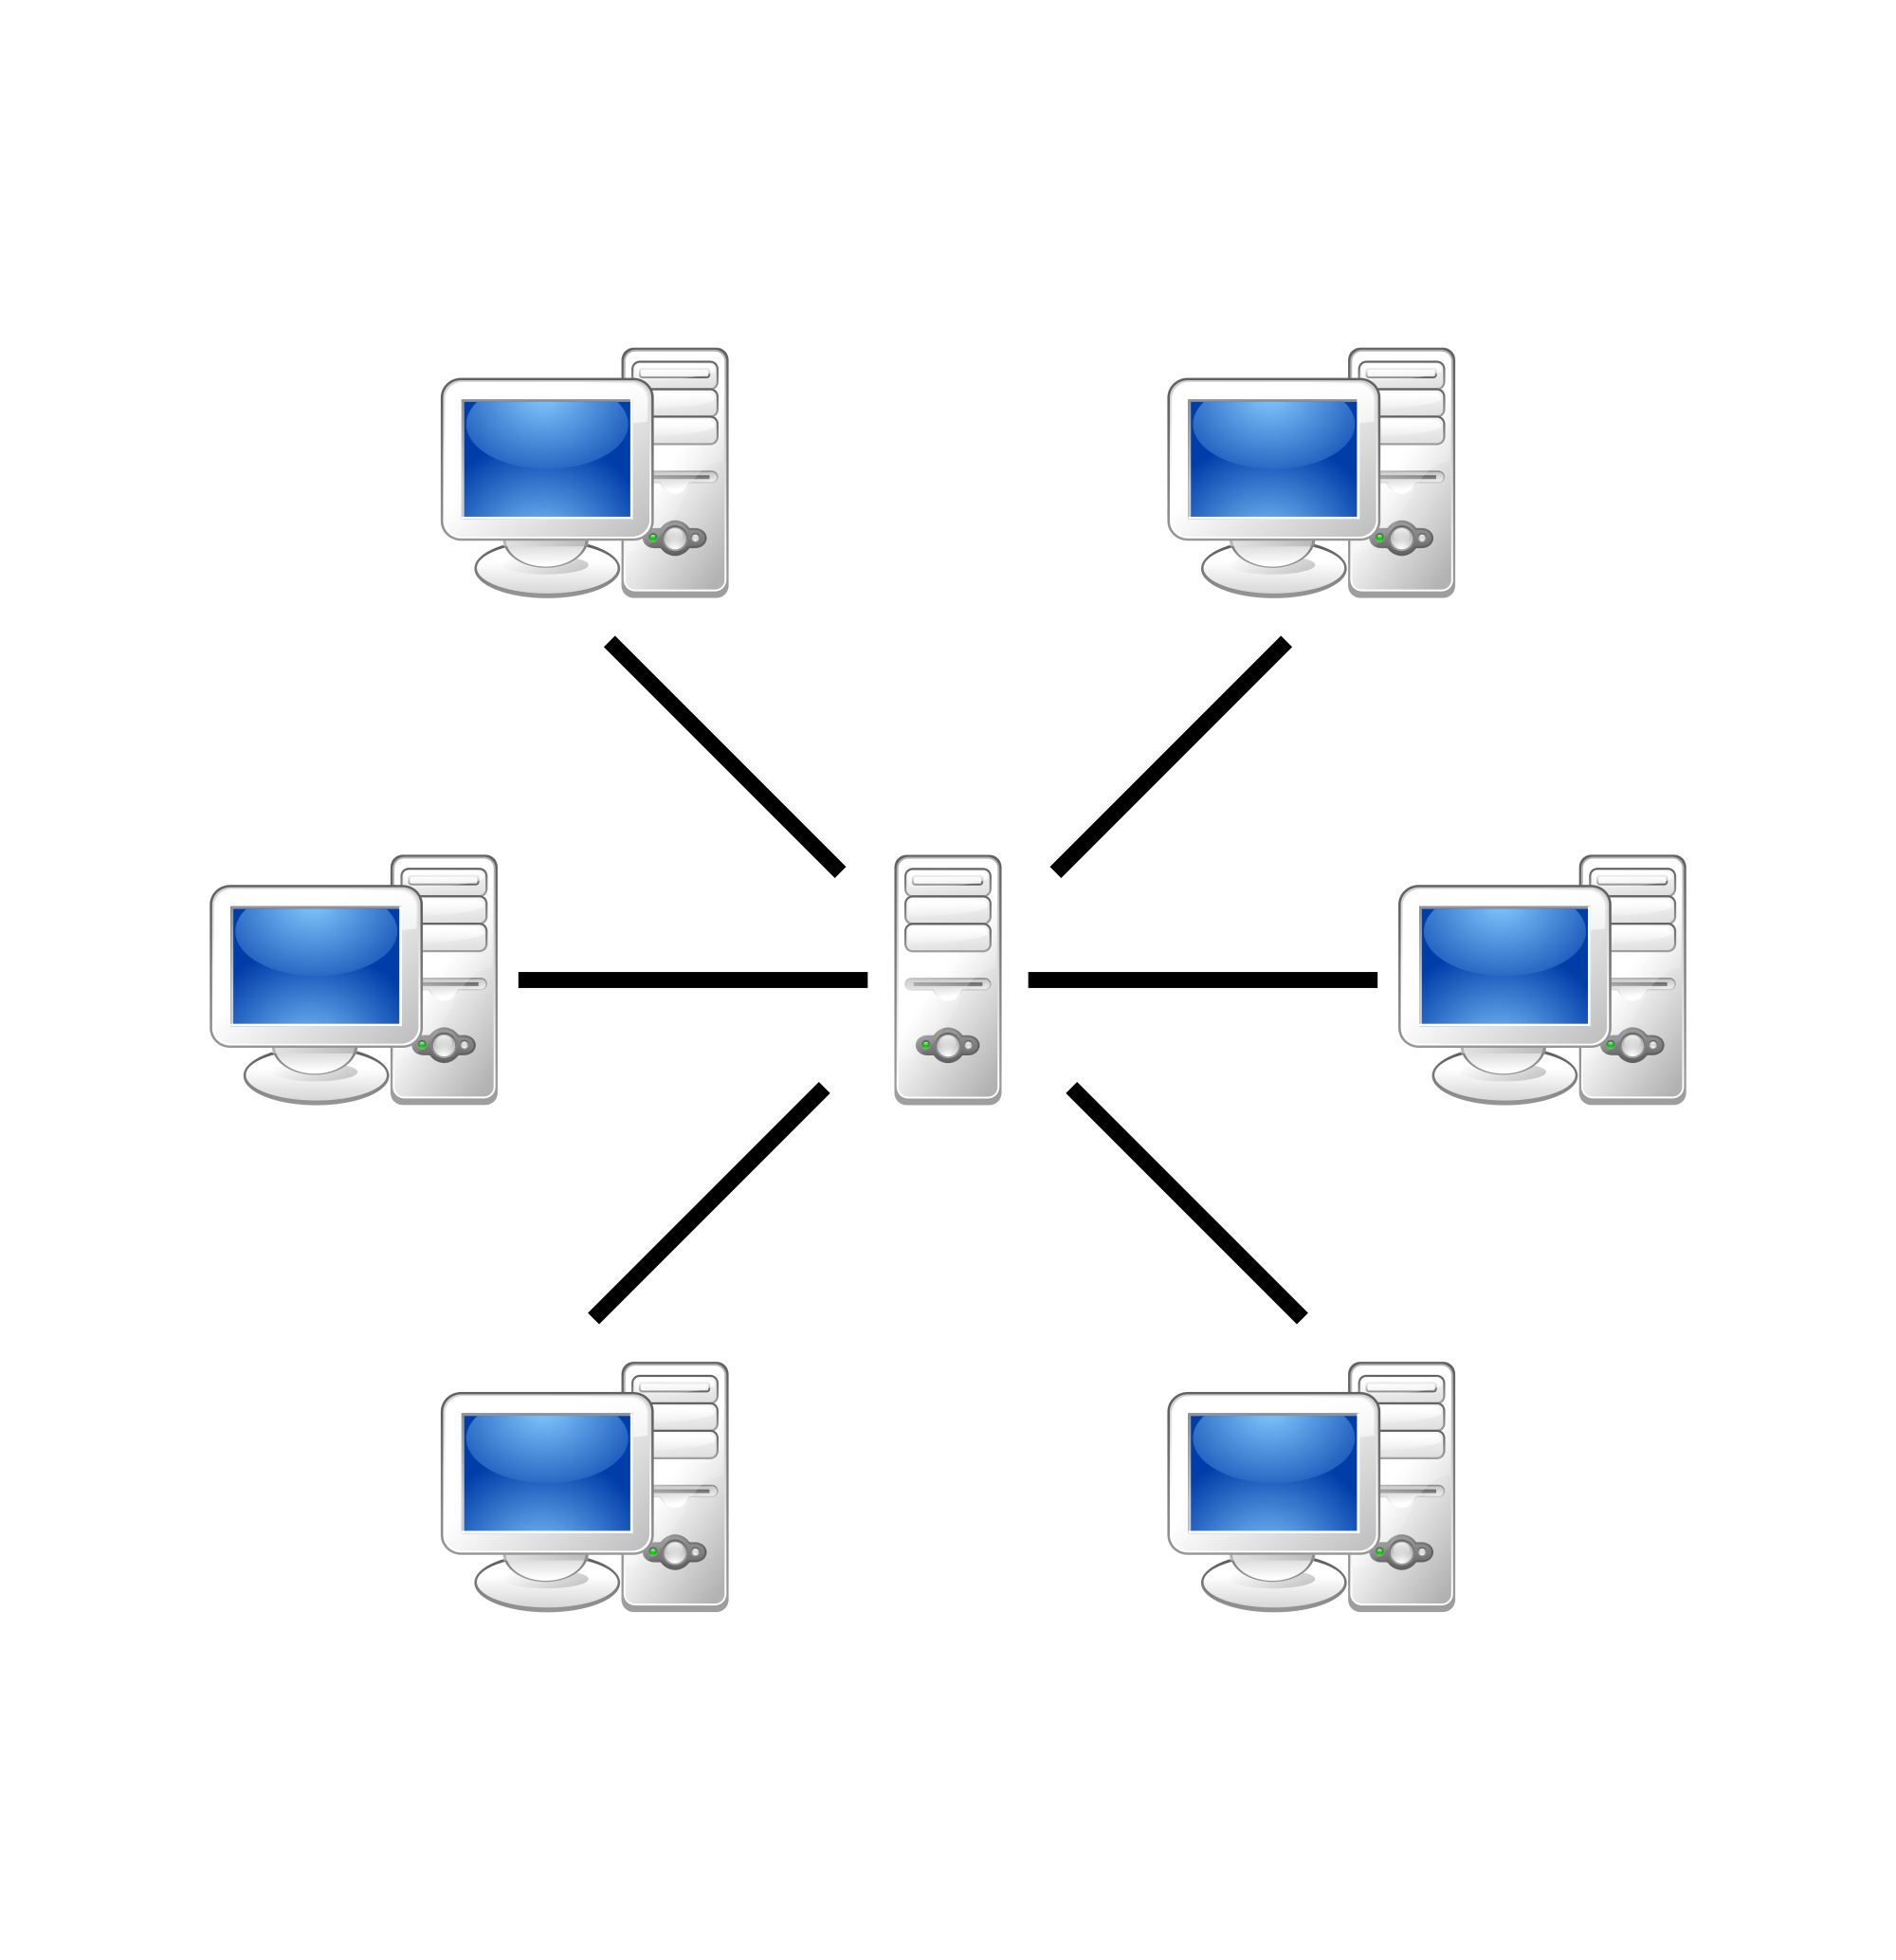
- Introduction
If you have more than one Kodi device on your local network then you might want to synchronize them by sharing the Kodi library databases via the MySQL protocol. Using shared library databases allows you to store information for either your video or music library in a central database, so that multiple devices can access the same information at the same time.
This gives you the ability to do things like:
- Share watched and unwatched status for your media on all devices
- Stop watching a movie or TV show in one room then finish watching it in another room automatically
- Only one library to maintain for all devices
- MySQL Protocol & MariaDB
When setting up shared Library databases either MySQL or MariaDB can be used as they both use the same MySQL protocol. Since many Linux distributions have dropped including MySQL and now instead now ship MariaDB, it is being more common to use MariaDB for shared Library databases.
| Next step: | Setting up MySQL |