Archive:UPnP/Media source: Difference between revisions
mNo edit summary |
mNo edit summary |
||
| Line 19: | Line 19: | ||
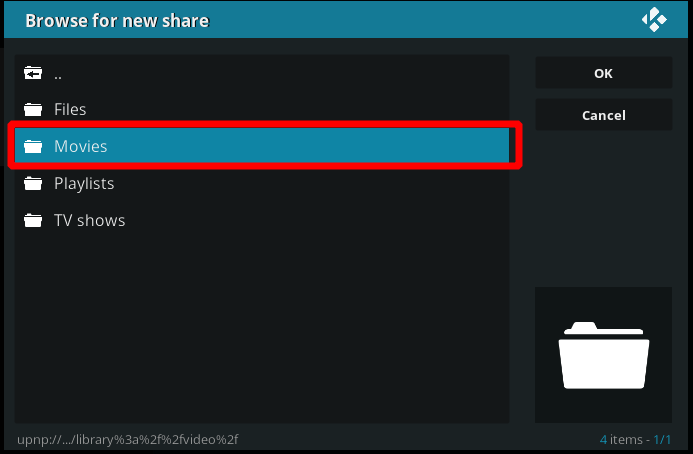
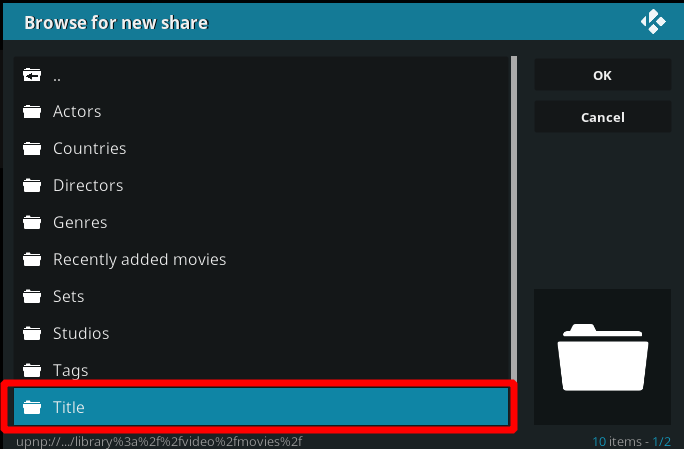
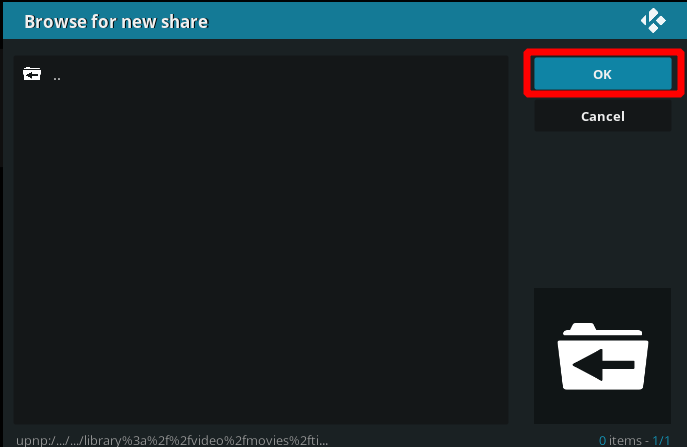
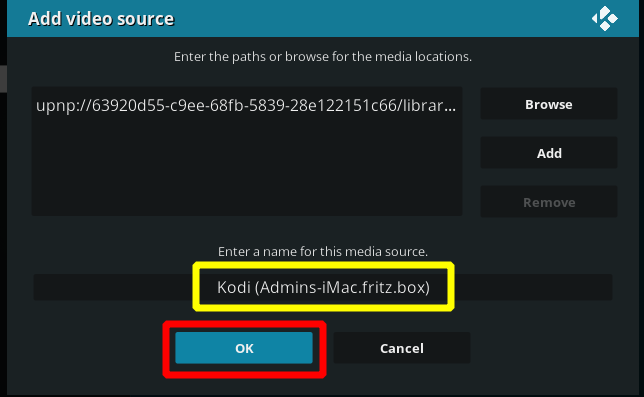
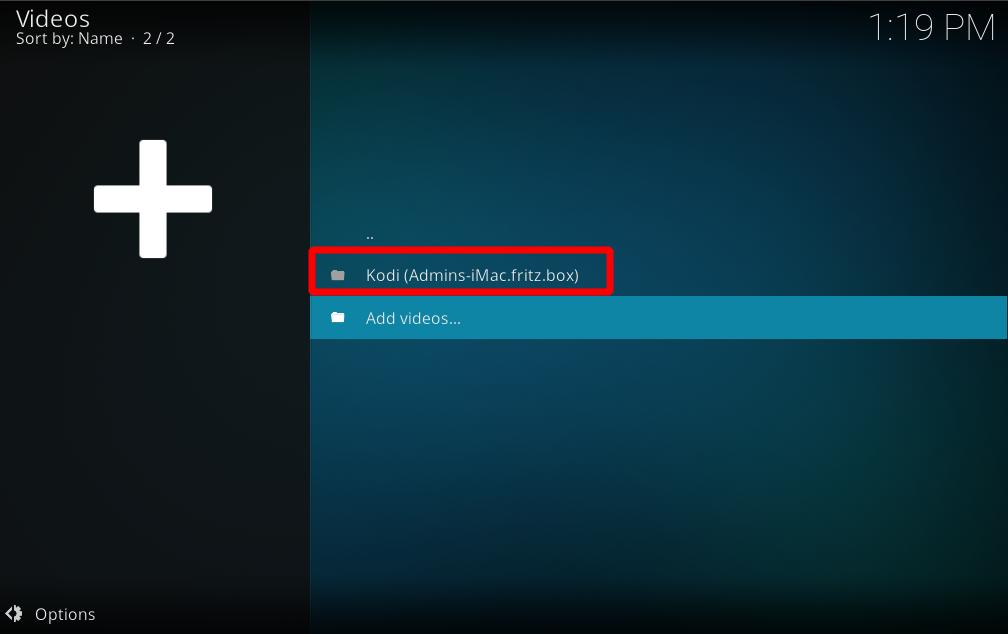
File:Share-upnp-library9.jpg|'''Step 10:''' Now, we're done and you will see the source added under the "Videos" location from the Kodi main menu. You should now be able to see the same video which are shown on the UPnP server. | File:Share-upnp-library9.jpg|'''Step 10:''' Now, we're done and you will see the source added under the "Videos" location from the Kodi main menu. You should now be able to see the same video which are shown on the UPnP server. | ||
</gallery> | </gallery> | ||
Latest revision as of 07:29, 14 November 2020
Kodi can use UPnP as a media sources from any device that has a UPnP server. UPnP media servers are available for most operating systems and many hardware platforms. Kodi itself can be a UPnP server.
Currently, due to technical limitations (dynamic file paths) UPnP file sources can't be scanned into the local library. However, since many UPnP servers can provide metadata as well as the files themselves, then this may not be an issue.
Setting up UPnP file sources in Kodi
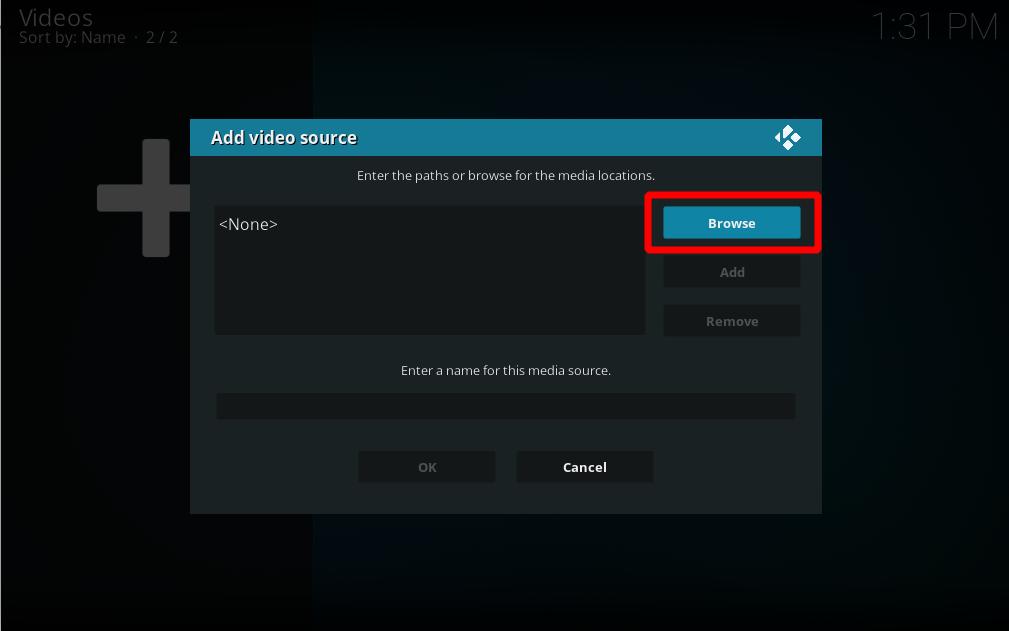
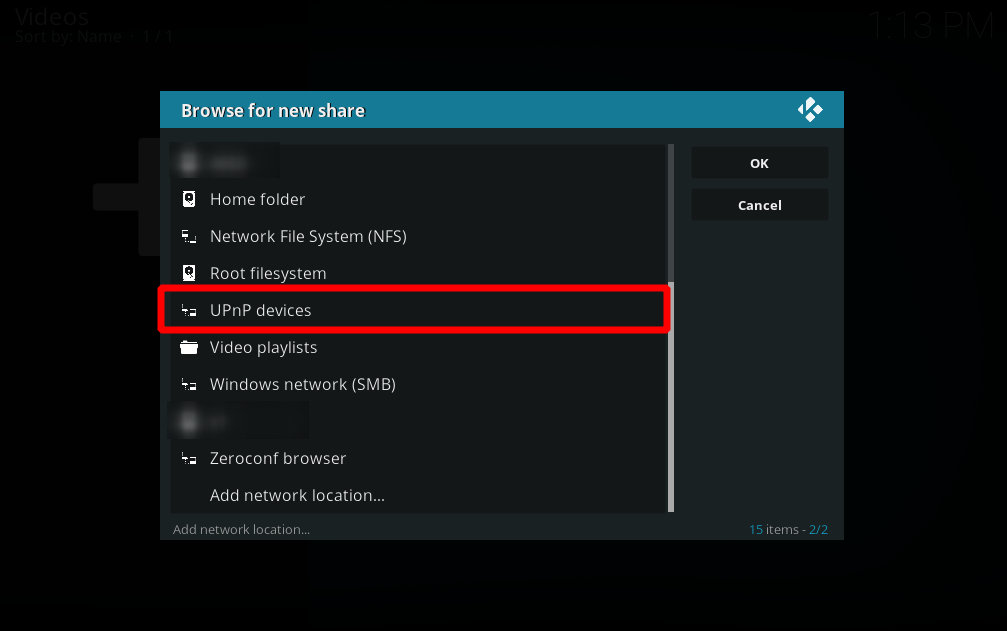
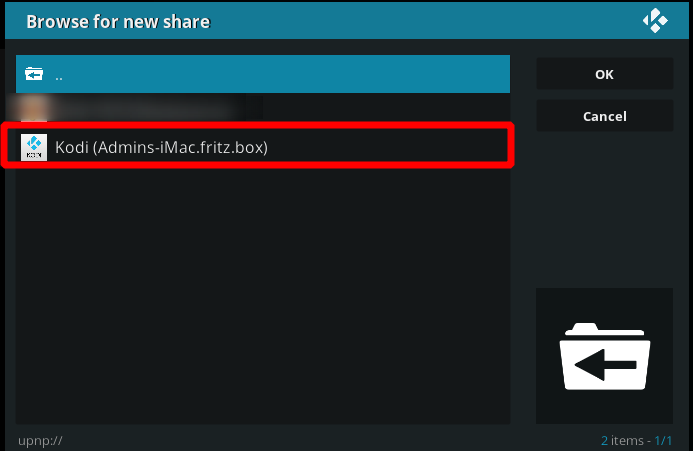
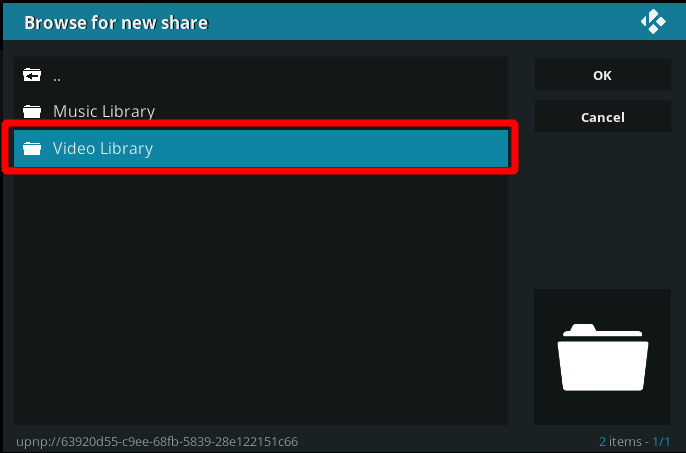
UPnP file sources can be used in videos, music, and pictures. Configuring UPnP file sources in Kodi is as easy as setting up any other type of file source, such as SMB or NFS.
Before you begin... you need to enable UPnP support for your client. Go into Settings > Services > UPnP/DLNA and turn on the switch for "Enable UPnP Support". After that's done, follow the steps below to add each UPnP source.
