Add-on manager: Difference between revisions
(Redirected page to Add-ons#Add-on manager) |
No edit summary |
||
| Line 1: | Line 1: | ||
# | <section begin="intro" />'''Add-ons''' are packages that add features and functions not normally included with XBMC. Add-ons are are developed by persons on the XBMC-team and third-parties. XBMC has a growing list of community driven add-ons/plug-ins/extensions for online content like [[Add-on:YouTube|YouTube]], [[Add-on:Hulu|Hulu]], [[Add-on:Grooveshark|Grooveshark]], [[Add-on:Pandora Radio|Pandora Radio]], as well as [[:Category:Skins|themes (skins)]] and more available from a common [[official repository]], while still enabling third-party developers to also host their own [[unofficial repositories]] for add-ons that any user can choose to add themselves if they like.<section end="intro" /> | ||
For additional information about specific add-ons, see '''[[:Category:All add-ons]]'''. | |||
==Add-on manager== | |||
The Add-on manager is a feature introduced in the XBMC 10.0 "Dharma" release. Its purpose is to manage the various add-ons to the XBMC application. The Add-ons manager can be browsed like any other XBMC section and the various Add-ons installed/uninstalled, enable/disabled etc. The default function is to have the Add-ons manager Auto update all installed Add-ons when new versions are available from a centralized repository. In the official skin Confluence, it is done by executing a "Left" action to bring up a slide in submenu and deselecting "Auto update". There you can also disable to be notified if new versions are available and when they are updated. | |||
=== How to access Add-ons === | |||
<gallery widths=500px heights=313px> | |||
File:add-ons-accessing-1.png|'''Step 1:''' Scroll down to "Settings" and click it. | |||
File:add-ons-accessing-2.png|'''Step 2:''' Scroll down to "Add-ons" and click it. | |||
File:add-ons-accessing-3.png|'''Step 3:''' XBMC displays three options (explained below) | |||
</gallery> | |||
'''Enabled add-ons''' are add-ons that are currently enabled. XBMC comes with certain add-ons already installed and enabled (such as movie scrapers, screen-savers and visualisation)<br> | |||
'''Get add-ons''' allows the user to install new add-ons from the [[#Repositories|repositories]] installed. XBMC comes with one repository pre-installed (the official repository) others can be added [[#How to add a repository|adding a Repository]].<br> | |||
'''Install from Zip file''' allows the installation of an add-on from a zip file | |||
=== How to install add-ons from a repo === | |||
'''For this example a skin is being installed, the same method is used for other add-ons.''' | |||
<gallery widths=500px heights=313px> | |||
File:add-ons-accessing-3.png|'''Step 1:''' Click "Get add-ons" | |||
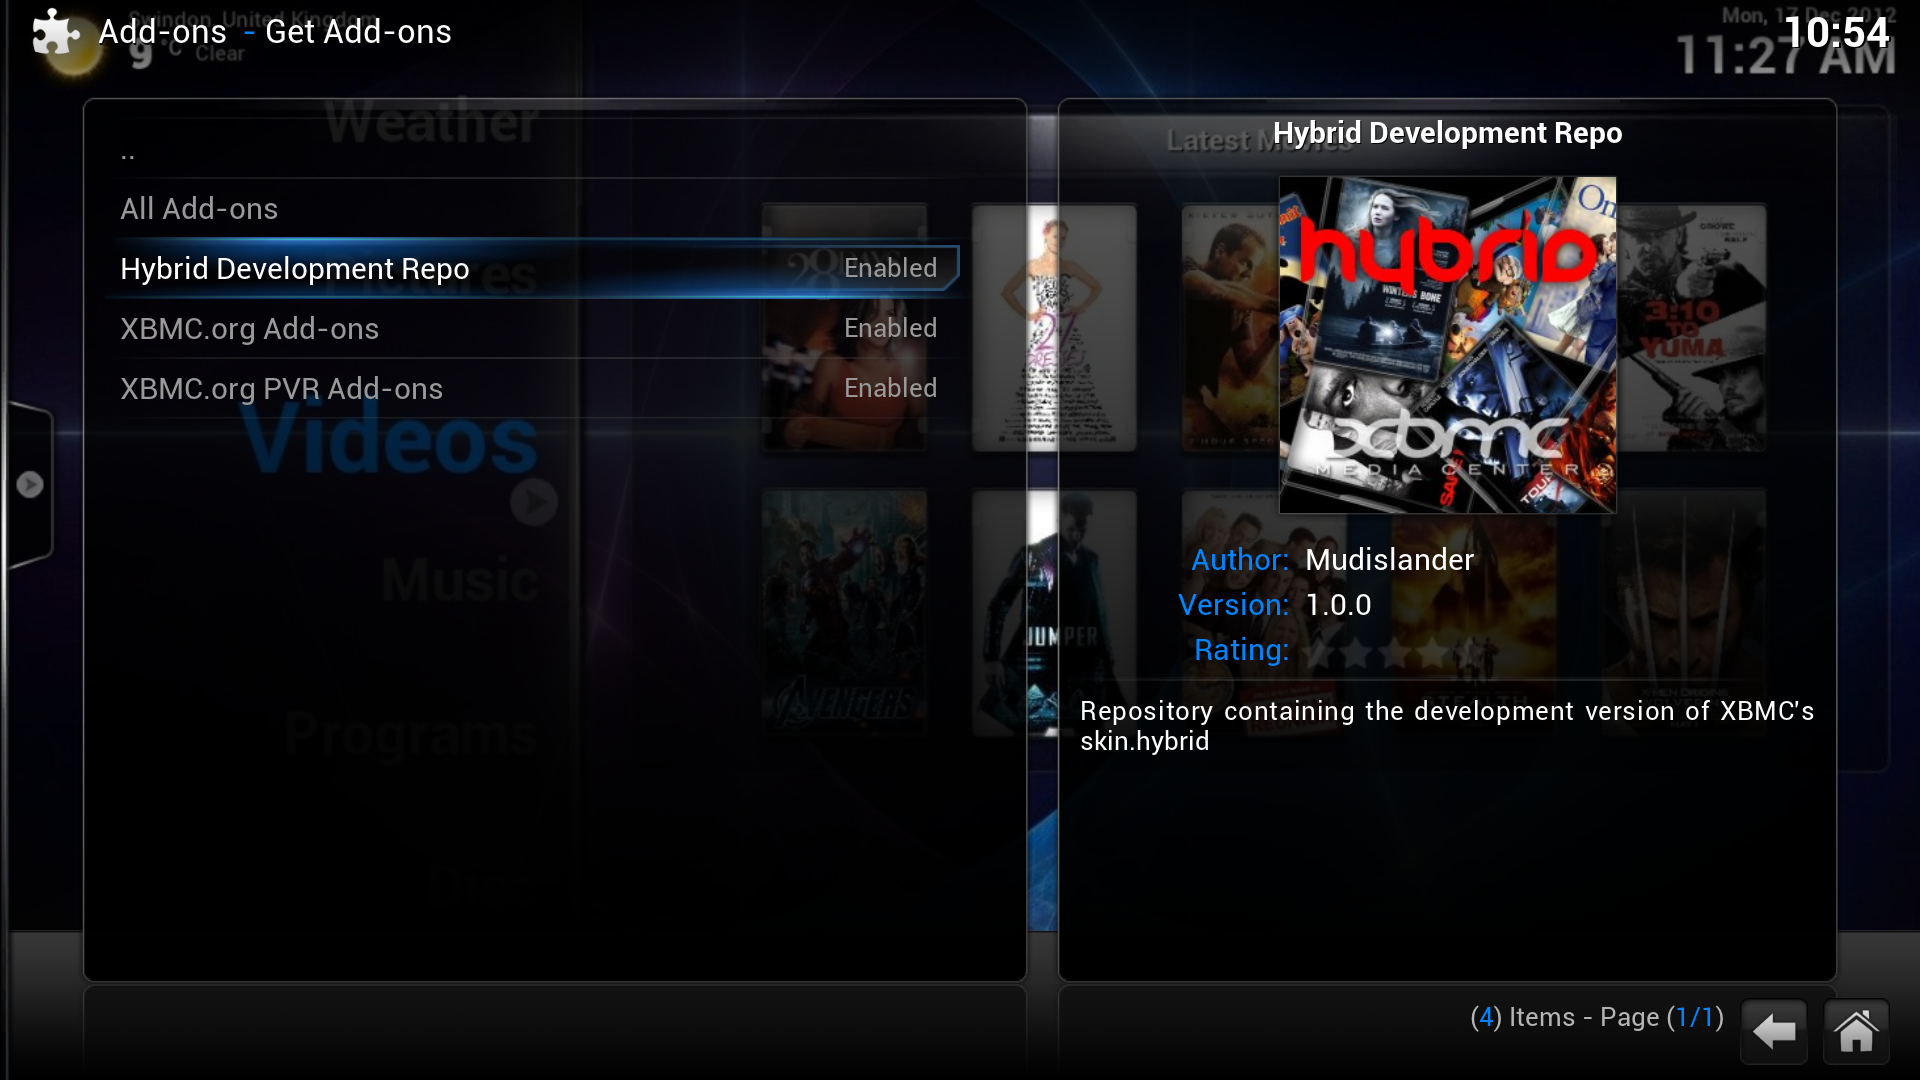
File:add-ons-accessing-4.png|'''Step 2:''' Click into the repository you want to install from (see [[#How to add a repository|adding a Repository]] for more) | |||
File:add-ons-accessing-5-1.png|'''Step 3:''' Scroll down to "skins" and click it | |||
File:add-ons-accessing-5.png|'''Step 4:''' Click the skin you want to install (in this example it is "Night") | |||
File:add-ons-accessing-5.png|'''Step 5:''' A summary dialog will be brought up allowing you see various properties of the add-on. Click "install" to begin automatic downloading and installing. | |||
</gallery> | |||
When the add-on has finished downloading XBMC will enable it and depending on the add-on ask if you want to start using it. Add-ons will then appear in their appropriate section (e.g. skins in the appearance section of settings, movie scrapers in the options of scrapers when adding a new movie source) | |||
=== How to install from zip === | |||
In this example the ''hitcher'' repository is being installed, but the method is the same for other repositories or add-ons. First download the zip file. | |||
<gallery widths=500px heights=313px> | |||
File:installing-repo-1.png|'''Step 1:''' Click '''Install from ZIP file''' | |||
File:installing-repo-2.png|'''Step 2:''' Navigate to the ZIP file (in this example it is in the desktop) and click on it. | |||
File:installing-repo-3.png|'''Step 3:''' In the bottom right, XBMC notifies when the add-on is installed and enabled. Click into '''Get Add-ons'''. | |||
File:installing-repo-4.png|'''Step 4:''' A new repository is listed. | |||
</gallery> | |||
== Repositories == | |||
Repositories are a place where add-ons can be retrieved from. XBMC comes with one repository installed by default, the [[Official Add-on Repository]]. However others can be added | |||
To install a new repository you must first find the zip file to install the repository, a list of [[3rd party add-on repositories]] is semi-maintained on the wiki - other repositories may exist. Then follow the instructions at [[#How to install from zip]] | |||
== Updating == | |||
From the main menu, go to {{highlight|bordered=yes|System/Settings -> Add-ons}} | |||
If auto updates are turned off then you should see a folder that says something like "Available updates" where you can go in and one-by-one update add-ons | |||
If you want to enable/disable auto-updates, while in the Add-on manager bring up the side bar (press left) and enable/disable auto-updates. | |||
== Rollback == | |||
{{incomplete}} | |||
See: '''[[xbmc.org:natethomas/2011/10/20/xbmc-addon-rollbacks/|XBMC Addon Rollbacks]]''' | |||
==See also== | |||
* [[:Category:All add-ons]] | |||
* [[3rd party add-on repositories]] | |||
'''Development:''' | |||
* [[Add-on development]] | |||
* [[Python development]] | |||
* [[Skinning]] | |||
* [[Add-on repositories]] | |||
* [[Official add-on repository]] | |||
[[Category:Add-ons|*]] | |||
[[Category:Settings]] | |||
[[Category:How-to]] | |||
Revision as of 05:44, 10 June 2012
Add-ons are packages that add features and functions not normally included with XBMC. Add-ons are are developed by persons on the XBMC-team and third-parties. XBMC has a growing list of community driven add-ons/plug-ins/extensions for online content like YouTube, Hulu, Grooveshark, Pandora Radio, as well as themes (skins) and more available from a common official repository, while still enabling third-party developers to also host their own unofficial repositories for add-ons that any user can choose to add themselves if they like.
For additional information about specific add-ons, see Category:All add-ons.
Add-on manager
The Add-on manager is a feature introduced in the XBMC 10.0 "Dharma" release. Its purpose is to manage the various add-ons to the XBMC application. The Add-ons manager can be browsed like any other XBMC section and the various Add-ons installed/uninstalled, enable/disabled etc. The default function is to have the Add-ons manager Auto update all installed Add-ons when new versions are available from a centralized repository. In the official skin Confluence, it is done by executing a "Left" action to bring up a slide in submenu and deselecting "Auto update". There you can also disable to be notified if new versions are available and when they are updated.
How to access Add-ons
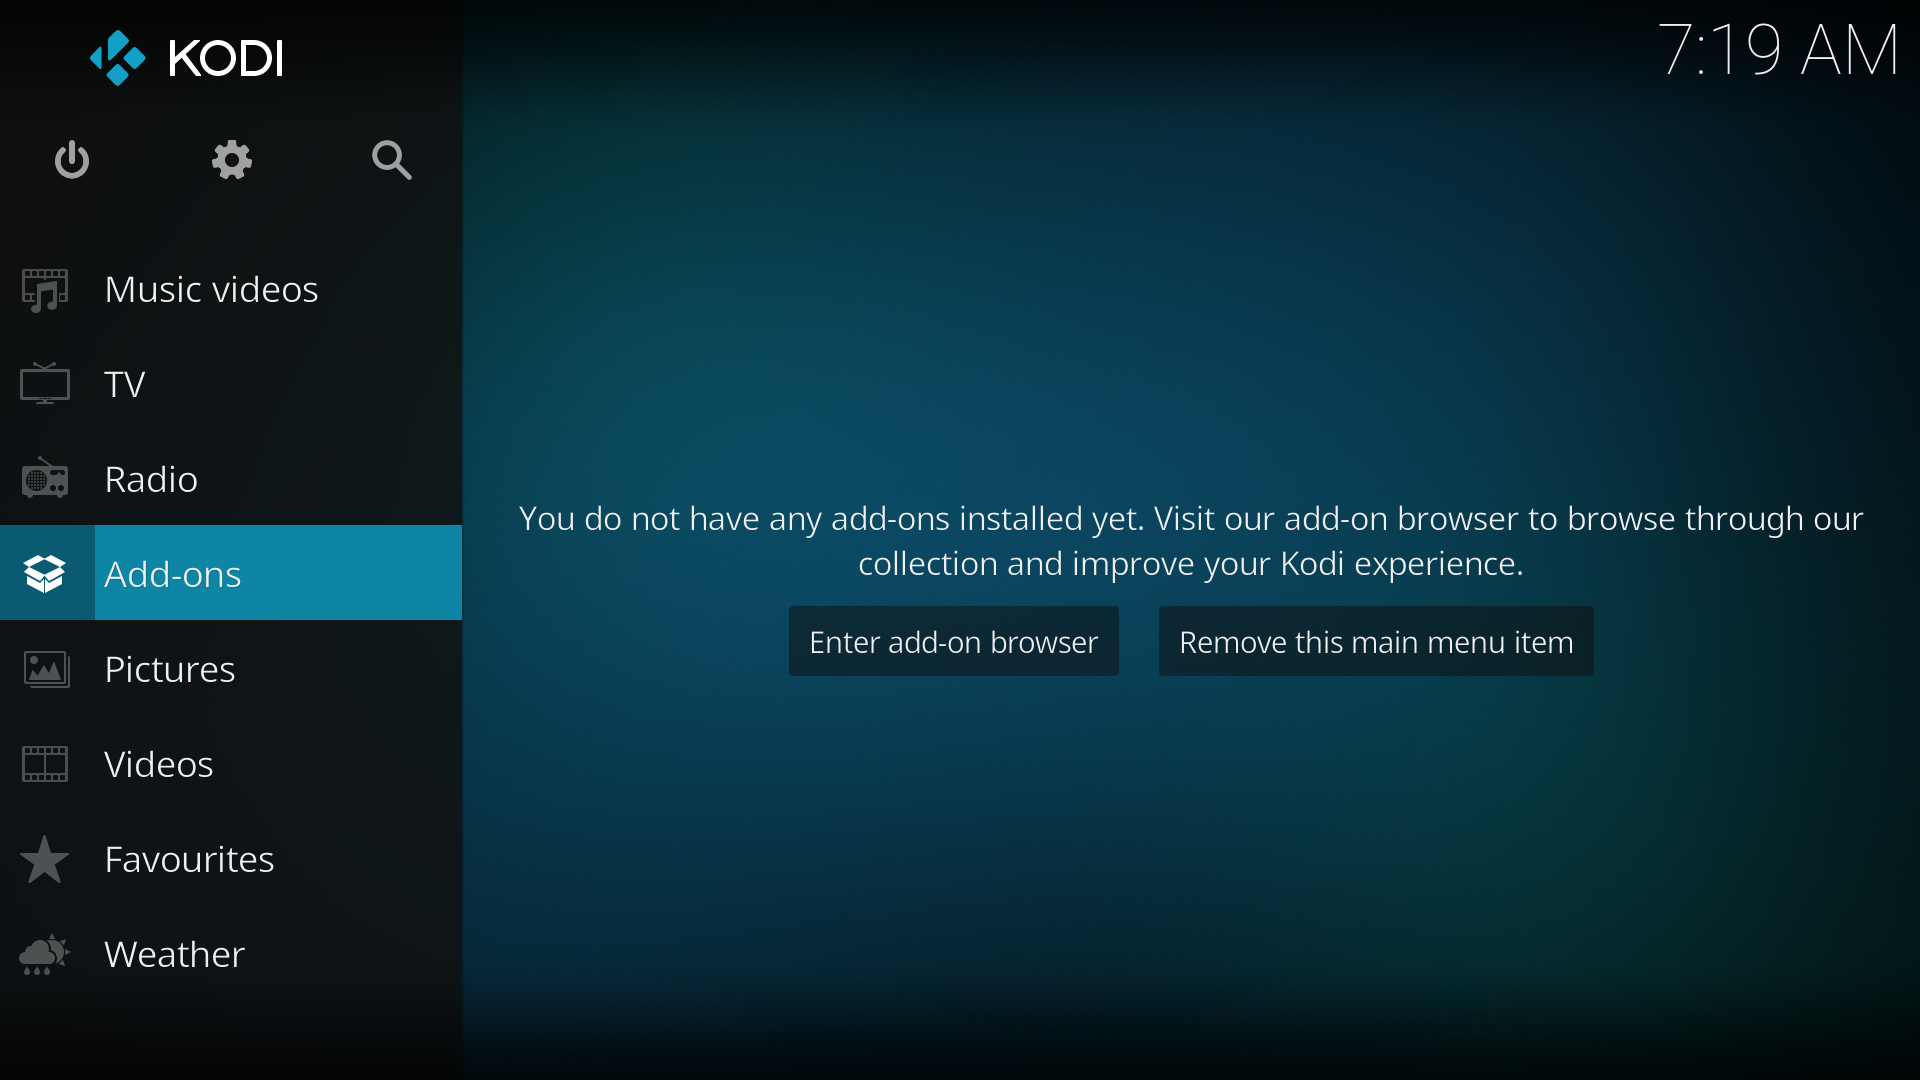
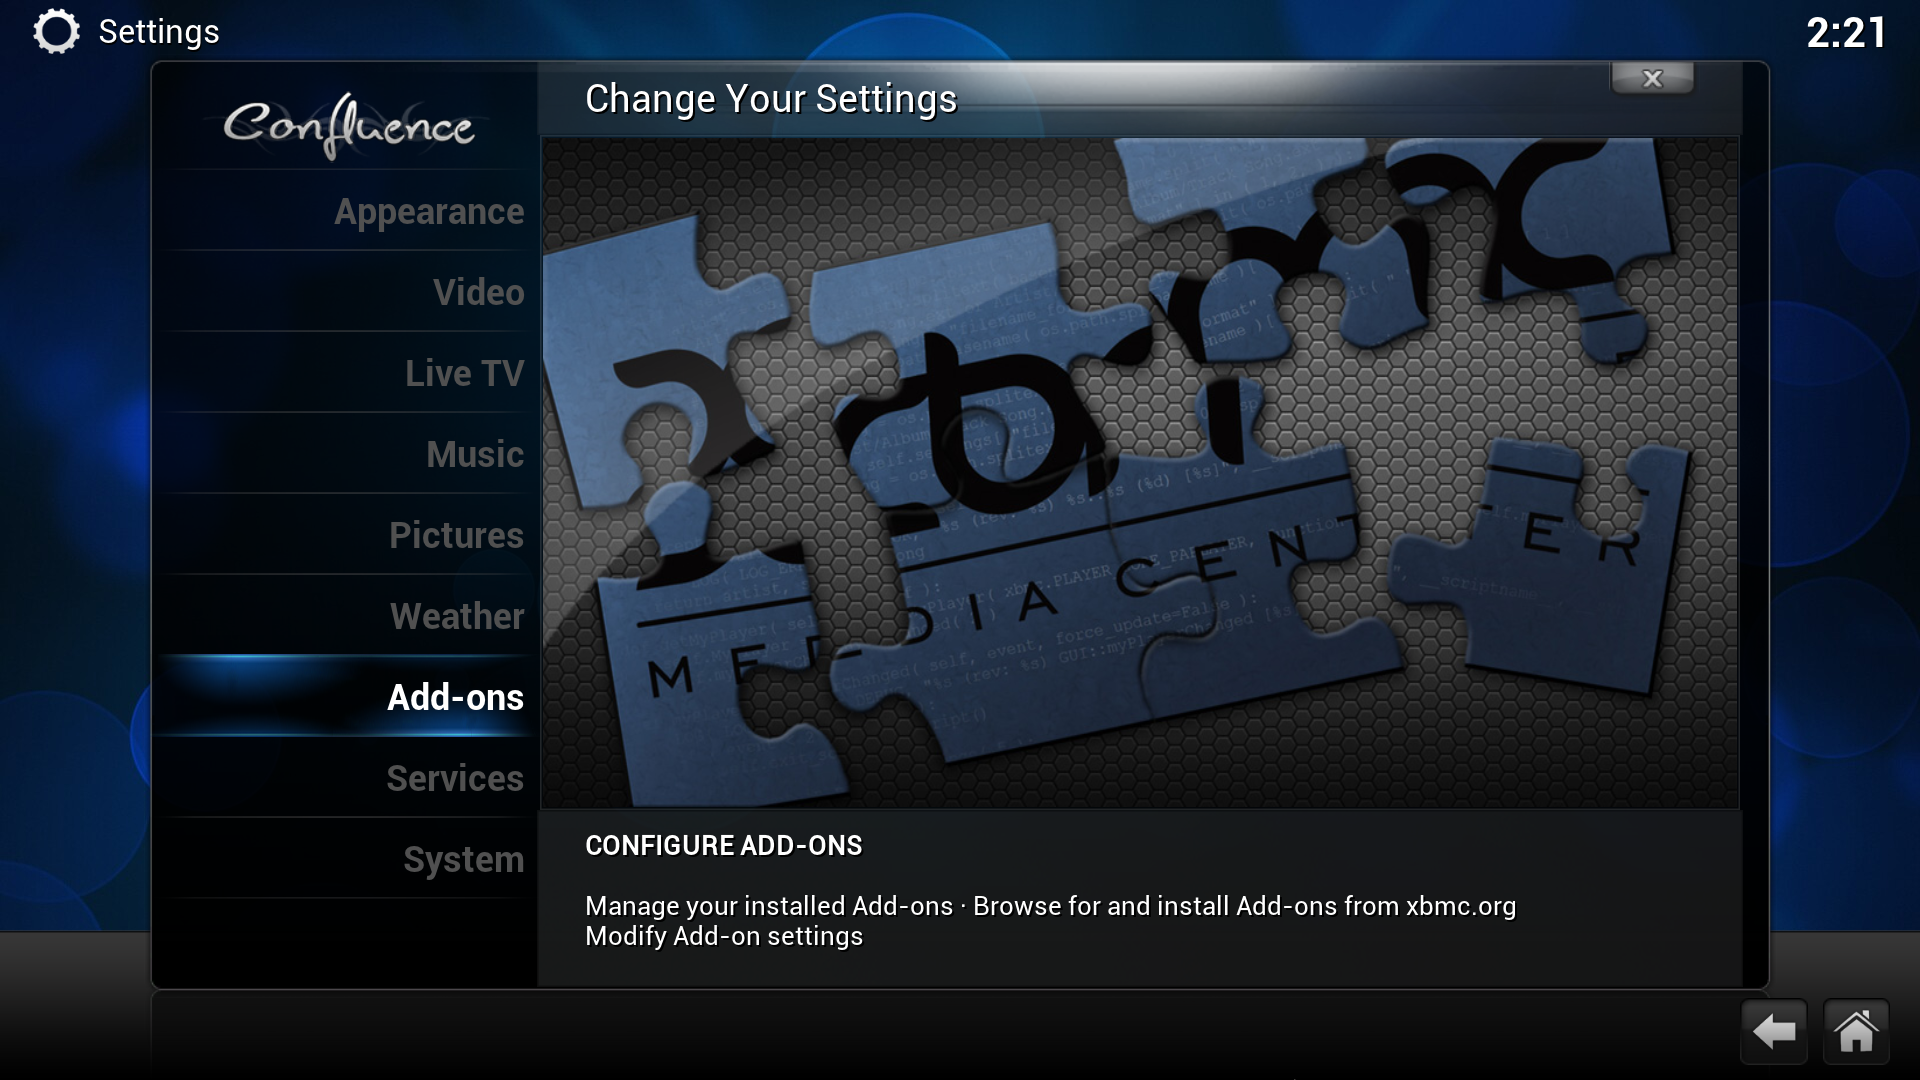
Step 1: Scroll down to "Settings" and click it.
Step 2: Scroll down to "Add-ons" and click it.
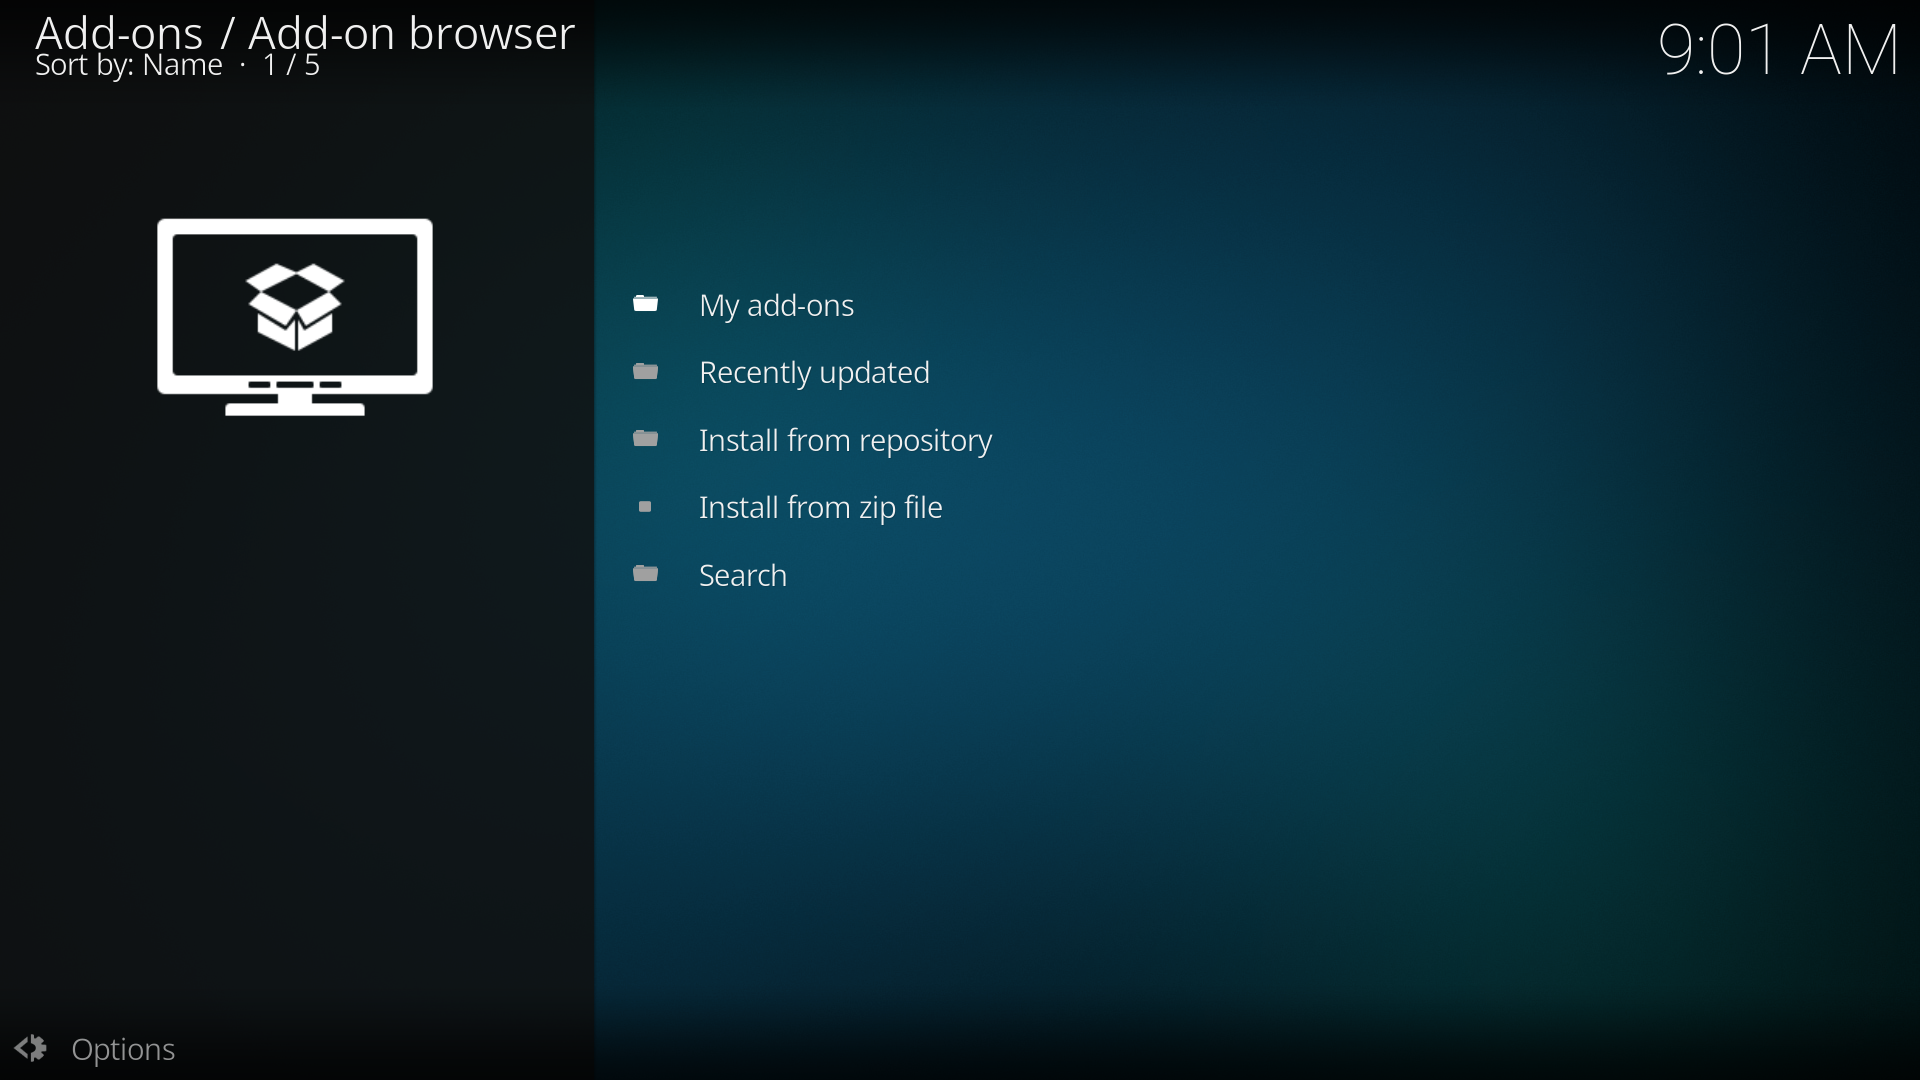
Step 3: XBMC displays three options (explained below)


Enabled add-ons are add-ons that are currently enabled. XBMC comes with certain add-ons already installed and enabled (such as movie scrapers, screen-savers and visualisation)
Get add-ons allows the user to install new add-ons from the repositories installed. XBMC comes with one repository pre-installed (the official repository) others can be added adding a Repository.
Install from Zip file allows the installation of an add-on from a zip file
How to install add-ons from a repo
For this example a skin is being installed, the same method is used for other add-ons.
Step 1: Click "Get add-ons"
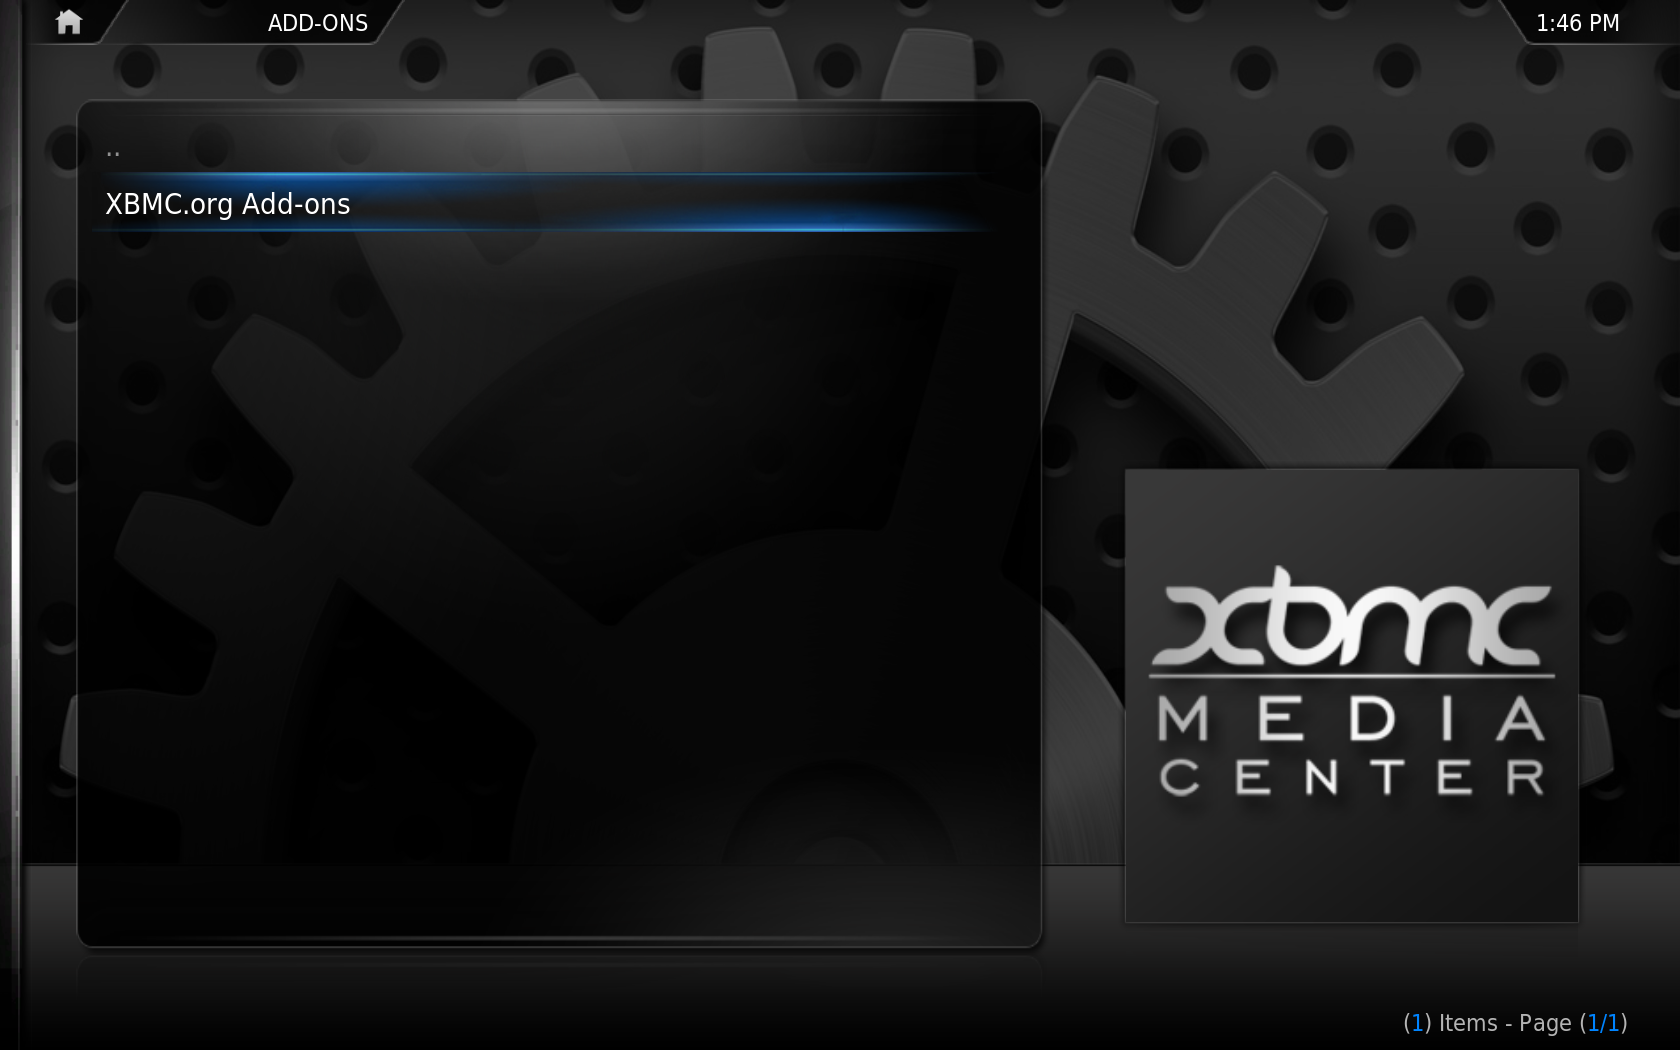
Step 2: Click into the repository you want to install from (see adding a Repository for more)
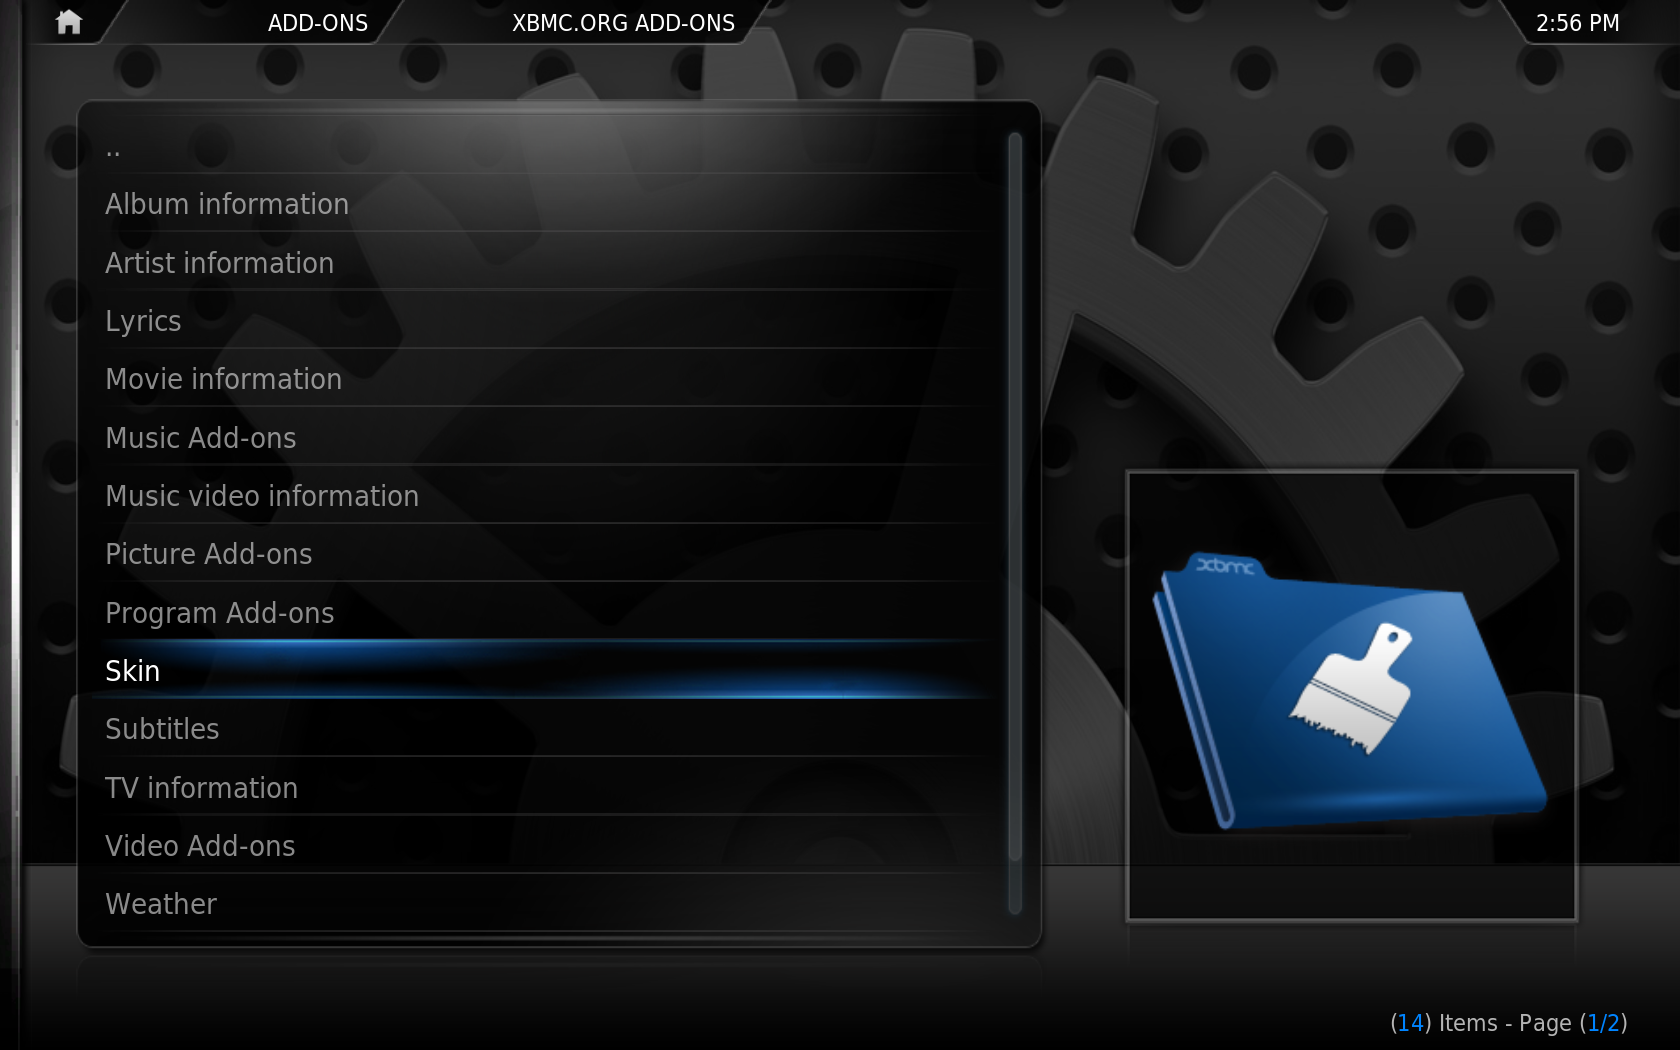
Step 3: Scroll down to "skins" and click it
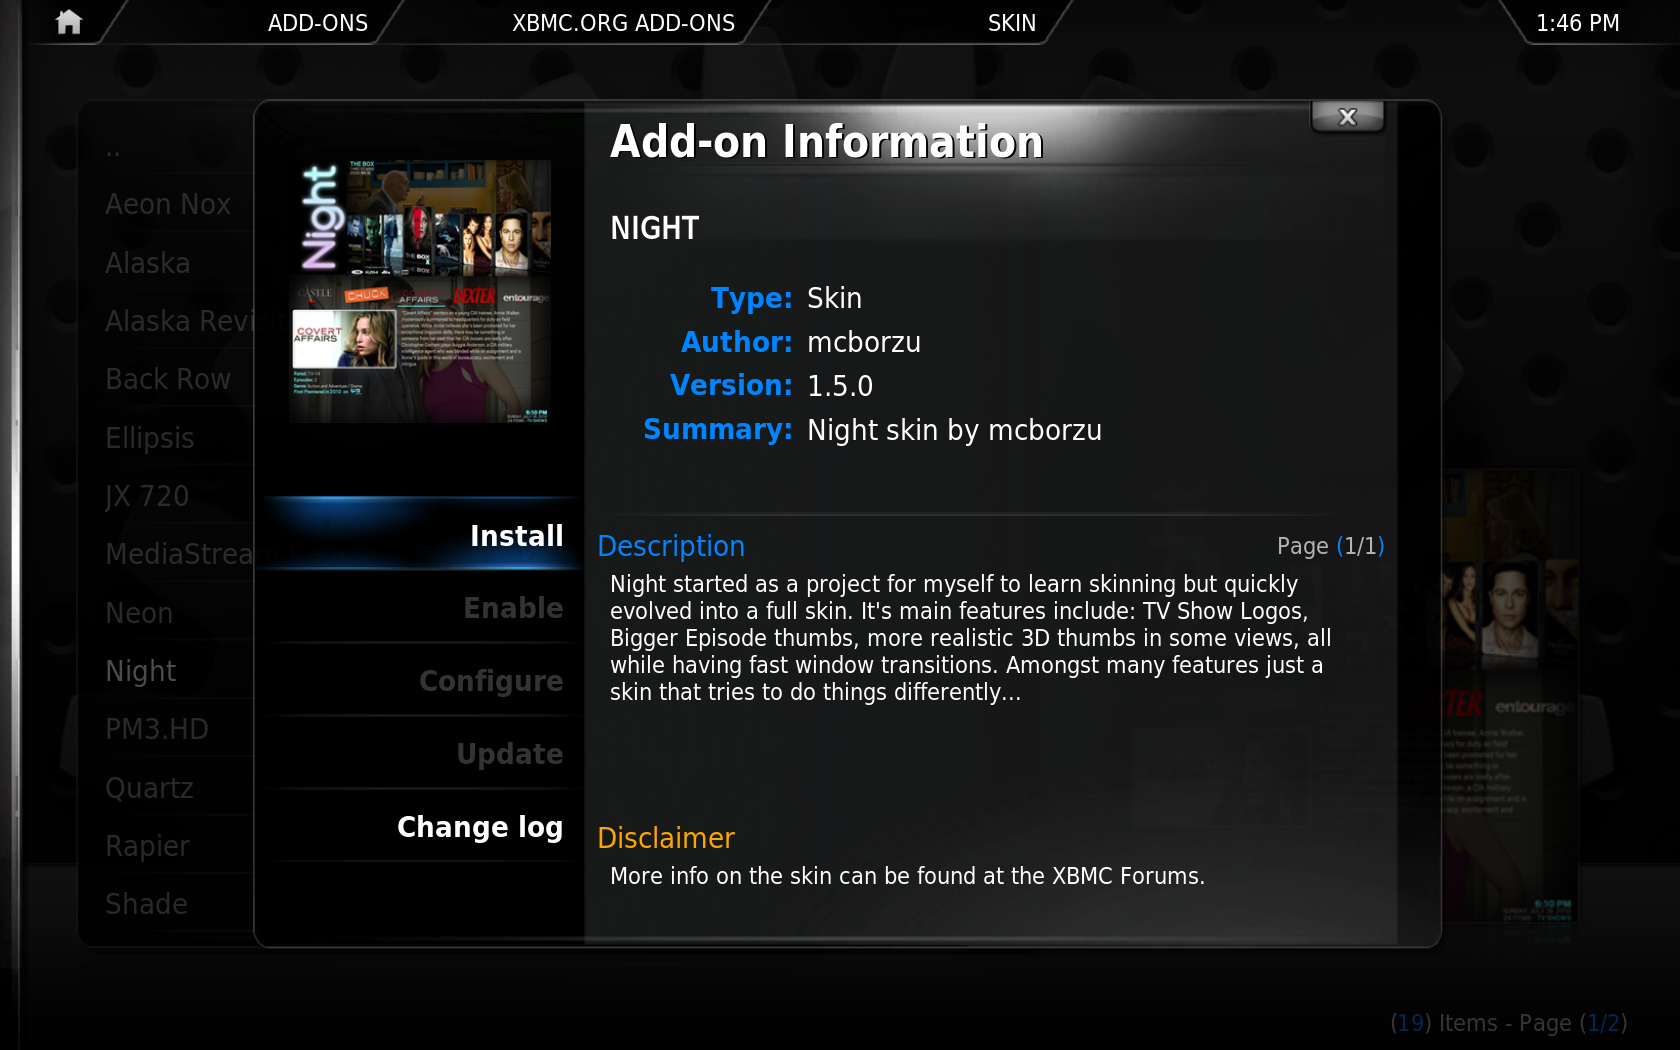
Step 4: Click the skin you want to install (in this example it is "Night")
Step 5: A summary dialog will be brought up allowing you see various properties of the add-on. Click "install" to begin automatic downloading and installing.


When the add-on has finished downloading XBMC will enable it and depending on the add-on ask if you want to start using it. Add-ons will then appear in their appropriate section (e.g. skins in the appearance section of settings, movie scrapers in the options of scrapers when adding a new movie source)
How to install from zip
In this example the hitcher repository is being installed, but the method is the same for other repositories or add-ons. First download the zip file.
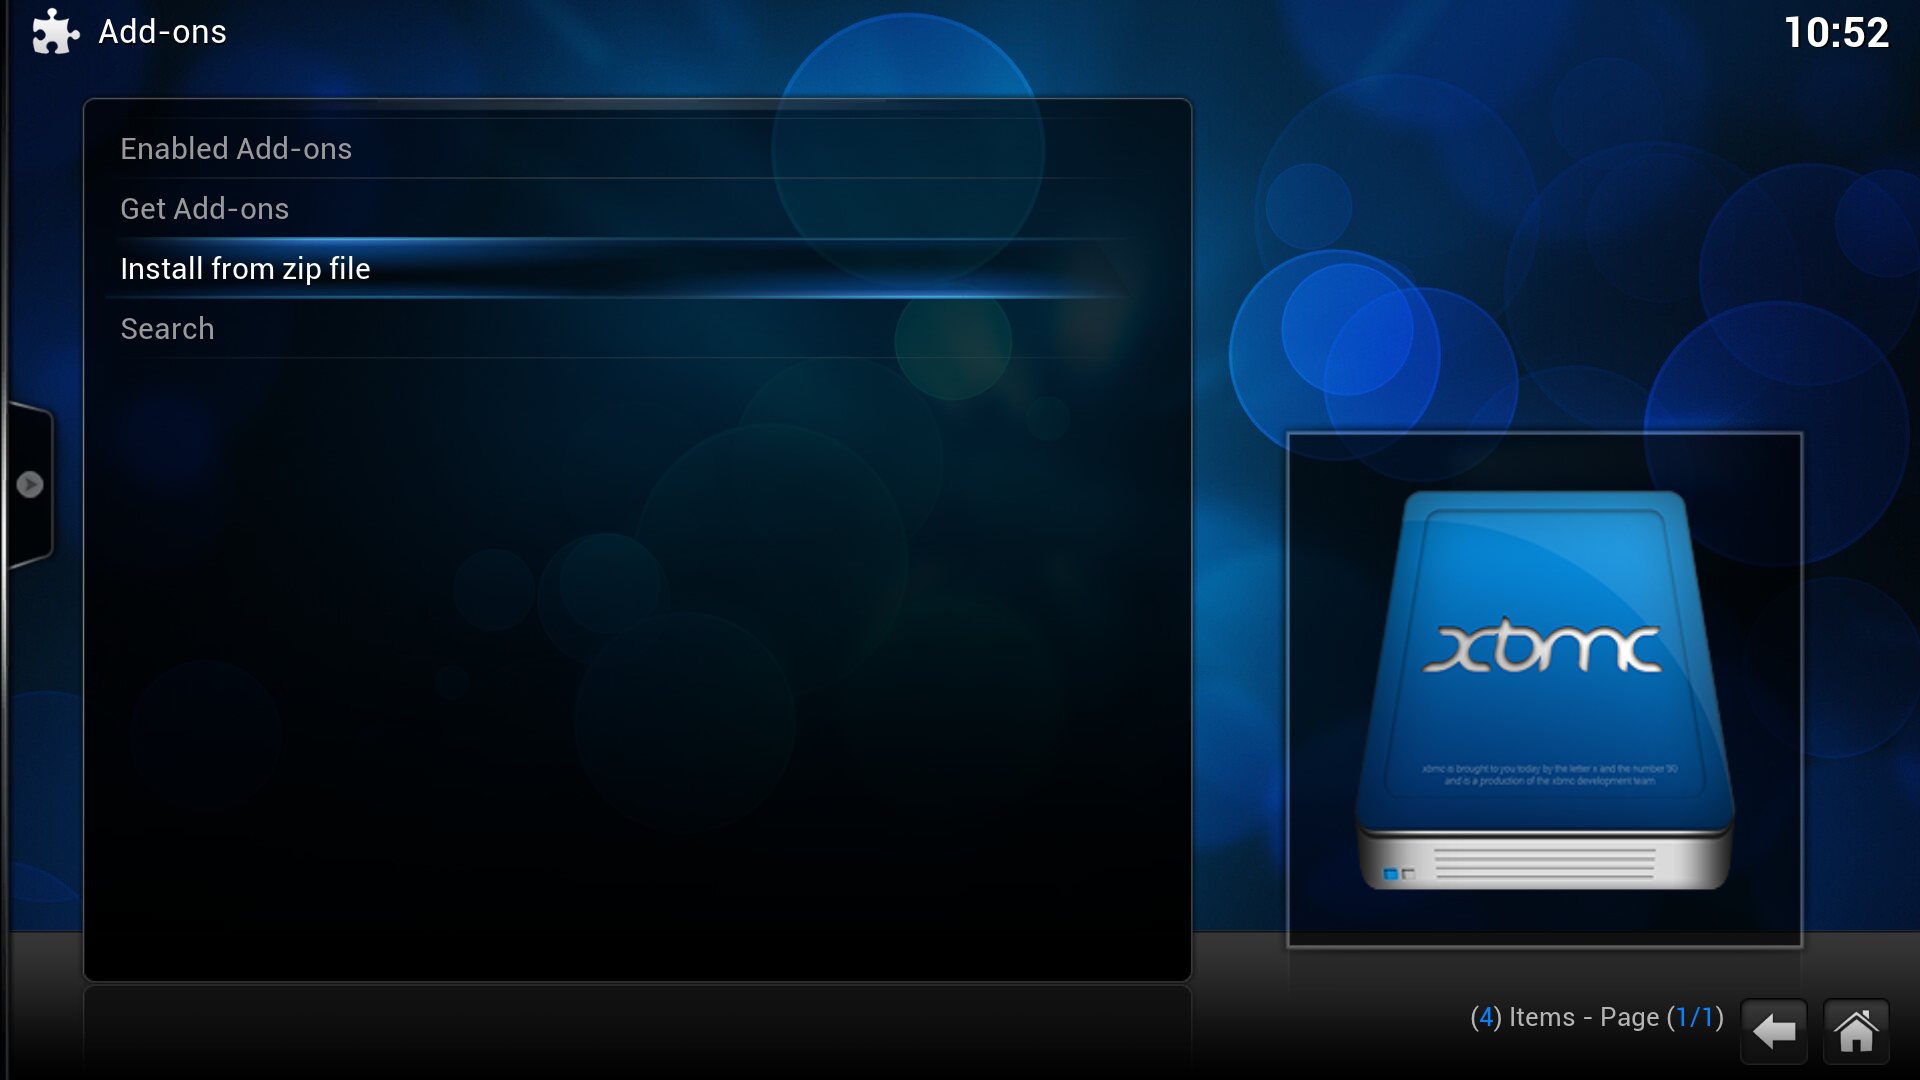
Step 1: Click Install from ZIP file
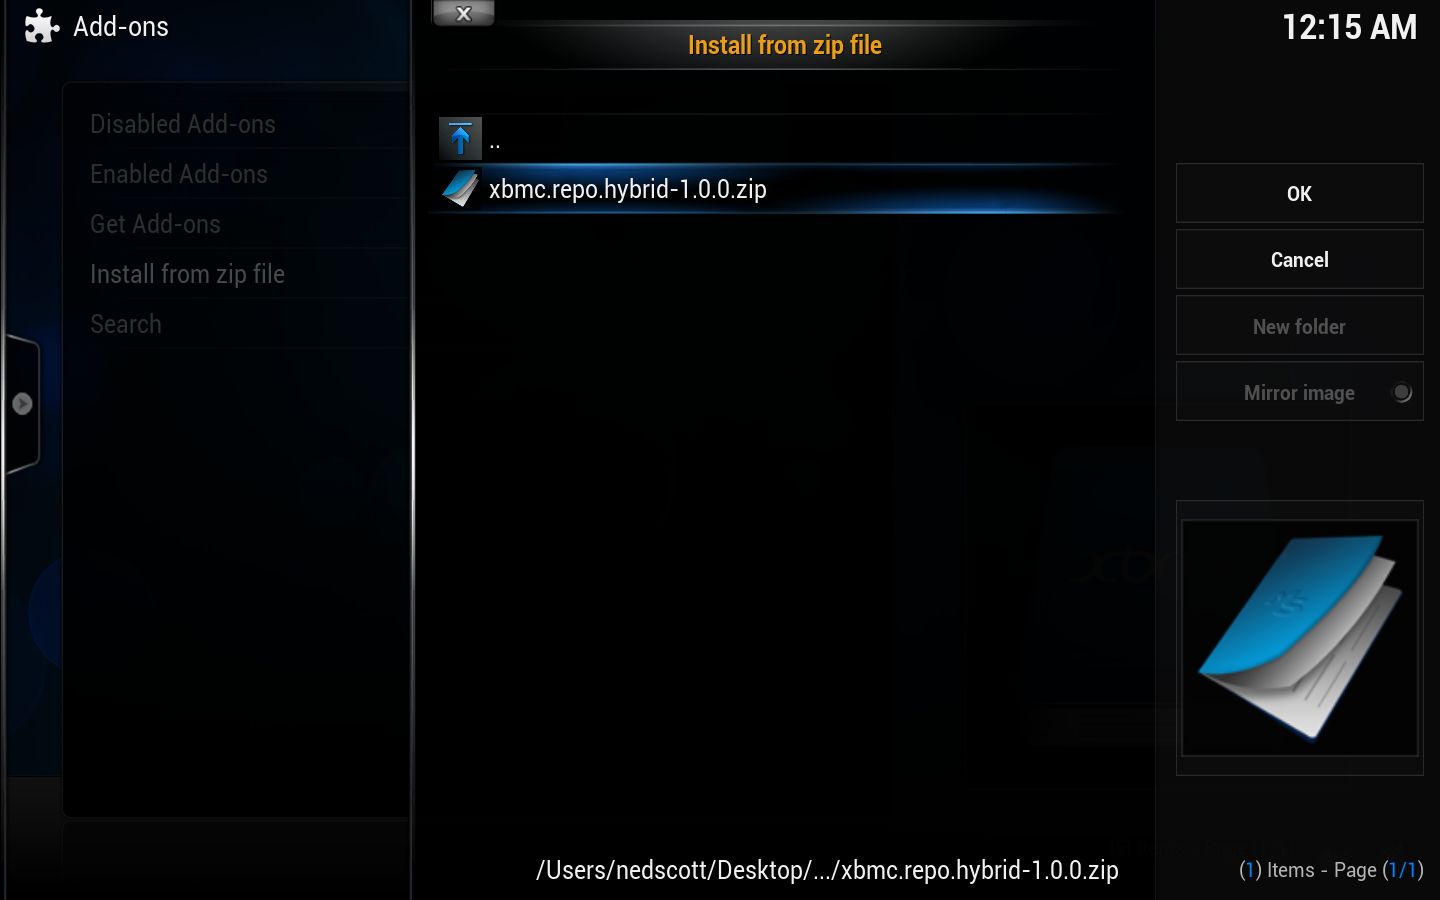
Step 2: Navigate to the ZIP file (in this example it is in the desktop) and click on it.

Step 3: In the bottom right, XBMC notifies when the add-on is installed and enabled. Click into Get Add-ons.
Step 4: A new repository is listed.


Repositories
Repositories are a place where add-ons can be retrieved from. XBMC comes with one repository installed by default, the Official Add-on Repository. However others can be added
To install a new repository you must first find the zip file to install the repository, a list of 3rd party add-on repositories is semi-maintained on the wiki - other repositories may exist. Then follow the instructions at #How to install from zip
Updating
From the main menu, go to System/Settings -> Add-ons
If auto updates are turned off then you should see a folder that says something like "Available updates" where you can go in and one-by-one update add-ons
If you want to enable/disable auto-updates, while in the Add-on manager bring up the side bar (press left) and enable/disable auto-updates.
Rollback

|
INCOMPLETE: This page or section is incomplete. Please add information or correct uncertain data which is marked with a ? |
See: XBMC Addon Rollbacks
See also
Development: