Add-on:Emby for Kodi
| Emby for Kodi | ||||||||||||||||
| ||||||||||||||||
| Need help with this add-on? See here. |
Introduction
Emby is a media management server that allows you to synchronize media libraries, watched status, and watch progress between compatible devices. Emby for Kodi allows Kodi to use an Emby as a media management backend. This add-on effectively replaces the Kodi built-in media database with Emby. Currently supported media includes Movies, TV Episodes, & Music.
A quick intro video from one of the dev's: https://youtu.be/IaecDPcXI3I?t=119
Setting up Emby
Basic Setup
- Download and install Emby for your desired operating system: http://emby.media/download/
- Open the Emby web interface @ http://[server ip address]:8096
- Follow the instructions as prompted
- Enable path substitution, if necessary
- a. Select Library from the left side of the server management page
- b. Select Path Substitution
- c. Setup all path substitutions
Optional: Plugins
- Installation of Emby plugins (Add-ons) is done from the Emby web interface
- Navigate to http://[server ip address]:8096/web/dashboard.html
- Select Plugins from the left side
- Select Catalog from within the right side of the window
- Scroll down to general and select Emby for Kodi Sync Queue to install it.
Useful Emby Plugins
- Emby for Kodi Sync Queue: This plugin will speed up the media sync done by kodi on every startup
- Auto-Box Set: Automatically organizes Movies into sets (collections in Emby), based on data from themoviedb.org
- Trakt.tv: Sync's watched status between Emby and trakt.tv
- Disable Trakt.tv add-on from all kodi installs, if this is used.
- For further information or a more detailed explanation of the installation process, please see the Emby Official Wiki page
Installing Emby for Kodi
Step 1: Download the Emby for Kodi repository.
Step 2: Open Kodi.
-
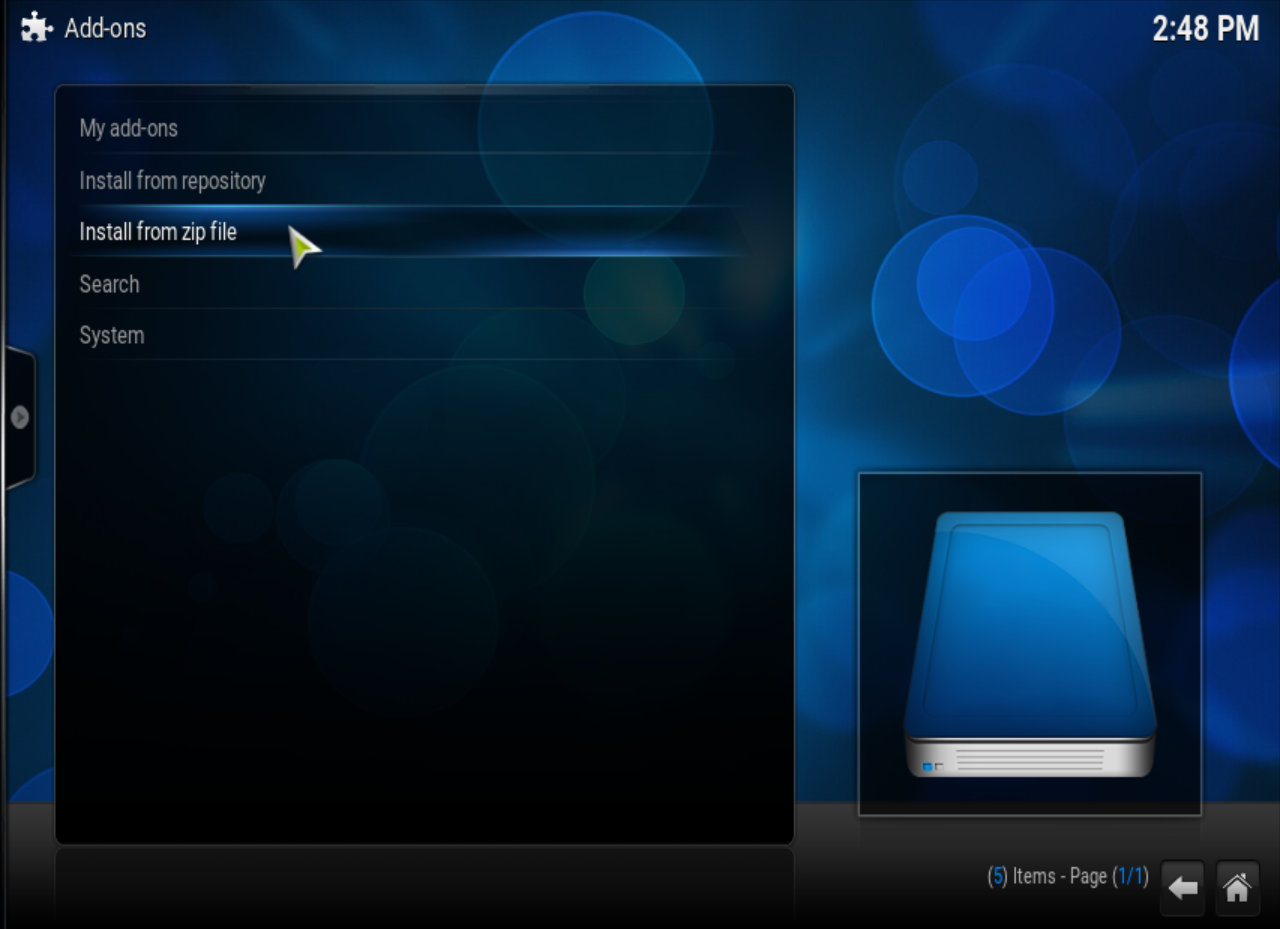 Step 3: Navigate to System > Add-ons > Install from zip file.
 -
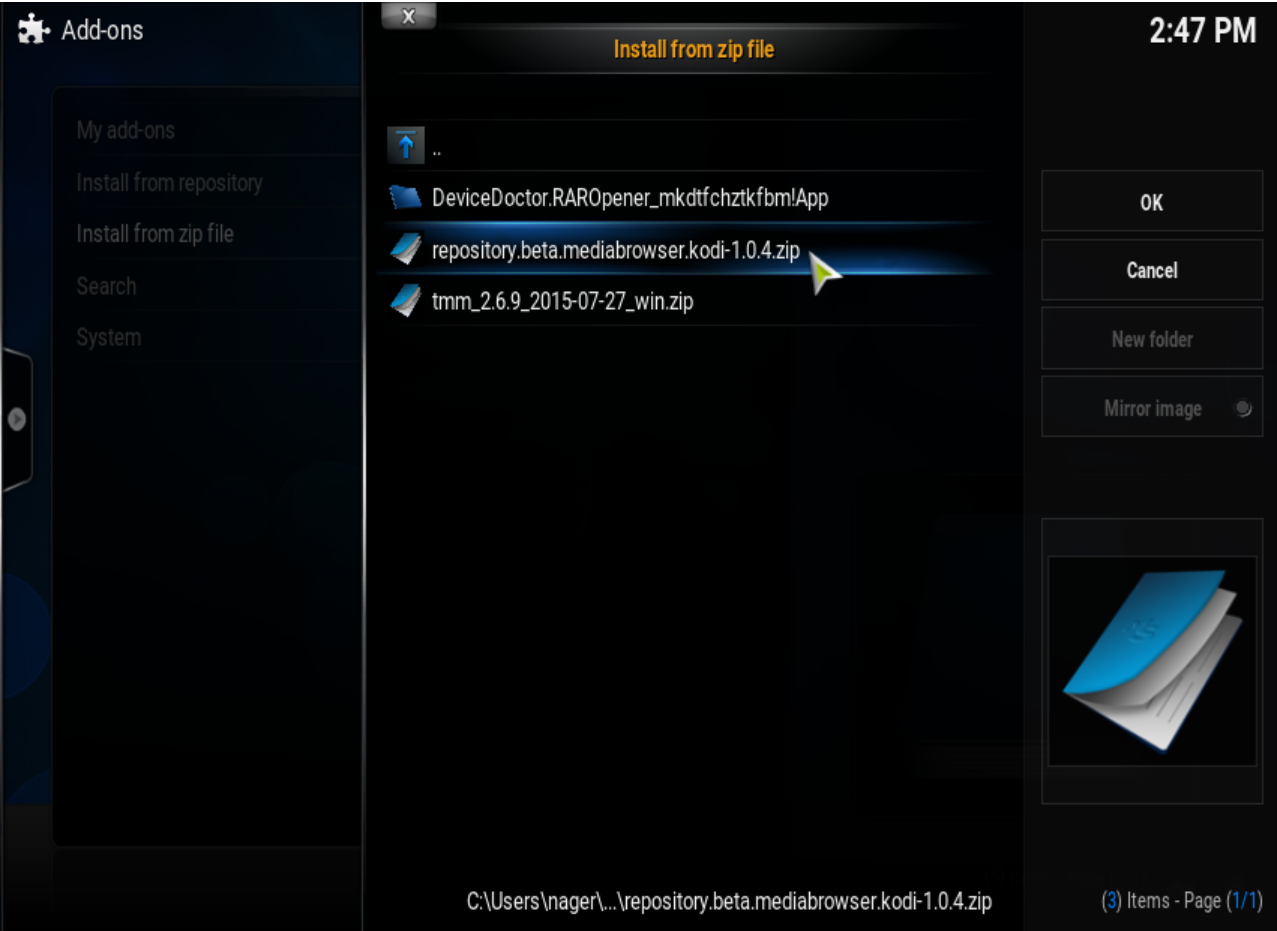 Step 4: Navigate to where the Emby for Kodi repository was saved and select the zip file.
 -
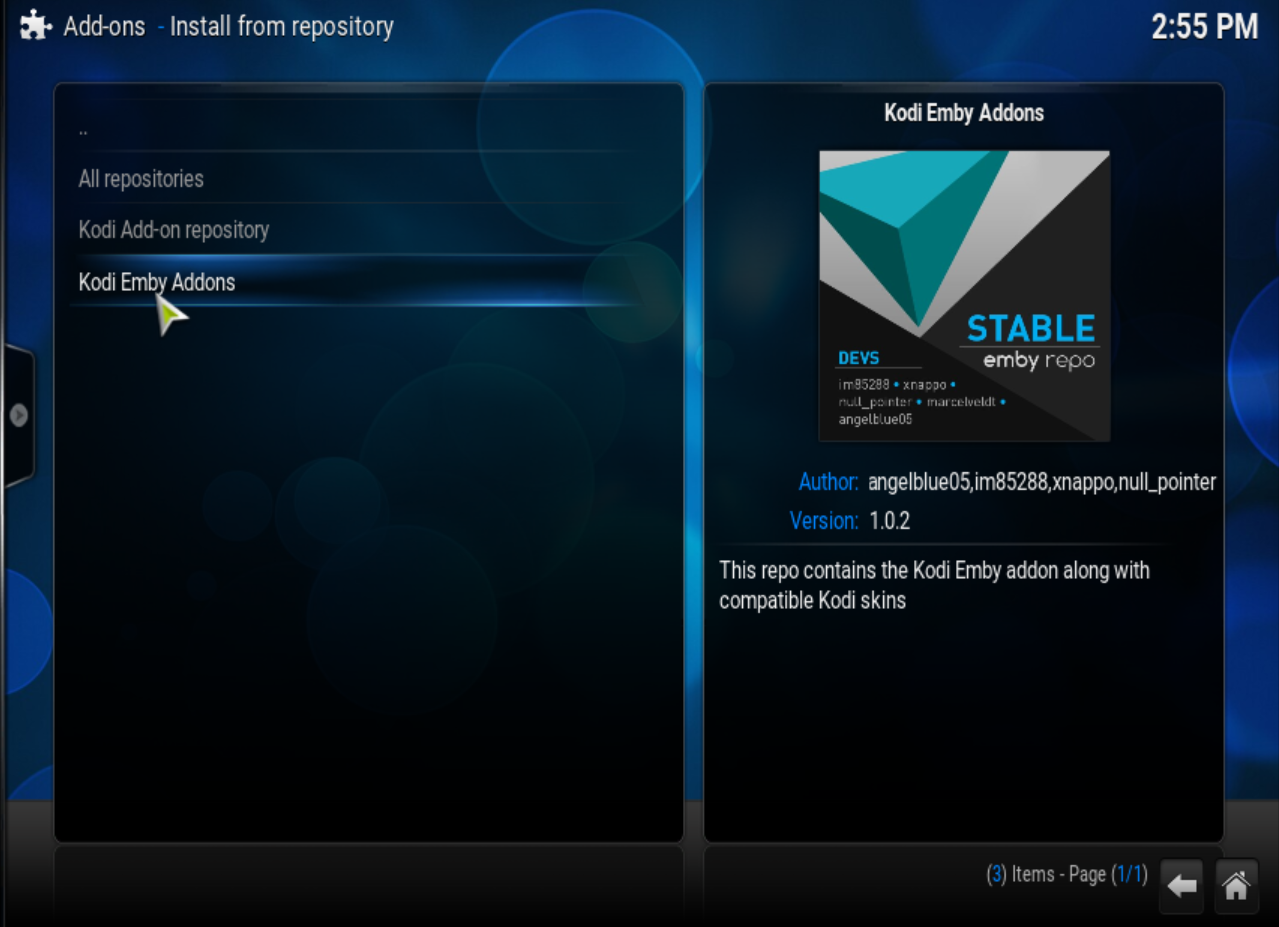 Step 5: Navigate to System > Add-ons > Install from Repository > Kodi Emby stable/beta add-ons
 -
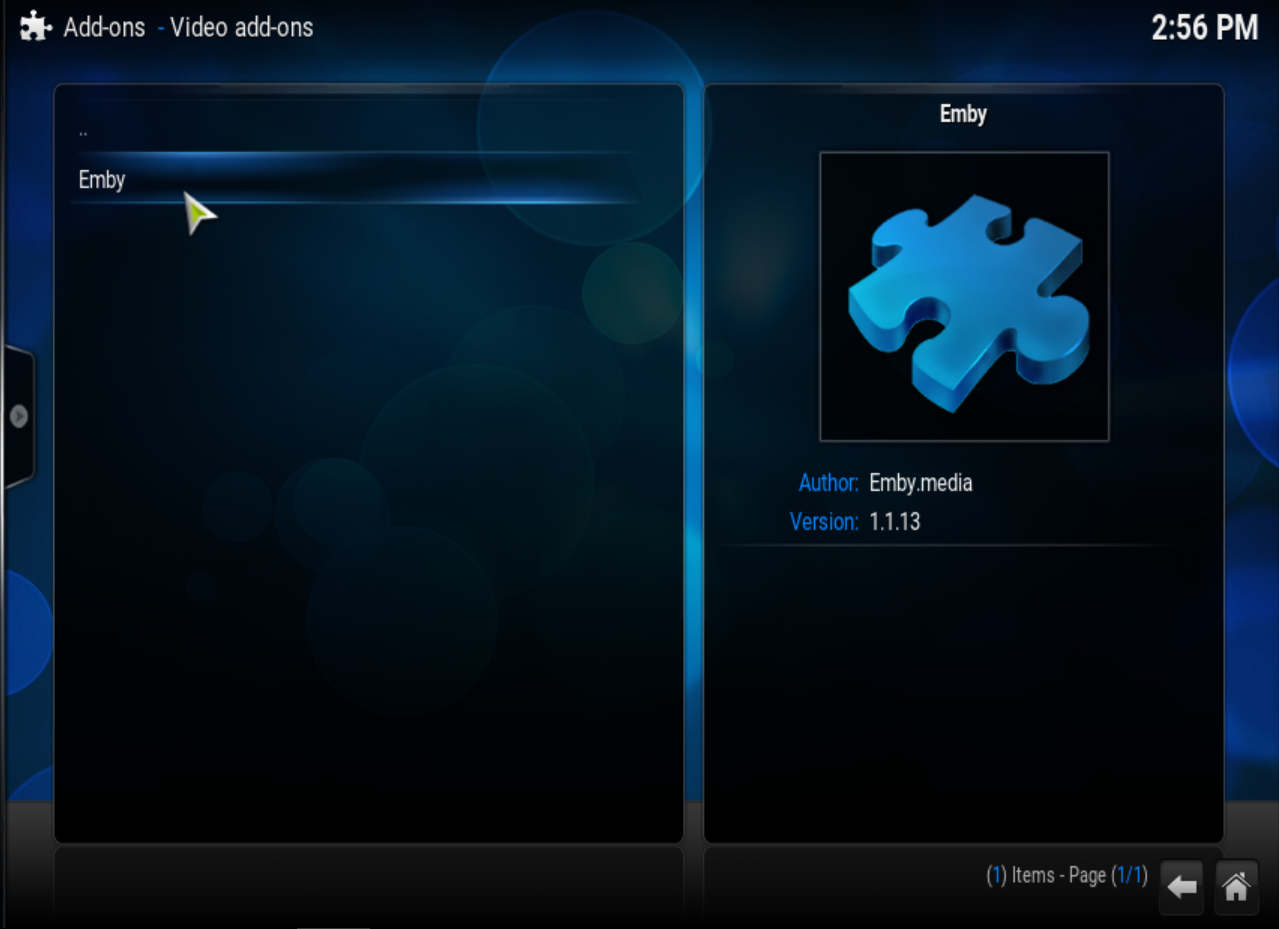 Step 6: Navigate to Video Addons>Emby
 -
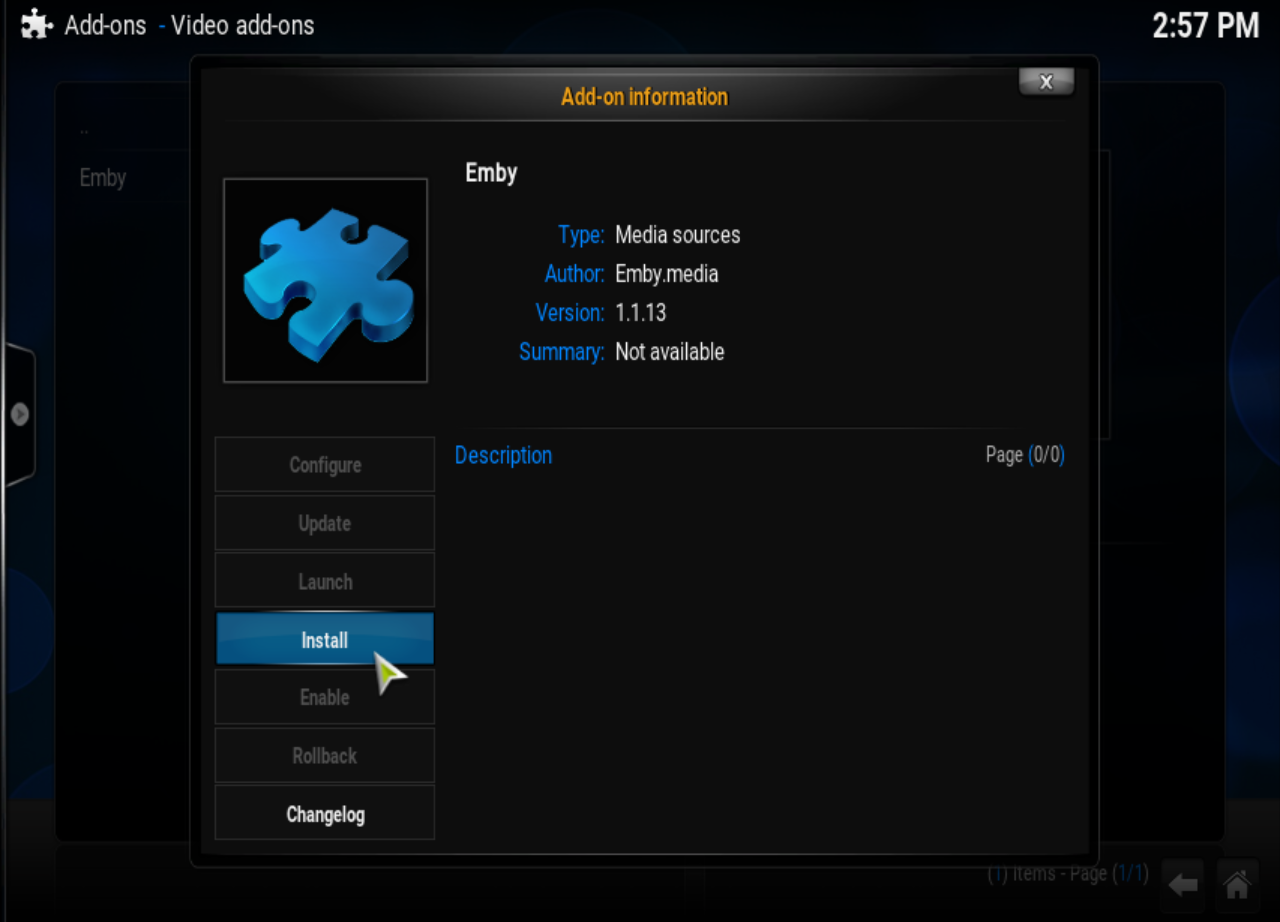 Step 7: Select install
 -
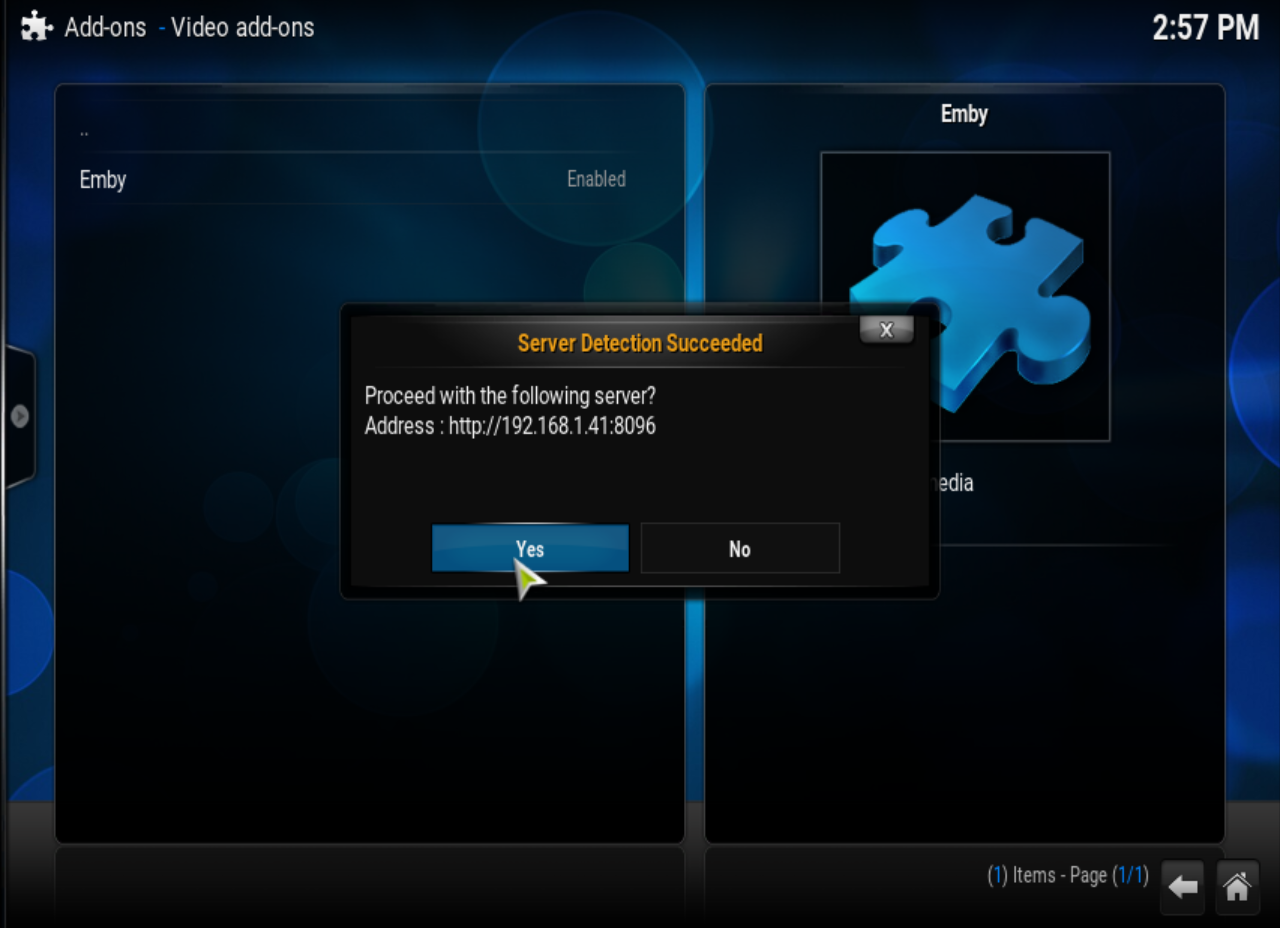 Step 8: If your Emby server is running, the add-on should detect it and prompt you connect to it.
 -
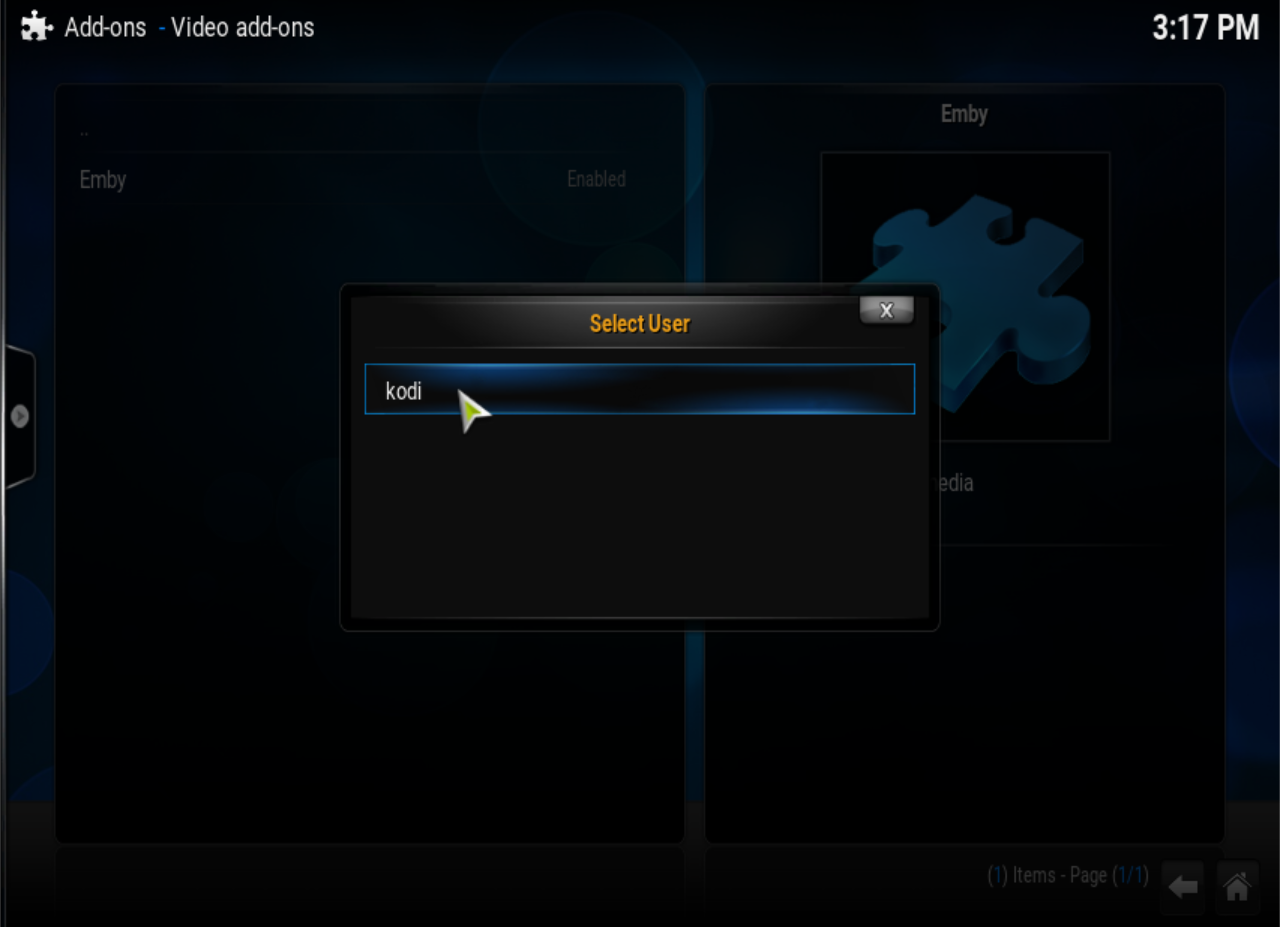 Step 9: After connecting to your server, you should be prompted to select a user.
 -
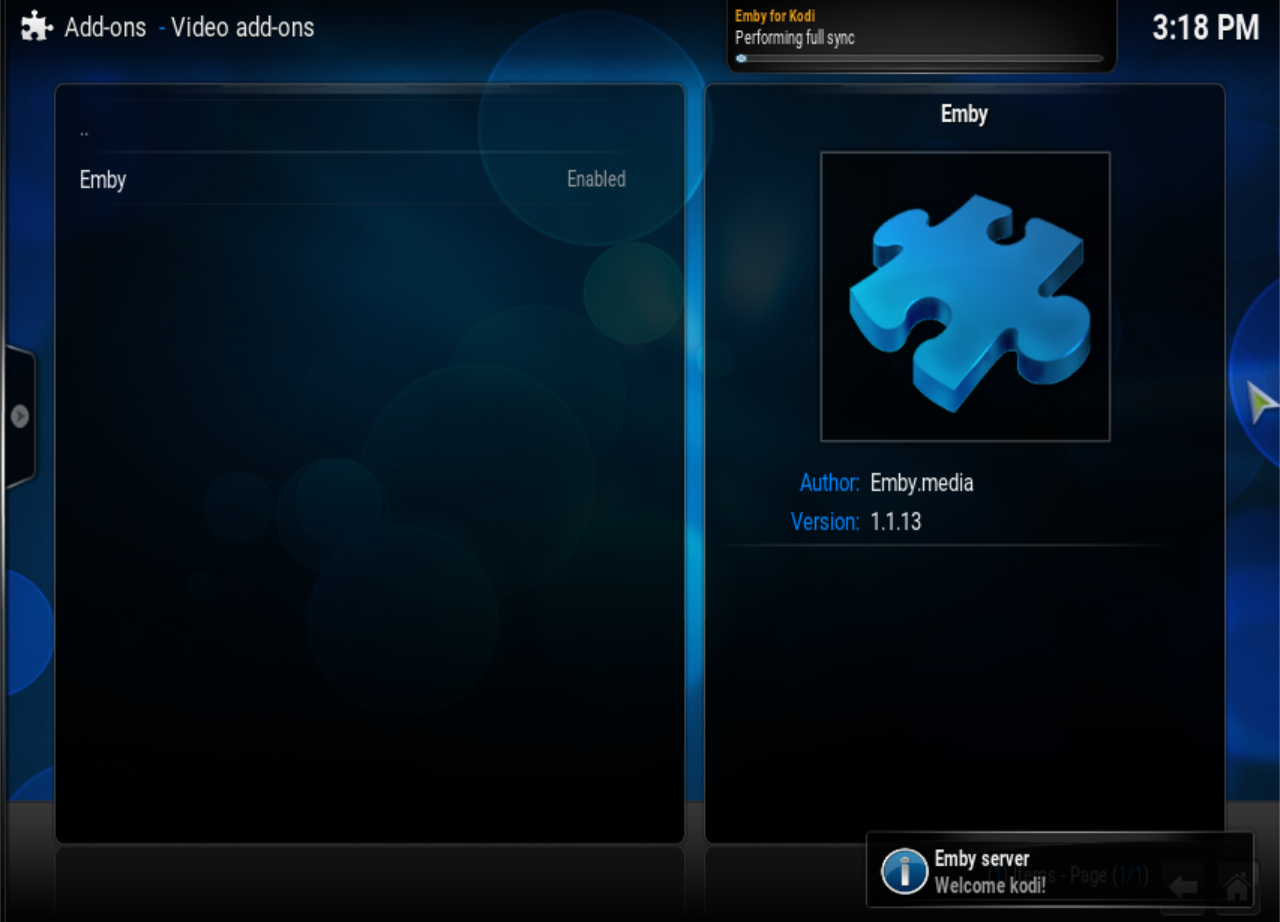 Step 10: Finally, you should see a notification


- At this point Emby for Kodi is installed and it has connected to your Emby server. You should see a box in on the screen showing the progress of the import from Emby into the Kodi database.
Configuring Emby for Kodi Add-on
- Navigate to System > Add-ons > My add-ons > Video add-ons
- Open Emby
- Select Configure
Emby Tab

- - Primary Server Address
- => This is the IP address of the computer running Emby
- - Port Number
- => The port used by Emby (Defaut: 8096)
- - Enable HTTPS
- => Enable to use HTTPS instead of HTTP
- - Verify Host SSL Certificate
- => description
- - Client SSL certificate
- => description
- - Use alternate address
- => Enable secondary server address. This is useful for mobile devices that will access Emby both on a local network and remotely
- - Secondary Server Address
- => Secondary IP address for Emby.
- - Enable HTTPS
- => Enable to use HTTPS instead of HTTP
- - Verify Host SSL Certificate
- => description
- - Client SSL certificate
- => description
- - Username
- => Emby primary username
- - Use alternate Device Name
- => Allows you to set the device name, as seen by Emby
- - Device Name
- => Custom Device name seen by Emby
Sync Options Tab

- - Show sync progress on screen
- => Toggle on to display sync progress pop-up within Kodi
- - Sync specials ordering
- => description
- - Sync empty TV Shows
- => Add TV Shows to Kodi Library that do not currently have any associated episodes in the library
- - Enable Music Library Sync
- => Sync Kodi Library to Emby
- - Direct stream music library
- => Directly play music from network shares, instead of through Emby
- - Use local paths instead of addon redirect for playback
- => Directly play videos from network shares, instead of through Emby
- - Auto add images to the Kodi texture cache
- => Add Images to Kodi texture cache during sync.
- - Use incremental sync at startup (Requires Server Plugin)
- => Limit startup sync data to only changes, instead of the full library
- Requires "Emby for Kodi Sync Queue" plugin to be installed in Emby
- - Max change set size
- => description
- => Limit startup sync data to only changes, instead of the full library
Playback Tab

- - Network username
- => Username used to connect to SMB shares
- - Network Password
- => Password used to connect to SMB shares
- - Offer delete after playback
- => Enables a prompt that will show up after watching a video.
- This prompt gives the user the option to delete the video from the Emby library
- - For Episodes
- => Enable prompt to delete video for Episodes
- - For Movies
- => Enable prompt to delete video for Movies
- => Enables a prompt that will show up after watching a video.
- - On Resume jump Back Seconds
- => On resume, the video will start a specified number of seconds before the point at which it was stopped
- - Play from HTTP instead of SMB
- => Use the Emby HTTP server for playback source, instead of SMB shares
- - Video Quality
- => Specify the maximum video transfer rate
Extras Tab
- - Disable Enhanced Images (eg CoverArt)
- => Disable special images i.e. CoverArt
- - Force CoverArt Ratio
- => Resize CoverArt to match Kodi sizes (may result in images being distorted)
- - Ignore specials in next episodes
- => Causes "Next Episodes" to ignore all special episodes
- - Permanent users to add to the session
- => List of all other uses whose watched status should be updated when videos are watched
Advanced Tab
- - Log Level:
- => Select level of data to be included in the log (None/Info/Debug)
- - Suppress server connection message on start-up
- => Suppress welcome message when connecting to Emby
- - Enable server message when it's restarting
- => Enable notification that Emby has restarted
- - Reset Local Kodi DB
- => Completely wipe data out of local Kodi database
- Requires Kodi to be restarted
- => Completely wipe data out of local Kodi database
Extra Info
- Note: This page is currently in the process of being updated.
- See: https://github.com/MediaBrowser/Emby.Kodi/wiki