Adding video sources
Adding videos to the library/Contents
See also: Media sources and File sharing
Media sources are the links that tell XBMC where your content is stored and what type of content is contained within each one. You can have multiple sources for each media type.
You can use local media, file shares, removable USB drives, etc. UPnP won't work with the library features in XBMC, but just about all the other options should be fine.
-
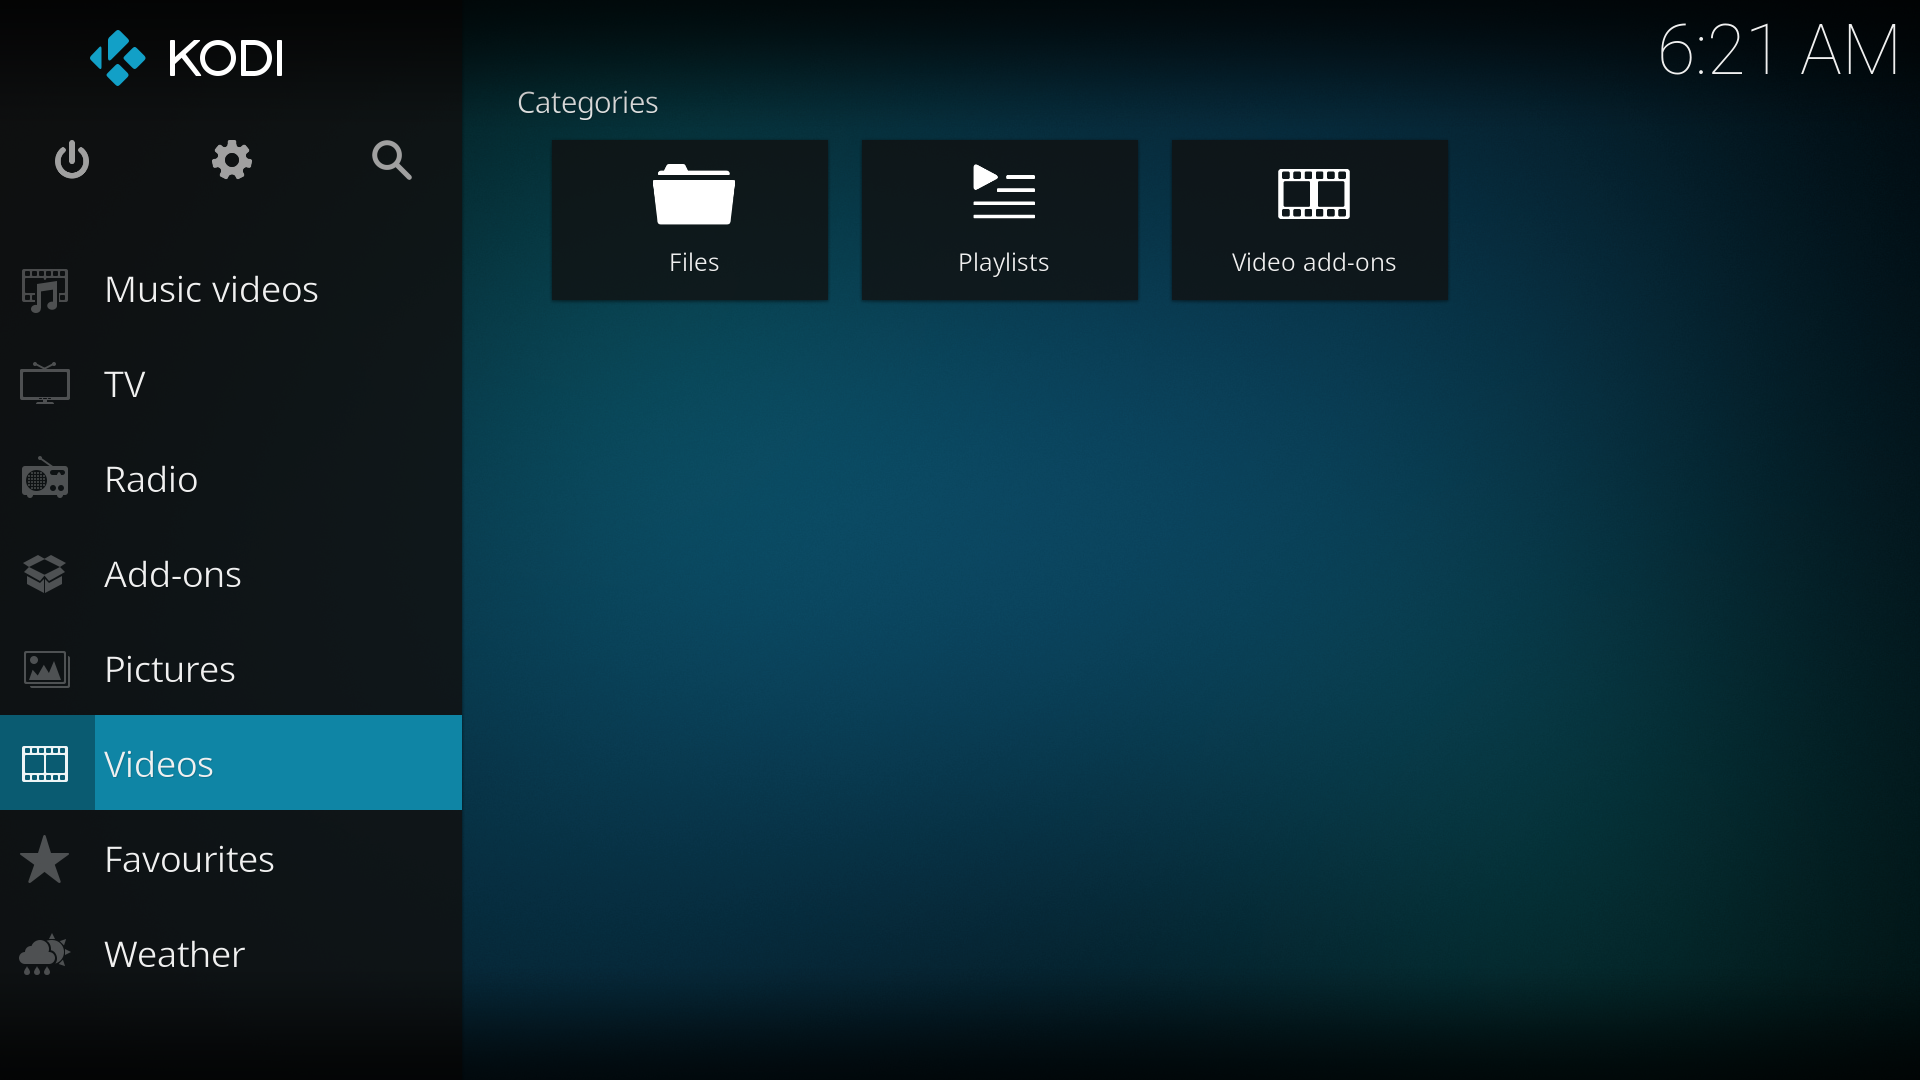 Step 1: Click "Videos" in the home screen menu.
 -
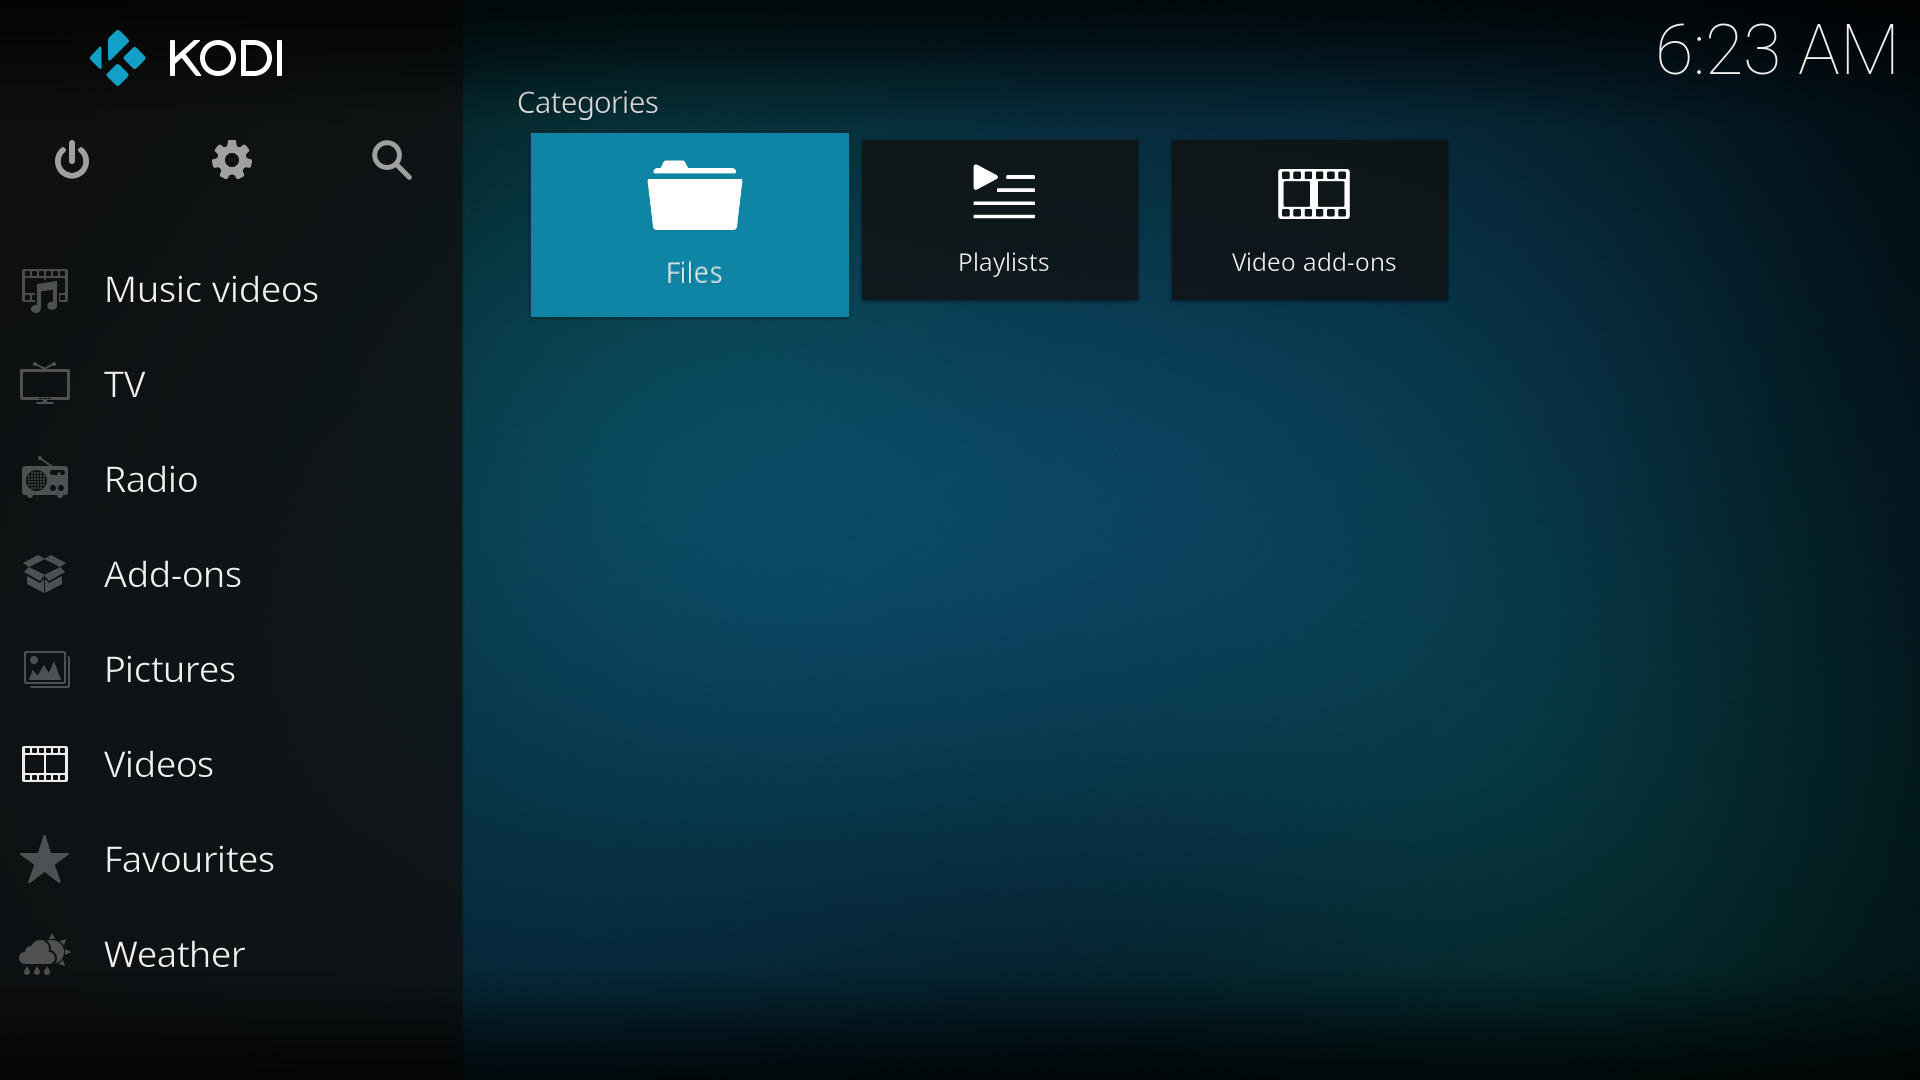 Step 2: Now click "Add Source".
 -
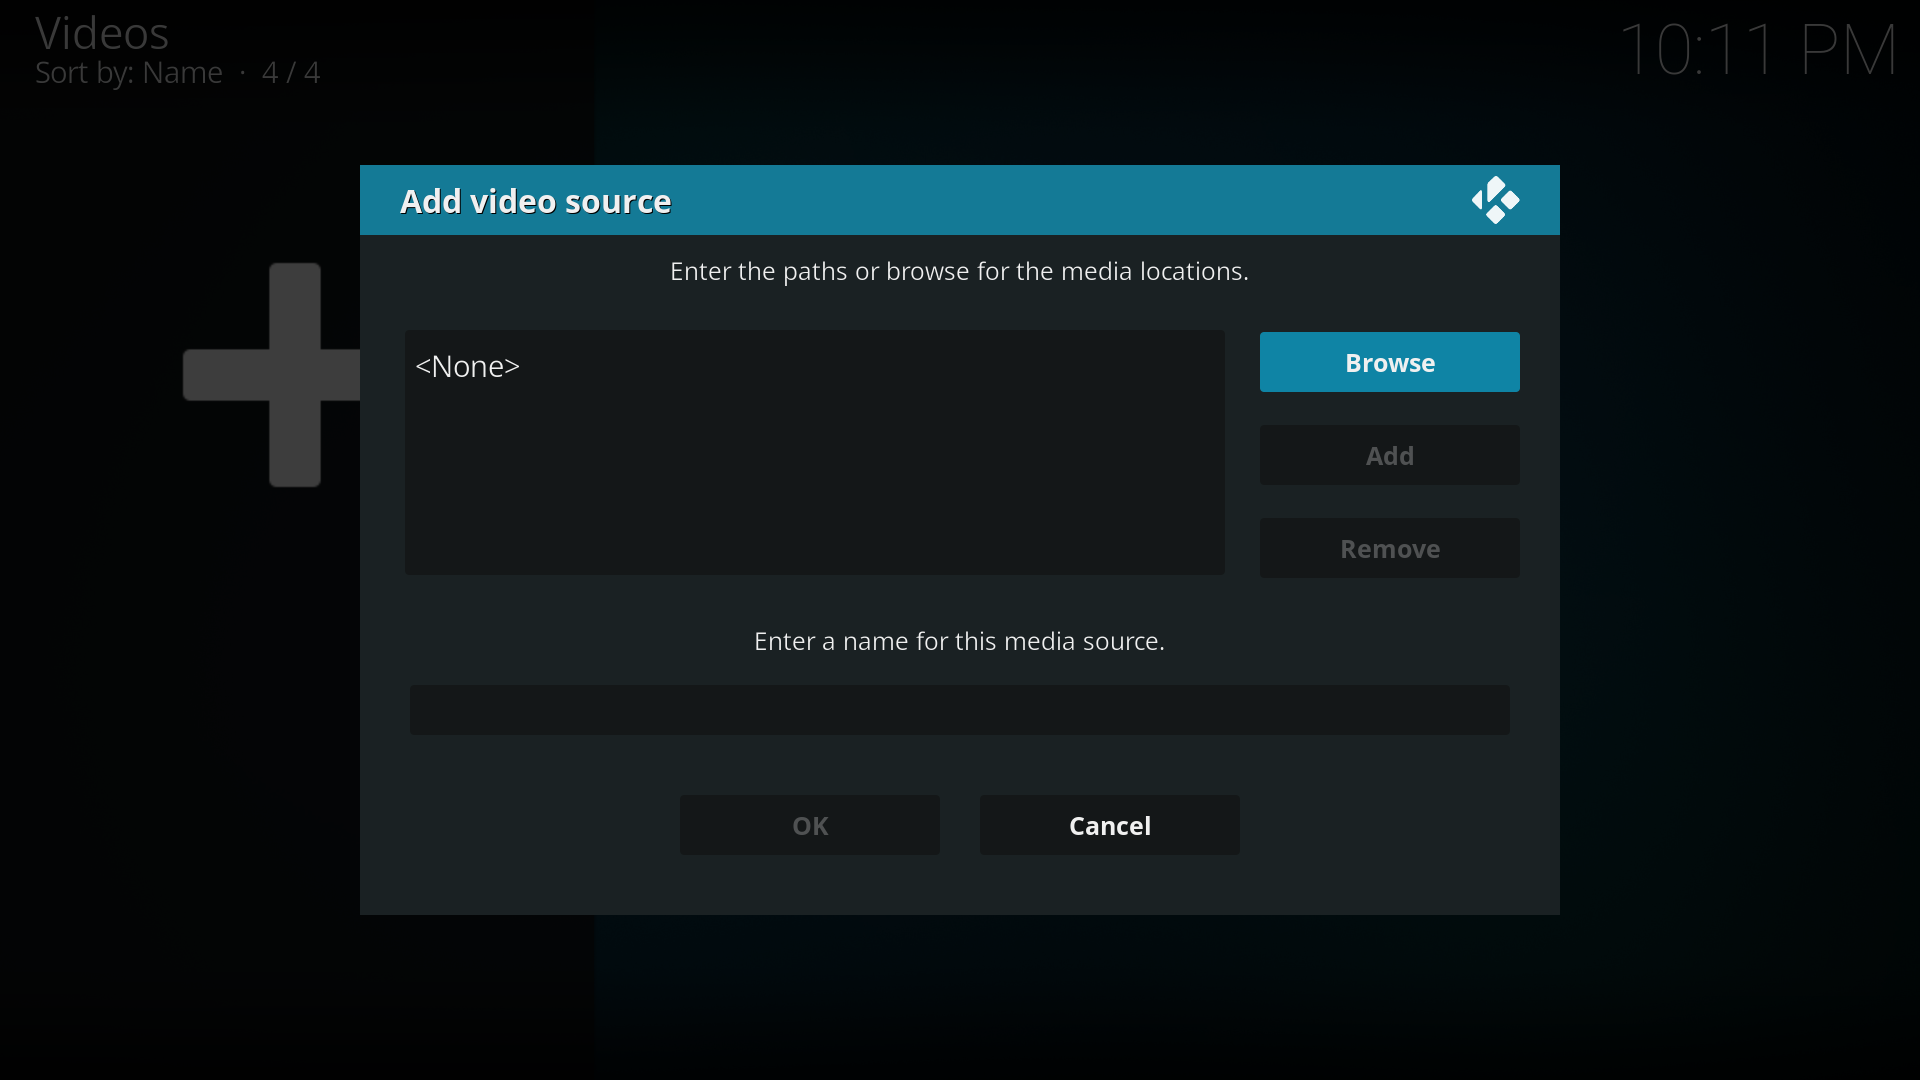 Step 3: The "Add Video Source" screen will be displayed. Then click the "Browse" button.
 -
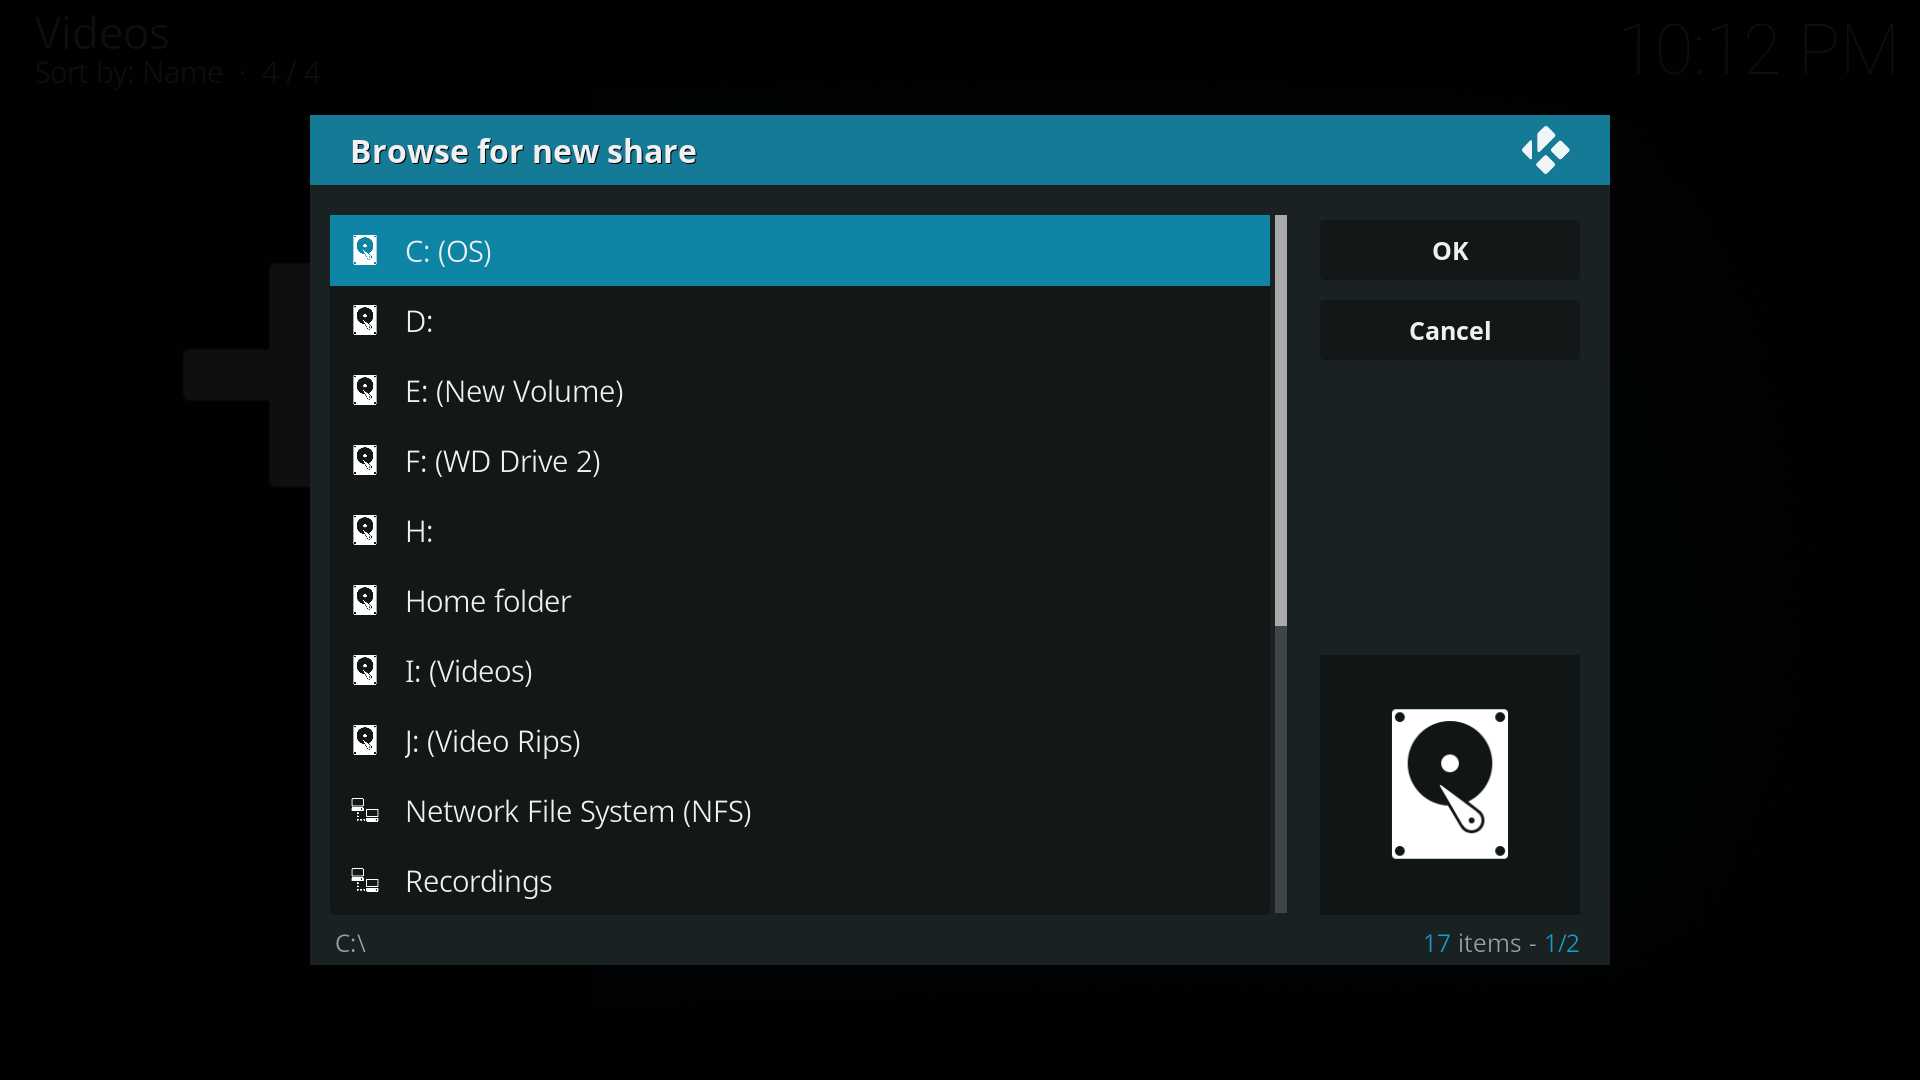 Step 4: Now browse to where you keep your videos stored. Once you have found the folder you keep your videos in, click the "OK" button. If you keep them shared on a network drive, read the Configuring PC Shares article for more information about setting up a share on your computer first.
 -
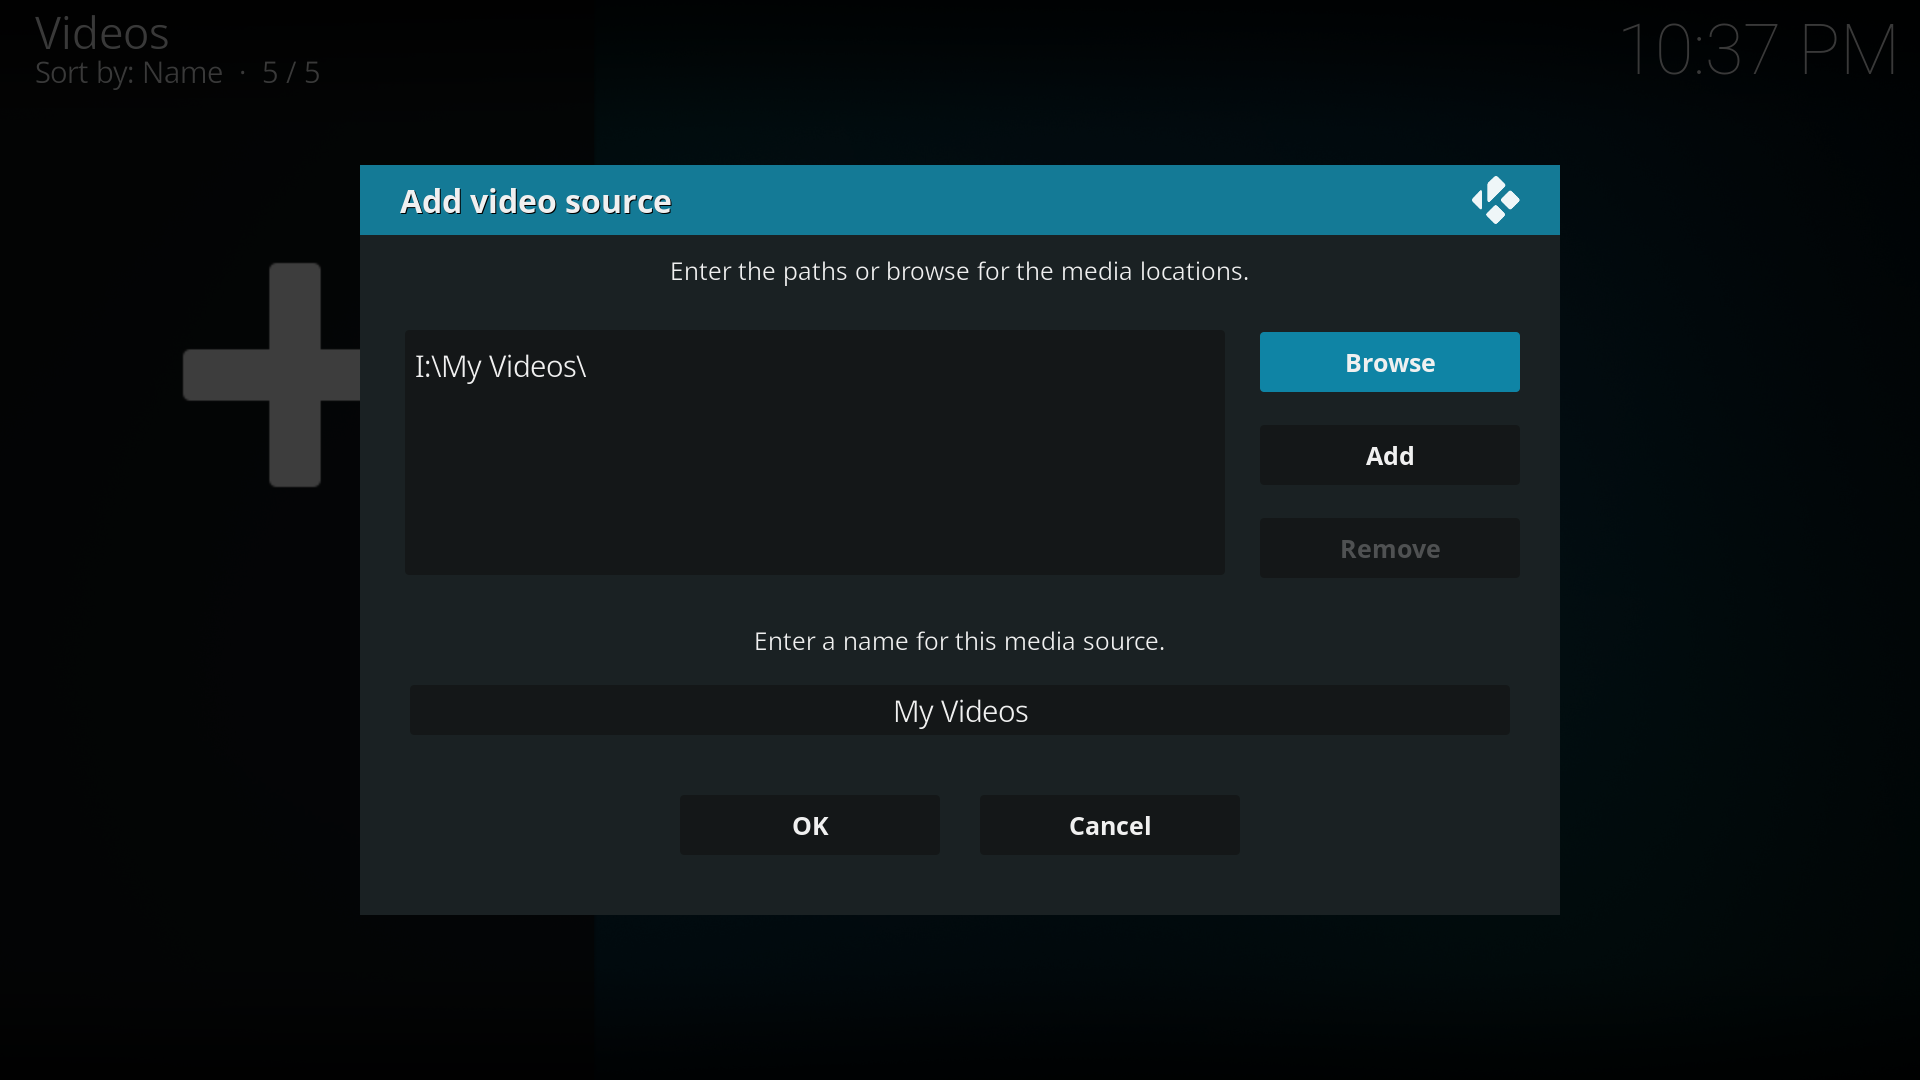 Step 5: Name this Video Source however you like. If it is a movie folder, you will probably want to name it "Movies", and if it is a TV Show folder then you will probably want name it TV Shows. The name doesn't matter to XBMC. Then click "OK".
 -
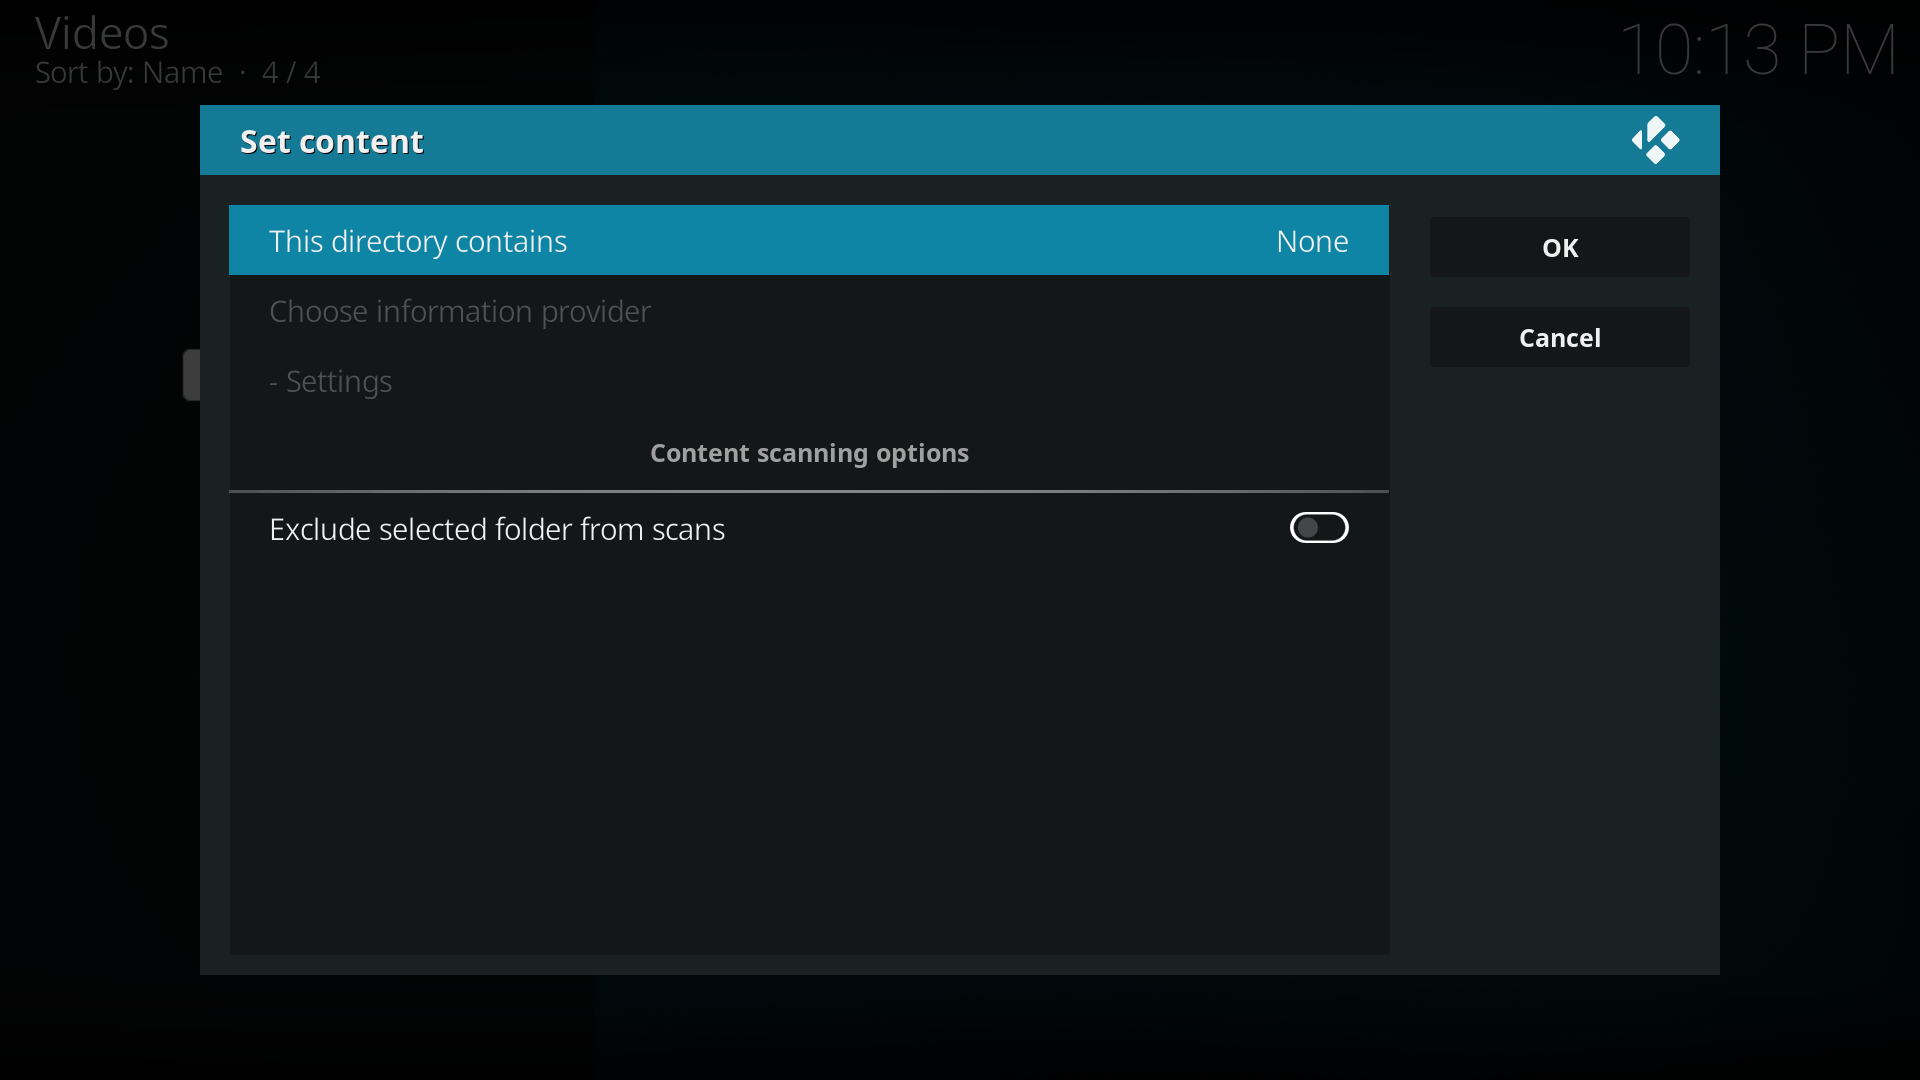 Step 6: The set content window will display, this is where you tell XBMC what type of media is in the folder. Press the down arrow until you reach the correct type (in this example movies)
 -
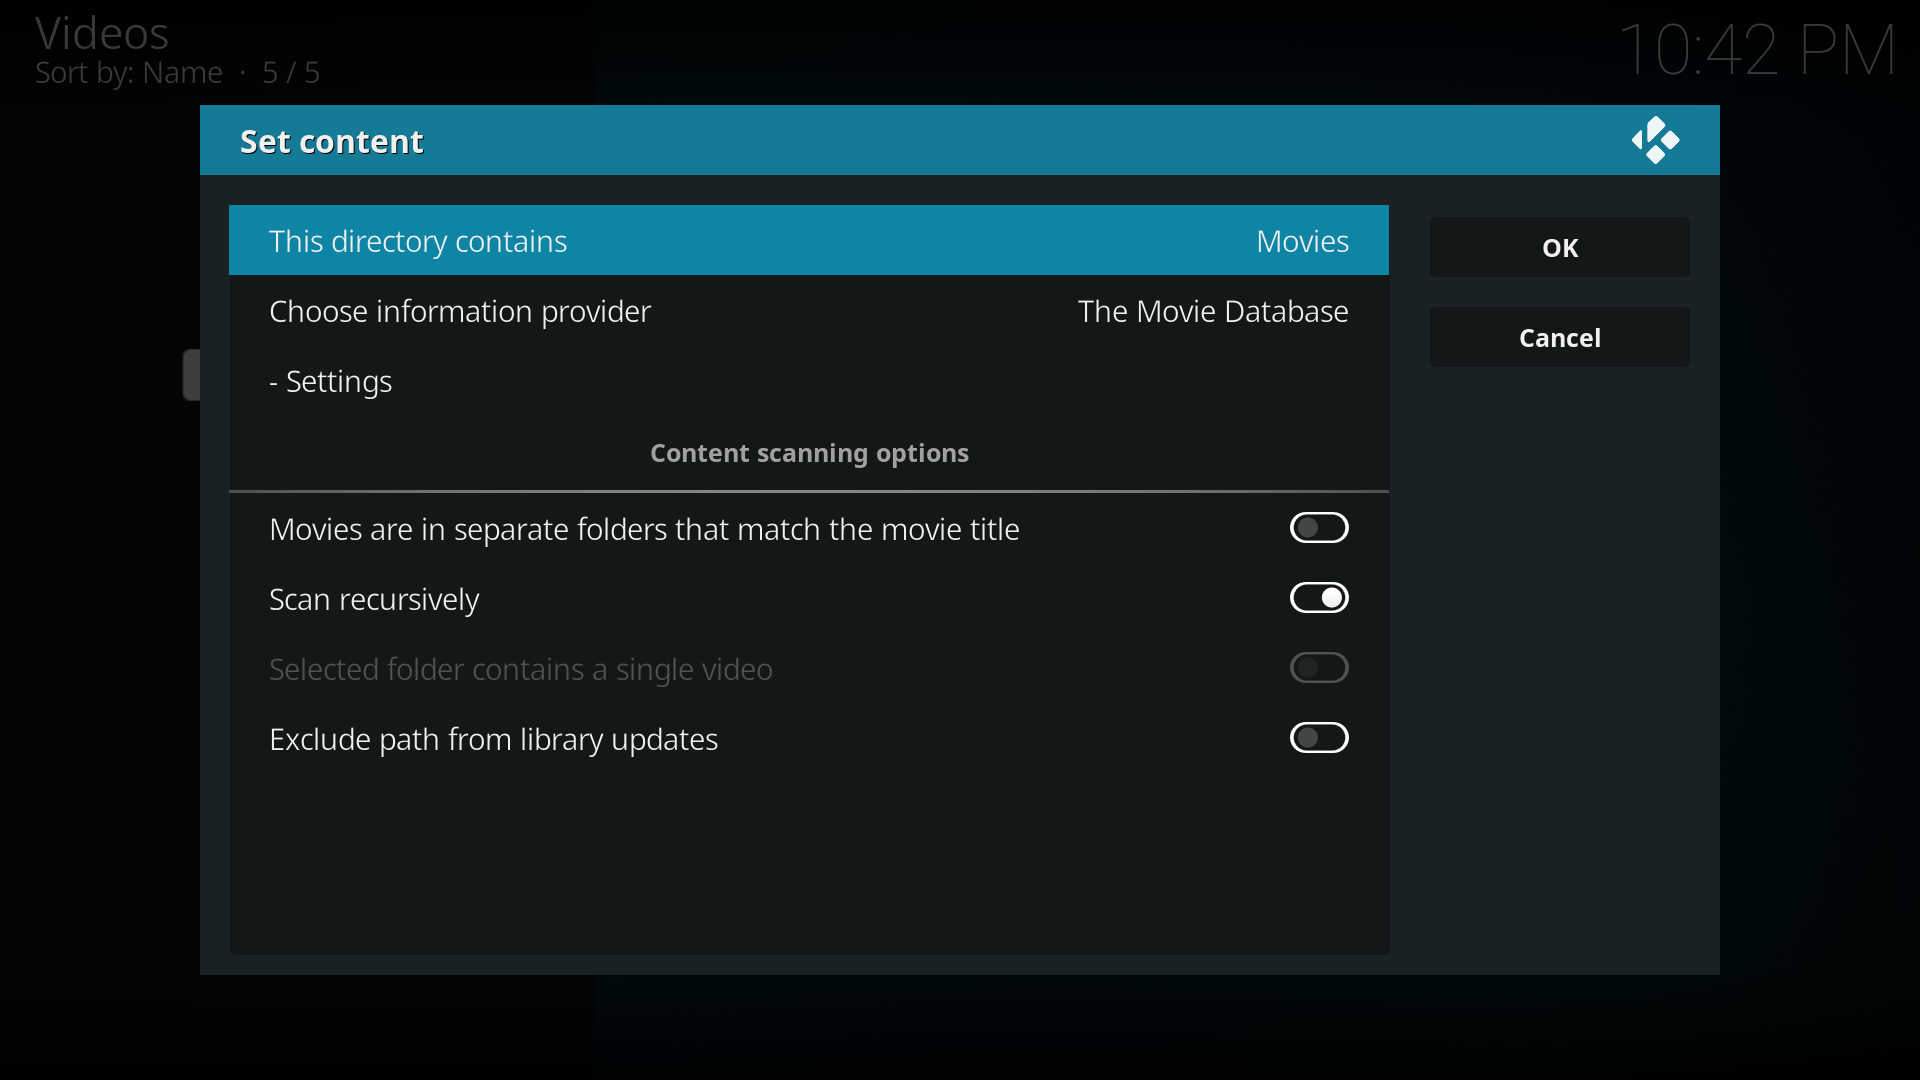 Step 7: There are a number of options underneath, see Setting content and scanning to check what options to enable. Then click "OK"
 -
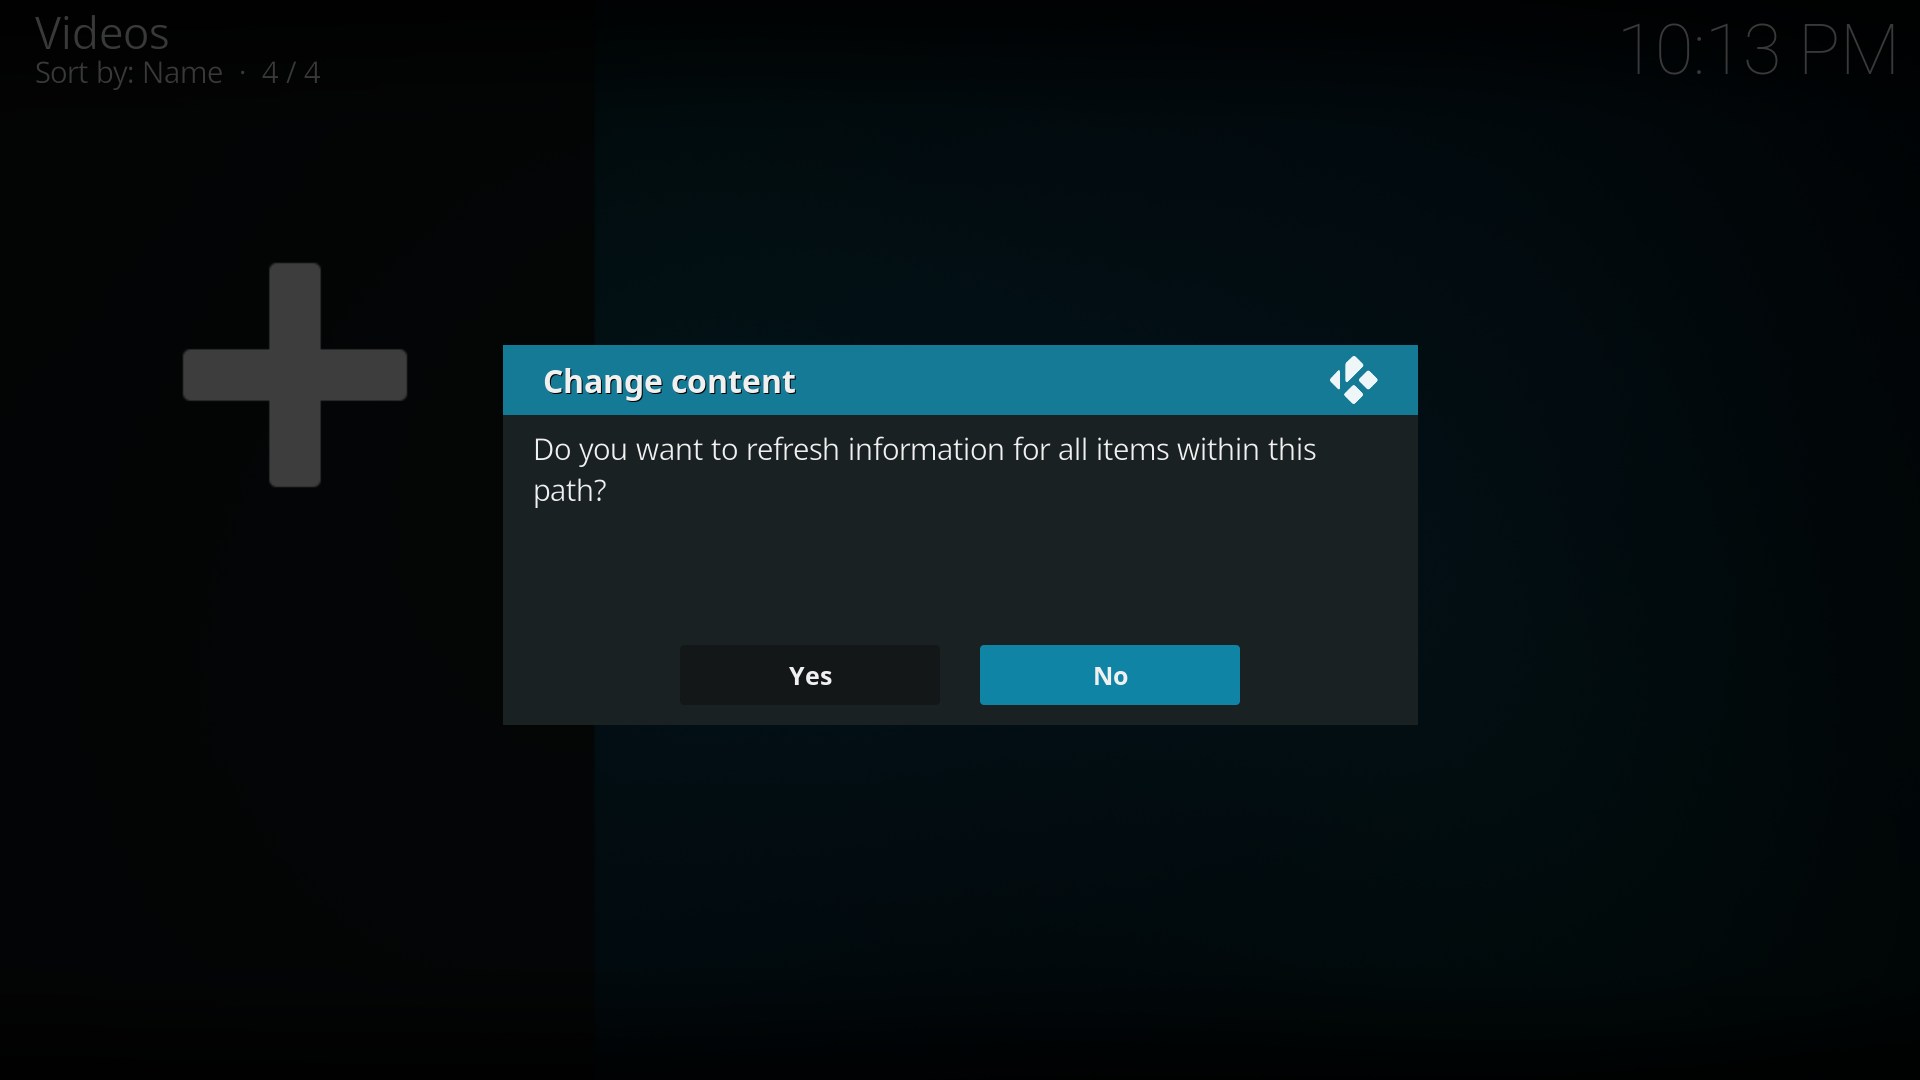 Step 8: Press Yes the scan the content to the library (if no is pressed, it can be scanned later).


