Add-on manager
Add-ons are packages that add features and functions not normally included with XBMC. Add-ons are developed by people on Team XBMC and third-parties. XBMC has a growing list of community driven add-ons for online content like YouTube, Hulu, Grooveshark, Pandora Radio, as well as skins (themes) and more available from a common official repository, while still enabling third-party developers to also host their own unofficial repositories for add-ons that any user can choose to add themselves if they like.
For additional information about specific add-ons, see Category:All add-ons.
Add-on manager
The Add-on manager's purpose is to manage the various add-ons to the XBMC application. It can be browsed like any other XBMC section and the various installed/uninstalled, enable/disabled add-ons. In the Add-on manager you can also change the settings for auto update, notifications and foreign filter by bringing up the slide in submenu (press right → to show/hide).
How to access the Add-on manager
From the home screen, go to
- System -> Add-ons
-
 Step 1: Select System on the home screen.
 -
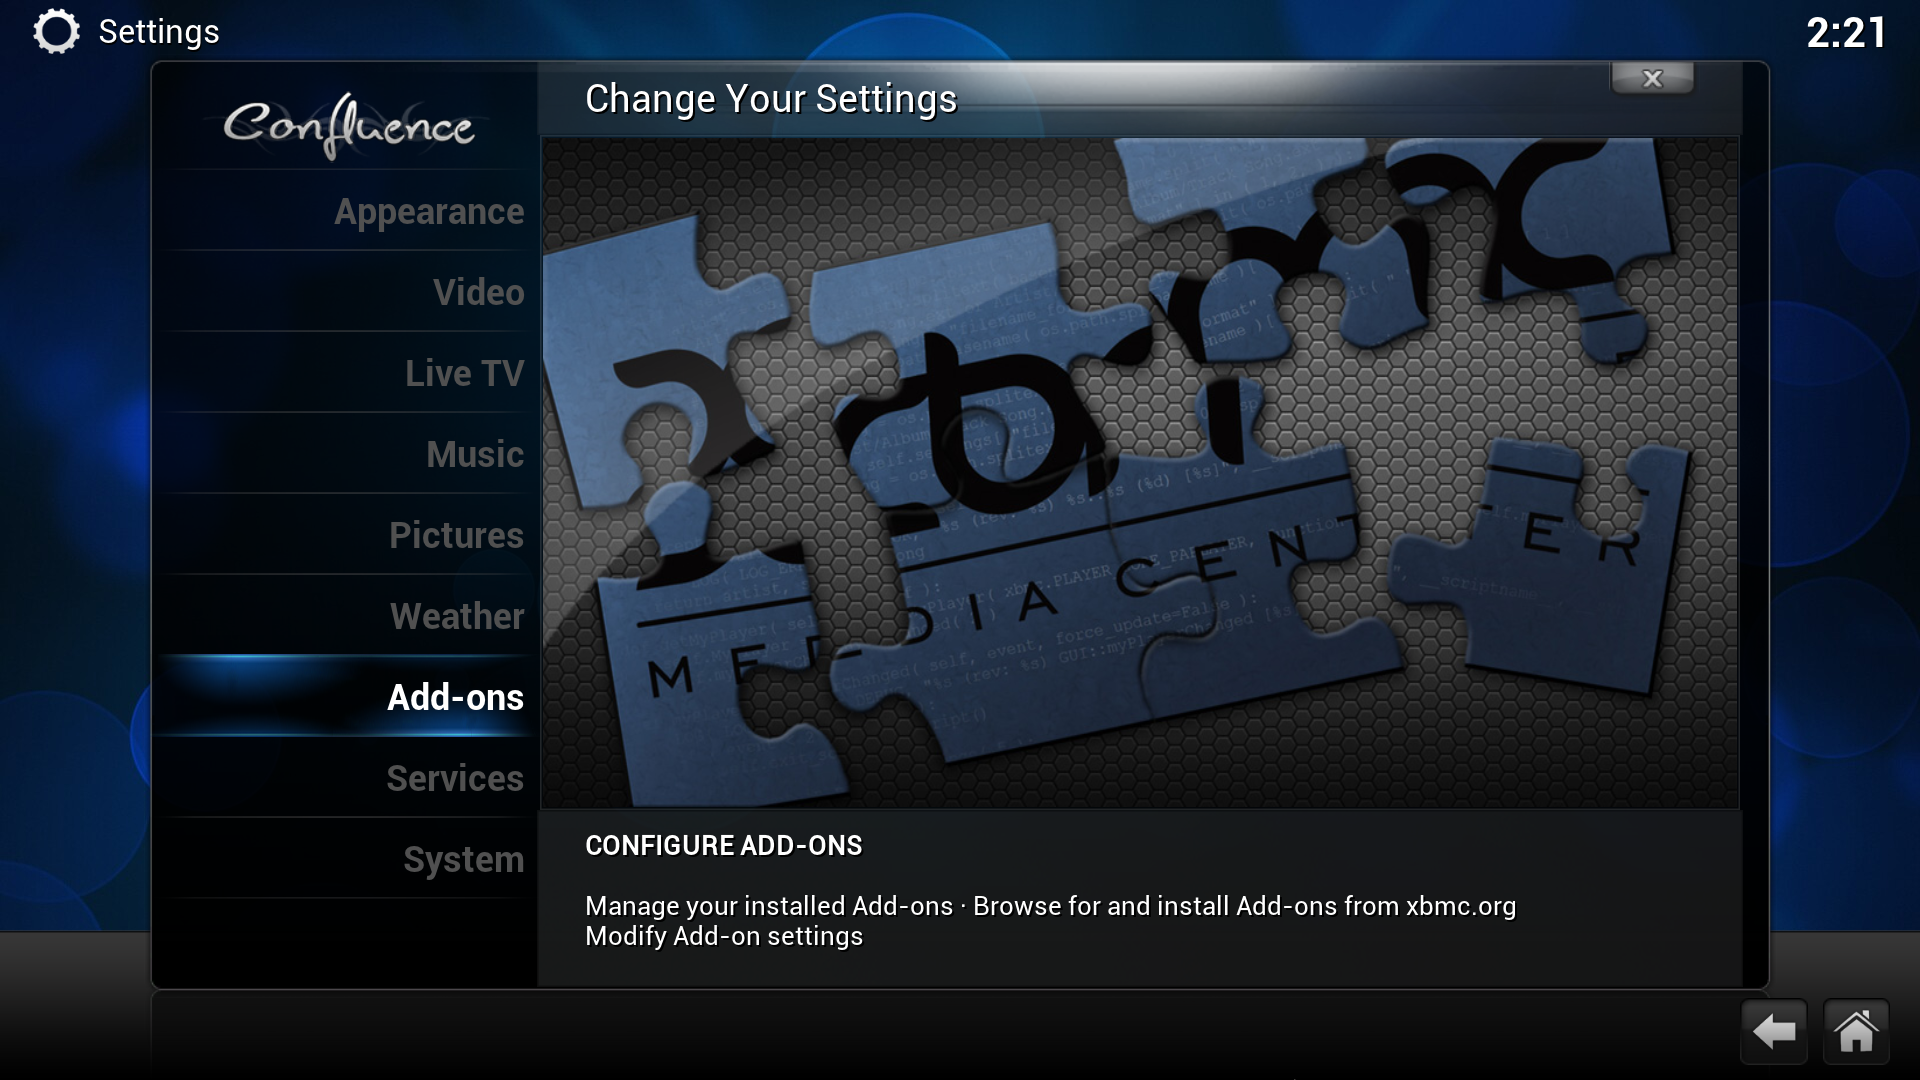 Step 2: Select Add-ons.
 -
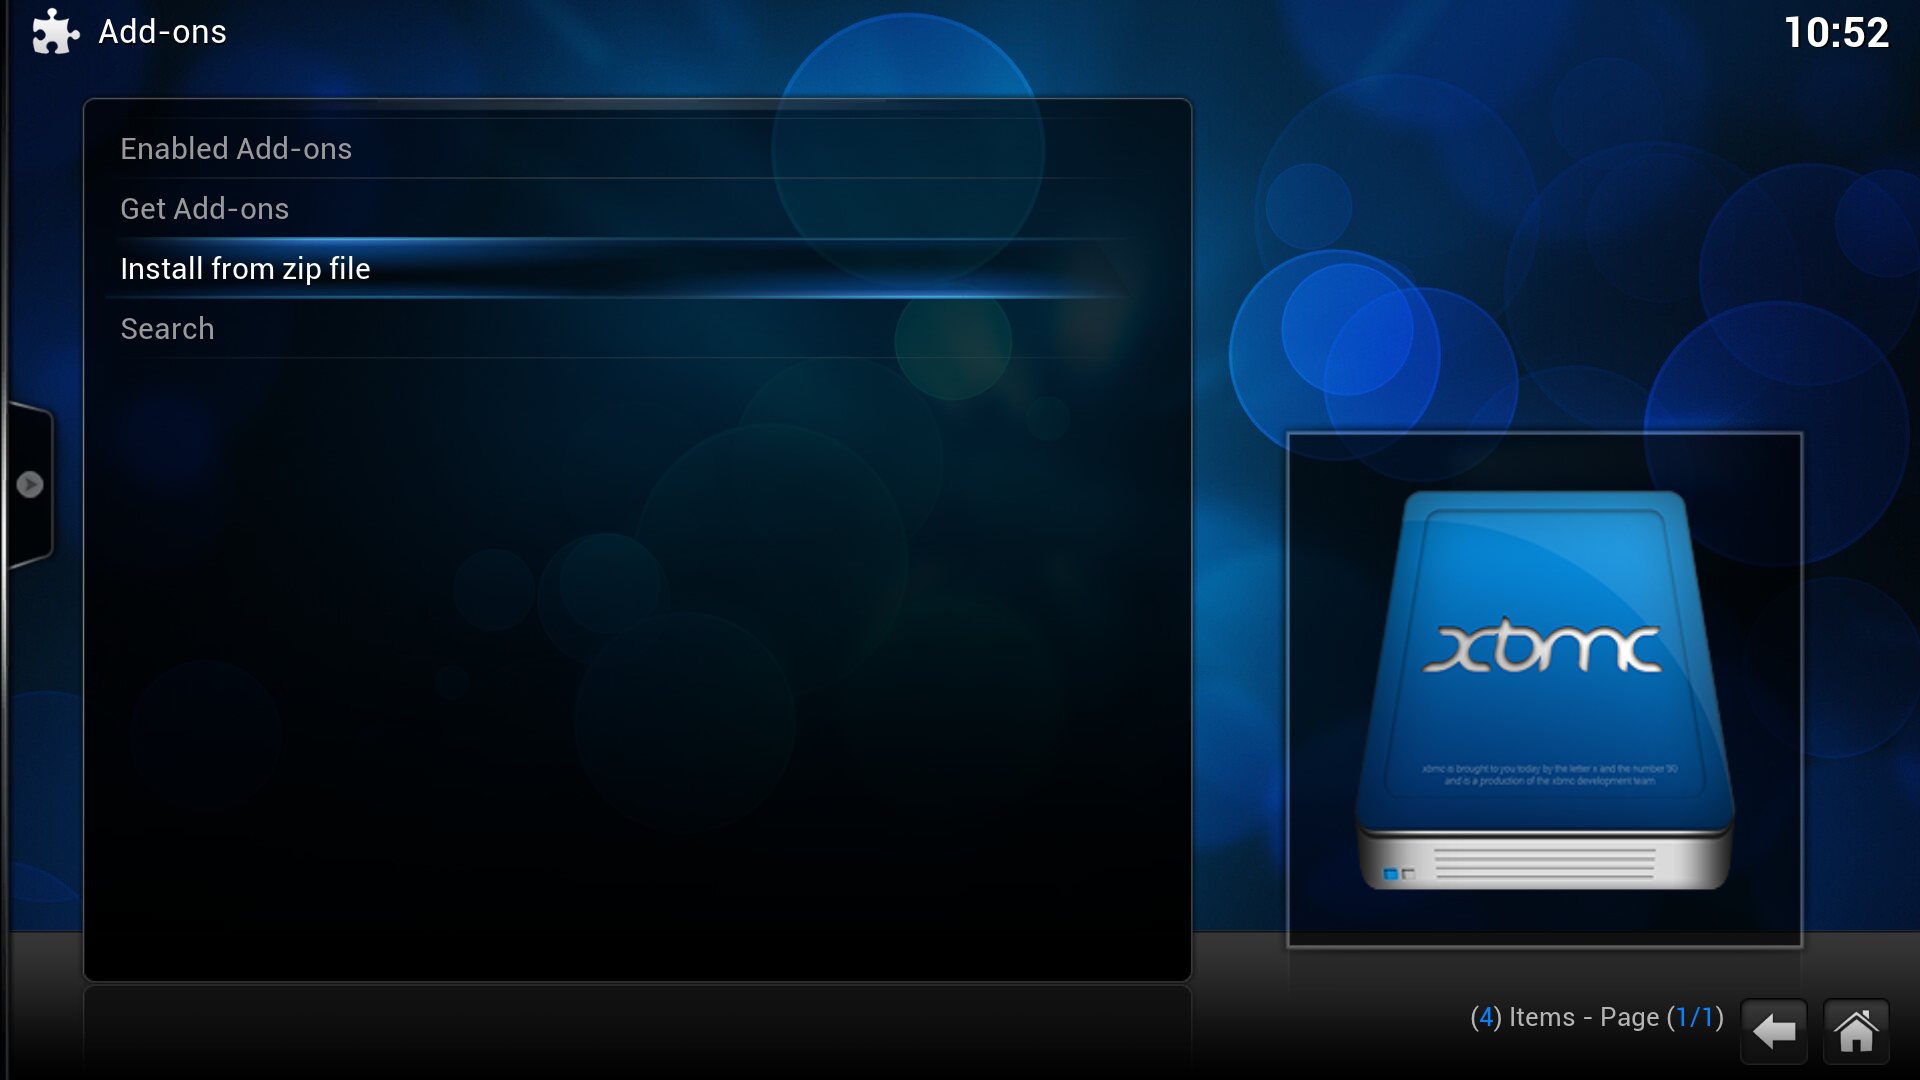
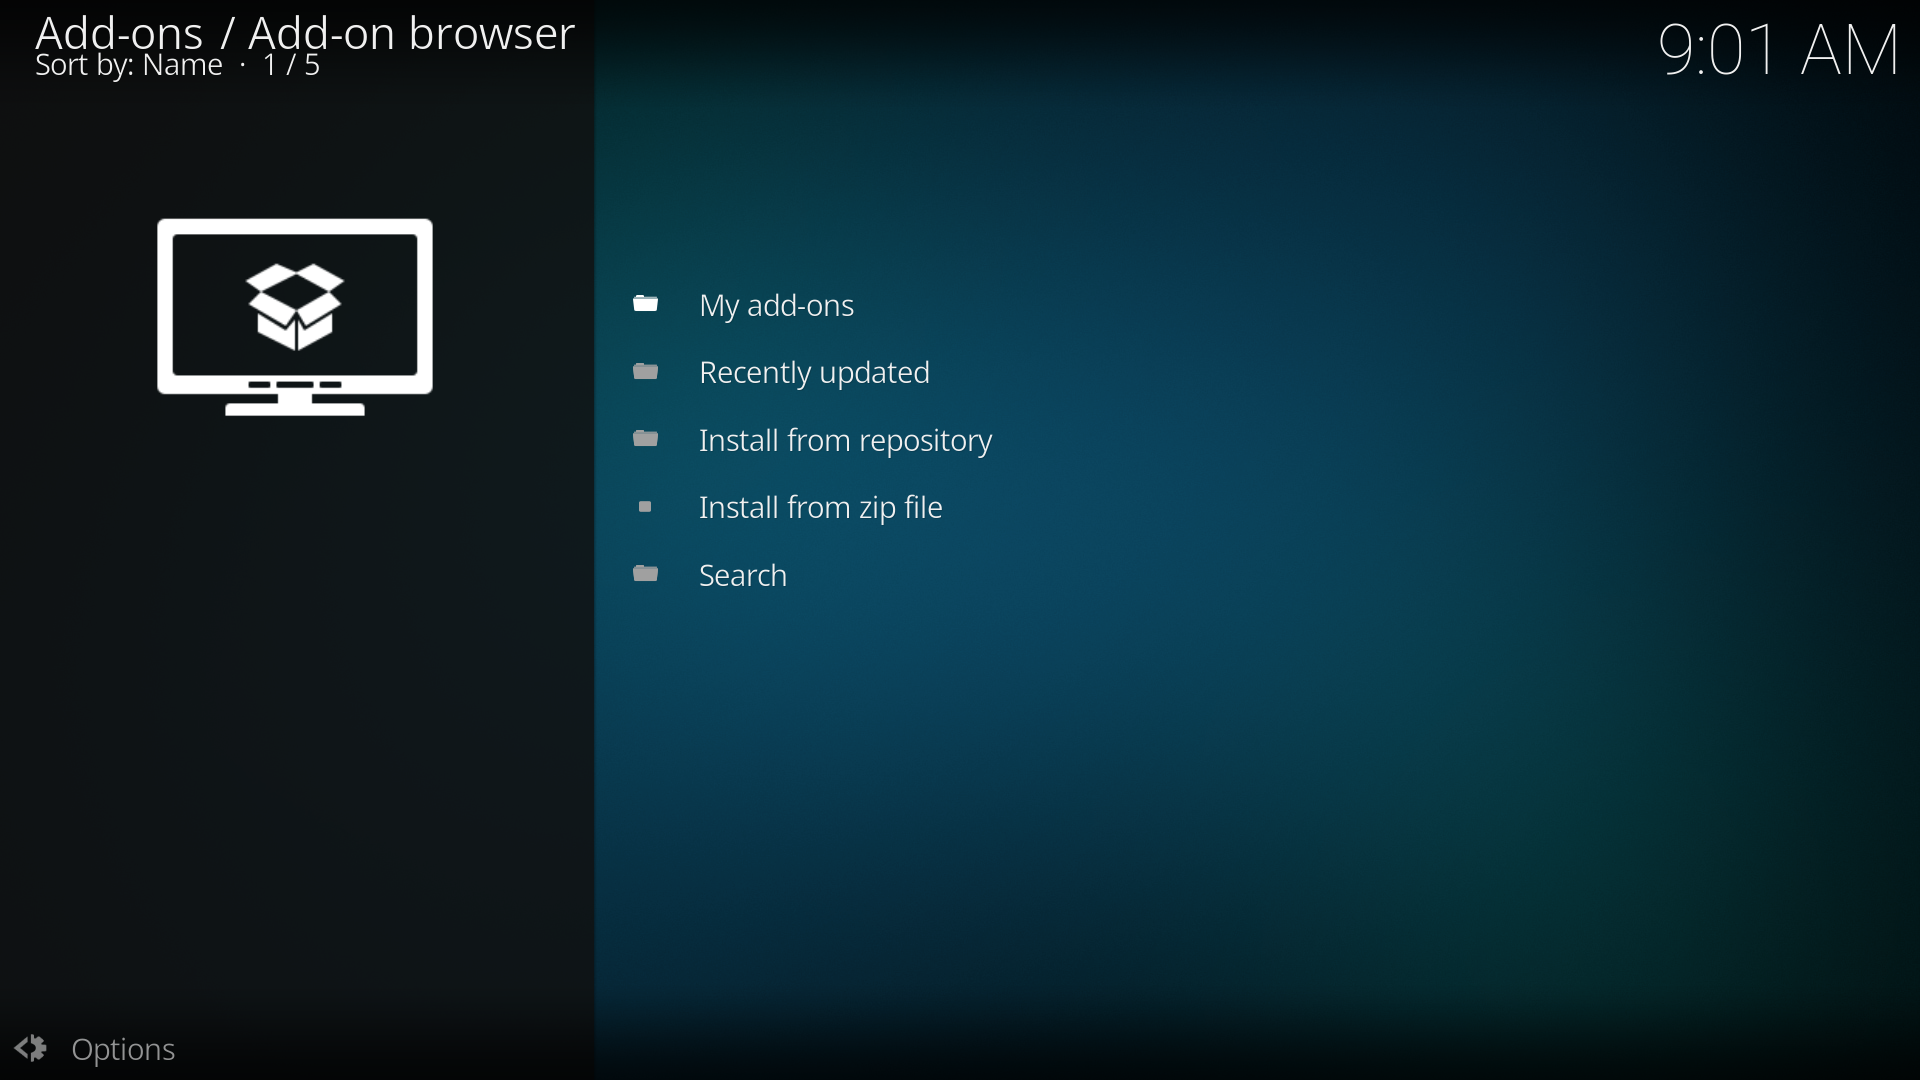 Step 3: The Add-on manager, displaying four/five options (explained below).


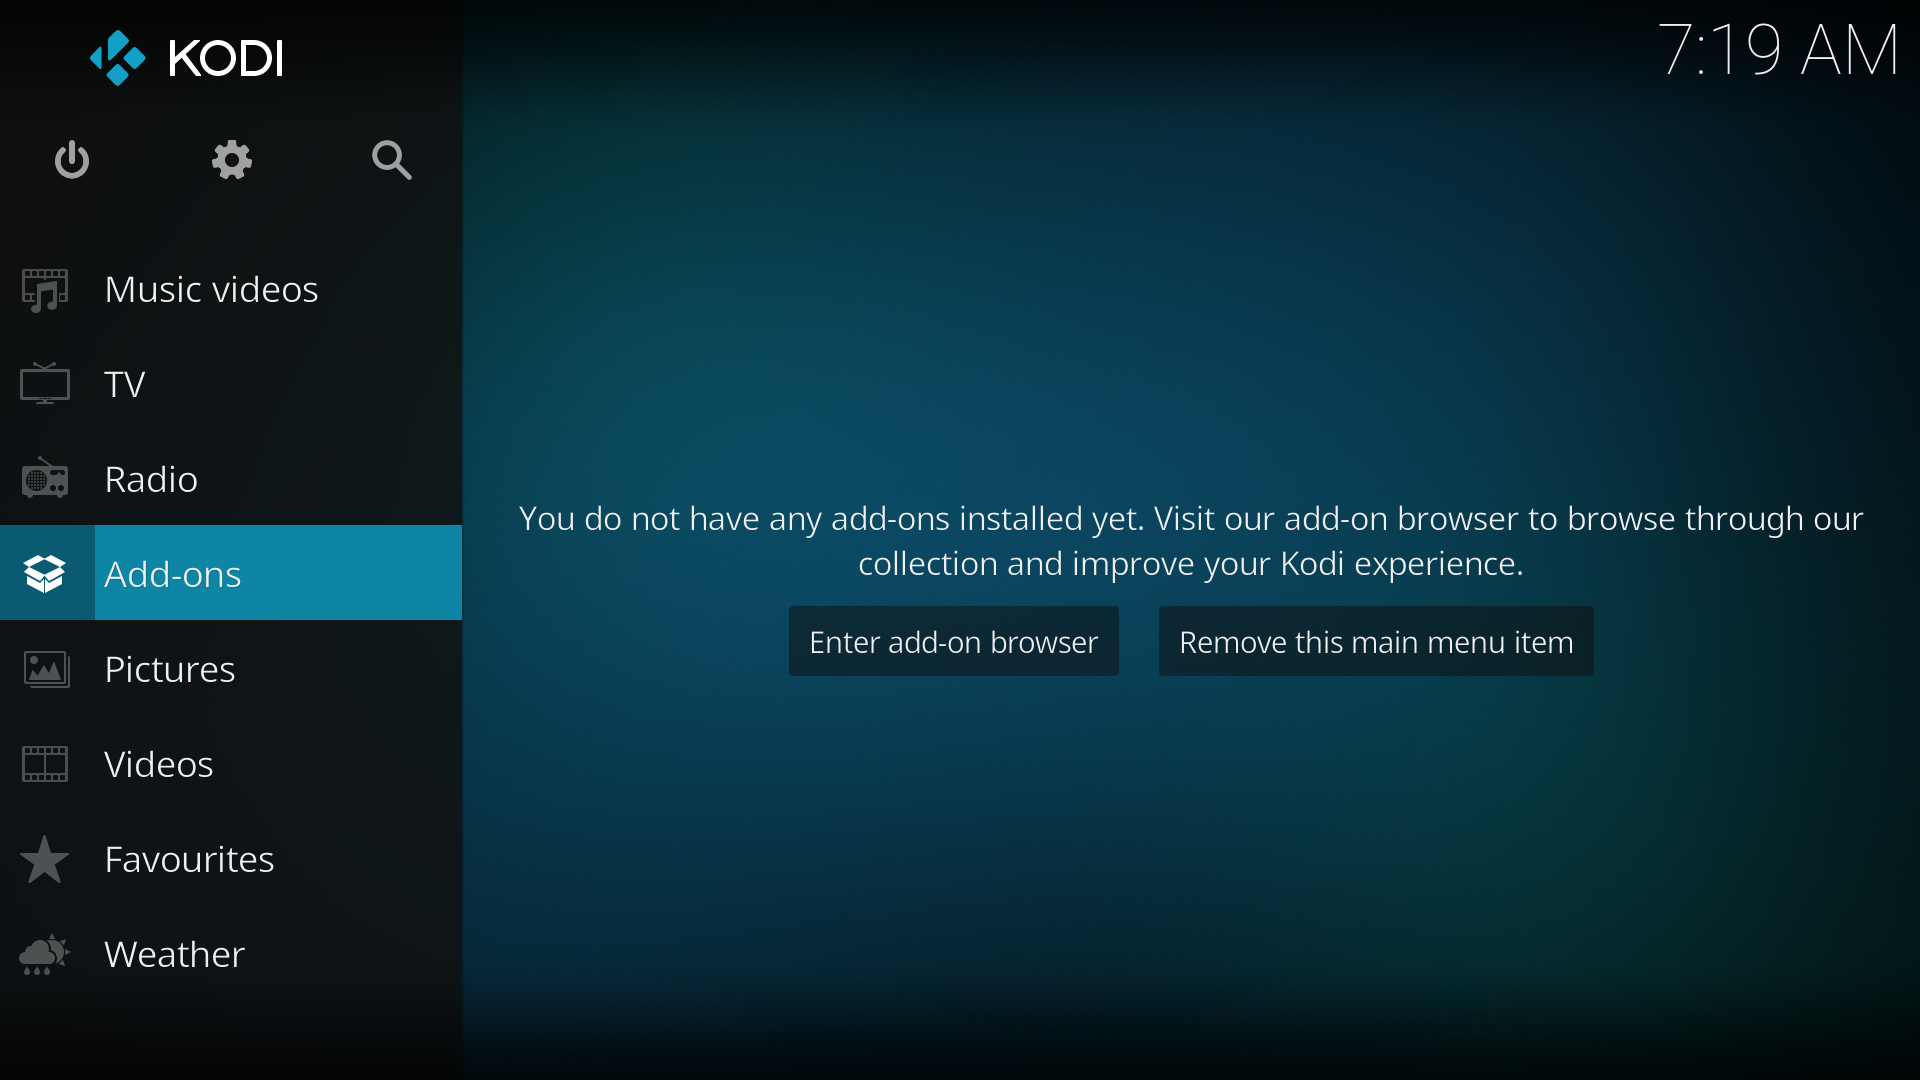
Enabled add-ons are add-ons that are currently enabled. XBMC comes with certain add-ons already installed and enabled (such as movie scrapers, screen-savers and visualisation)
Disabled add-ons is not visible if you don't have any disabled add-ons. It shows add-ons you've manually disabled or that's been disabled by XBMC because they're "marked as broken" in the repository.
Get add-ons allows you to install new add-ons from the installed repositories. XBMC comes with one repository pre-installed (the official repository) others can be added by adding a repository.
Install from ZIP file allows the installation of an add-on from a ZIP file, either from the hard drive or LAN.
Search allows you to search add-ons in the installed repositories and your installed add-ons.
How to install add-ons from a repository
For this example a skin is being installed, the same method is used for other add-ons.
- Select Get Add-ons -> Select the repository -> Select the add-on category -> Select the add-on -> Select Install
-
 Step 1: Select Get Add-ons
 -
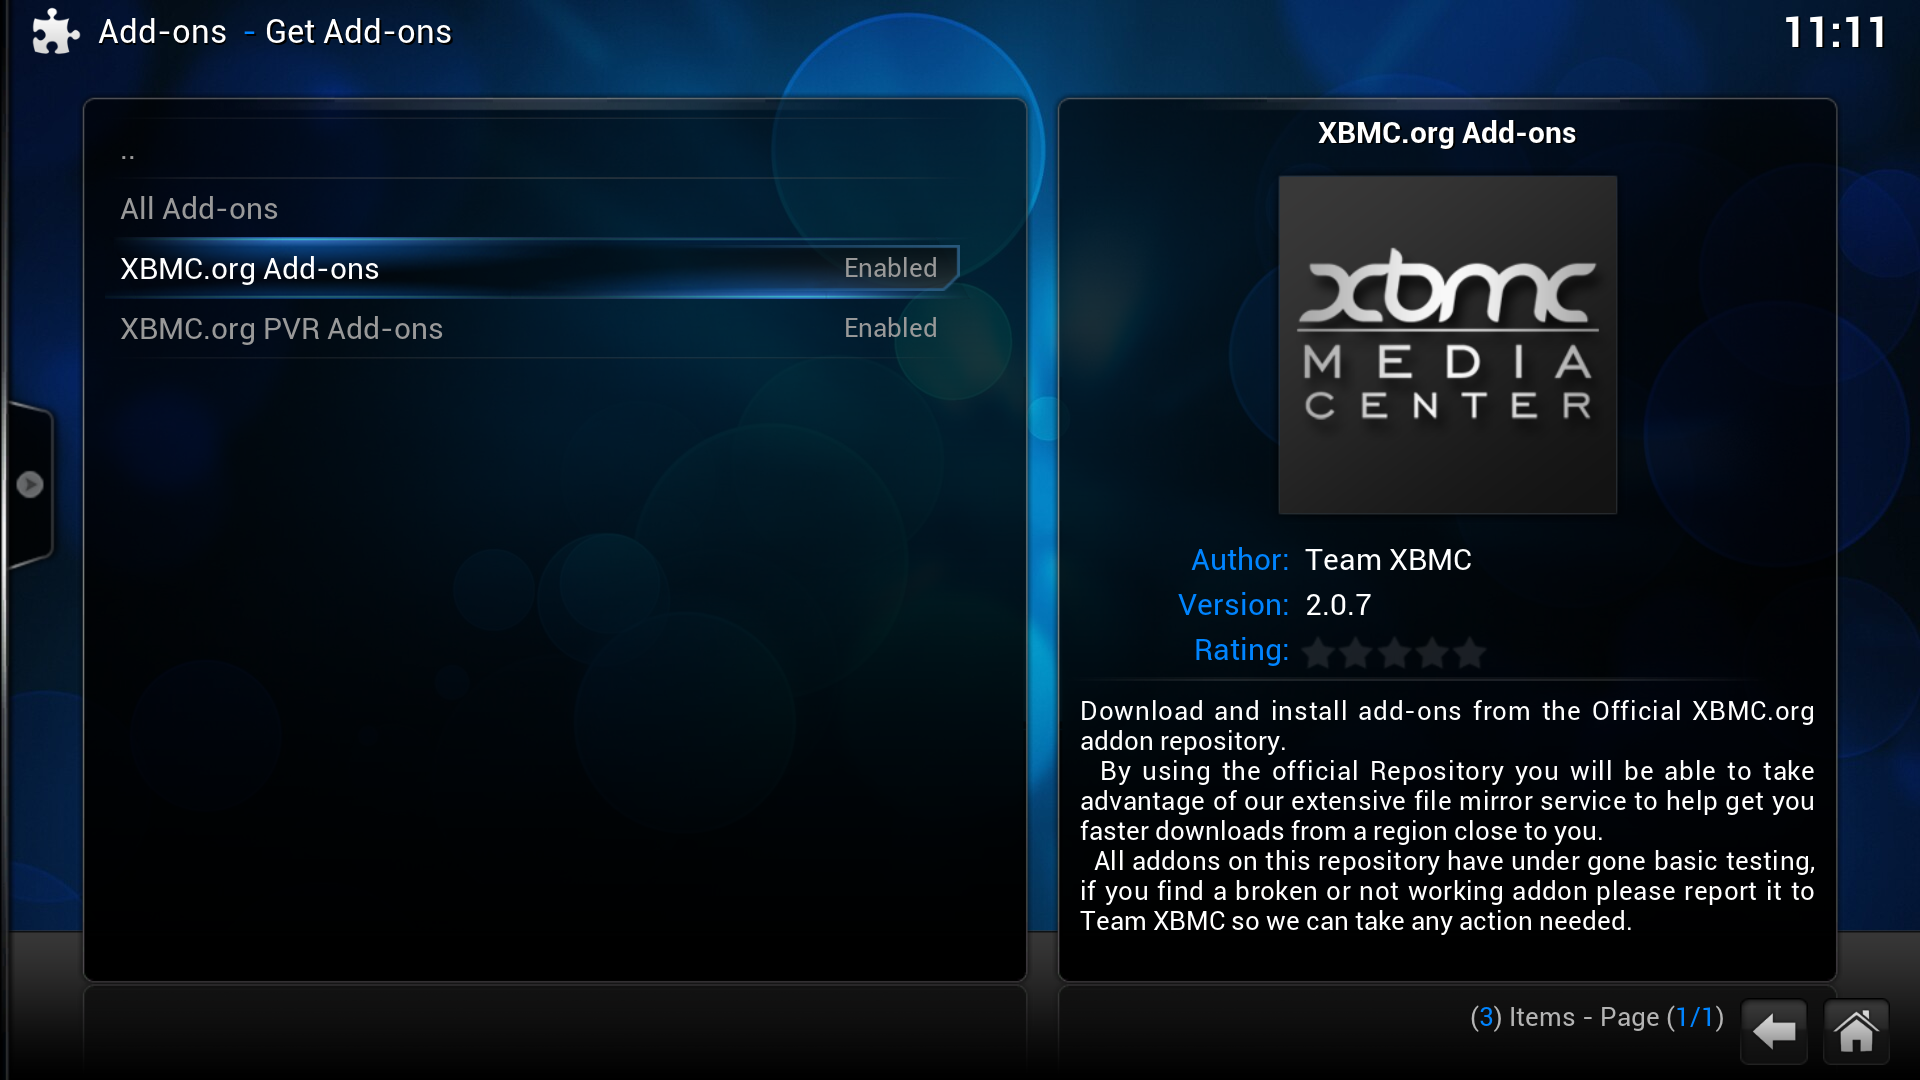 Step 2: Select the repository you want to install from. XBMC.org Add-ons and XBMC.org PVR Add-ons are the two official add-on repositories. (see How to install additional add-on repositories for more)
 -
 Step 3: Select the add-on category, in this case Skin.
 -
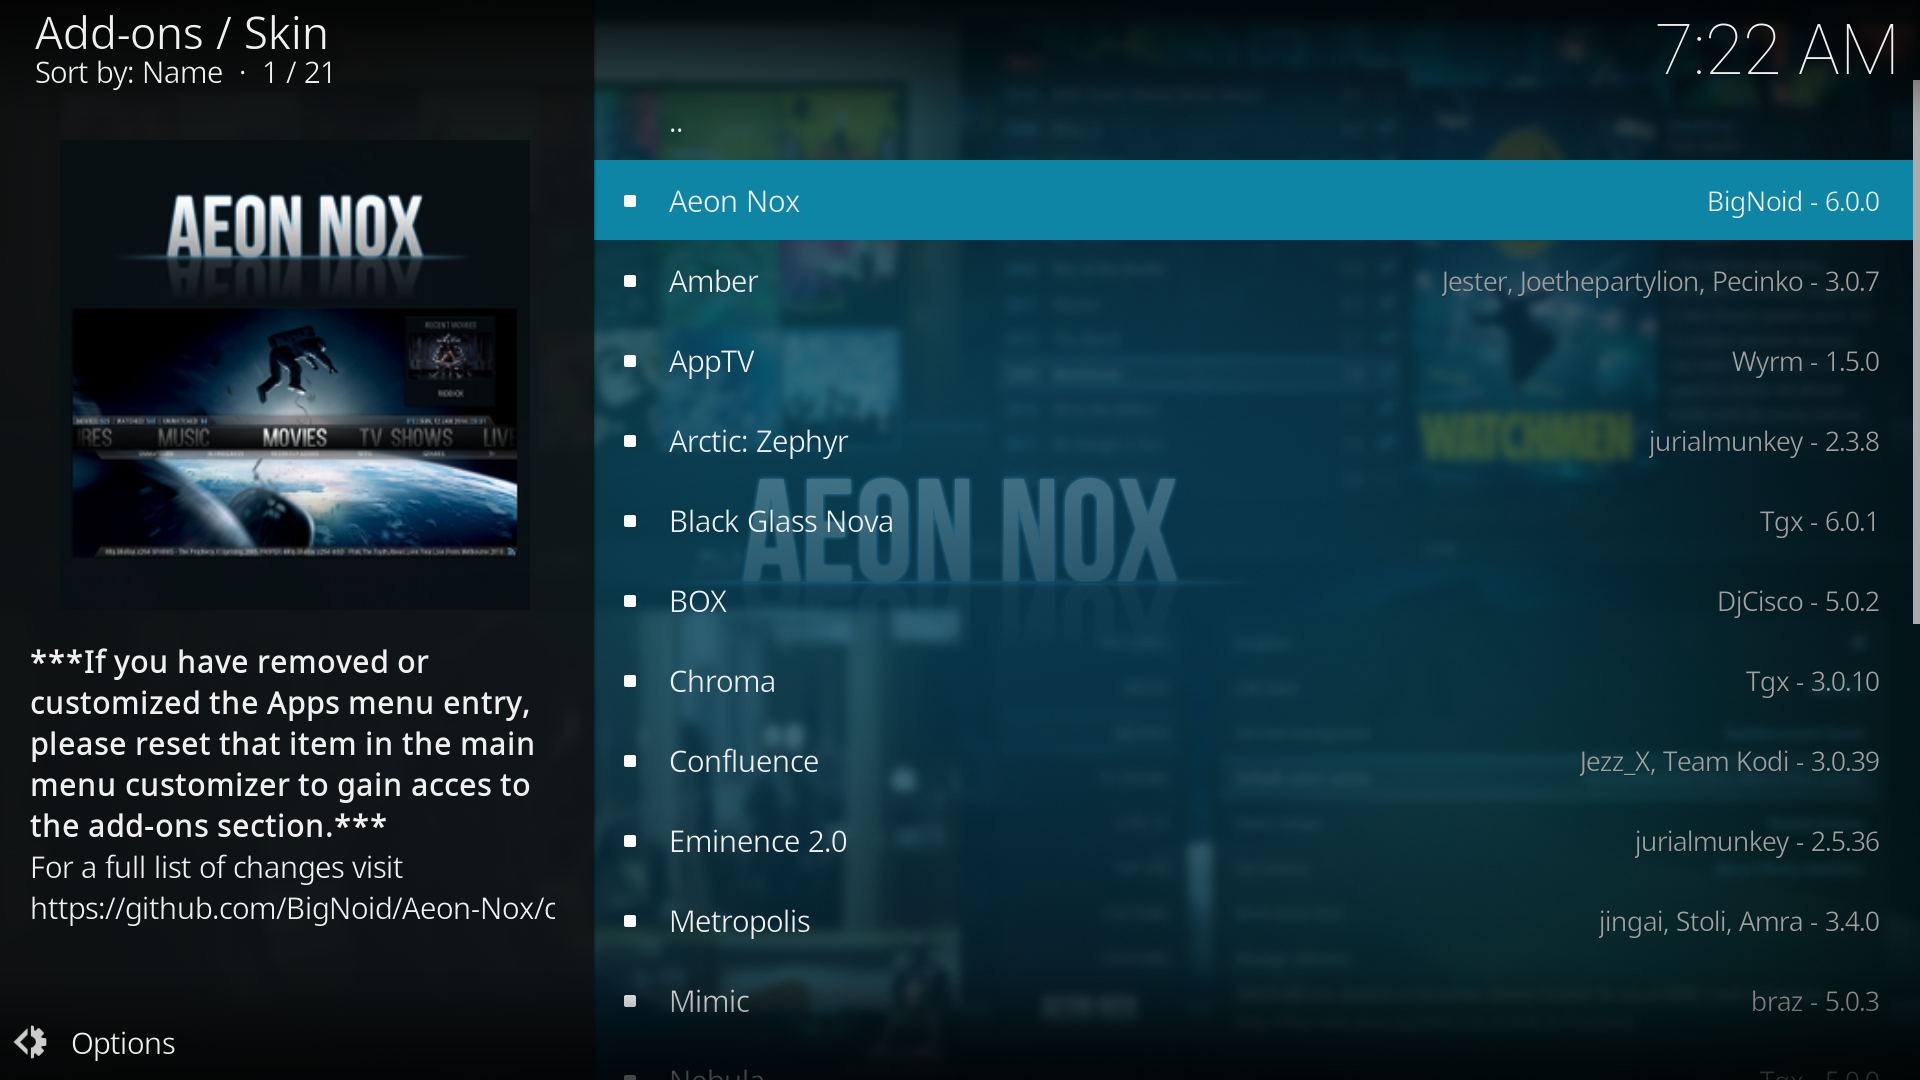 Step 4: Select the add-on you want to install, in this case the skin Ace.
 -
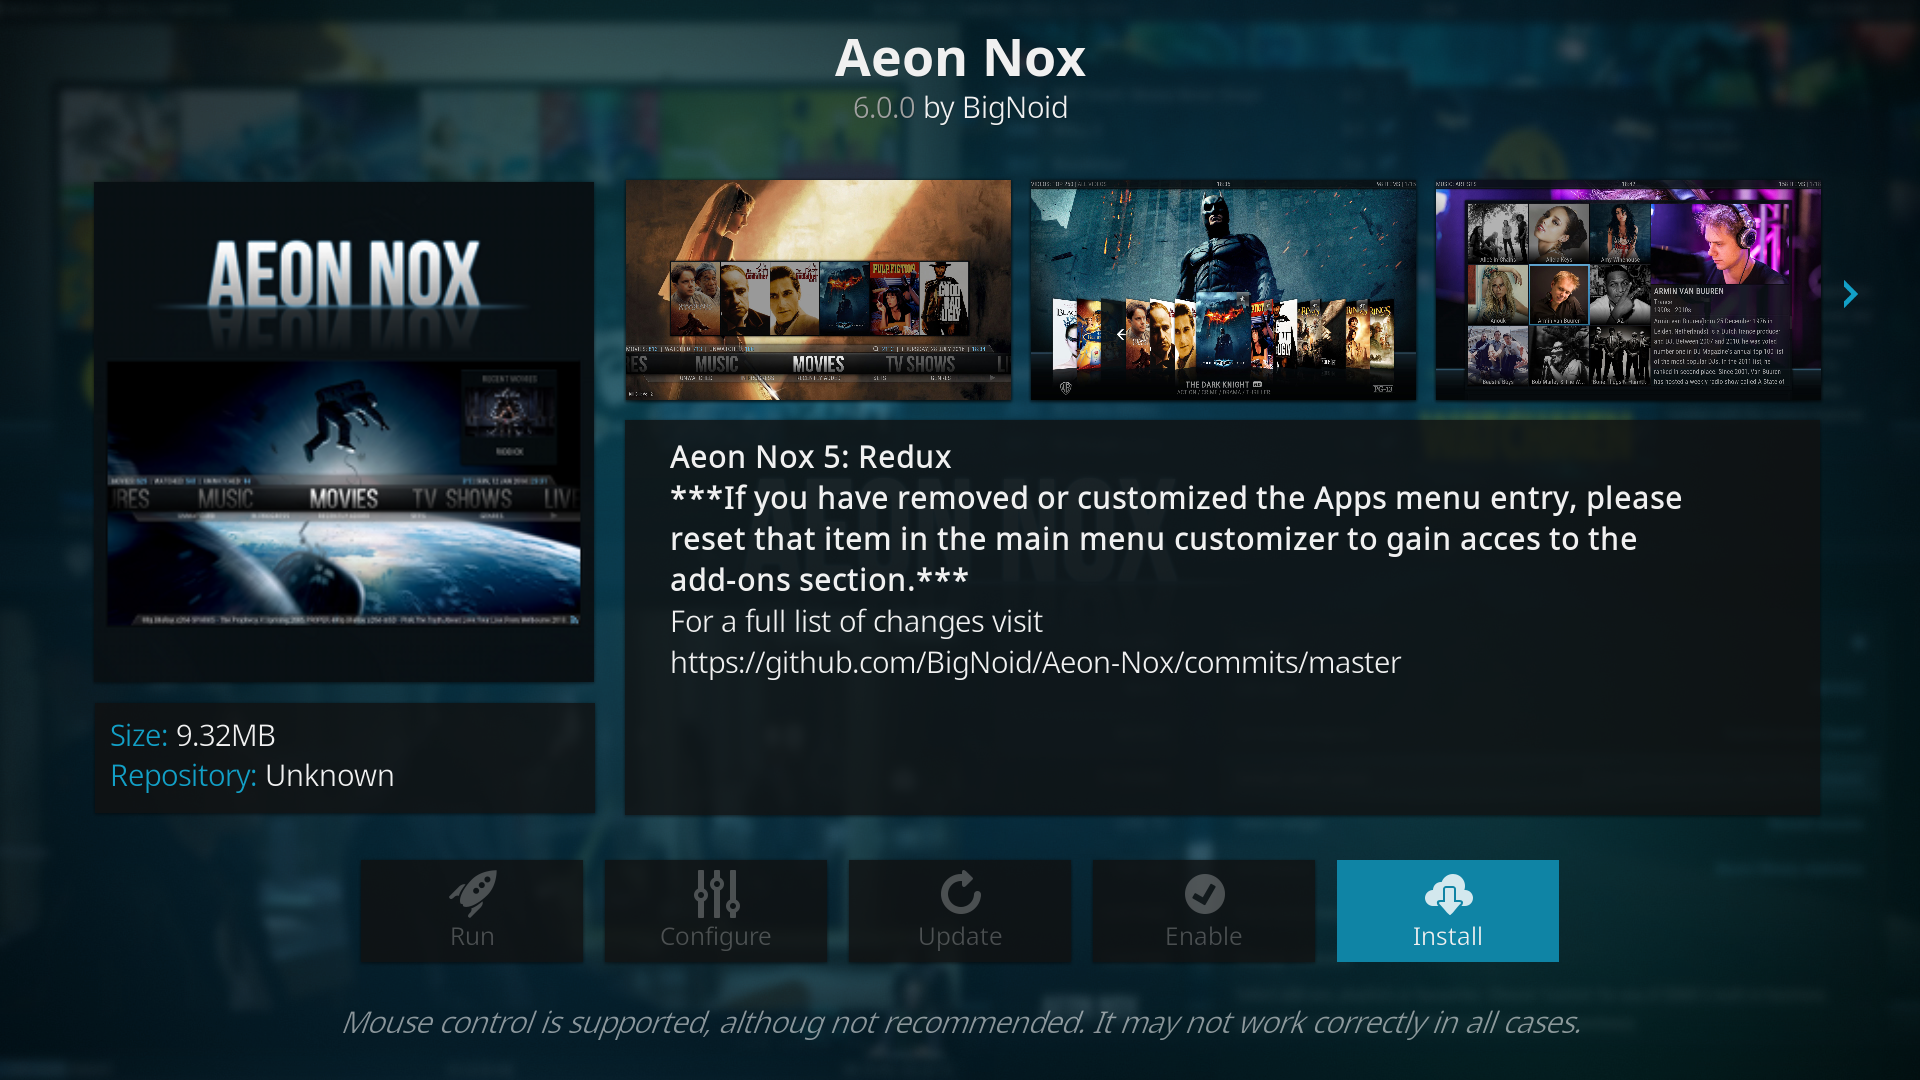 Step 5: A summary dialog will be brought up allowing you see various properties of the add-on. Select Install to begin automatic downloading and installation.
 -
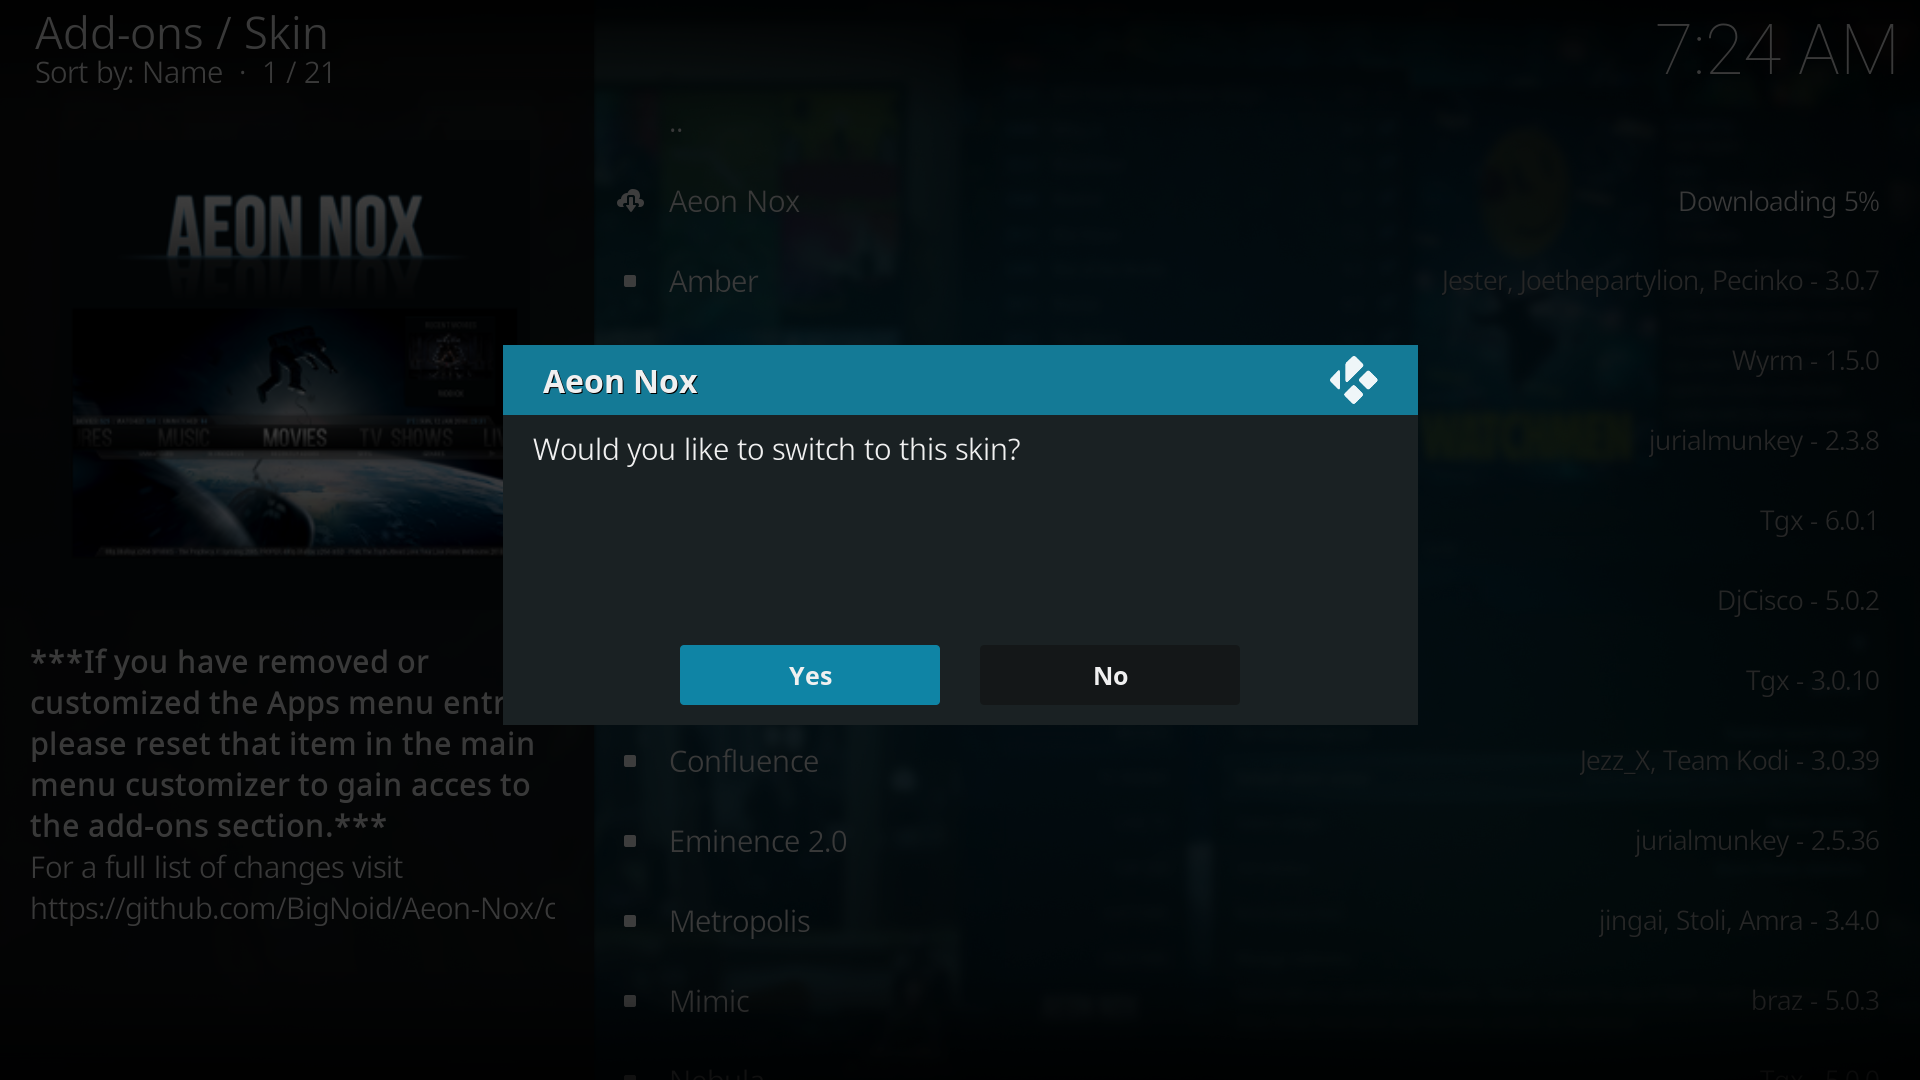 Step 6: In the case of skin installation you'll be asked if you want to change to the installed skin immediately.


When the add-on has finished downloading XBMC will enable it and depending on the add-on ask if you want to start using it. Add-ons will then appear in their appropriate section (e.g. skins in the appearance section of settings, movie scrapers in the options of scrapers when adding a new movie source)
Empty repository list

If the repository list is empty you can try fixing it with Force refresh. Bring up the contextual menu either by right-clicking with the mouse, press the C key or guide on the remote when the repository is highlighted and select Force refresh. This will re-download the list from the server and hopefully the add-ons will show. This should work for the default XBMC.org repositories or any 3rd party repository installed. Updating will take some time so be patient.
- Highlight the repository -> Bring up the contextual menu -> Select Force refresh
How to install from a ZIP file
In this example the hybrid repository is being installed, but the method is the same for other repositories or add-ons. First download the ZIP file.
- Select Install from zip file -> Navigate to the ZIP file and select it
-
 Step 1: Select Install from zip file.
 -
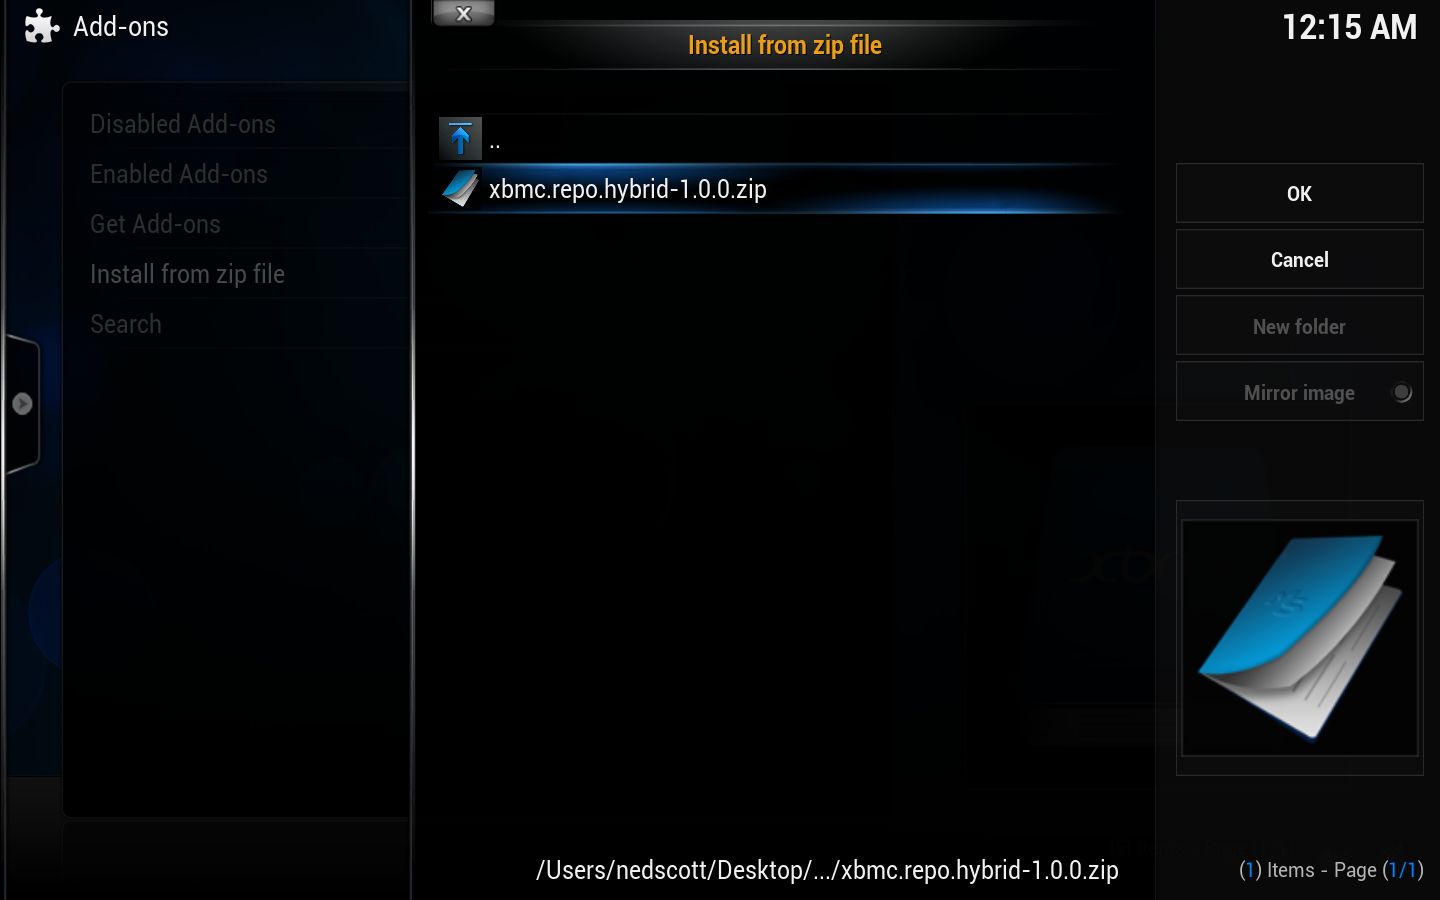 Step 2: Navigate to the ZIP file and select it.
 -
 Step 3: In the bottom right, XBMC notifies when the add-on is installed and enabled.
 -
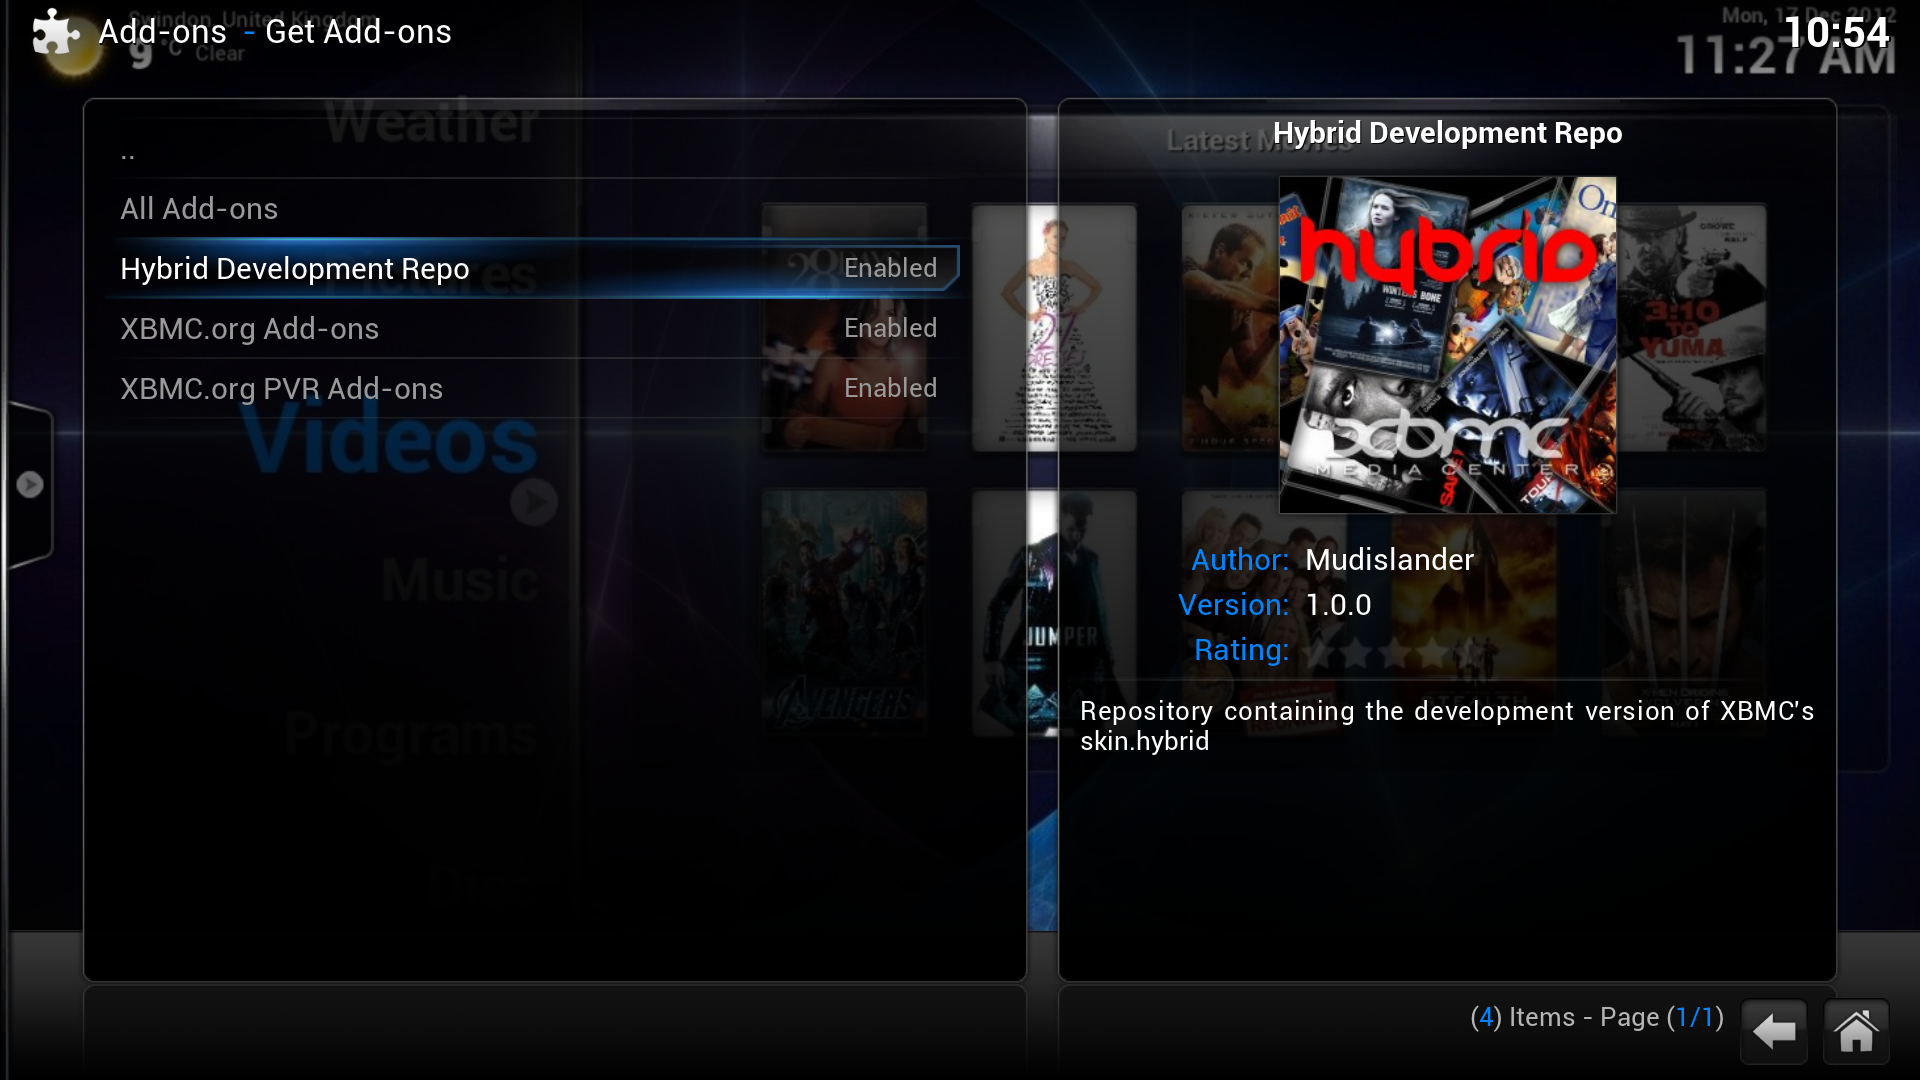 Step 4: Select Get Add-ons. The new repository is listed. In the case of add-ons they are added under All Add-ons in the appropriate category.


Repositories
Repositories are storage locations from where add-ons can be retrieved from. XBMC comes with two official add-on repositories installed by default, XBMC.org Add-ons and XBMC.org PVR Add-ons. However others can be added.
To install a new repository you must first find the ZIP file to install the repository, a list of 3rd party add-on repositories is semi-maintained on the wiki - other repositories may exist. Then follow the instructions at How to install from a ZIP file.
Updating

From the home screen go to the Add-on manager
- System -> Add-ons
By default Auto update is enabled and all installed add-ons will be automatically updated when new versions are available from the repositories.
If you want to enable/disable auto-updates, while in the Add-on manager bring up the slide in submenu (press right → to show/hide) and enable/disable Auto update.
If Auto update is turned off you should see a folder in the Add-on manager that says Available Updates, where you can go in and one-by-one and update add-ons.
Installing an add-on from a ZIP file can lead to it not having a repository associated with it. Automatic or manual (using Available Updates folder) update will then not be available. You can of course manually update the add-on by downloading a ZIP file with the new version. If you later install the associated repository the add-on will be able to get automatically or manually updated.
Rollback
Rollback is a function to reinstall an earlier version of an add-on. The reason to do this can be that you don't like the new version (e.g changed features) or that the new version introduced a bug.
Rollback is only available if you've had an earlier version installed before it getting manually or automatically updated.
If you rollback from version B to A and version C is added to its repository the add-on will automatically get updated (if you have Auto update enabled) to version C and you'll have to rollback again. To stop this from happening disable Auto update or uninstall the associated repository. The latter is not always practical, e.g. for the official repositories.
- Highlight the add-on -> Bring up the contextual menu -> Select Add-on information -> Select Rollback -> Select a previous version to reinstall
-
 Step 1: Highligh the add-on.
 -
 Step 2: Bring up the contextual menu and select Add-on information.
 -
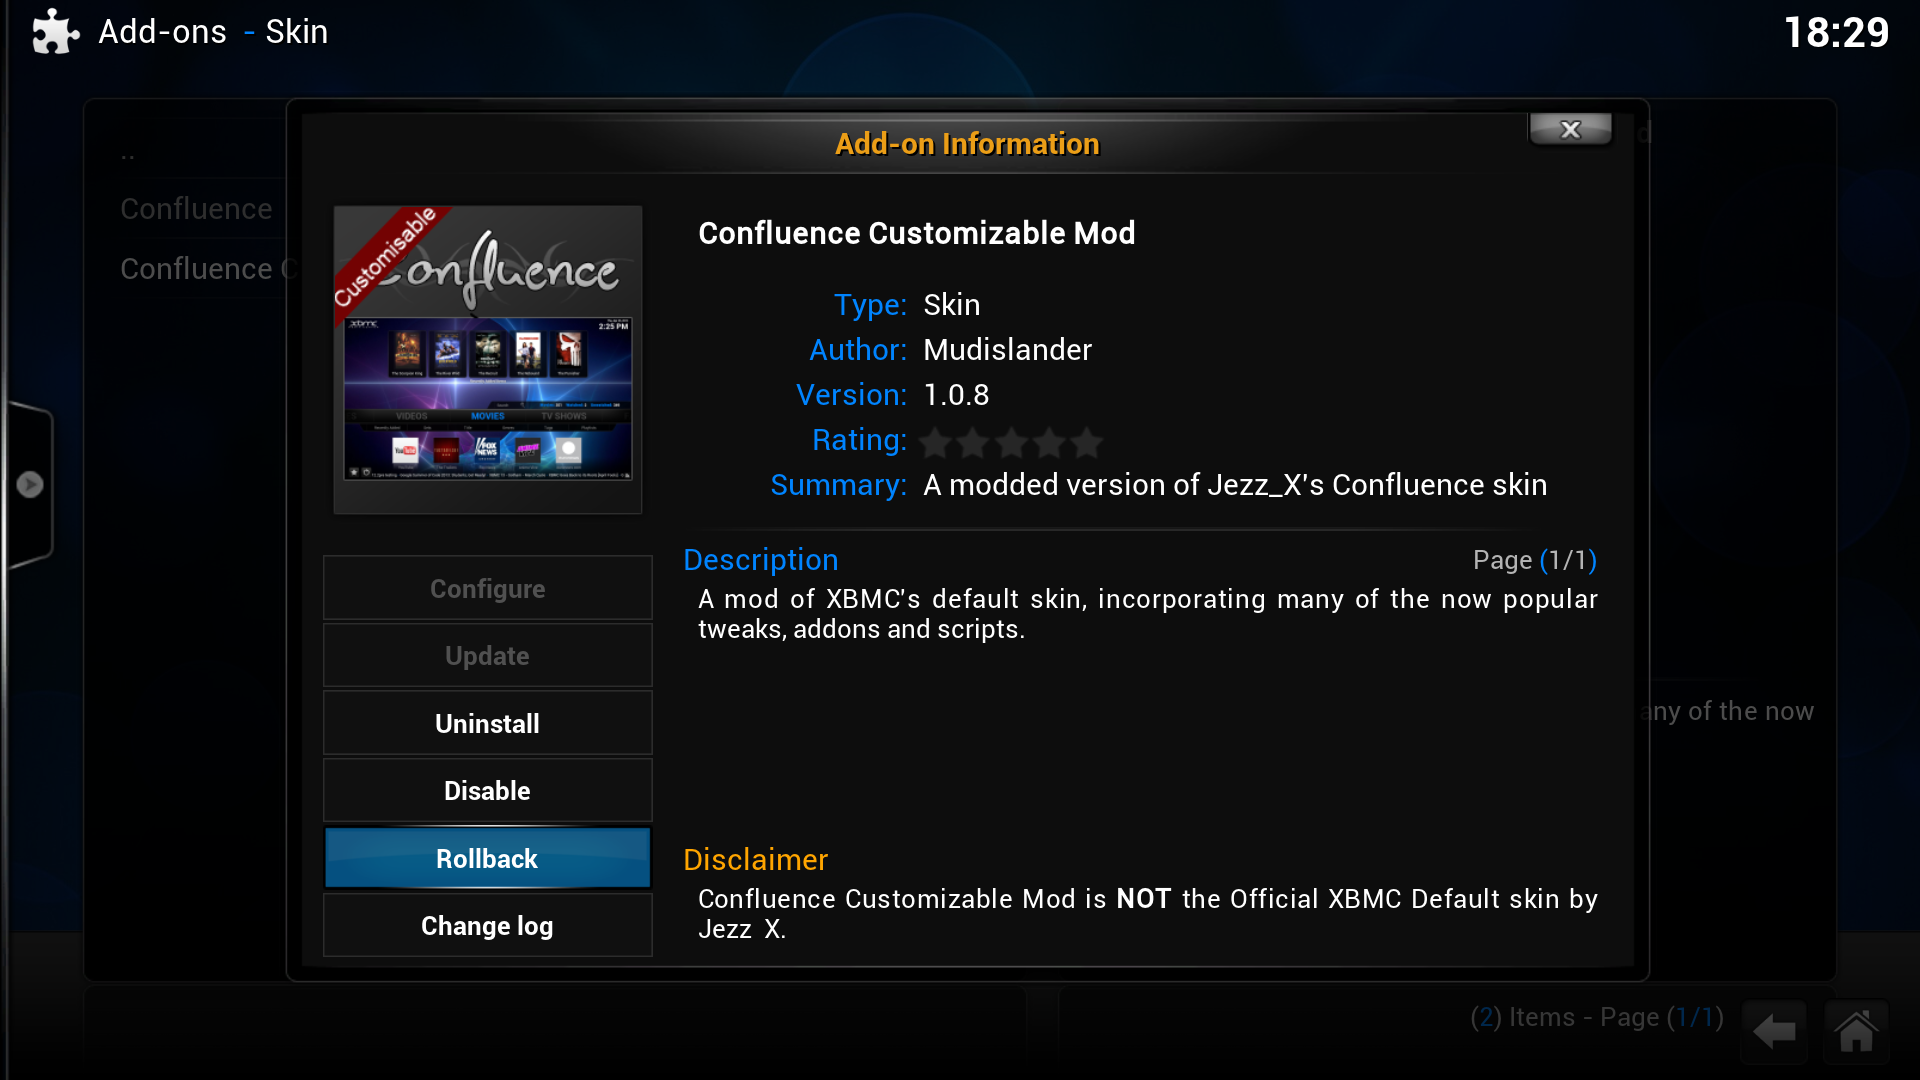 Step 3: Select Rollback.
 -
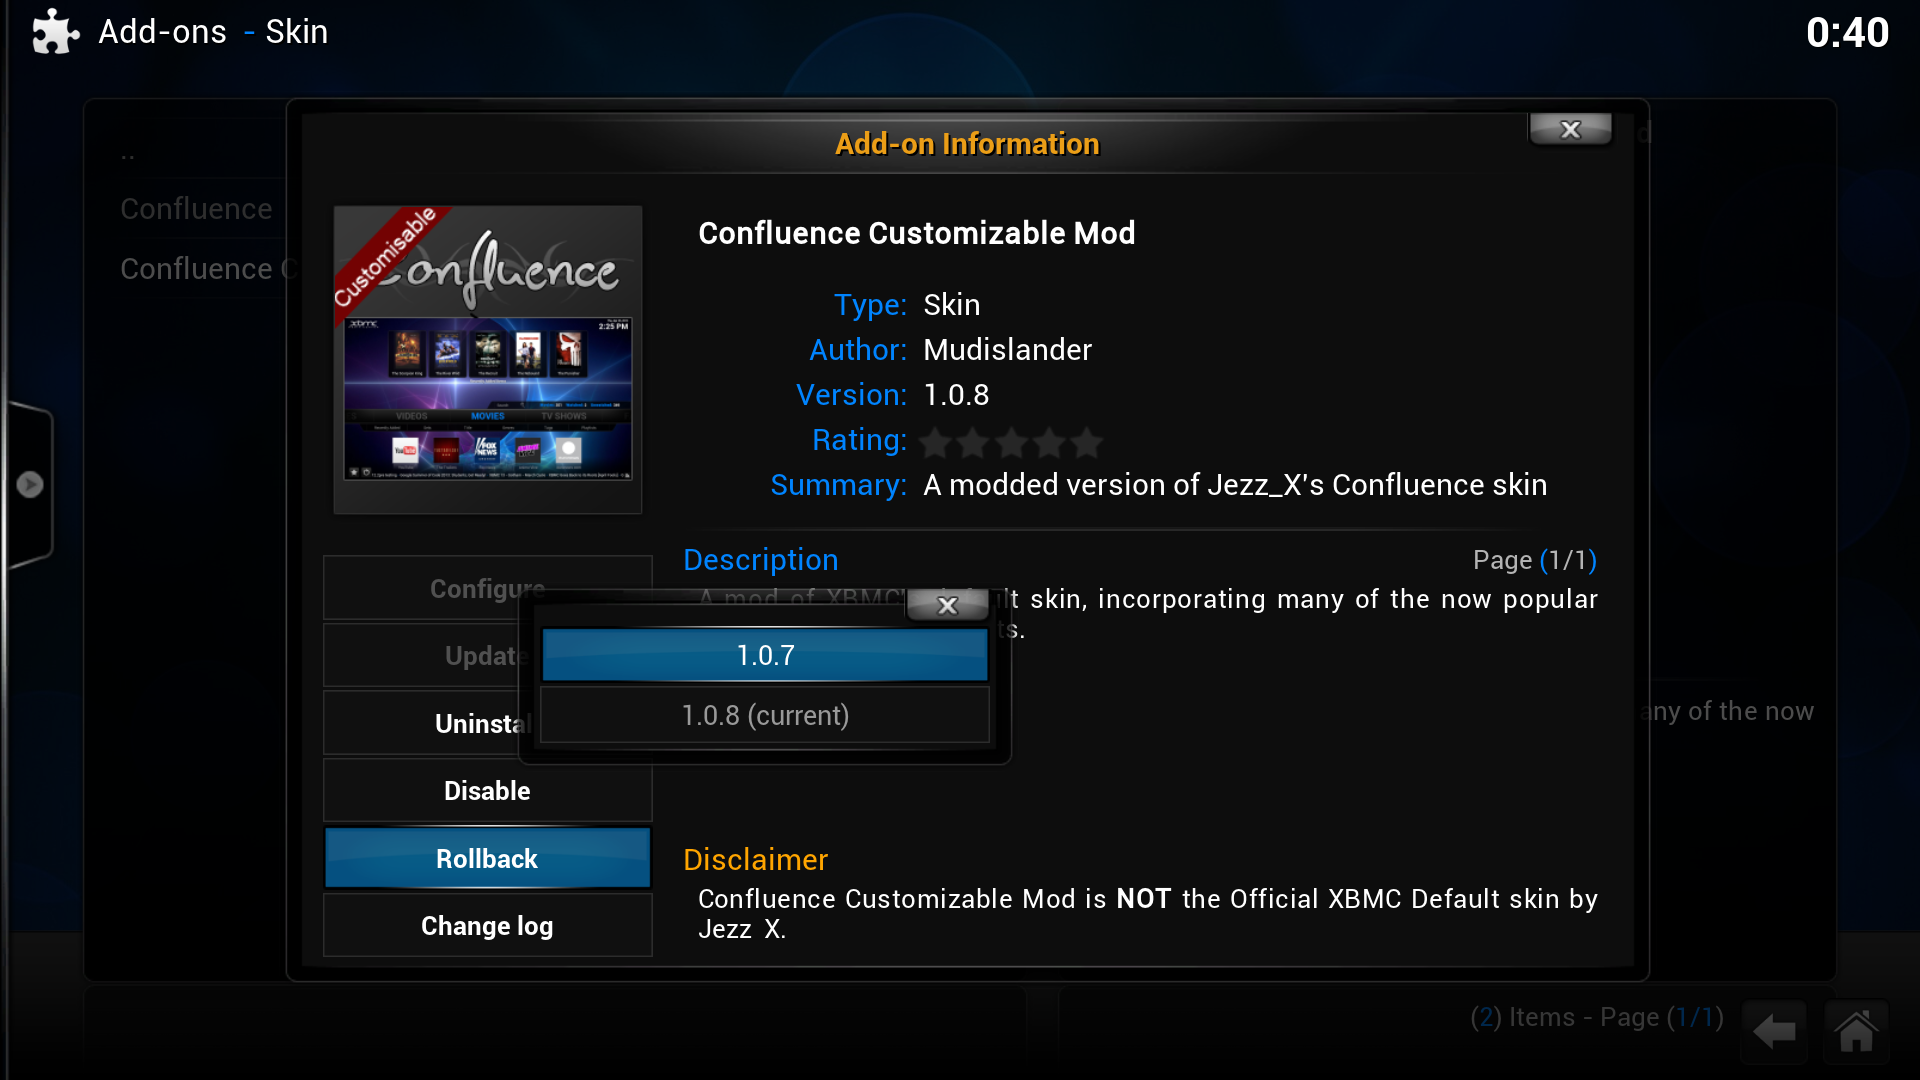 Step 4: Select a previous version to reinstall.


See also
Development: