Archive:UPnP/Media source

|
This page or section may require cleanup, updating, spellchecking, reformatting and/or updated images. Please improve this page if you can. The discussion page may contain suggestions. |
UPnP media sharing is an extremely easy method of sharing your media (pictures/video/audio) on your network as it features automatic-discovery and does not require any configuration.
UPnP (short for "Universal Plug and Play") is a set of computer network protocols from the UPnP Forum. The goals of UPnP are to allow UPnP devices on a network to detect each other and connect seamlessly, without the need for manual configuration on the users end, and then be able to share/stream data (usually video and audio files). For a more detailed explanation on the inner working of UPnP please read the "Developers notes on UPnP" section at the end of this article. There are three main types of UPnP AV (Audio/Video) device control protocols (also called profiles); there is the "UPnP AV MediaServer" which sole purpose is to share content, and there rhe "UPnP AV MediaRenderer" which render content to exposes an interface to control the playback, and then there is the "UPnP AV MediaServer ControlPoint" which can detect/find "UPnP AV MediaServer" and browse them to read media/data from them. A DMP (Digital Media Player) like XBMC typically only implements the "UPnP AV MediaServer ControlPoint" device profile.
The drawback is that an upnp Server only sends metadata and so it is not possible to integrate the upnp shares into the XBMC library.
Setting up UPnP file sources in XBMC
UPnP file sources can be used in videos, music, and pictures. Configuring UPnP file sources in XBMC is as easy as setting up any other type of file source, such as SMB or NFS.
-
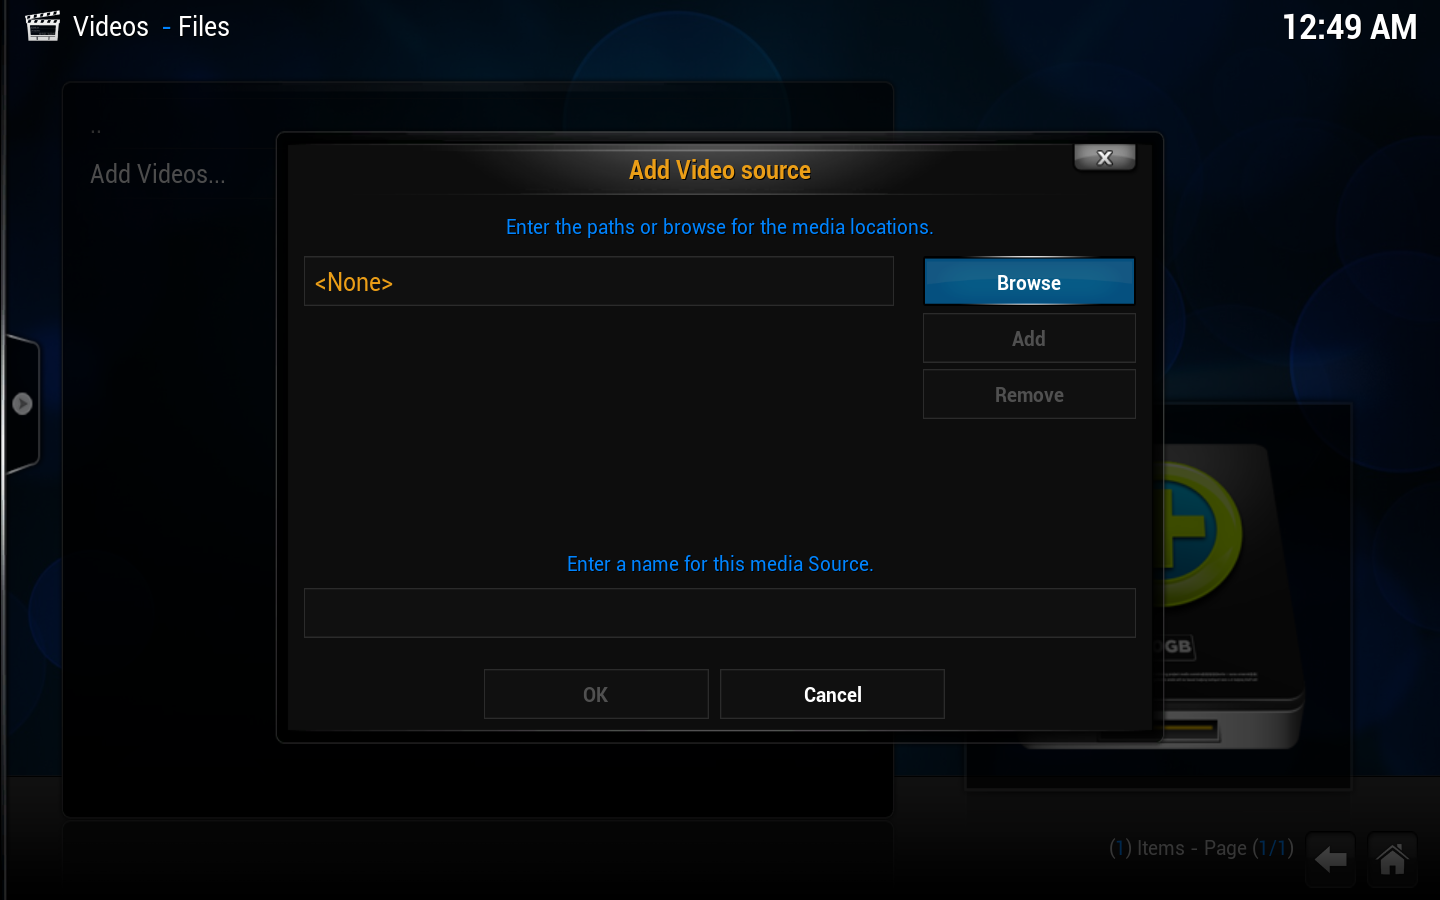 Step 1: Go into ether videos, music, or picture file views, depending on the content you want to add, and use the "add" button to bring up this window.
Step 2: Then click on the "browse button" on the right hand side. -
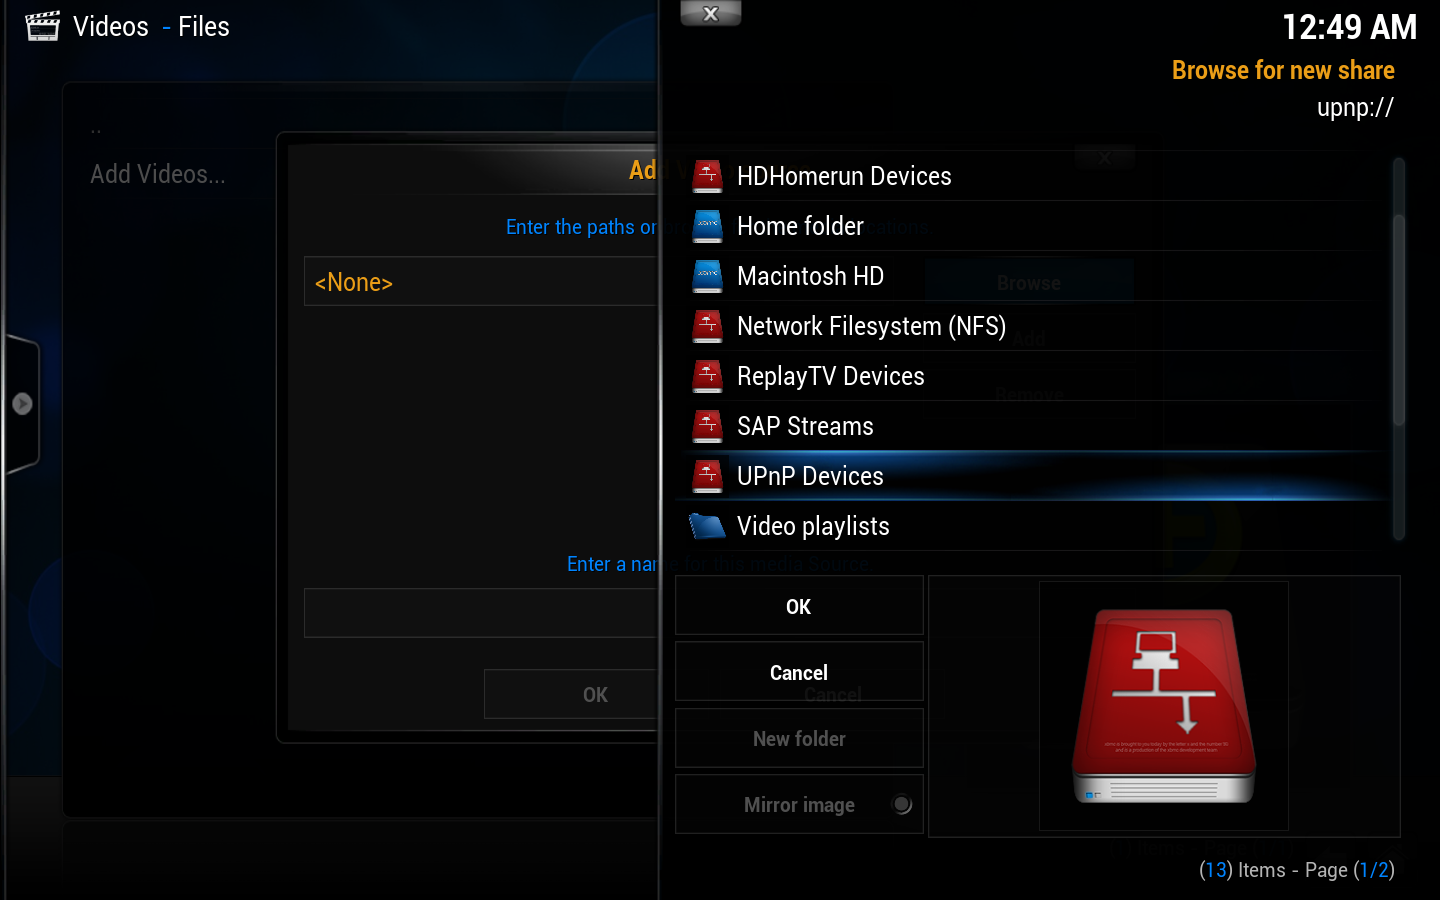 Step 3: This new window will pop up. Scroll down and select "UPnP Devices"
 -
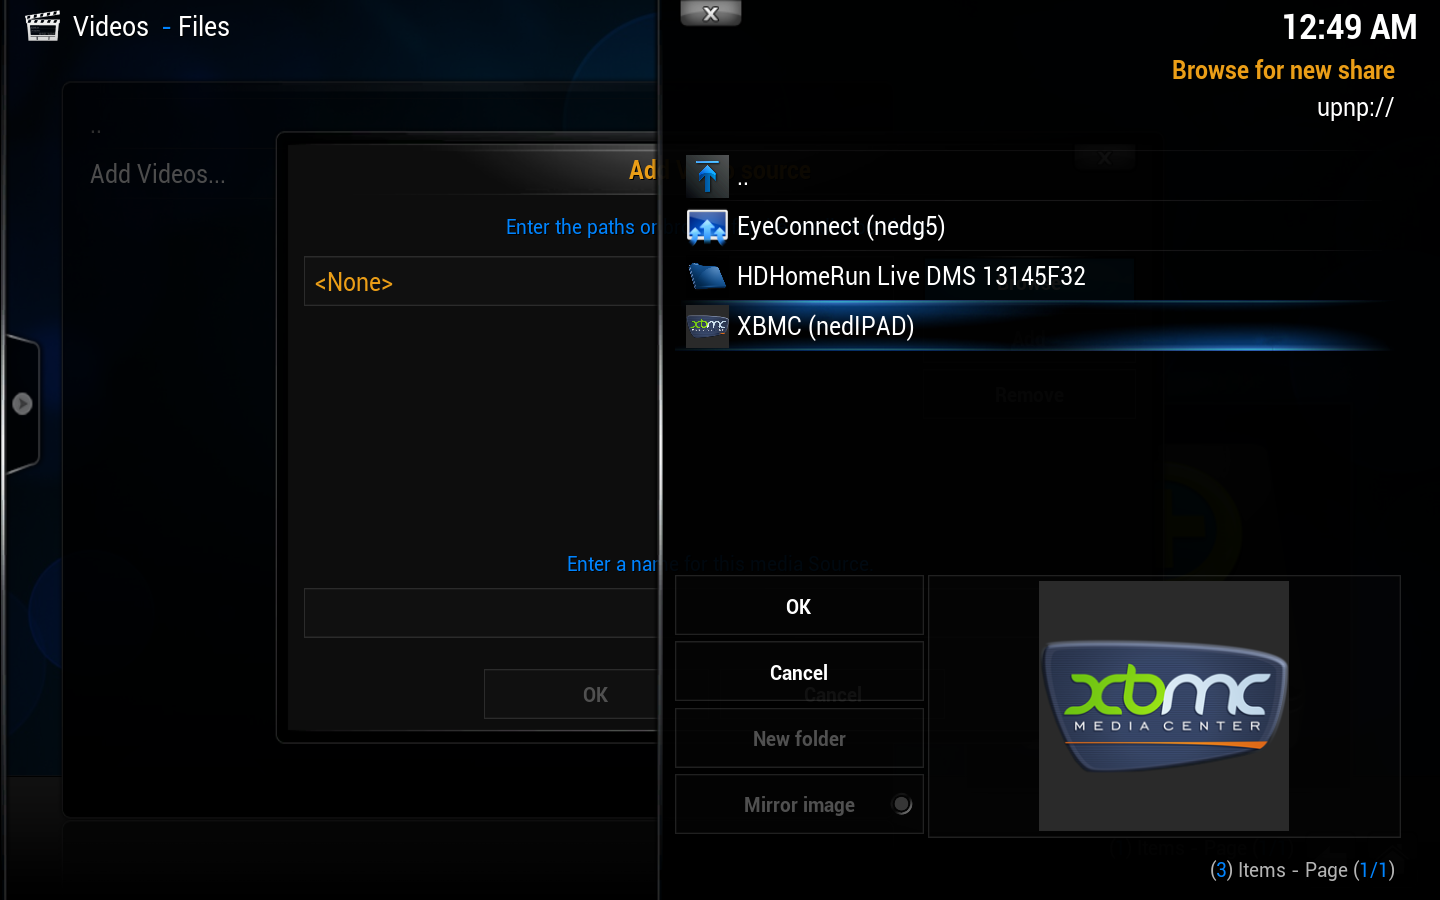 Step 4: All available UPnP servers on your network should show up here. If a source/server doesn't show up, it might be blocked by one of the other UPnP servers due to a misconfiguration. Select the source you wish to add.
 -
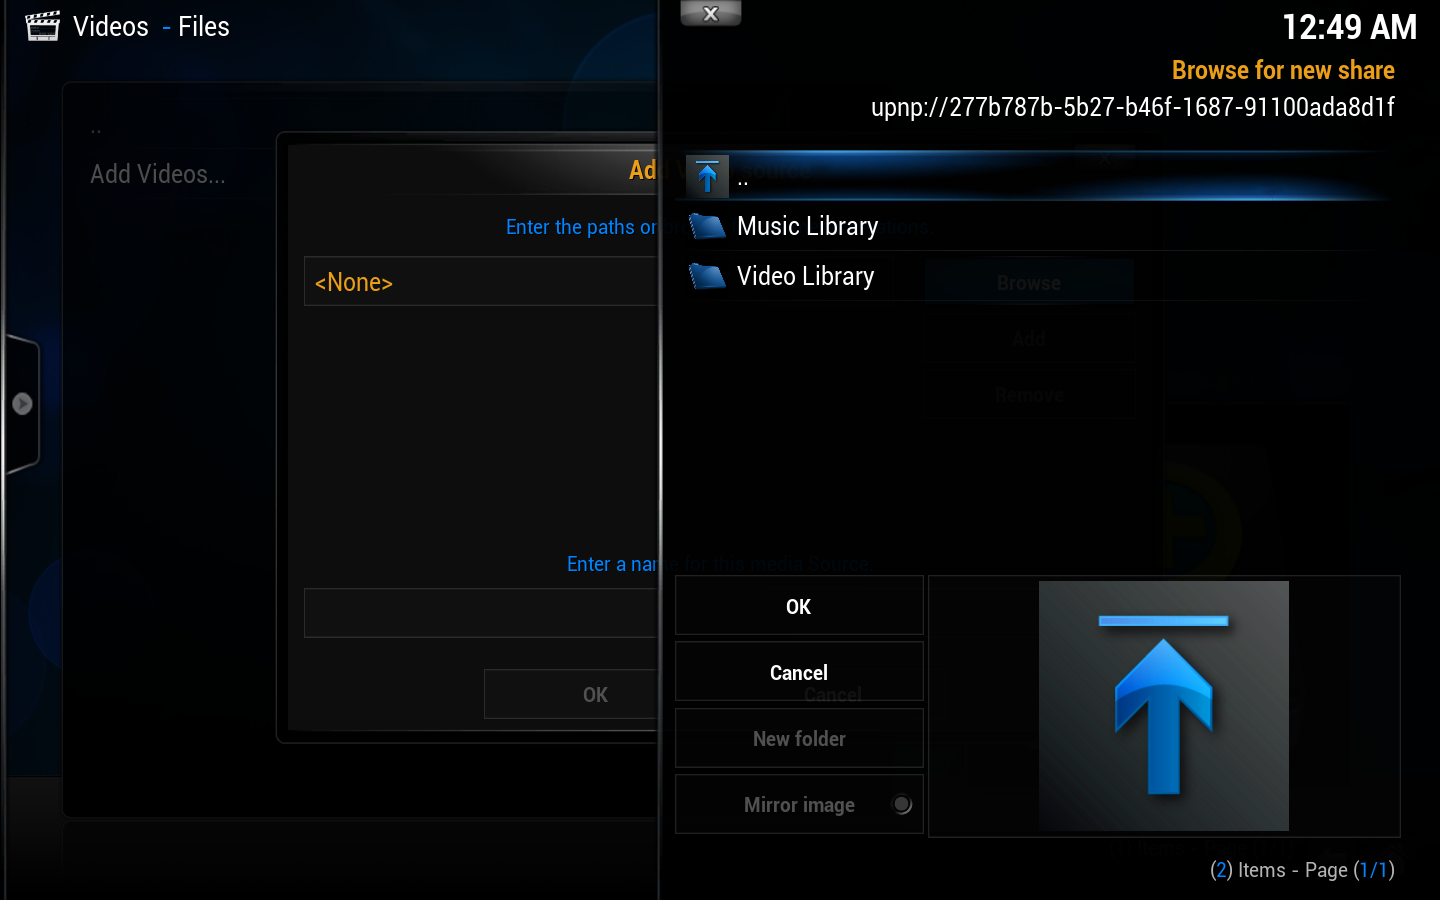 Step 5: The file source will open up and you'll see any folders inside. You will not see files at this point, which is normal. Select "OK".
 -
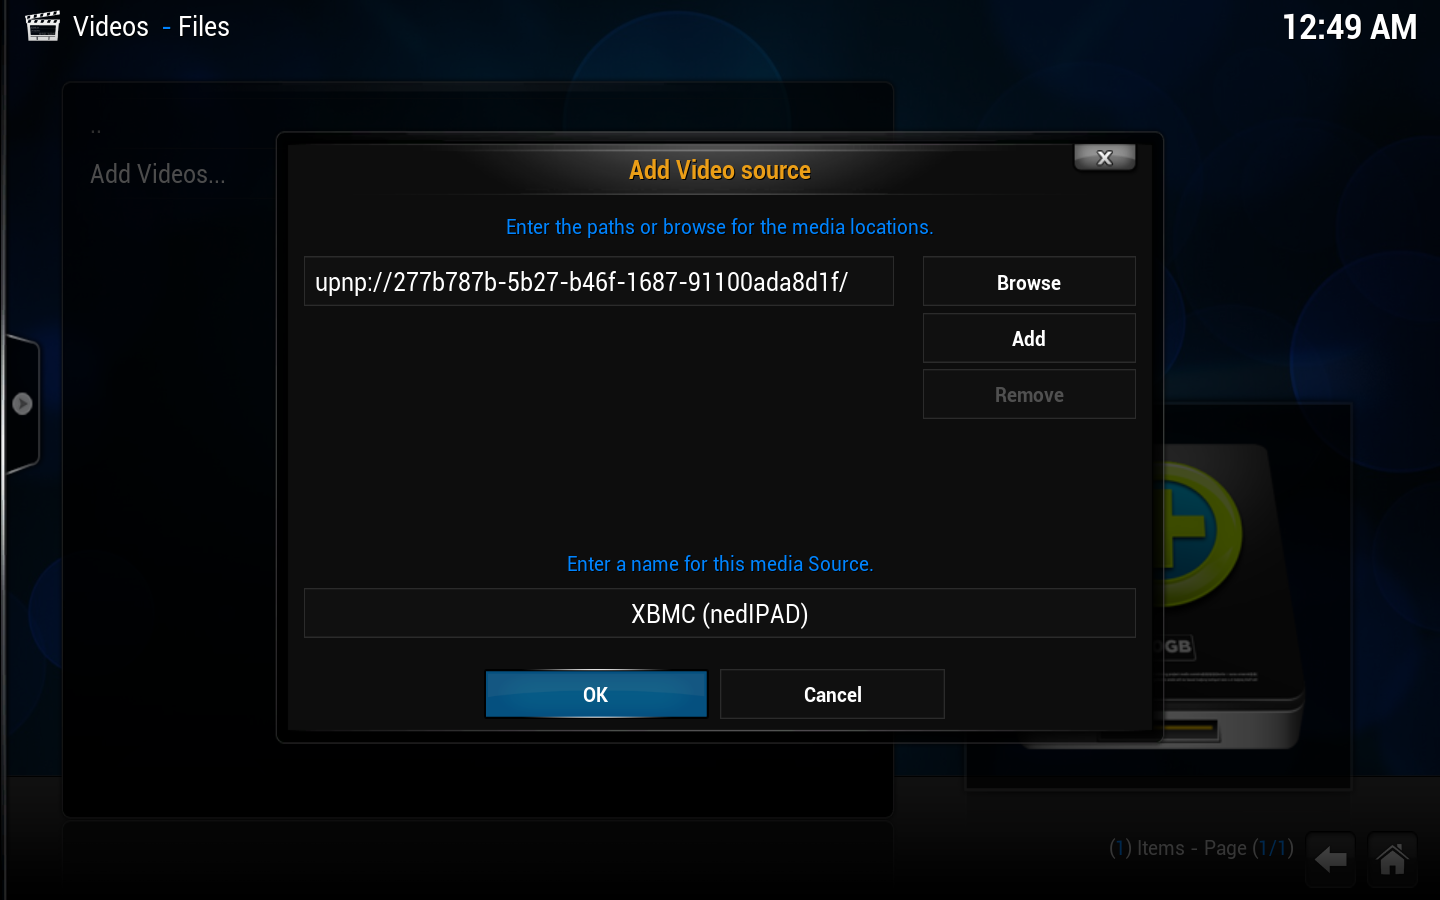 Step 6: You can now change the name of the file source if you wish. When you are done select "OK".
 -
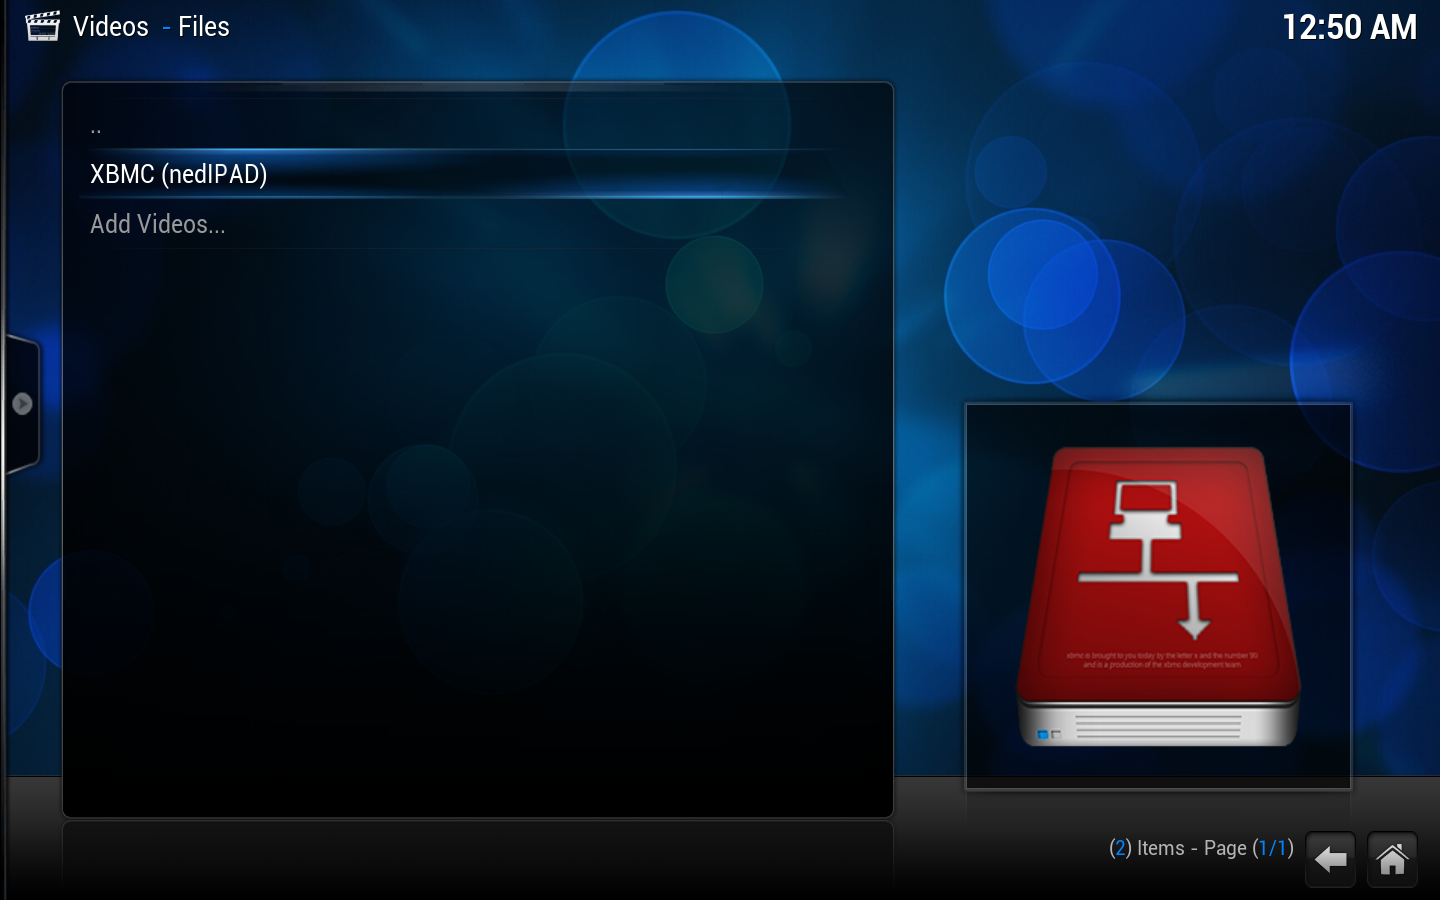 Step 7: The new UPnP file source is ready to use, next to the other sources (if you've added any) in the file view.


