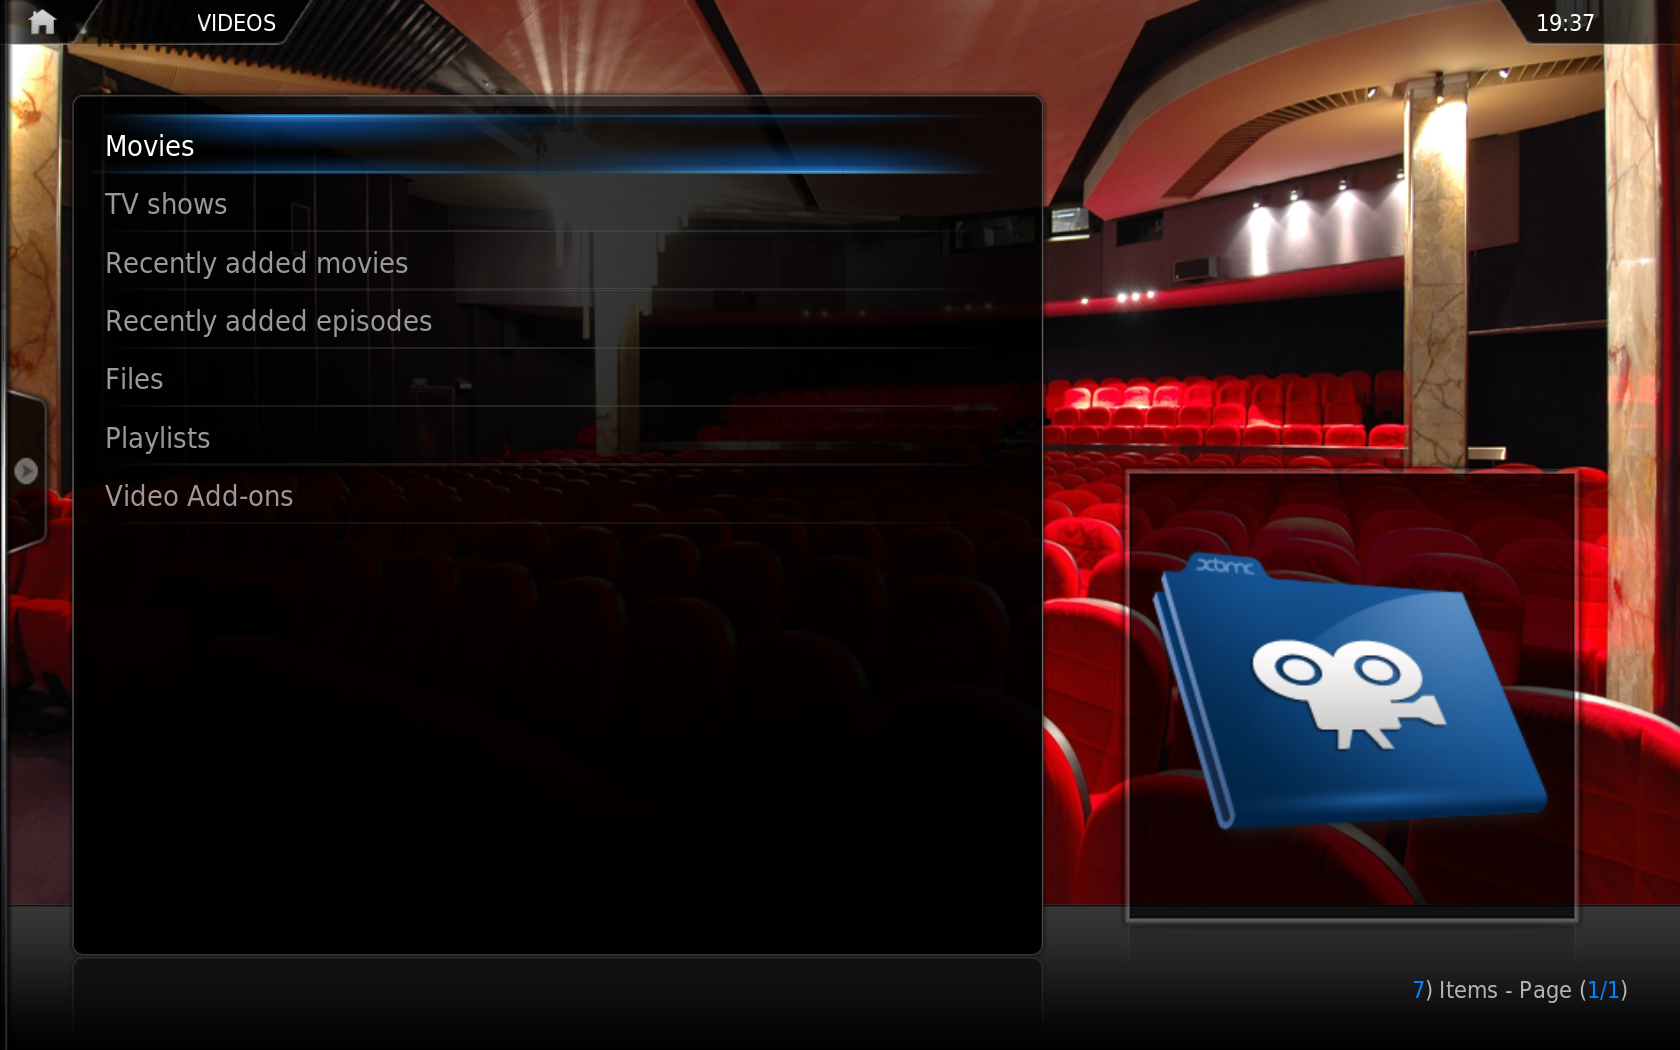
Library Mode
|
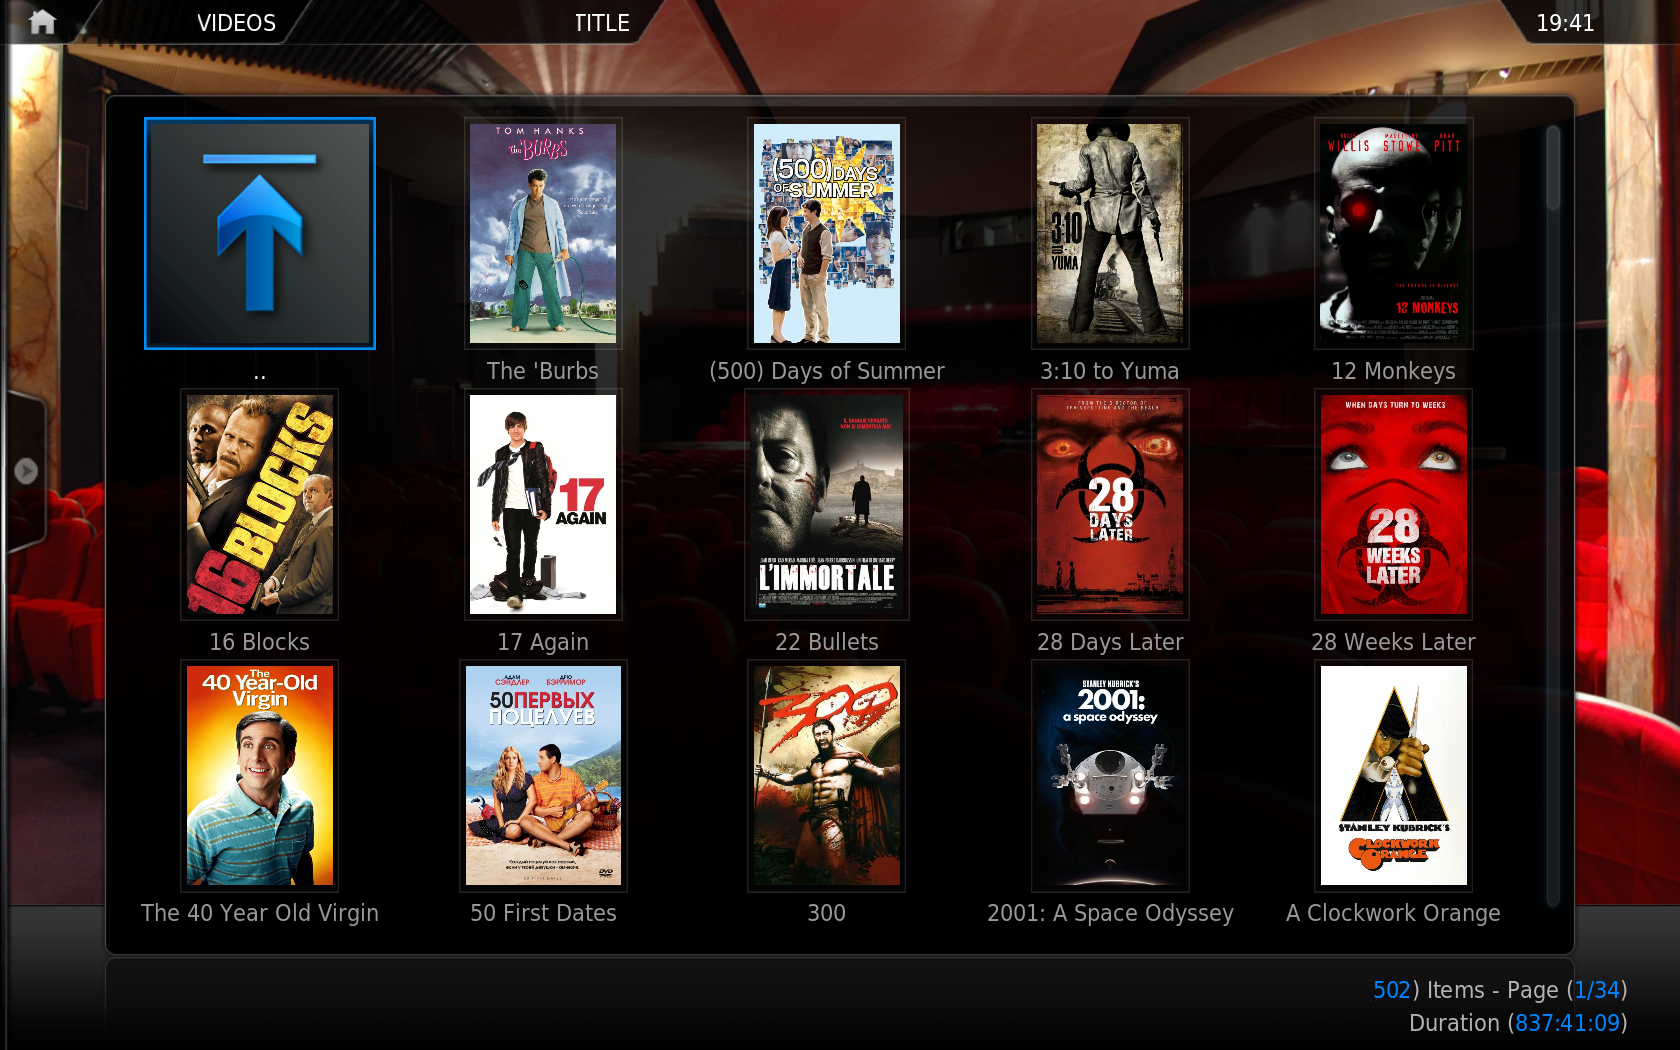
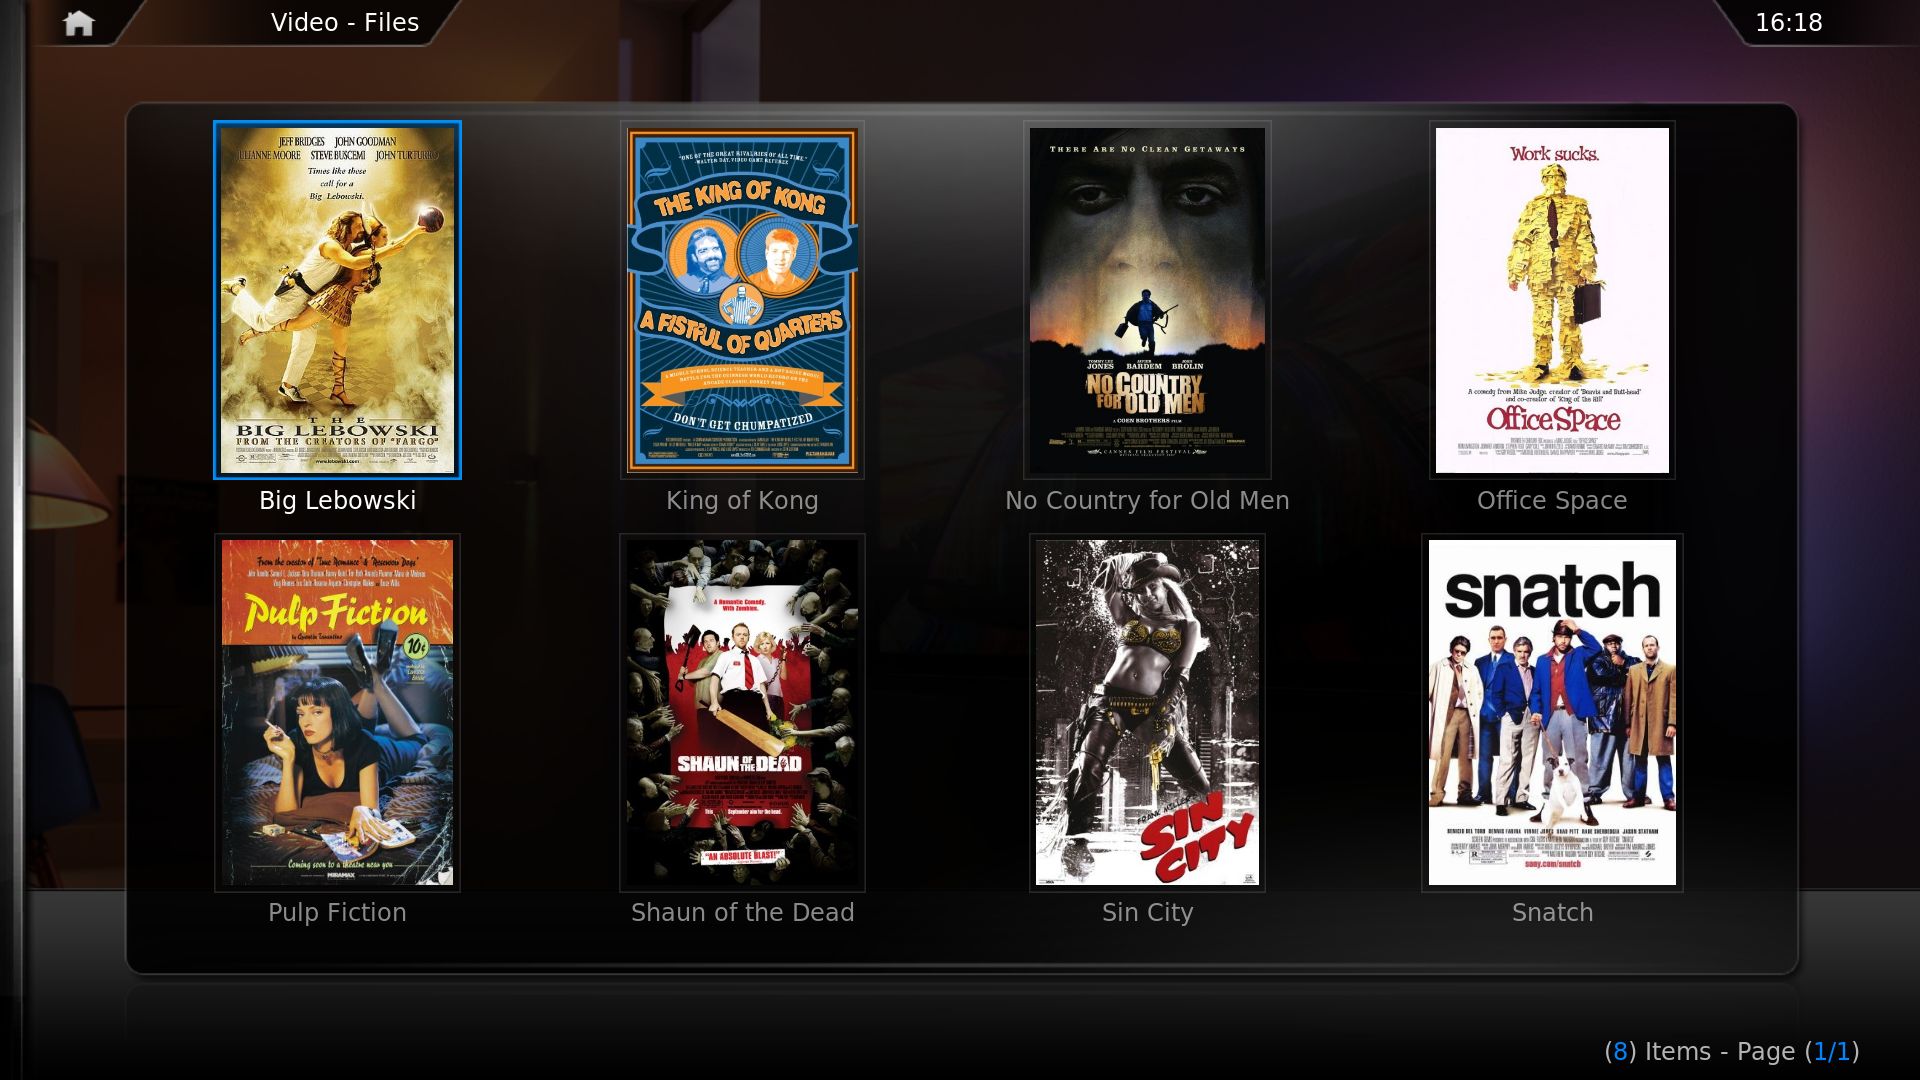
The Library Mode is much more advanced and has many more features than Files Mode. In order to utilize Library Mode, you first need to scan your videos into the Video Library using The Context Menu. Be patient, as this can take quite a while if you have a large video collection.
Note: See main article Video Library.
|
|
Thumbnails
See main article: Thumbnails
|
There are a number of ways to get thumbnails to display in Videos.
One is described in the IMDB (Internet Movie Database) section.
If you want a custom thumbnail, or just don't want to use the IMDB feature, you can add a .tbn file to your movie directory. The .tbn file can be either a .JPG or a .PNG file (with transparency) and you simply have to rename the extension from .jpg/.png to .tbn.
The size of the picture can be anything from 64x64 to 256x256 in pixel-size (you may want to use a larger pixel-size if you use XBMC in 720p/1080i HDTV resolution to get a sharper image).
Examples:
In the following example moviename.avi will now use the thumbnail moviename.tbn.
 Movies\path\moviename.avi
 Movies\path\moviename.tbn
The same goes for playlists, and internet-stream files, example:
|
|
 Movies\path\videoplaylistname.pls
 Movies\path\videoplaylistname.tbn
 Movies\path\videostreamname.strm
 Movies\path\videostreamname.tbn
If you store each of your movies in a separate subfolder to keep things organized, you can also make the movie folder have a custom thumbnail image. To do this you either need to save your .JPG/.PNG thumbnail as folder.jpg and place it in your movie folder, or you can save it as <foldername>.tbn and place it inside the same folder where your folder is located (XBMC first checks for <foldername>.tbn before checking for folder.jpg).
Example:
Movies\path\moviename\folder.jpg
or
 Movies\path\foldername\
 Movies\path\foldername.tbn
Now your movie folder will have a lovely custom thumbnail image icon.
Stacking in XBMC
When in File Mode, XBMC has the ability to recognize and present 'multi-part' video files based on filename stacking rules. For example a two part VCD can be displayed and played as a single file in the user interface. Please note that this is the default behaviour of the Video Library. Stacking can be toggled on / off while in File Mode in the Videos section.
How stacked files are presented to the user can be configured with the Treat Stacked Files as a Single File under Video Settings.
The regular expressions that control stacking can be changed by the moviestacking tag in advancedsettings.xml.
- Stacking is only available for video media.
- DVD-Video images ISO/IMG/NRG are excluded (As all files in the stack may contain menus).
- Stacking is disabled by default for files that have been designated as TV shows (via Set Contents). Even if you do not want to use the Video Library for TV shows, you can use this feature to prevent your TV episodes from being collapsed via stacking.
- An exception to the above is if you have a TV Show on two separate locations in your network, XBMC will "stack" them so you will only see one entry in the Video Library.
General Stacking Filename Syntax
XBMC stacks video media by default that contain the following strings in the filename:
- cd?
- dvd?
- pt?
- part?
- disc?
- disk?
Where the ? indicates any character between 0-9 and a-d.
For example, if you have the following two files (which both consist of a part of a movie):
- MyVideo-CD1.avi
- MyVideo-CD2.avi
They will be displayed in the file list as one file MyVideo.avi.
Below is an example of an advancedsettings.xml entry where only cd, dvd and part are allowed
<xml>
<advancedsettings>
 <moviestacking append="no">
   <regexp>[ _\.-]+cd[ _\.-]*([0-9a-d]+)</regexp>
   <regexp>[ _\.-]+dvd[ _\.-]*([0-9a-d]+)</regexp>
   <regexp>[ _\.-]+part[ _\.-]*([0-9a-d]+)</regexp>
 </moviestacking>
</advancedsettings>
</xml>
The syntax can be summarized by the following:
[token][cd|part|dvd][num]
Where [token] is one of the following strings:
- "-" (hyphen)
- " " (blank)
- "_" (underscore)
- "." (dot)
Followed by the string "cd", "part" or "dvd" (case insensitive).
[num] can be any integer number and/or a-d. This section of the regular expression must be grouped (i.e. surrounded by parentheses) in order for the regexp to match your video names and stack them together.
The comparison is case insensitive.
TV Show Stacking Filename Syntax
This feature has been temporarily disabled, the plan is to implement it in a better fashion at a future date.
The files have to have the same season and episode number and they all have to be in the same folder. (This is to prevent unwanted stacking of true duplicates in different folders).
The items will be automatically stacked in sequential order based off the filenames being sorted in a "natural" order (like this: -part1.avi, -part2.avi, ..., -part10.avi.)
If you have multi-file episodes where only one part was already scanned into the database, you'll need to make sure that you force the content hash to change before scanning again. This can be done by simply adding a zero byte "foo.avi" to the folder.
Subtitles
XBMC supports both stand-alone subtitle files, as well as some subtitles that are embedded into the video-file (as is the case when watching DVD-Video movies). Embedded VobSub subtitles, also known as DirectVobSub, inside AVI, OGM, MKV, or MP4 are however not supported yet.
By default subtitles are turned on, and can be turned ON/OFF manually from the On Screen Display (OSD).
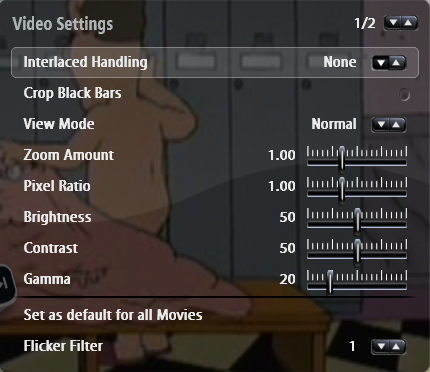
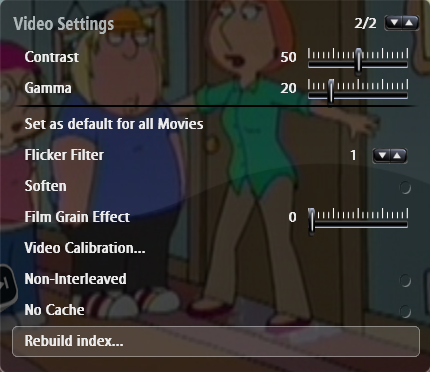
There is no global ON/OFF setting for subtitles, as this setting is stored on a per-video basis, but you can quickly set the setting on all videos by manually changing it using the OSD, then hitting "Set as default for all movies".
Note that this will save *all* settings from this page as the default for all movies, not just the subtitle option.
Note: External stand-alone subtitle files are not yet supported for DVD-Video movies.
To use stand-alone subtitle files with video files, put them in the same folder as the video file or alternatively go to the Subtitles Settings and set a Custom Subtitle Directory. You can also choose to manually browse for the subtitle file via the OSD (On Screen Display) Audio and Subtitle Settings. You can configure the way that they are displayed through the Subtitles Settings, and you can adjust where they are displayed onscreen through the Video Calibration Screen.
The subtitle and video files must have the same name, for example:
 Video File: The Matrix.avi
 Subtitle: The Matrix.srt
Supported Subtitle Formats
- AQT, JSS, MicroDVD, MPL, RT, SMI, SRT, SUB, TXT and VobSub (idx + sub), VPlayer subtitle formats.
- There is partial support for SSA and ASS formats. See more here.
It is also possible to use flipped (bi-directional) subtitles. This means that the subtitles will be displayed from right to left instead of left to right. To enable this Enable Flipping Bi-Direction Strings in Subtitles Settings. This option is used for subtitles in Semic languages (Arabic, Hebrew, Farsi..., etc.).
Compressed Subtitles
XBMC also supports compressed VobSub subtitles. Please note that the subtitles inside the RAR archive still need to have the same name as the video file.
 Video File: The Matrix.avi
 Subtitle: The Matrix.rar
Where The Matrix.rar containins the VobSub-file The Matrix.sub and the The Matrix.idx VobSub index-file that has been compressed with RAR.
If you want XBMC to automatically turn on packed subtitles, you have to turn on the Search for Subtitles in RARs option in Subtitles Settings.
Using Multi Language Subtitles
XBMC supports the use of more than one external subtitle. This of course is most useful when you have more than one subtitle file, (eg. for more than language).
To use this functionality you need to rename the video file and subtitle files as follows:
 Video File: The Matrix.avi
 Subtitle 1: The Matrix.English.srt
 Subtitle 2: The Matrix.French.srt
 Subtitle 3: The Matrix.German.srt
The dot after the filename but before the extension specifies the language (you can use anything here, mix numbers and and letters or just use one or the other).
You can even mix subtitle formats, eg:
 Video File: Movie Name (2006).avi
 Subtitle 1: Movie Name (2006).Chinese.idx
 Subtitle 1: Movie Name (2006).Chinese.sub
 Subtitle 2: Movie Name (2006).Japanese.idx
 Subtitle 2: Movie Name (2006).Japanese.sub
 Subtitle 3: Movie Name (2006).English.srt
 Subtitle 4: Movie Name (2006).French.smi
 Subtitle 5: Movie Name (2006).German.ssa
Adjusting Subtitles Position
The position of the subtitles can be adjusted vertically (but not horizontally) in the Video Calibration screen, you can also configure the way that they are displayed though the Subtitles Settings.
Note: This does not apply to DVD subtitles as the DVD itself defines their location.
Changing Subtitle Settings During Playback
Various subtitle settings can be changed or they turned On/Off via the OSD (On Screen Display) while watching a movie.
|
