VDR: Difference between revisions
Jump to navigation
Jump to search
| Line 46: | Line 46: | ||
{{Next|[[PVR/XBMC|Configuring XBMC}} | {{Next|[[PVR/XBMC|Configuring XBMC]]}} | ||
==Additional guides and links== | ==Additional guides and links== | ||
Revision as of 22:30, 27 October 2012
Preinstalled options
The following XBMC/OS distributions come with VDR already installed, or easily installed as an option. These are great one-stop solutions that can greatly simplify the installation of the backend, as well as various other benefits unique to those distros.
Installing VDR
VDR quick start guide
If your tuner hardware is not detected or is having issues, check http://linuxtv.org for driver support.
Connecting XBMC to VDR
Note: PVR add-ons are not currently hosted in the XBMC add-on repo.
- Download the VDR PVR client add-on through the add-on manager in XBMC: Settings -> Add-ons -> Get add-ons -> XBMC.org -> PVR Clients
- Go to Settings -> Add-ons -> Enabled add-ons -> PVR Clients and select the VDR add-on
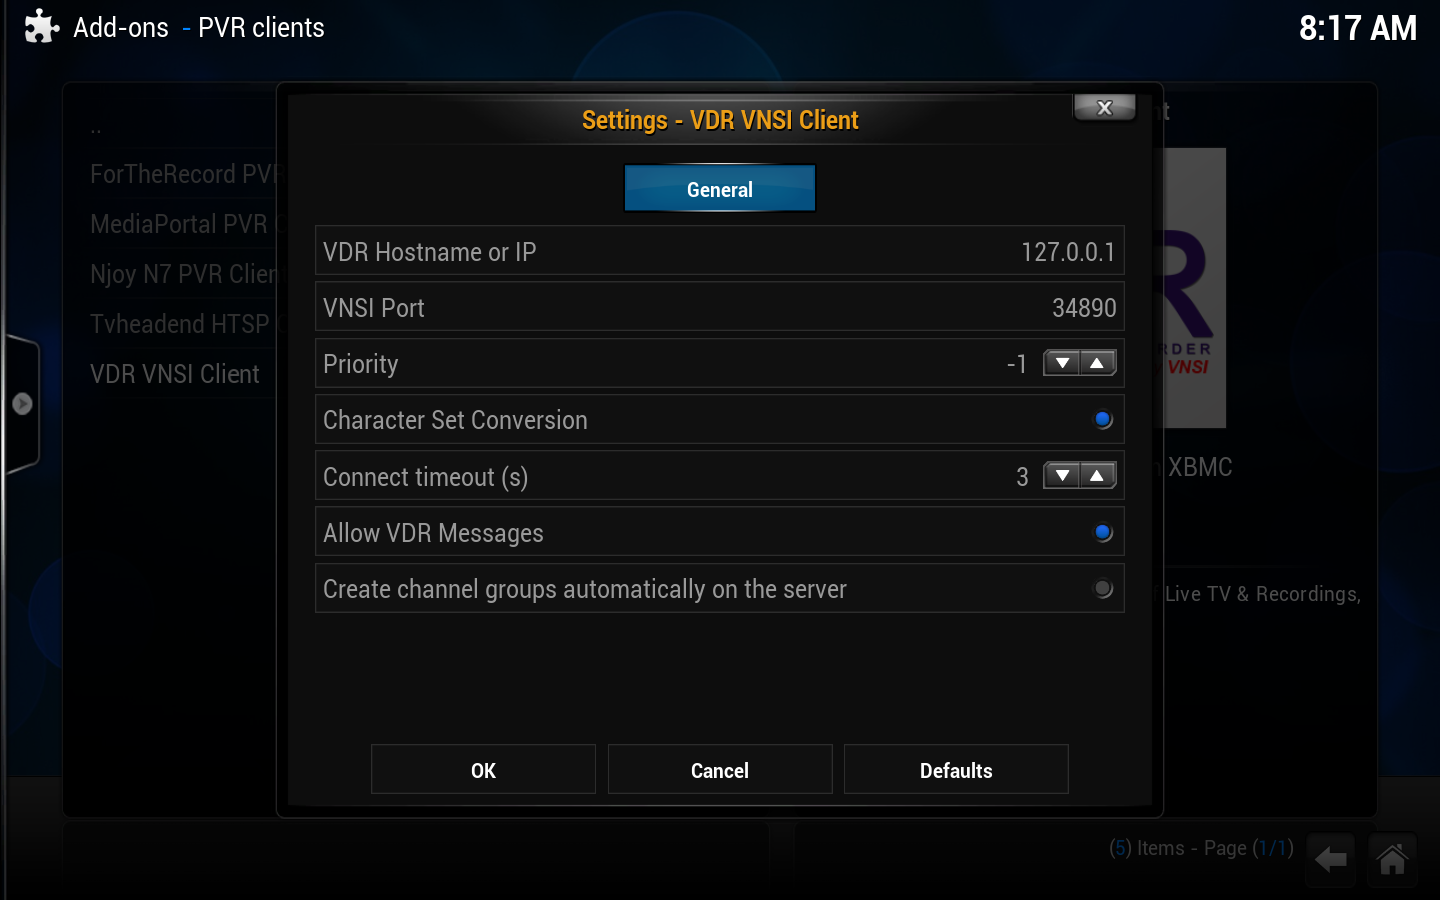
- Select "Configure"

|
| Next step: | Configuring XBMC |
Additional guides and links
- VDR website - http://tvdr.de
- VDR backend for XBMC support forum - http://forum.xbmc.org/forumdisplay.php?fid=169