Settings: Difference between revisions
No edit summary |
|||
| Line 4: | Line 4: | ||
[[Profiles]] allows you to save all of your settings as a profile and change them at the touch of a button. It also allows you to grant access to specific folders and network shares based on the profile being used. This is ideal for systems that have multiple users. | [[Profiles]] allows you to save all of your settings as a profile and change them at the touch of a button. It also allows you to grant access to specific folders and network shares based on the profile being used. This is ideal for systems that have multiple users. | ||
== | == Main settings == | ||
Choosing Settings from the Home Screen opens the Settings Window. In this window, you are able to configure XBMC's options. | Choosing Settings from the Home Screen opens the Settings Window. In this window, you are able to configure XBMC's options. | ||
{| | {| | ||
| Line 25: | Line 25: | ||
Some video playback settings can (currently) only be accessed while playing a video back and accessing the on-screen-display. For more info see [[Video playback]]. | Some video playback settings can (currently) only be accessed while playing a video back and accessing the on-screen-display. For more info see [[Video playback]]. | ||
== | ==Video source and scraper settings== | ||
{{ | {{main|Adding videos to the library|Media sources}} | ||
For settings related to your file sources and library scanning, see [[Adding videos to the library]] (especially [[Adding videos to the library/Setting content and scanning]]) and [[Media sources]] | |||
==Add-on settings== | |||
Various add-ons also have settings that can be accessed by going to them in the [[Add-on manager]] -> Enabled add-ons -> the add-on category -> the add-on title -> and then select "settings". You can also access add-on settings for some add-ons by bringing up the contextual menu (press {{keypress|C}} on a keyboard) while using that add-on. | |||
== Advanced settings == | == Advanced settings == | ||
Revision as of 23:59, 3 July 2012
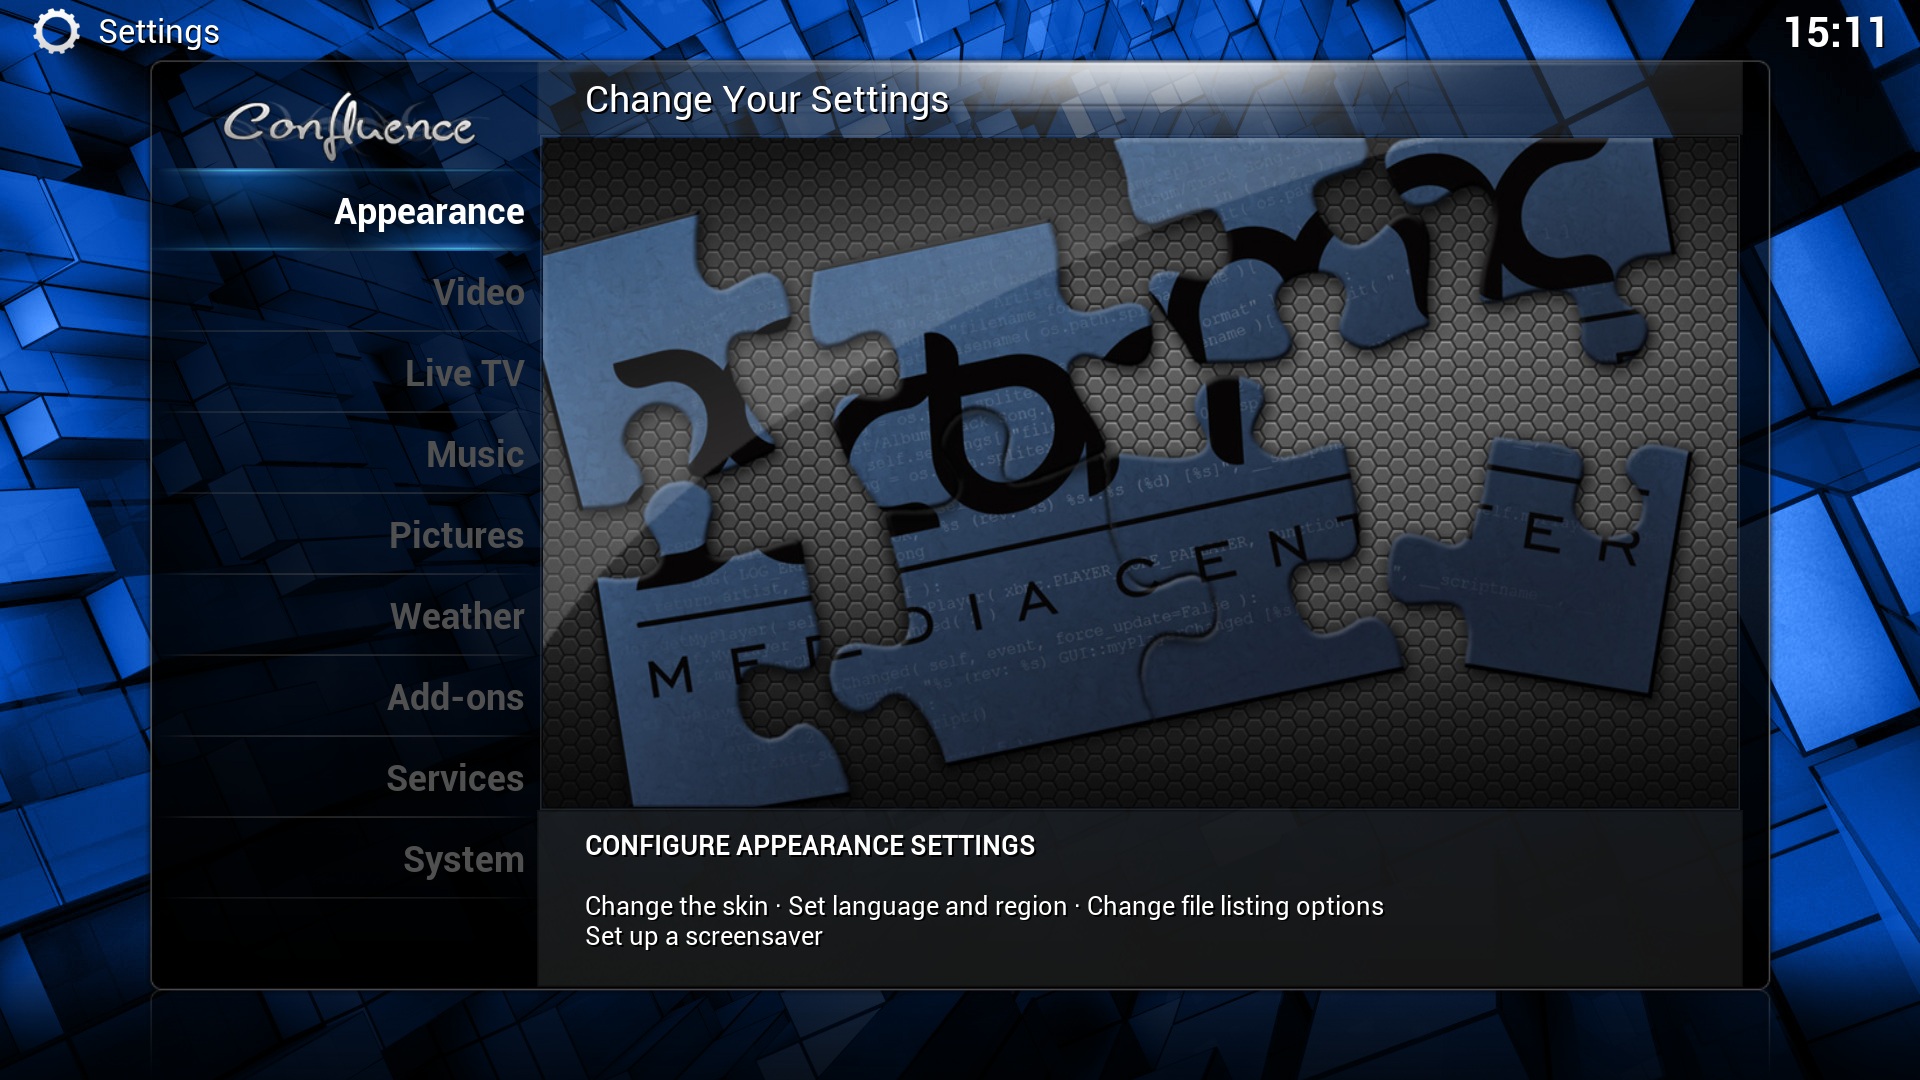
Template:XBMC wiki toc Inline Most of XBMC's global settings can be configured via the GUI (Graphical User Interface) under Settings (labeled "System" under the default skin, Confluence).
Profiles allows you to save all of your settings as a profile and change them at the touch of a button. It also allows you to grant access to specific folders and network shares based on the profile being used. This is ideal for systems that have multiple users.
Main settings
Choosing Settings from the Home Screen opens the Settings Window. In this window, you are able to configure XBMC's options.
Video playback settings
Some video playback settings can (currently) only be accessed while playing a video back and accessing the on-screen-display. For more info see Video playback.
Video source and scraper settings
For settings related to your file sources and library scanning, see Adding videos to the library (especially Adding videos to the library/Setting content and scanning) and Media sources
Add-on settings
Various add-ons also have settings that can be accessed by going to them in the Add-on manager -> Enabled add-ons -> the add-on category -> the add-on title -> and then select "settings". You can also access add-on settings for some add-ons by bringing up the contextual menu (press C on a keyboard) while using that add-on.
Advanced settings
Many advanced settings can not be accessed from the GUI (Graphical User Interface). This is to prevent normal end-users from messing up XBMC by more than they need to. To change/edit advanced settings or configurations you must manually create/edit advancedsettings.xml.
NOTE!: If you have configured a setting in advancedsettings.xml it will be hidden in the GUI Settings!
Resetting XBMC settings to default
Delete your userdata folder to remove all XBMC settings and library databases.
