HOW-TO:Set up subtitle services
Jump to navigation
Jump to search
Template:Gotham Starting in XBMC v13 "Gotham" subtitles are now built into XBMC, and instead of downloading the subtitle download add-on, you install specific subtitle services.
Note: You have to use a pretty up-to-date skin or the new options won’t be implemented yet. To be safe work with confluence until you do this one-time setup.
Steps
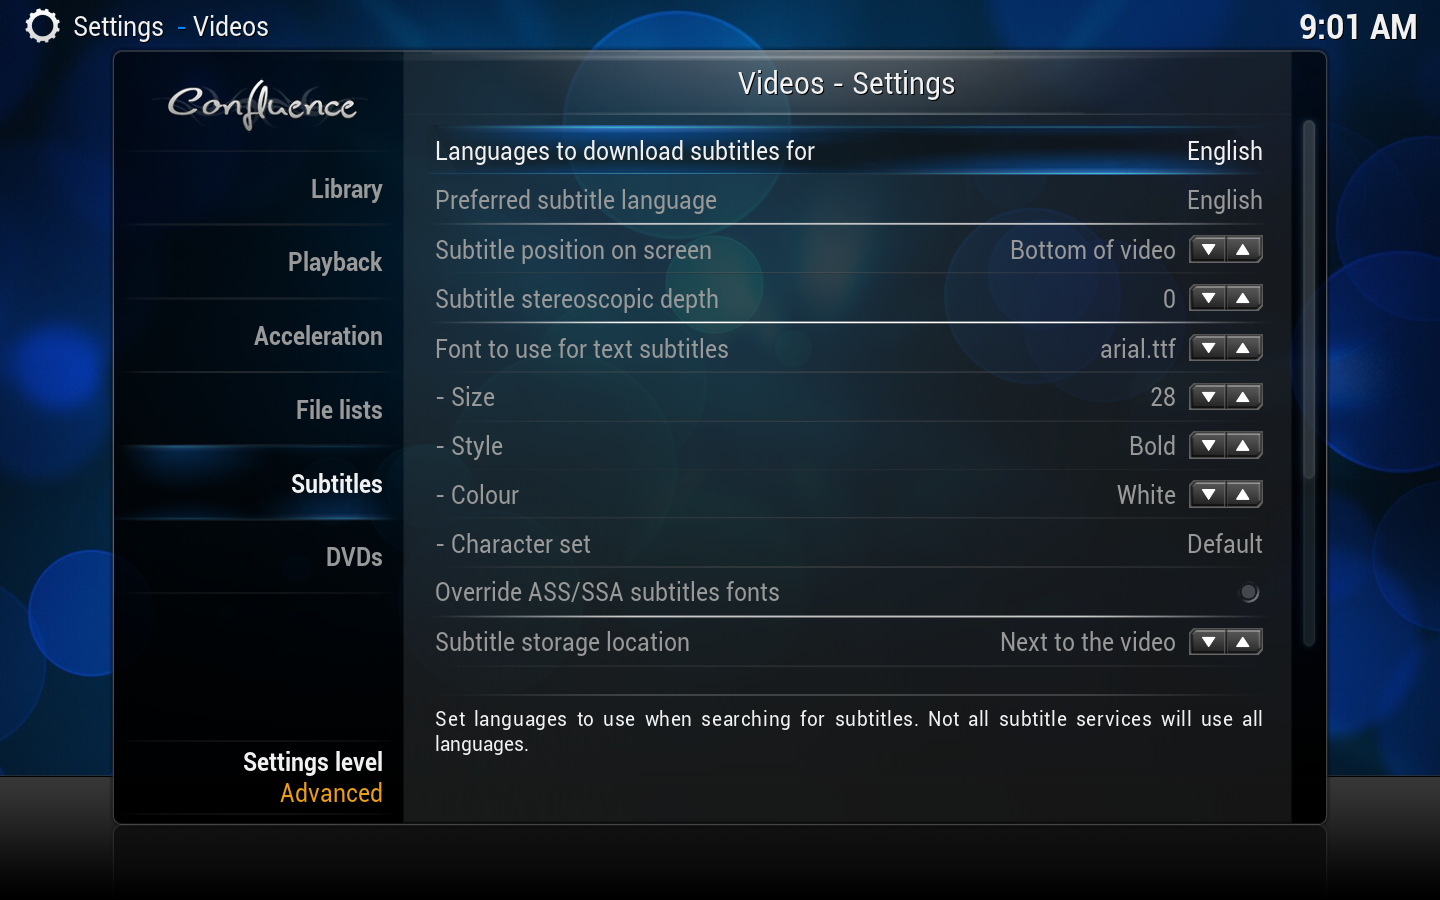
| 1 | From XBMC's home screen, go to Settings -> Video -> Subtitles. There you will see the new subtitles settings. |
|---|---|
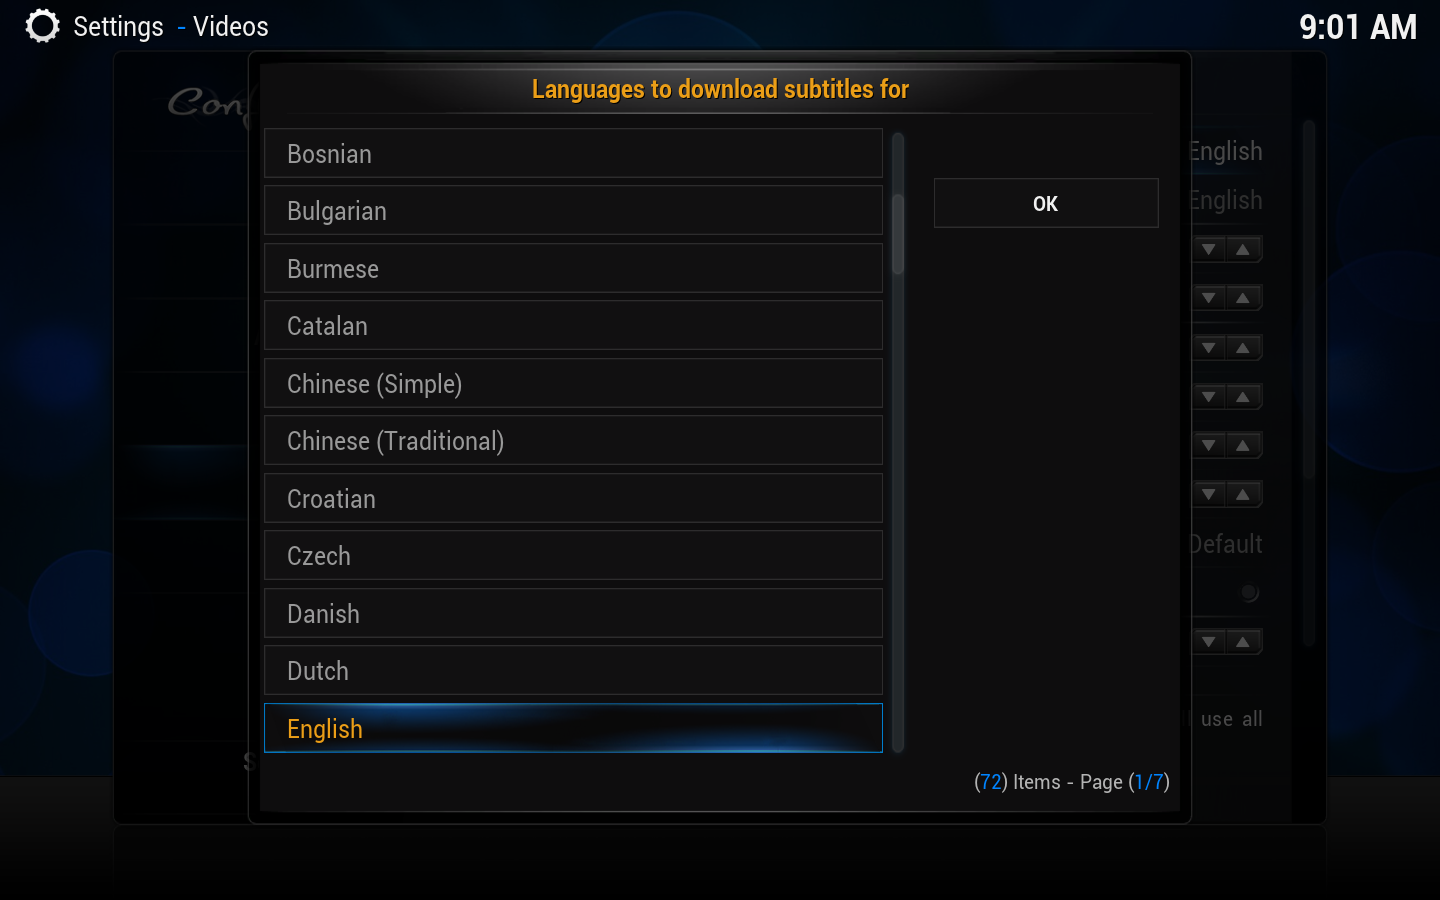
| 2 | Select the languages you want to get when searching for subtitles. For the time being there is no way of selecting order (or main language for that matter) so the search results will be shown in whatever order your service of choice (we’ll come to that) decides it fits. |
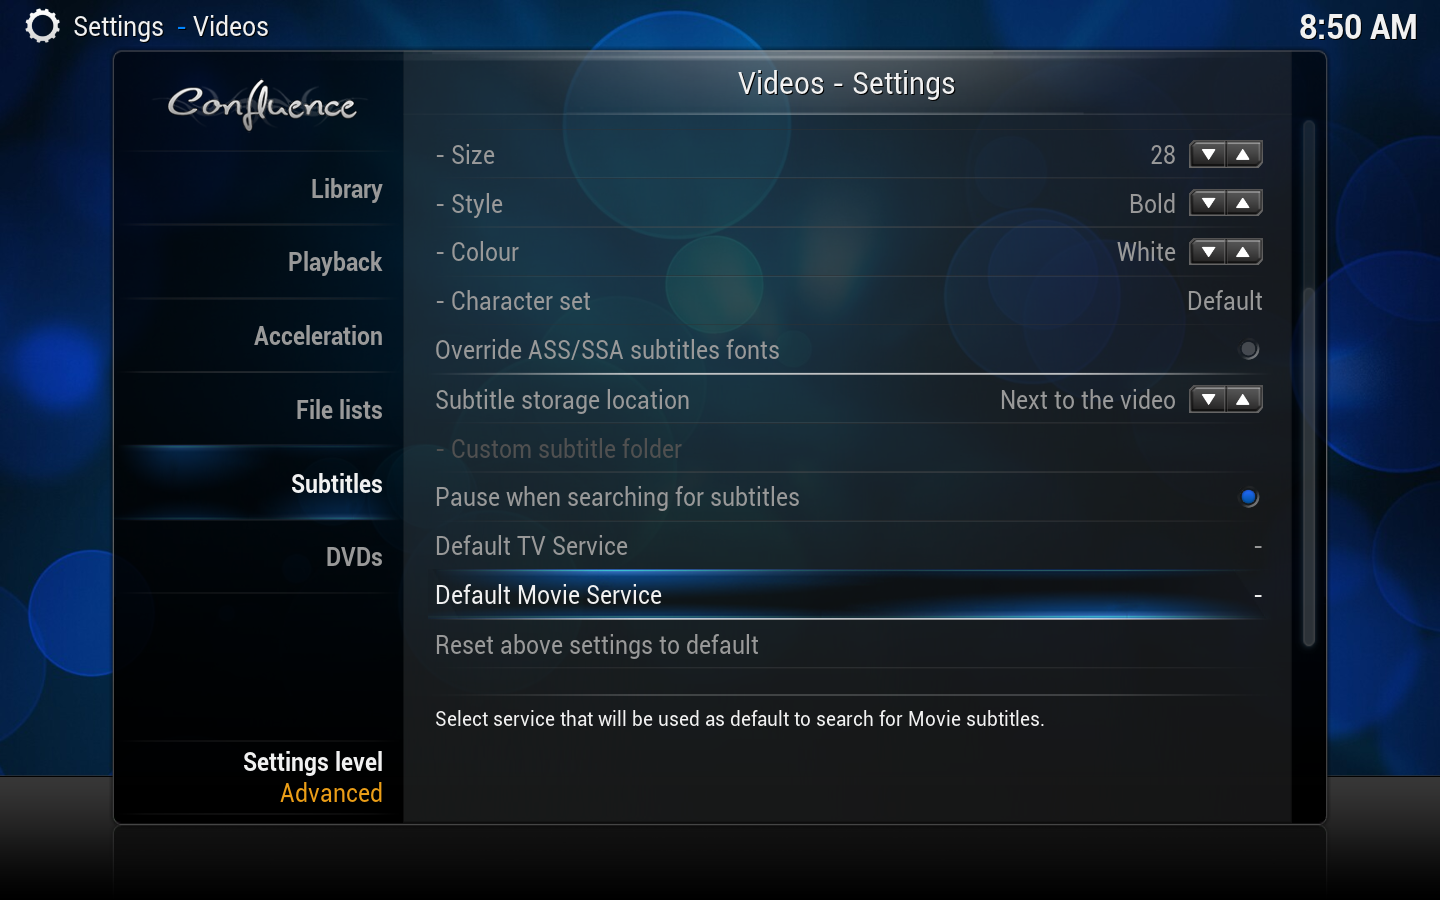
| 3 | Select either default Service for TV Episodes and Movies to select the default service or download extra services. |
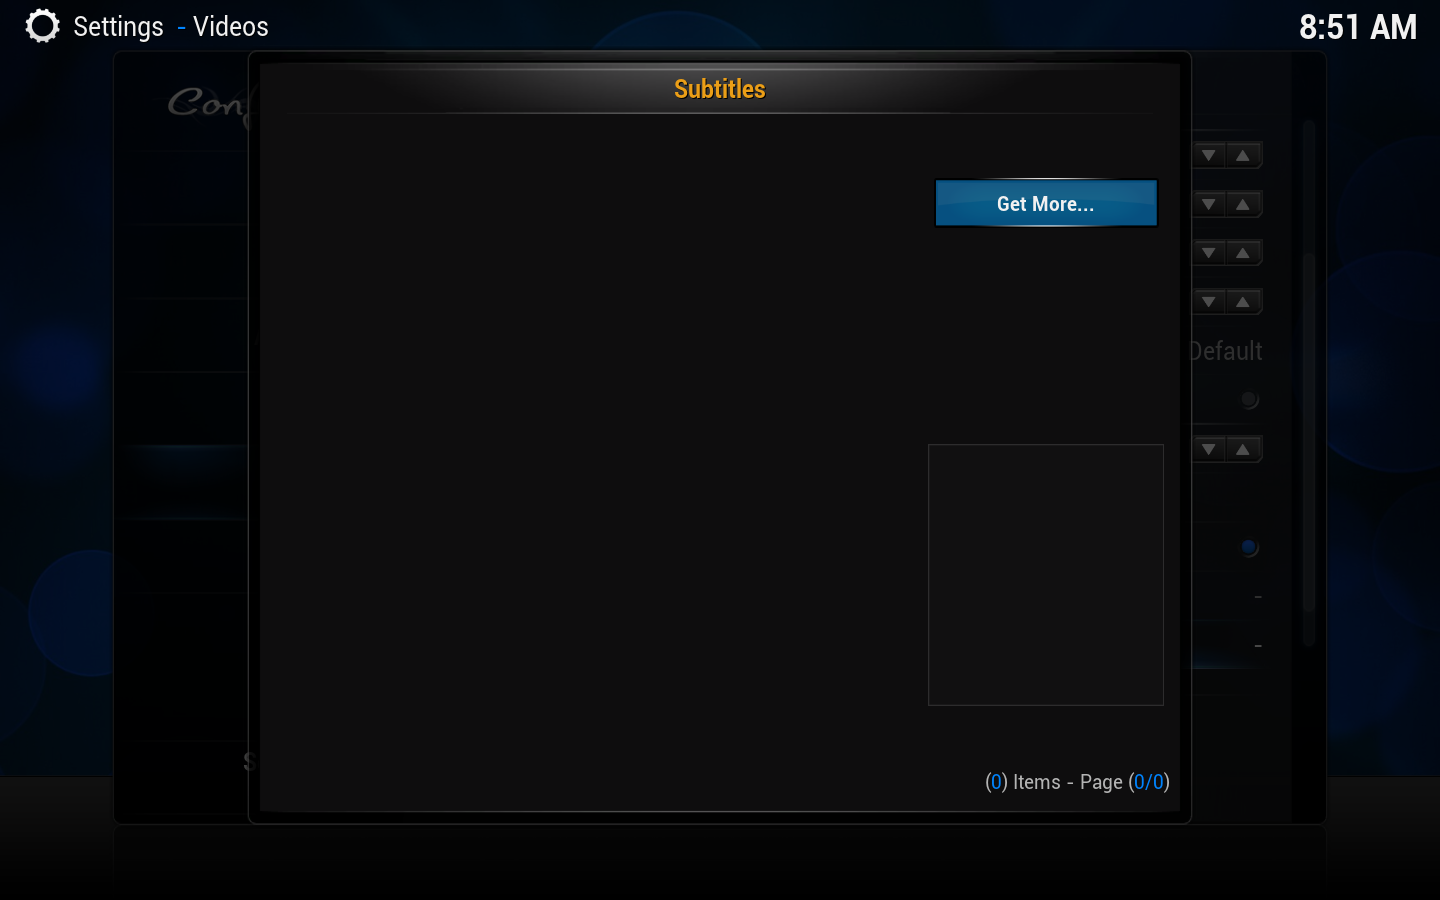
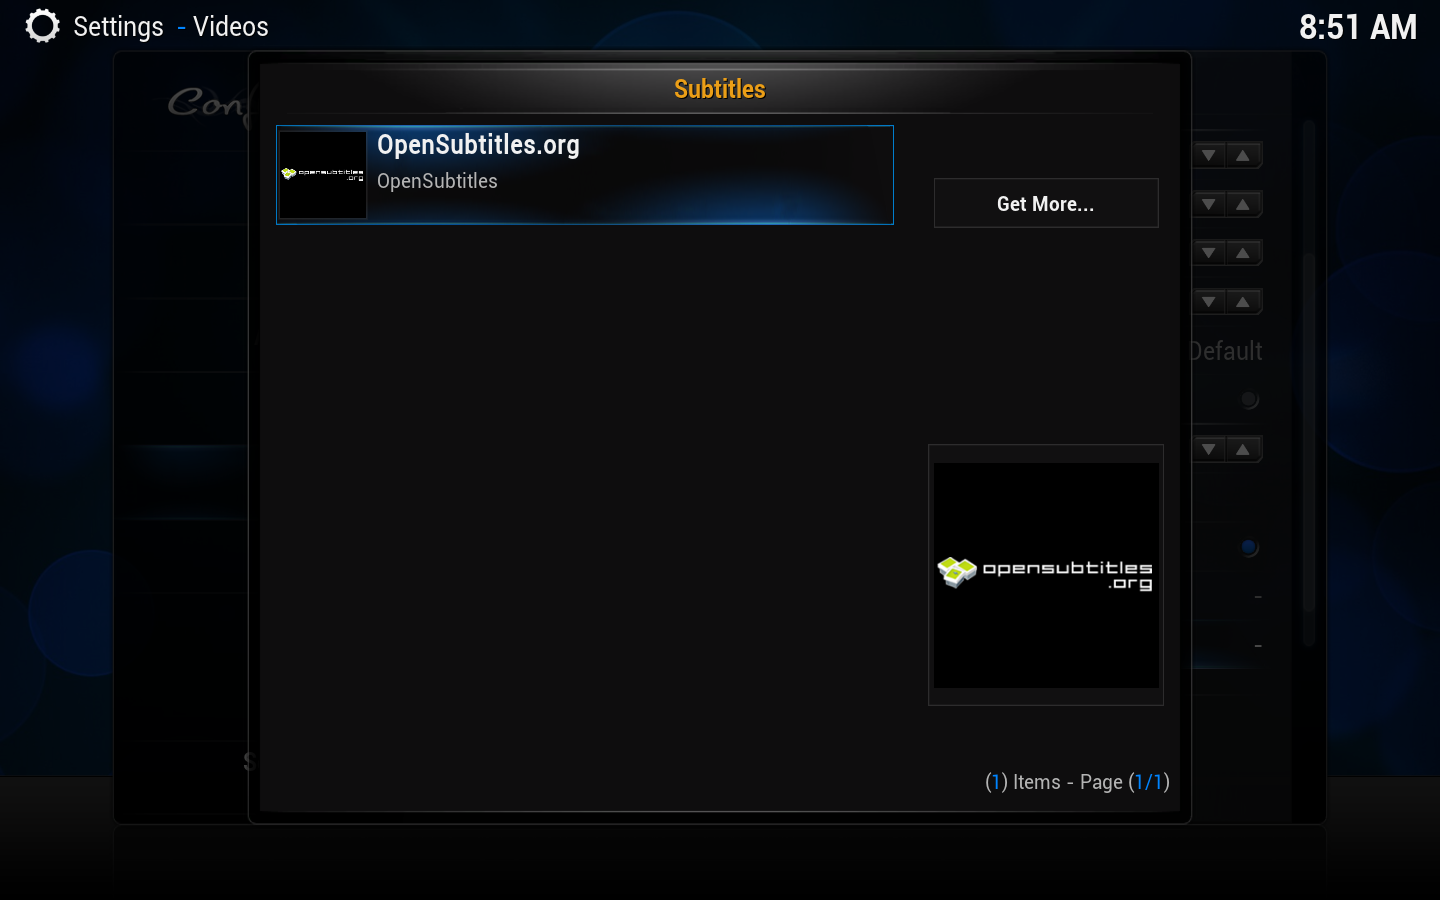
| 4 | Here you can select the default service to use. If the list is still empty you can hit the "Get more"button to download additional services. |
| 5 | After you have installed several services you can select the default one to use. |
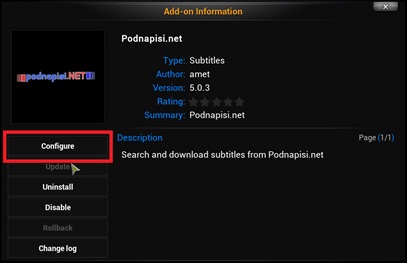
| 6 | Each subtitles module might have additional settings (for example you have options to enter your login info in podnapisi). To change this you have to go to each service options through Settings -> Add-ons -> Enabled Add-ons -> Subtitles -> select the service add-on -> Configure
|
Notes
- Credit goes to jurrabi for the original guide.
