Archive:Windows Media Connect: Difference between revisions
No edit summary |
>NedBot m (Robot: Cosmetic changes) |
||
| Line 1: | Line 1: | ||
<section begin="intro" />Windows Media Connect is a free [[UPnP]] MediaServer for Windows.<section end="intro" /> | <section begin="intro" />Windows Media Connect is a free [[UPnP]] MediaServer for Windows.<section end="intro" /> | ||
==Setting up== | == Setting up == | ||
This step-by-step tutorial will walk you through the installation and setup of Windows Media Connect, a free UPnP MediaServer for Windows. In order to use this option, you need to have the following: | This step-by-step tutorial will walk you through the installation and setup of Windows Media Connect, a free UPnP MediaServer for Windows. In order to use this option, you need to have the following: | ||
* An XBMC build newer than 10 July 2006 | * An XBMC build newer than 10 July 2006 | ||
Revision as of 16:02, 27 April 2013
Windows Media Connect is a free UPnP MediaServer for Windows.
Setting up
This step-by-step tutorial will walk you through the installation and setup of Windows Media Connect, a free UPnP MediaServer for Windows. In order to use this option, you need to have the following:
The first step is to download and install Windows Media Connect on your computer. This easy-to-use software allows you to share media (pictures, videos, music/audio) on your PC using the UPnP protocol, which is also supported by many stand-alone network players.
|
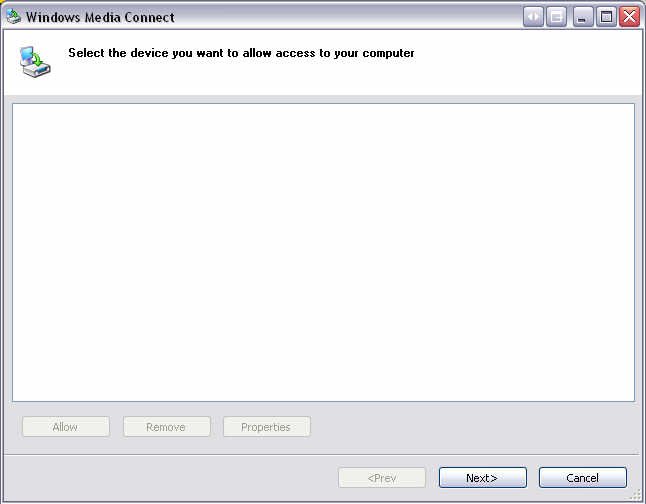
After installing Windows Media Connect, simply run the included setup utility included with it. The first screen that appears should look something like the one to the right. For now, simply choose Next. |
|
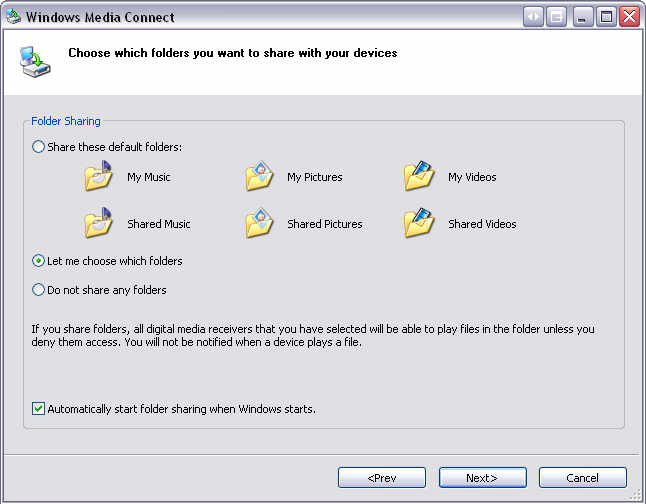
The next step is to choose which folders are going to be shared with XBMC. It offers you the option of using the default folders. In this case, we are going to choose which folders to share. |
|
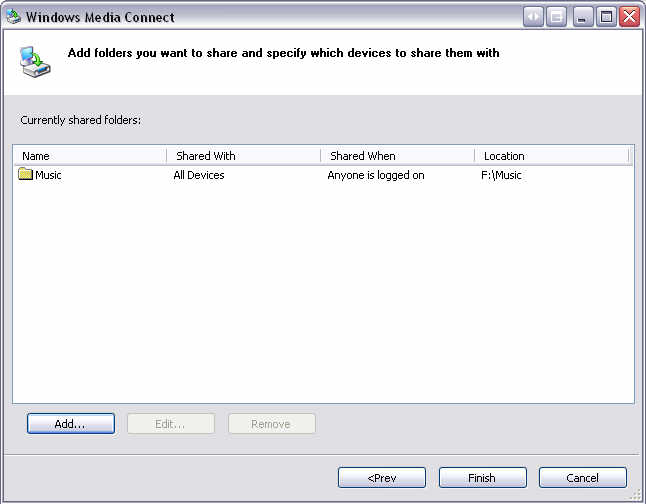
Next, choose the folders that you would like to share, by selecting Add and choosing as many folders as you like. You can share entire drives or just individual folders. In this example, I have shared my Music folder. |


