Archive:Chromebox
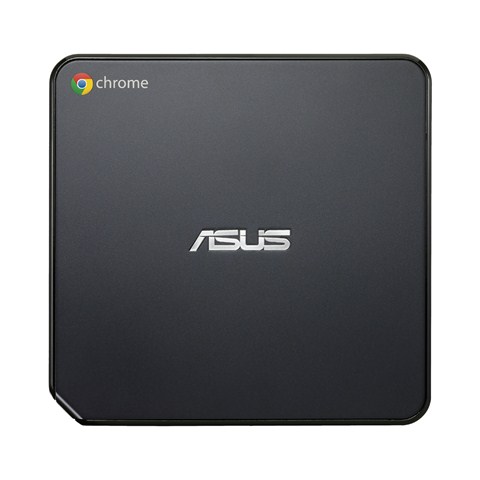
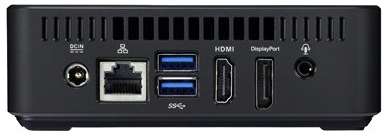
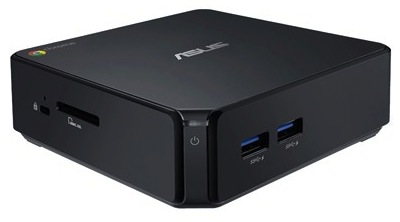
The ASUS Chromebox is a small lightweight intel PC that runs Chrome OS and can be made to boot into other linux versions. It features HDMI, Displayport, USB 3 ports, gig ethernet, SD card slot, and internal wireless-n networking. This page is a collection of links, information, tips, and guides related to running XBMC on the ASUS Chromebox line of computers.
Device Preparation
Put in Developer Mode
Putting the ChromeBox in developer mode will allow you to access the underlying Linux utilities etc necessary for installing XBMC.
WARNING: This will erase all user data on the device.
With the device powered off, insert a paperclip into the hole left of the SD card slot and press the recovery button. Power on the device, and remove the paper clip after 2-3 seconds. When greeted with the recovery screen, press CTRL-D to enter developer mode, and press the recovery button again to confirm. The device will reboot and wipe any existing user data.
Disable Firmware Write Protect
TODO
Factory Reset
TODO
Installing XBMC
As ChromeOS is based on Linux, all methods of running XBMC involve another Linux distribution in some shape or form.
Using Crouton
Crouton stands for Chromium OS Universal Chroot Environment. It allows you to run another Linux instance inside of ChromeOS. Crouton allows for the installation of Ubuntu inside of ChromeOS. Full instructions are available at: https://github.com/dnschneid/crouton
Once Crouton/Ubuntu are installed, follow the standard instructions for installing XBMC under Linux.
Using ChrUbuntu
Generic instructions for installing ChrUbuntu on any ChromeOS device are available at: http://goo.gl/Zekkcl
After ChrUbuntu is installed, follow the standard instructions for installing XBMC under Linux.
Using ChrOpenELEC
ChrOpenELEC is a modification of the ChrUbuntu installation script which installs OpenELEC instead of Ubuntu.
In order to install ChrOpenELEC, your ChromeBox must be in Developer Mode and Factory Reset (see above for instructions)
- Power on and boot to ChromeOS
- Hit CTRL-ALT-F2 to get to command prompt
- Login with user chronos (no password required)
- Download and run the ChrOpenELEC script with the command: sudo curl -L -O http://goo.gl/WIytxU; sudo bash WIytxU
- Enter the size of the partition to be used as a whole number, from 1 to the max recommended size (9GB for a stock 16GB SSD)
- Press Enter to reboot when prompted. ChromeOS will "repair" itself and reboot.
- Hit CTRL-ALT-F2 to get to command prompt
- Login with user chronos (no password required)
- Download and run the ChrOpenELEC script with the command: sudo curl -L -O http://goo.gl/WIytxU; sudo bash WIytxU
- Press Enter to install when prompted. The script will download and install OpenELEC, as well as update the bootloader and legacy BIOS (SeaBIOS) if needed.
- Press Enter to reboot when installation complete
- At the developer boot screen, press CTRL-L to boot the legacy BIOS and into OpenELEC
Optional Step
TODO: set GBB flags to shorten boot time, default boot in legacy mode / into OpenELEC
Known issues
- MCE remote IR receivers do not currently work with USB 3.0 ports under Linux due to a bug in the mceusb kernel driver
Random notes
Feel free to place various notes, tips, and links here. As this section of the wiki gets more organized, those notes will be properly sorted. Consider this like a dumping ground for when you're not sure where to put something.


