Add-on manager: Difference between revisions
>Pseudo7 No edit summary |
>Pseudo7 No edit summary |
||
| Line 32: | Line 32: | ||
| style="background:#FFFFFF; text-align:center; width:500px;"|XBMC displays three options (explained underneath) | | style="background:#FFFFFF; text-align:center; width:500px;"|XBMC displays three options (explained underneath) | ||
|} | |} | ||
'''Enabled add-ons''' are add-ons that are currently enabled. XBMC comes with certain add-ons already installed and enabled (such as movie scrapers, screen-savers and visualisation)<br> | '''Enabled add-ons''' are add-ons that are currently enabled. XBMC comes with certain add-ons already installed and enabled (such as movie scrapers, screen-savers and visualisation)<br> | ||
| Line 38: | Line 39: | ||
=== How to install Add-ons === | |||
'''For this example a skin is being installed, the same method is used for other add-ons.''' | |||
{| class="wikitable" | |||
|- | |||
! Step 1 | |||
! Step 2 | |||
|- | |||
| style="background:#FFFFFF;"|[[File:add-ons-accessing-3.png|500px]] | |||
| style="background:#FFFFFF;"|[[File:add-ons-accessing-4.png|500px]] | |||
|- | |||
| style="background:#FFFFFF; text-align:center; width:500px;"|Click "Get add-ons" | |||
| style="background:#FFFFFF; text-align:center; width:500px;"|Click into the repository you want to install from (see [[#How to add a repository|adding a Repository]] for more) | |||
|} | |||
{| class="wikitable" | |||
|- | |||
! Step 3 | |||
! Step 4 | |||
|- | |||
| style="background:#FFFFFF;"|[[File:add-ons-accessing-5-1.png|500px]] | |||
| style="background:#FFFFFF;"|[[File:add-ons-accessing-5-1.png|500px]] | |||
|- | |||
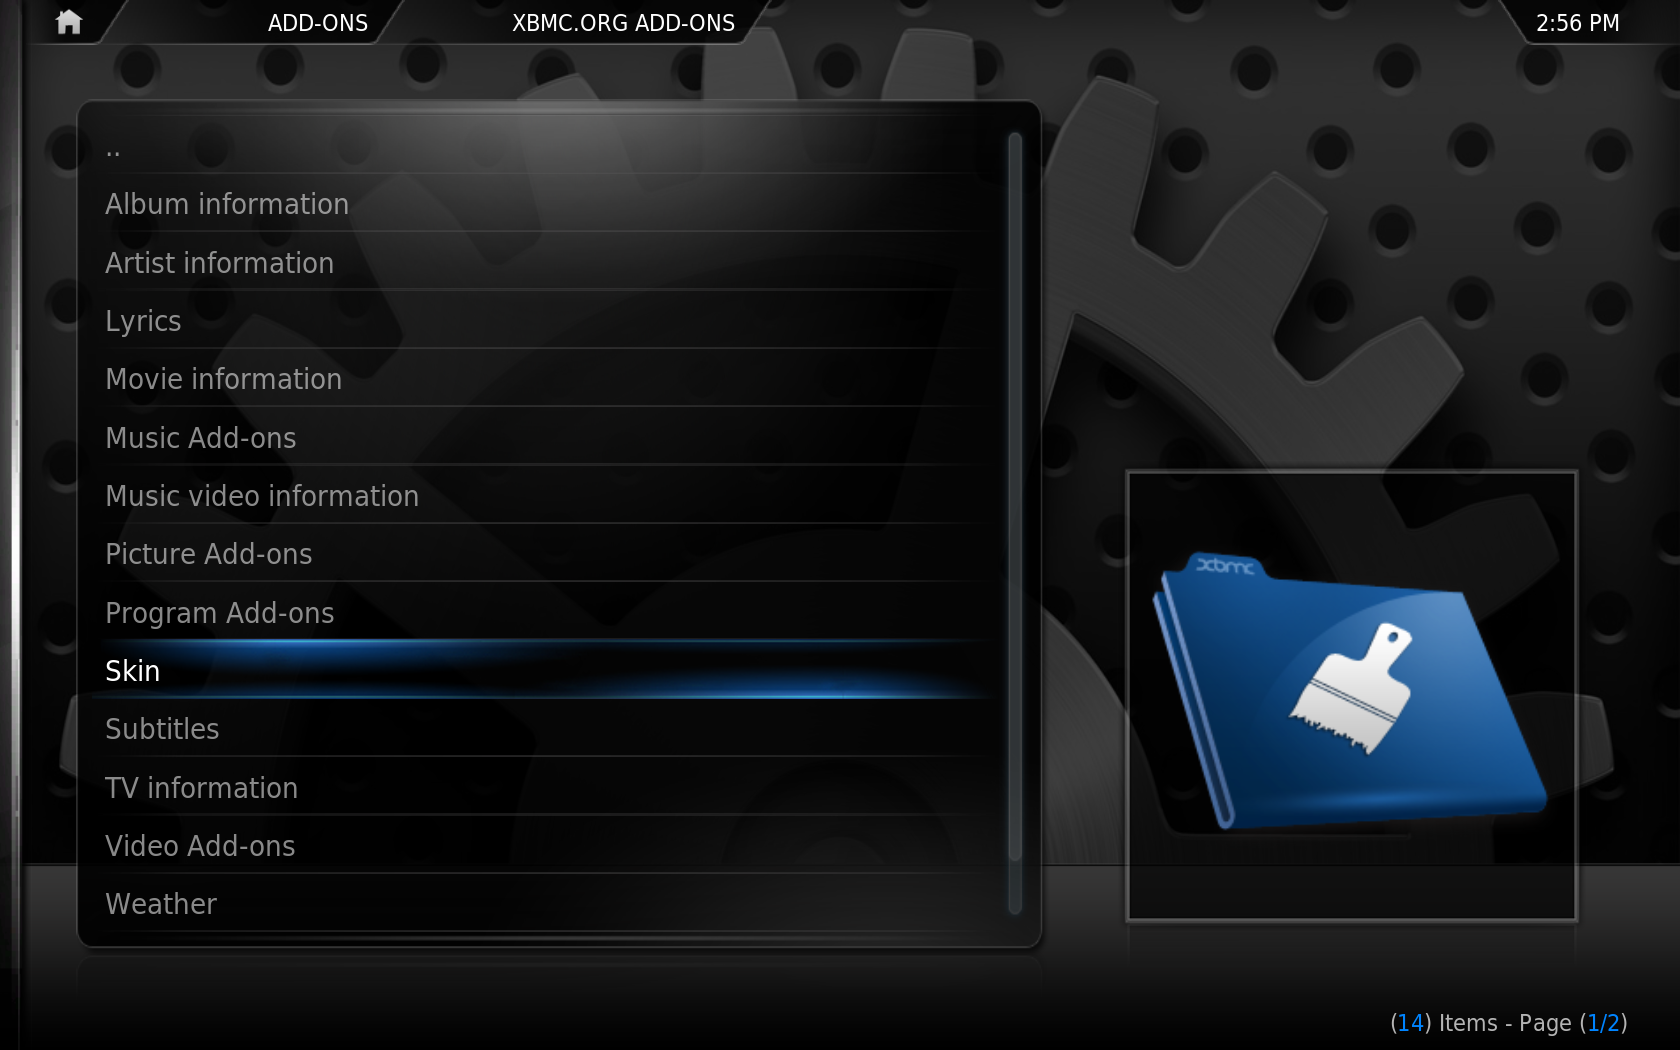
| style="background:#FFFFFF; text-align:center; width:500px;"|Scroll down to "skins" and click it | |||
| style="background:#FFFFFF; text-align:center; width:500px;"|Click the skin you want to install (in this example it is "Night") | |||
|} | |||
{| class="wikitable"|-! Step 5|-| style="background:#FFFFFF;"|[[File:add-ons-accessing-5.png|500px]]|-| style="background:#FFFFFF; text-align:center; width:500px;"|A summary dialog will be brought up allowing you see various properties of the add-on. Click "install" to begin automatic downloading and installing.|}<br> | |||
When the add-on has finished downloading XBMC will enable it and depending on the add-on ask if you want to start using it. Add-ons will then appear in their appropriate section (e.g. skins in the appearance section of settings, movie scrapers in the options of scrapers when adding a new movie source)<br> | |||
<br> | |||
= Repositories = | = Repositories = | ||
Revision as of 15:07, 25 November 2011

|
THIS PAGE IS OUTDATED:
This page or section has not been updated in a long time, no longer applies, refers to features that have been replaced/removed, and/or may not be reliable. This page is only kept for historical reasons, or in case someone wants to try updating it. |
- See also: Category:All add-ons
Template:XBMC faq toc Inline Add-ons are packages that add features and functions not normally included with XBMC. Add-ons are are developed by persons on the XBMC-team and third-parties. Add-ons provide extra value and flexibility by making it easy for programmers to add new functions to the program. There are many XBMC add-ons including; plugins, scripts, skins, and EventClients.
(This page is intended as a guide for XBMC users. Details for Python Development, Skinning XBMC, or creating an EventClient.)
XBMC's Add-ons GUI
How to access Add-ons
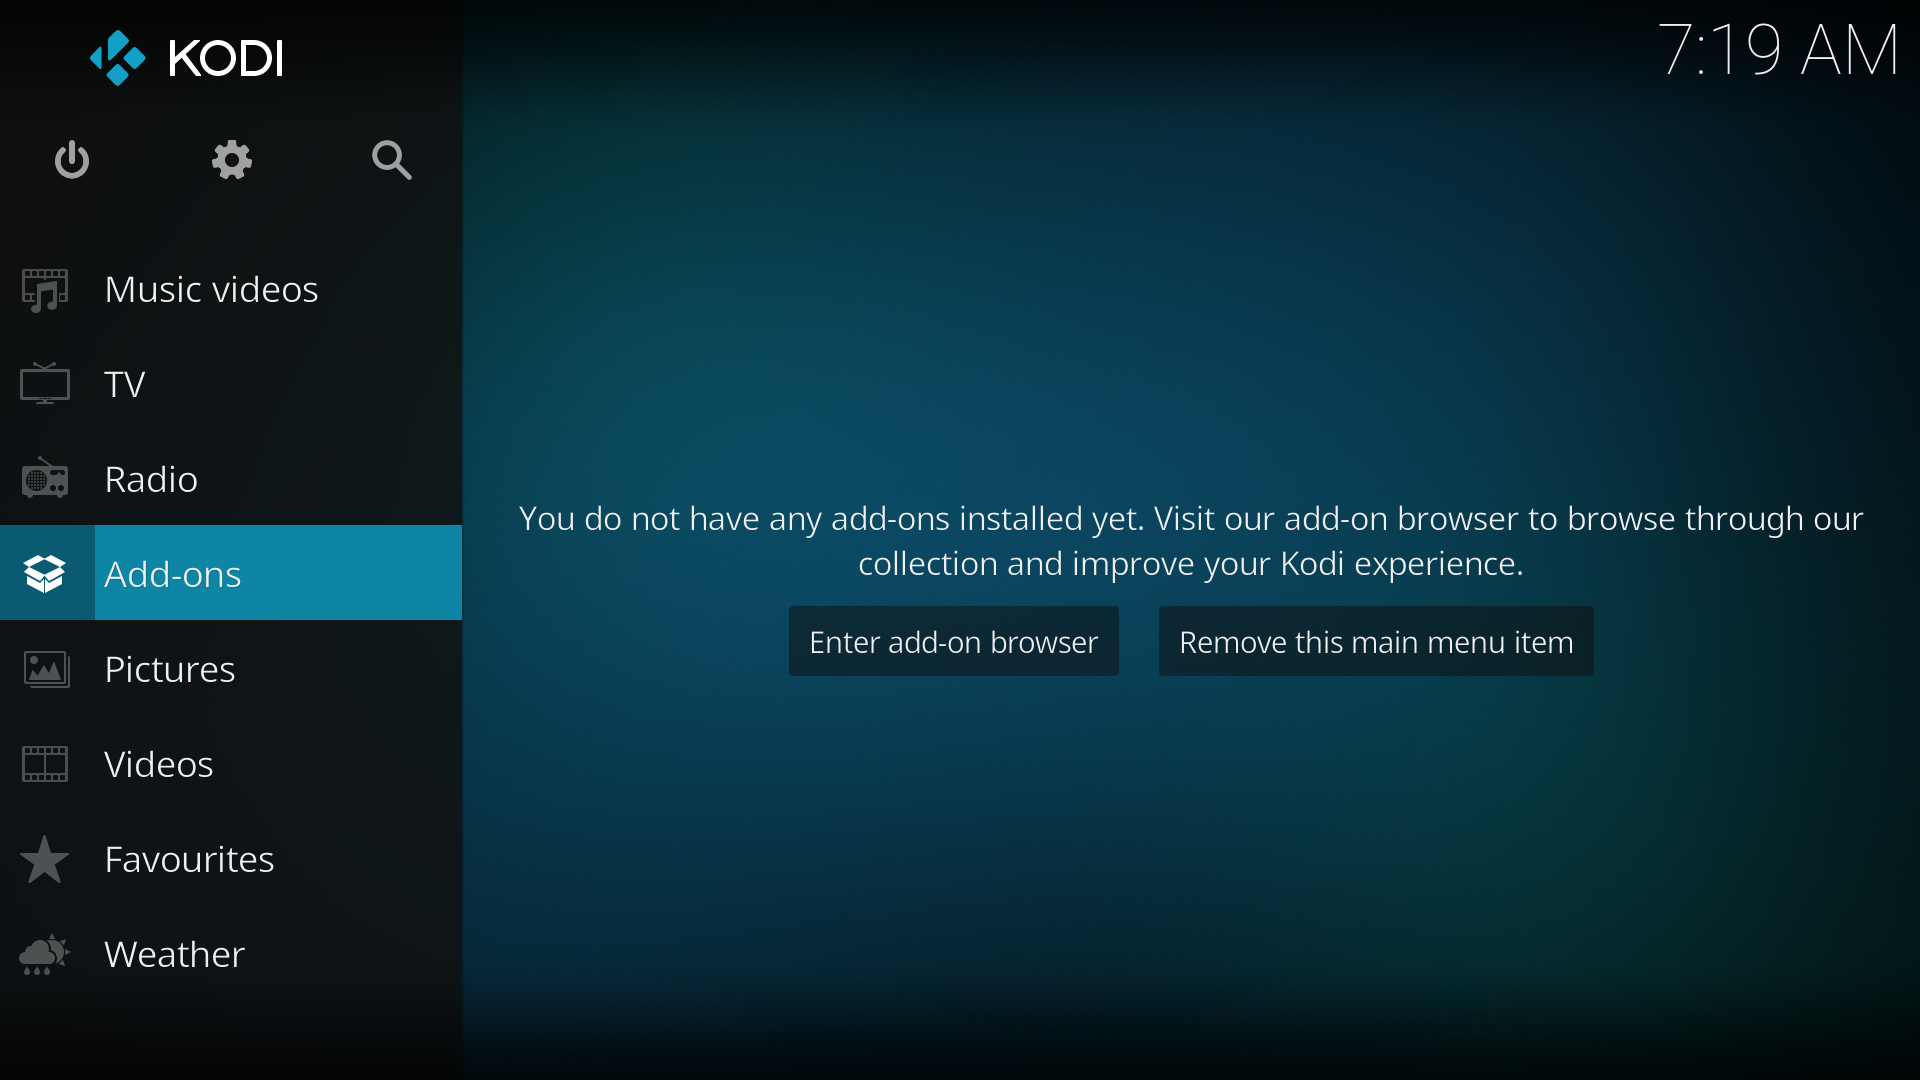
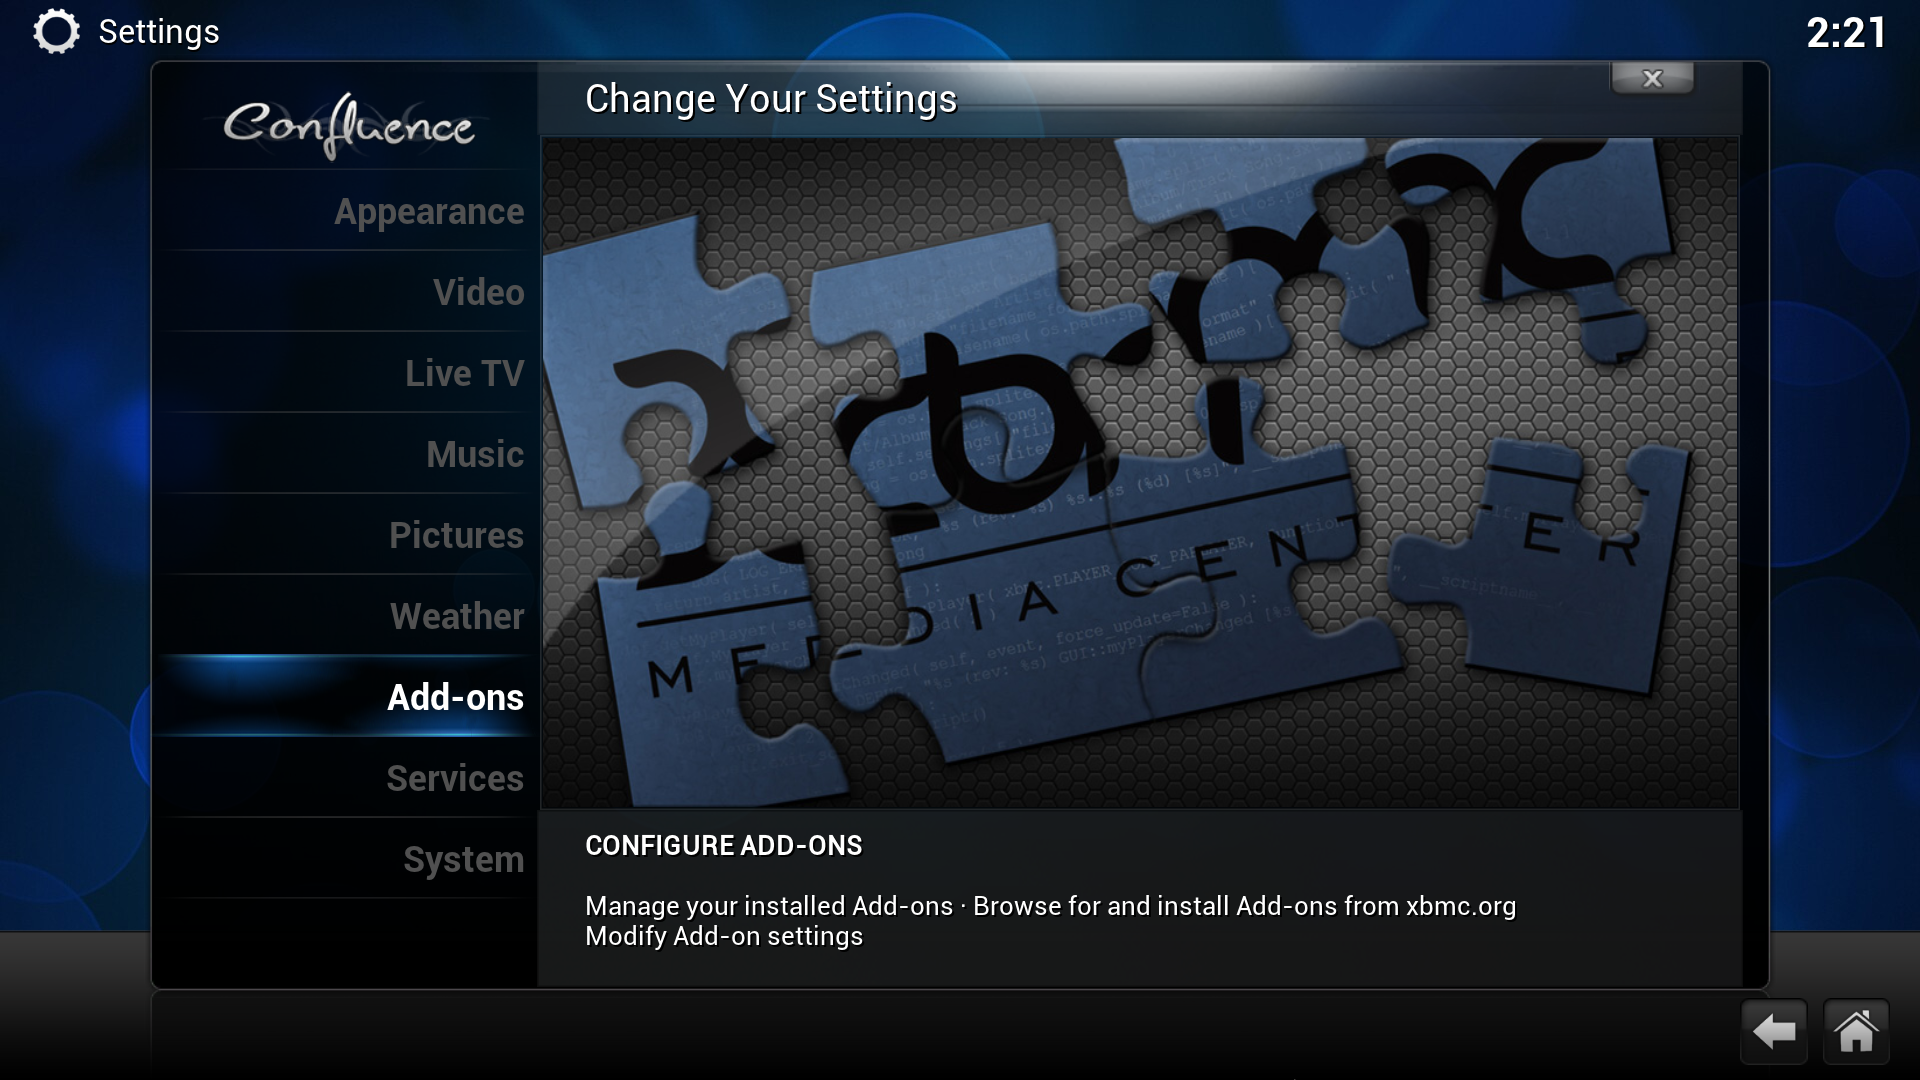
| Step 1 | Step 2 |
|---|---|
|
|
| Scroll down to "Settings" and click it. | Scroll down to "Add-ons" and click it. |
| Step 3 |
|---|
|
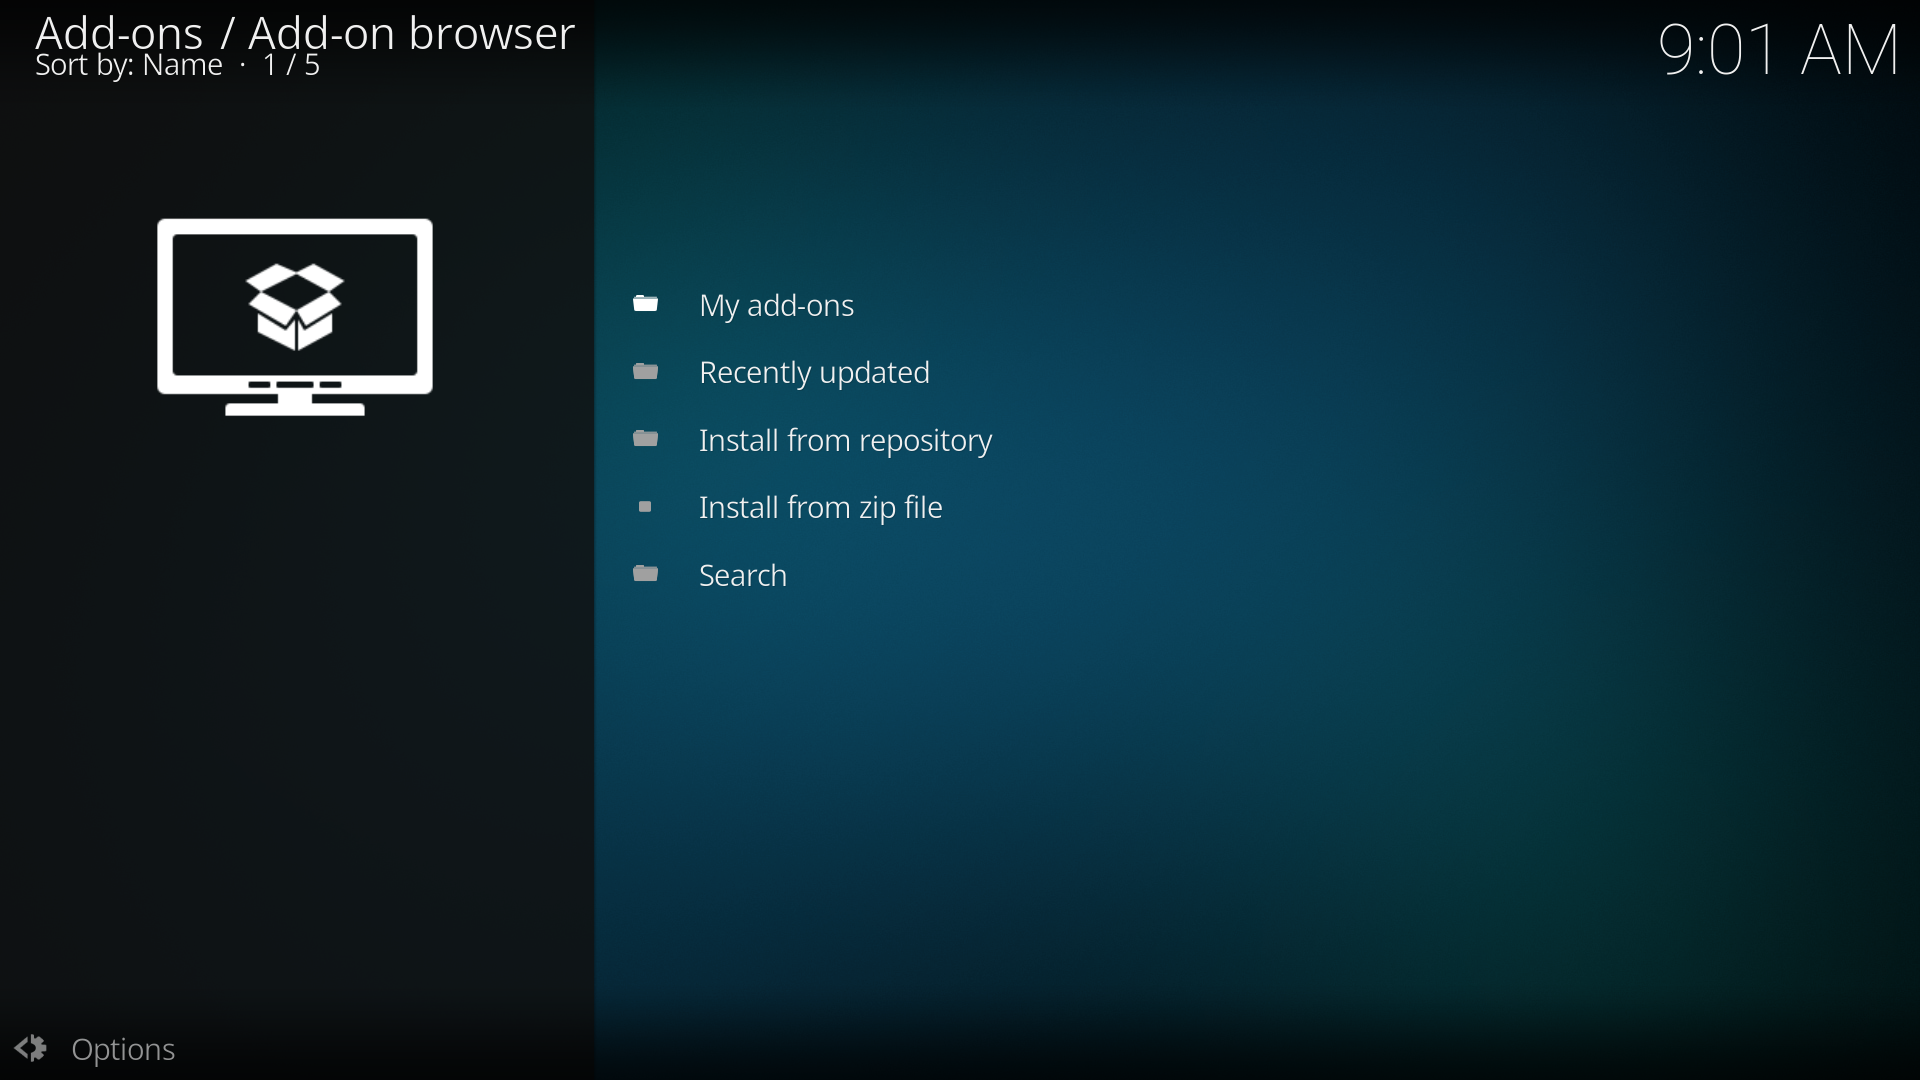
| XBMC displays three options (explained underneath) |
Enabled add-ons are add-ons that are currently enabled. XBMC comes with certain add-ons already installed and enabled (such as movie scrapers, screen-savers and visualisation)
Get add-ons allows the user to install new add-ons from the repositories installed. XBMC comes with one repository pre-installed (the official repository) others can be added adding a Repository.
Install from Zip file allows the installation of an add-on from a zip file
How to install Add-ons
For this example a skin is being installed, the same method is used for other add-ons.
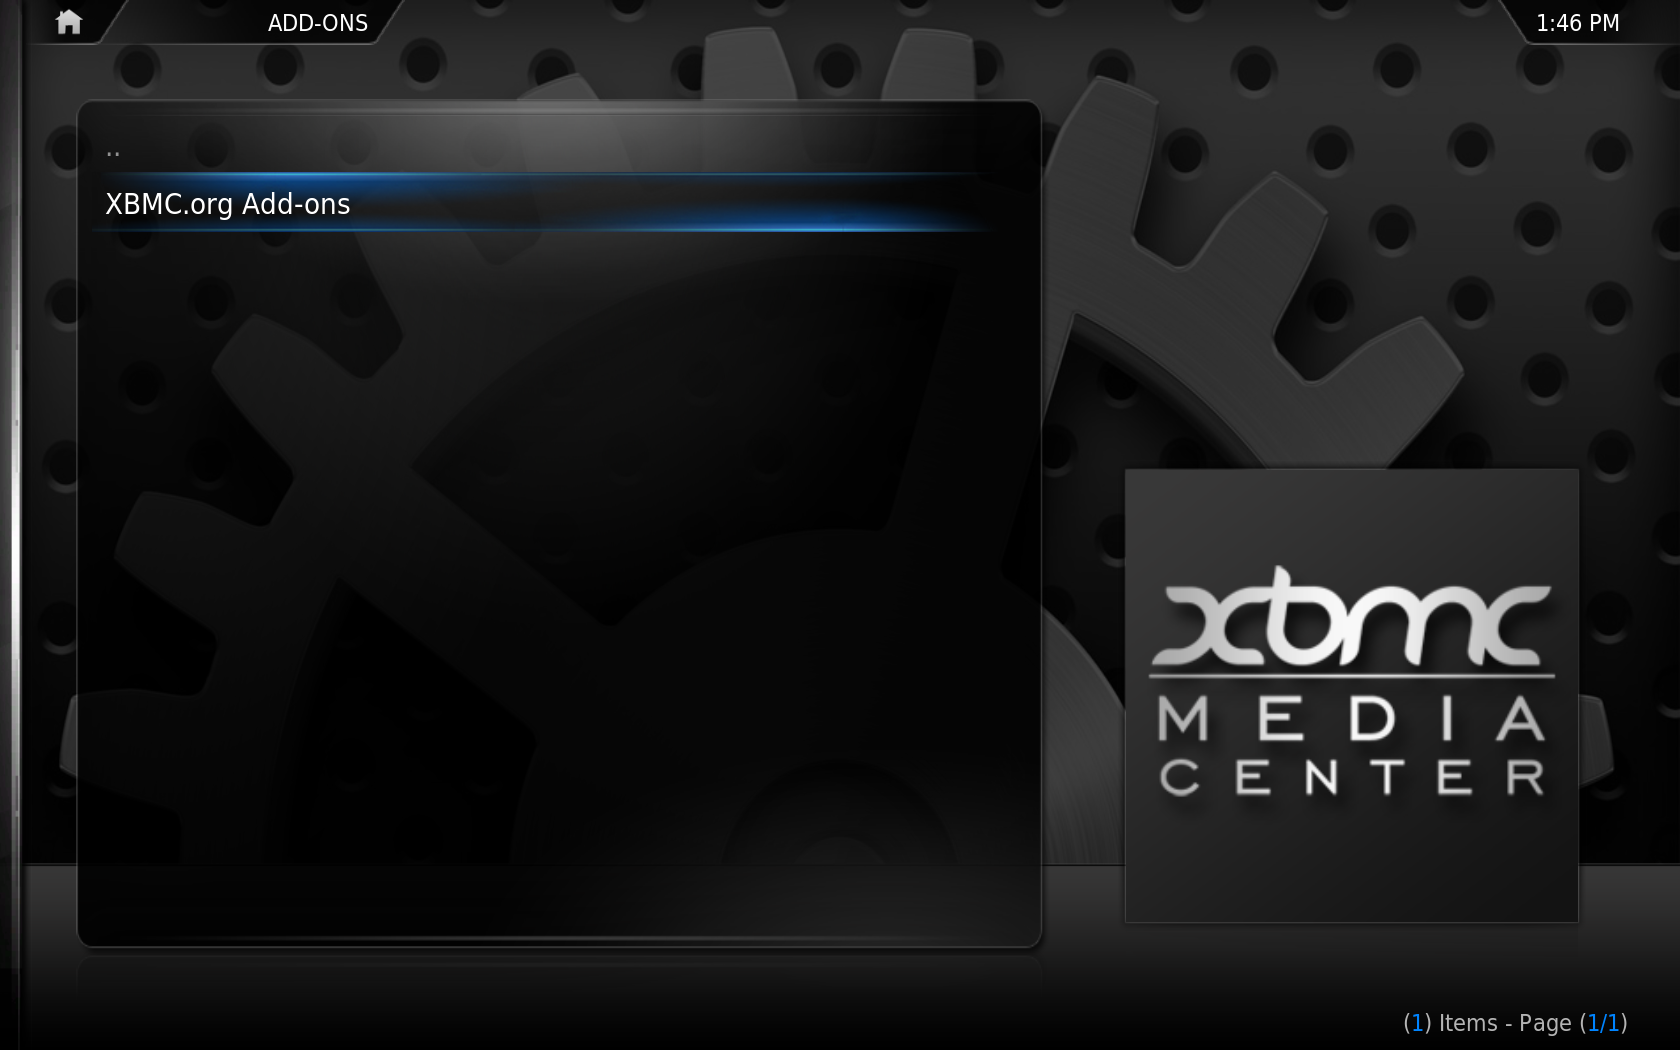
| Step 1 | Step 2 |
|---|---|

|
|
| Click "Get add-ons" | Click into the repository you want to install from (see adding a Repository for more) |
| Step 3 | Step 4 |
|---|---|
|

|
| Scroll down to "skins" and click it | Click the skin you want to install (in this example it is "Night") |
Repositories
How to add a repository
Understanding the Difference between Plugins and Scripts
It can be easy to confuse "Plugins" made for XBMC with "Scripts" made for XBMC. While the distinction can be subtle, scripts are applications launched directly by the user. A plugin, on the other hand, builds a list of menu items when the user browses into its virtual folder. Even though both are Python files ("*.py"), if you try to run a plugin file from the scripts window, you will only get an error message. Plugins can only be accessed as virtual folders in the regular menu structure.
From a design perspective, plugins, unlike scripts, do not really provide new functionality to XBMC. Instead, they provide an easy way to display content listings in XBMC through the native GUI interface.
Plugins
Plugins. Plugins provide an easy way for third-party developers to present content listings in XBMC through the native GUI interface. This content is usually gathered from online sources like Internet audio and video streams, (i.e. Internet TV channels, radio stations, or Podcasts), or pictures from websites such as Flickr and Picasa Web.
You can find complete instructions on downloading and installing a plugin here.
Scripts
Scripts. XBMC combines a Python interpreter with the WindowXML application framework (an XML-based widget toolkit for creating GUI windows), so that script developers can create new tools much like the Dashboard Widgets in Apple Mac OS X or the Microsoft Gadgets in Windows Sidebar.
Current python scripts for XBMC include applications like:
- Cinema guides
- TV guides (EPG)
- E-mail and Instant Messaging clients
- Train timetables
- Front-end controls for PVR software and hardware (like MediaPortal, MythTV, TiVo, ReplayTV, Dreambox/DBox2)
- Internet radio browsers (like SHOUTcast, Xm radio, Sirius Satellite Radio)
- P2P file-sharing downloaders (BitTorrent)
- IRC instant messaging chat
- Casual games (sometimes also referred to as mini-games or party-games) like Tetris, Snake, Space Invaders, Sudoku, and many more.
You can find complete instructions on downloading and installing a script here.
Skins
Skins. XBMC boasts a flexible and robust framework of its GUI (clearly demonstrated by the many other software projects copying it). This same flexibility makes theme-skinning and personal customization readily accessible. You can easily download and use third-parties skins in XBMC to customize your viewing experience. If you're interested, you could also create your own skin (or modify an existing skin) to share with others via public websites dedicated to Xbox skins trading.
Note: "Project Mayhem" is the official default skin for XBMC. "Project Mayhem" is now in its third version, commonly abbreviated as "PMIII." XBMC also includes a high-definition version of this skin called "PM3.HD."
In addition to the many third-party skins of original and unique design, you can also find skins that are near replicas of other popular multimedia software, including Apple TV and Front Row, Microsoft Windows Media Center Edition (MCE), MediaPortal, Meedio/MeediOS, HDeeTV, Kaleidescape, Xbox 360, PlayStation 3, and others. Each skin provides a totally different and unique user experience, showing just how flexible XBMC’s skinning engine really is.
You can find complete instructions on downloading and installing a custom skin here.
EventClients
EventClients. XBMC acts as an EventServer, allowing it to respond to software commands from any properly-configured EventClient. The most popular EventClients are programs that allow users to control XBMC with remotes or gamepad-controllers. However, EventClients can be configured for any process that needs to send software commands to XBMC.
To keep this communication as fast and plug-and-play as possible, we chose UDP. UDP is used in applications like network games because it is one of the lowest layers of network communication. This method grants low latencies and little overhead.
You can find complete instructions on configuring an EventServer and EventClient here.