Add-on:WatchedList
| WatchedList | ||||||||||
| ||||||||||
Export: Searches the XBMC-Database for watched files. Determine imdb-id and thetvdb-id to identify movies and TV-episodes. Then save the list to a new independent table.
Import: Set the watched state for each video file in xbmc.
Automatic background process without user interaction.
Installing
This add-on is installed from the Add-on browser located in Kodi as follows:
- Settings
- Add-ons
- Install from repository
- Program Add-ons
- WatchedList
- Install
Setup
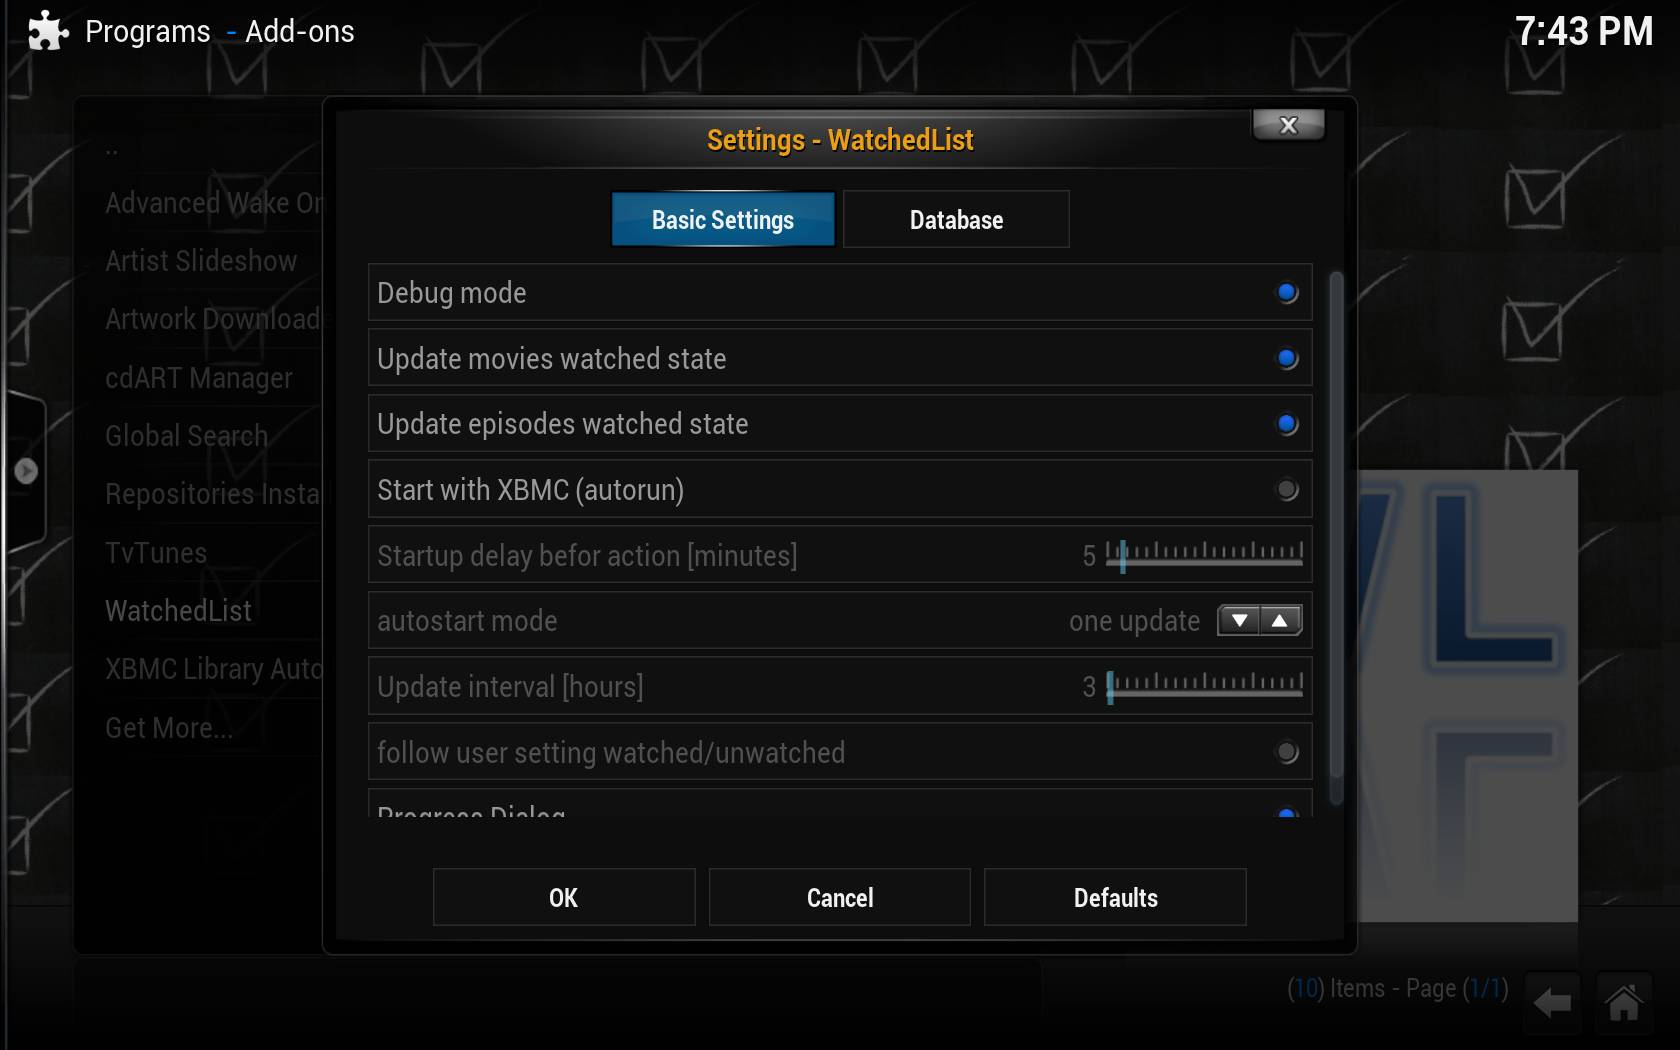
Basic Settings
- Debug mode: Show more notifications, create more entries in kodi.log
- Update watched state of movies
- Update watched state of episodes
- Autorun: starts with XBMC after a delay time of x minutes.
- Startup delay (see above x). Set the delay time to not disturb directly at startup.
- Autostart mode: 'one update' only does one full update of the watchedlist and then quits. 'periodic' executes this update in the interval given below. 'no update' does no full update. You have the possibility to run WatchedList in background.
- Update interval (active if set to 'periodic' above)
- Follow user ...: Run in background and update the watchedlist database every time the user changes a watched state
- Progress dialog: Show a progress bar for every full update. No user interaction possible in this time.
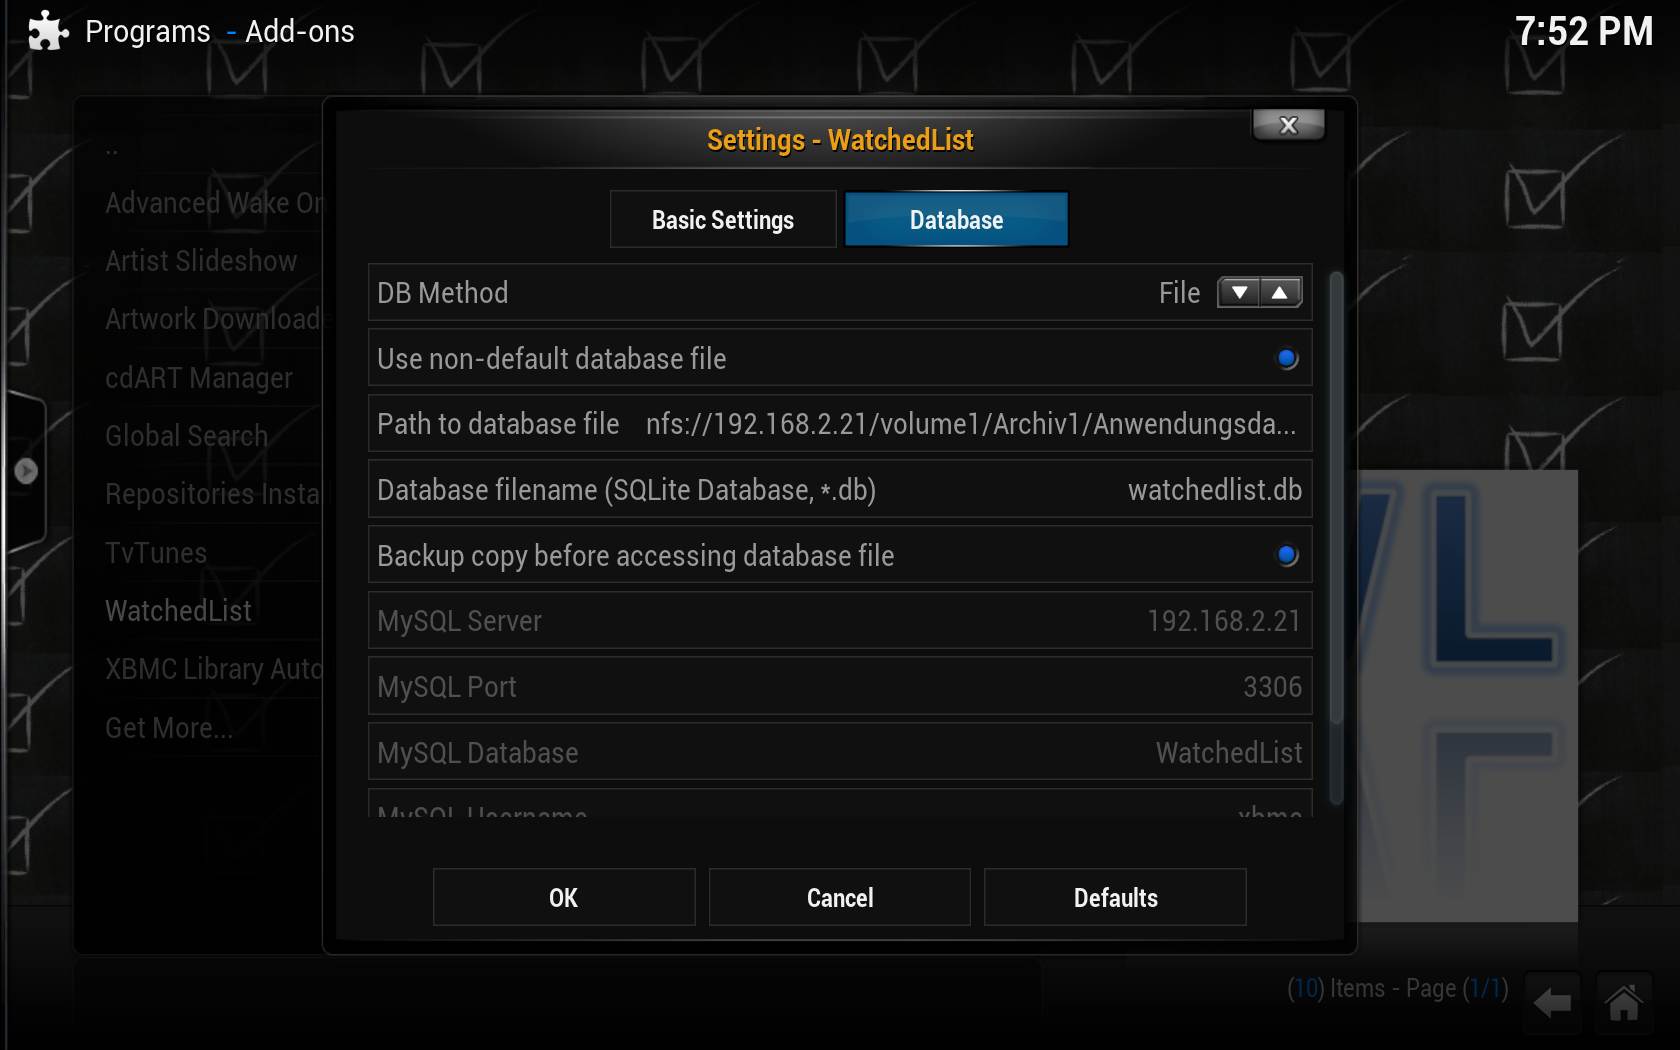
Database Settings
- DB Method: Either use a SQLite db file or a mysql server for the database of this addon. I recommend a mysql database, since there were problems with the SQLite database file consistency since XBMC v13. The default setting is a local SQLite db file. This is suitable for backup of the local watched states in case of file movements or Kodi database cleaning.
- DB File: Use a non-default database file (not in [...]/userdata/addon_data/service.watchedlist)
- DB File: Path to the database-file. To add a network path for access from multiple clients you can browse the path in xbmc or edit this value manually in the "%appdata%\XBMC\userdata\addon_data\service.watchedlist\settings.xml".
- DB File: Filename of the database (SQLite .db file)
- DB File: Create a zip backup copy (ca. 40 KB) of the database (ca 100 KB) each time before writing it. With this you can restore any state you want, e.g. when you mess with your kodi-database and too much media is marked as watched. On the contrary the directory will be filled with new files on every change to the WL-DB (no file Rotation, drive space).
- MySQL: IP-adress of the Server. Make sure, there is a mysql server running. To start, use [MySQL/Setting_up_MySQL this] guide.
- MySQL: 3306 is the default mysql port. No need to change it.
- MySQL: Name of the database. You manually need to create this database on the mysql server (use phpMyAdmin)
- MySQL: Username. This user must exist and have all necessary permissions on the database set before
- MySQL: password for this user.
Useage
This addon runs in the background as a service. There is no interaction with the user. The script only gives messages about the current operation
After Startup, the databases are searched for watched-information. Then newly watched movies and tv episodes are written to the addon database (Remember): After that, media that is not watched in the XBMC database and was previously marked as watched by the addon is again marked as watched in XBMC.
Database
MySQL Database
The mySQL database stores all relevant information. It looks like this: For the description of the tables read below.
SQLite Database file
The SQLite Database file option is no longer recommended. To transfer an existing SQLite WatchedList? Database, read below.
The script creates a SQLite database. To view the database I used SQLite Database Browser.
https://sourceforge.net/projects/sqlitebrowser/files/latest/download
This figure shows the SQLite db file with automatically created backup copies.
The database has three tables.
The first table stores the watched movies by imdb-number. The title column is only for easier user access to the table.
The second table stores watched tv episodes with unique number for the TV Show (this field is called imdbnumber in XBMC, but this is the TheTVDB number). The names of the tv shows are stored in a third table, only for better readability.
Conversion from SQLite database to mysql database
In Version 1.0.0 of this addon, I added the possibility to use a mysql database, which has a few advantages over the SQLite Database file:
- simultaneous access possible
- mysql handles all the database access, therefore no permanent backup copying necessary
- no filesystem access in the addon. Should lead to fewer errors
How to convert the database:
- open the old database file in SQLite database browser
- File -> Export -> Database to sql file
- bring this into the new format. For Replacement, I used Notepad++ in Windows:
- Replace regular expression
"INSERT INTO movie_watched VALUES\((\d+),(\d+),(\d+),(\d+),"with"INSERT IGNORE INTO movie_watched VALUES\((\1),(\2),FROM_UNIXTIME\((\3)\),FROM_UNIXTIME\((\4)\)," - Replace regular expression
"INSERT INTO episode_watched VALUES\((\d+),(\d+),(\d+),(\d+),(\d+),(\d+)\)"with"INSERT IGNORE INTO episode_watched VALUES\((\1),(\2),(\3),(\4),FROM_UNIXTIME\((\5)\),FROM_UNIXTIME\((\6)\)\)" - Save this new sql file
- execute the commands in the "INSERT"-commands in the sql query interface in phpmyadmin after the tables were generated at the first start of the watchedlist addon with mysql option enabled.

