Archive:HOW-TO:Install Kodi on OUYA: Difference between revisions
Jump to navigation
Jump to search
credit goes to hakarune |
credit goes to hakarune |
||
| Line 1: | Line 1: | ||
{{mininav|[[Devices]] {{arrow}} [[Android]] {{arrow}} [[OUYA]]{{l2|[[General topics]] {{arrow}} [[Installing]]}}|page={{FULLPAGENAME}}}} | {{mininav|[[Devices]] {{arrow}} [[Android]] {{arrow}} [[OUYA]]{{l2|[[General topics]] {{arrow}} [[Installing]]}}|page={{FULLPAGENAME}}}} | ||
There are several methods to installing the HW Accelerated XBMC to Ouya, but I'm going to cover the "Out-of-the-Box way;" many people are having problems with USB mounting, so this is the easiest way. ''(Forgive the screenshots, I have no way to screencap my Ouya yet)'' | |||
<gallery widths="600px" heights="450px"> | |||
File:OUYA install 1.png | {{large|'''Step 1:'''}} First go to the developer section (the '''"Make"''' tab) in Ouya, select '''"Yes"''' or "okay" to enter the developer section. | |||
File:OUYA install 2.png | {{large|'''Step 2:'''}} Open the default browser and then press '''"Y"''' on the controller to enter in your own URL. | |||
File:OUYA install 3.png | | |||
File:OUYA install 4.png | {{large|'''Step 3:'''}} Go to '''"<nowiki>http://goo.gl/gkdvk</nowiki>"''' (it's just a symlink to "http://mirrors.xbmc.org/test-builds/android/xbmc-20130219-32e99c7-android-hwaccel-armeabi-v7a.apk") | |||
File:OUYA install 5.png | {{large|'''Step 4:'''}} The download is 50.3 MB and depending on connection can take a while, during the download you won't be able to tell the progress unless you have installed Chrome or ES File Explorer. <br />(If you have ES File Explorer you can just open after it finishes and install). | |||
File:OUYA install 6.png | {{large|'''Step 5:'''}} After some time, navigate to the '''"Manage"''' tab -> '''"System"''' -> '''"Advanced"''' | |||
File:OUYA install 7.png | {{large|'''Step 6:'''}} Select '''"Storage"''' and then scroll down to '''"Downloads"''' | |||
File:OUYA install 8.png | {{large|'''Step 7:'''}} There will be a list of all the downloads, select the XBMC download and click "install." <br /><br />And you're done. | |||
File:OUYA install 9.png | XBMC will be under the '''"Make"''' tab, just run it. It runs 720p MKV anime files from my Samba NAS without a problem (on mine at least), and you need to be hardwired to the router; WiFi gives too much lag on HD movies and TV shows. | |||
</gallery> | |||
[[Category:XBMC Manual]] | [[Category:XBMC Manual]] | ||
Revision as of 11:50, 7 July 2013

|
 Devices Android OUYA General topics Installing Devices Android OUYA General topics Installing |
Archive:HOW-TO:Install Kodi on OUYA
|
There are several methods to installing the HW Accelerated XBMC to Ouya, but I'm going to cover the "Out-of-the-Box way;" many people are having problems with USB mounting, so this is the easiest way. (Forgive the screenshots, I have no way to screencap my Ouya yet)
-
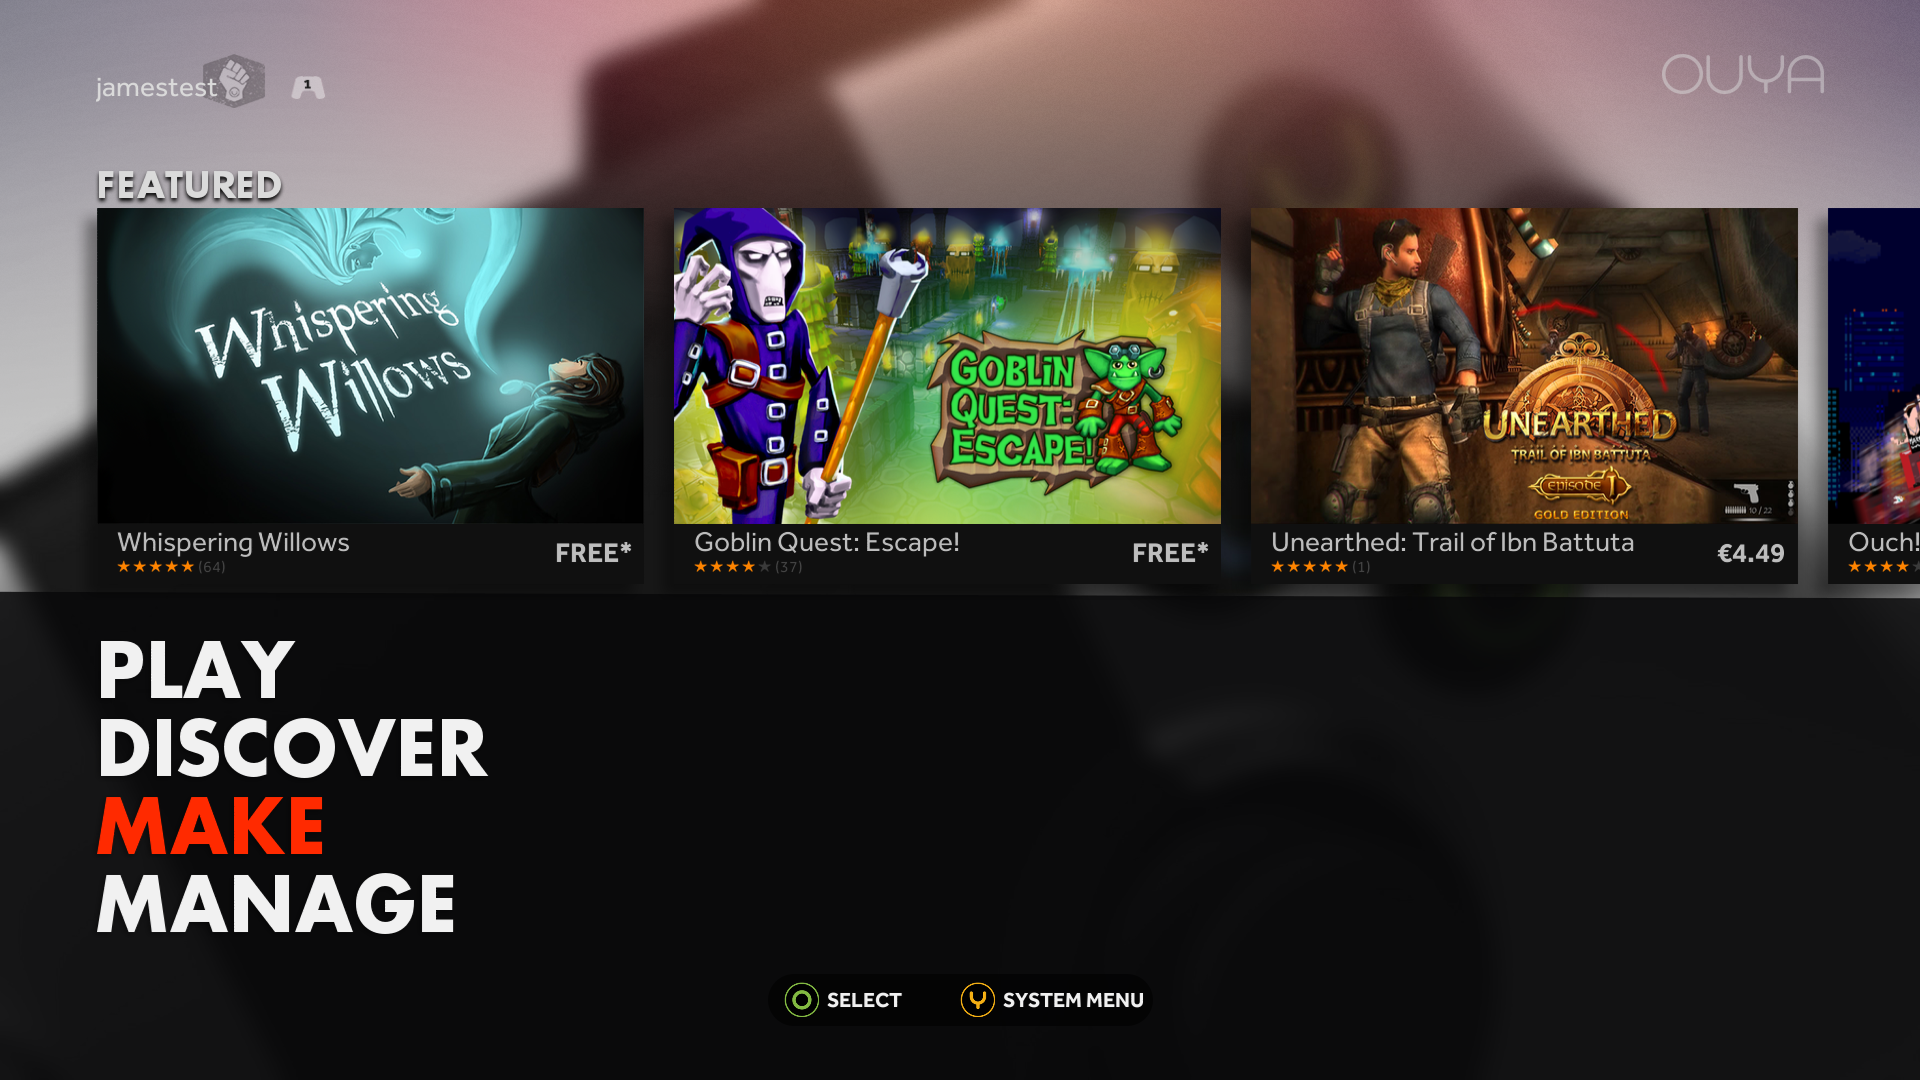 Step 1: First go to the developer section (the "Make" tab) in Ouya, select "Yes" or "okay" to enter the developer section.
 -
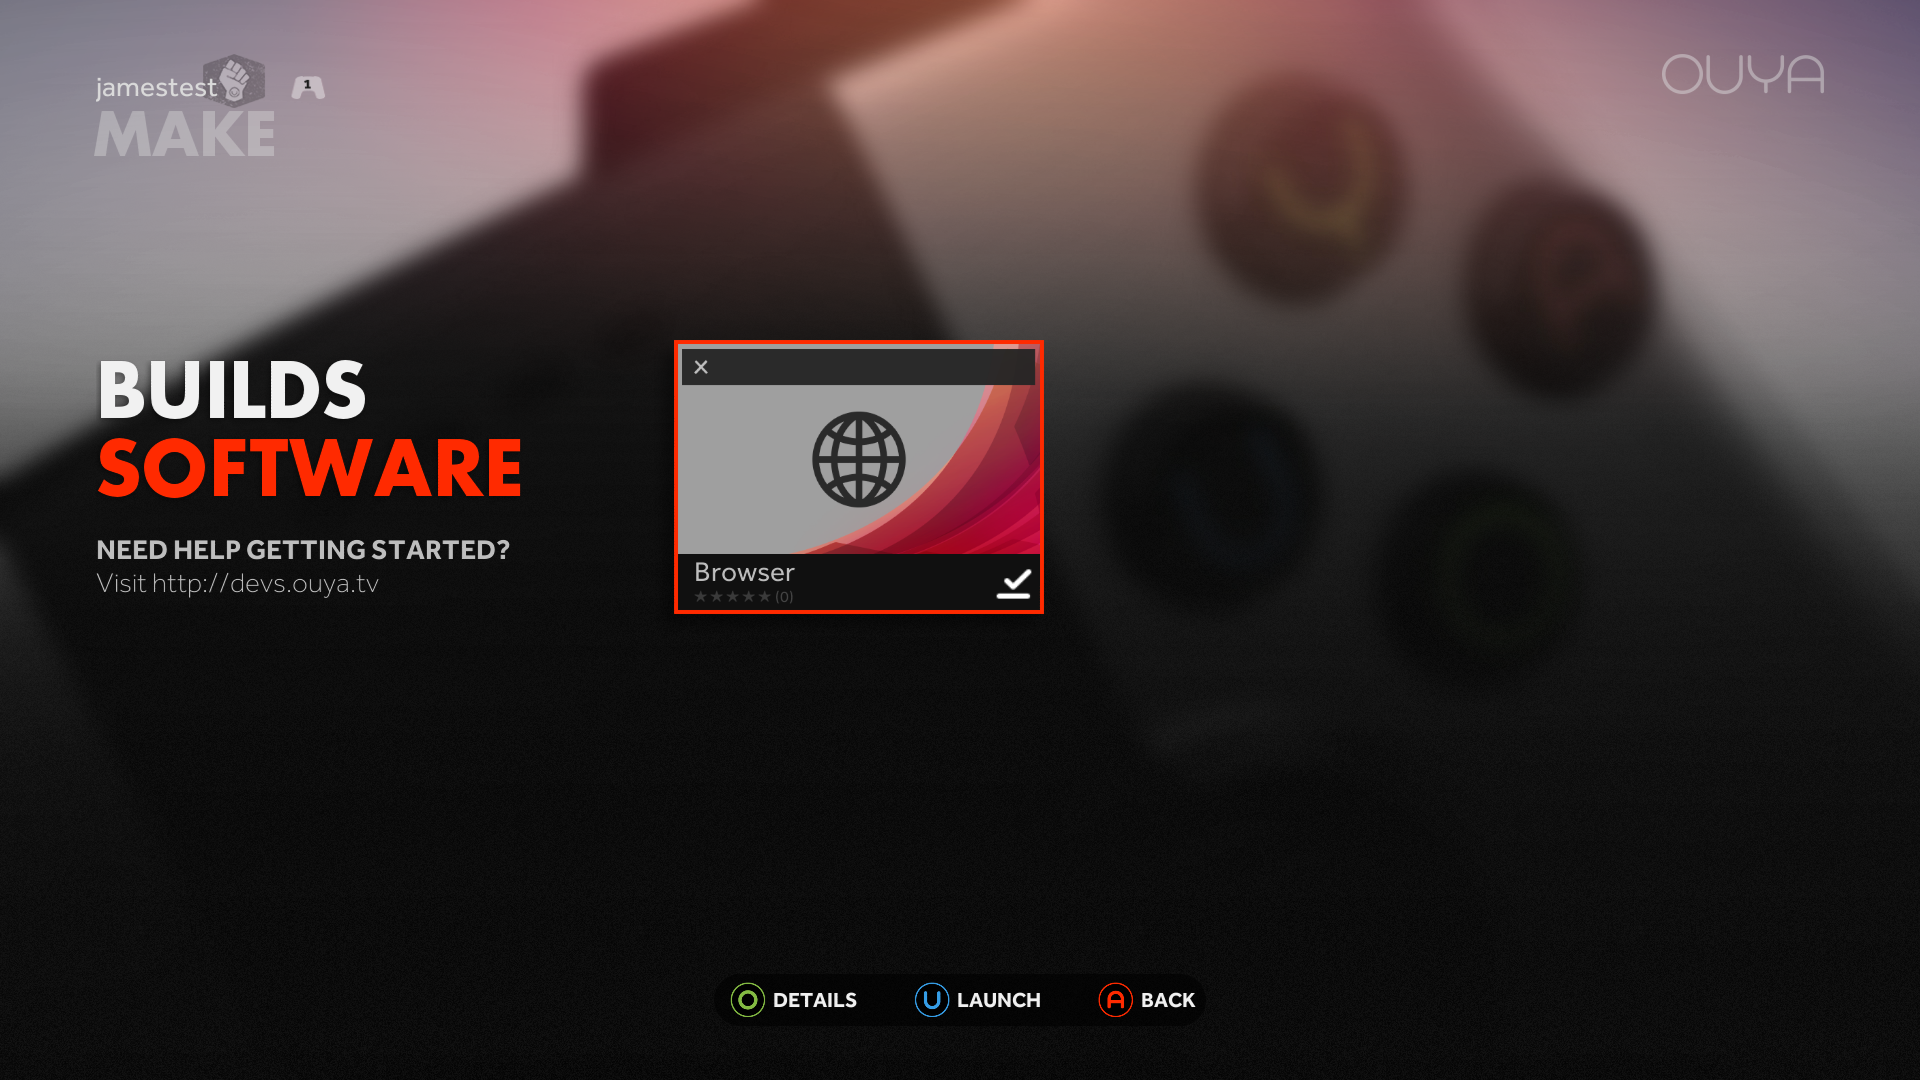 Step 2: Open the default browser and then press "Y" on the controller to enter in your own URL.
 -
-
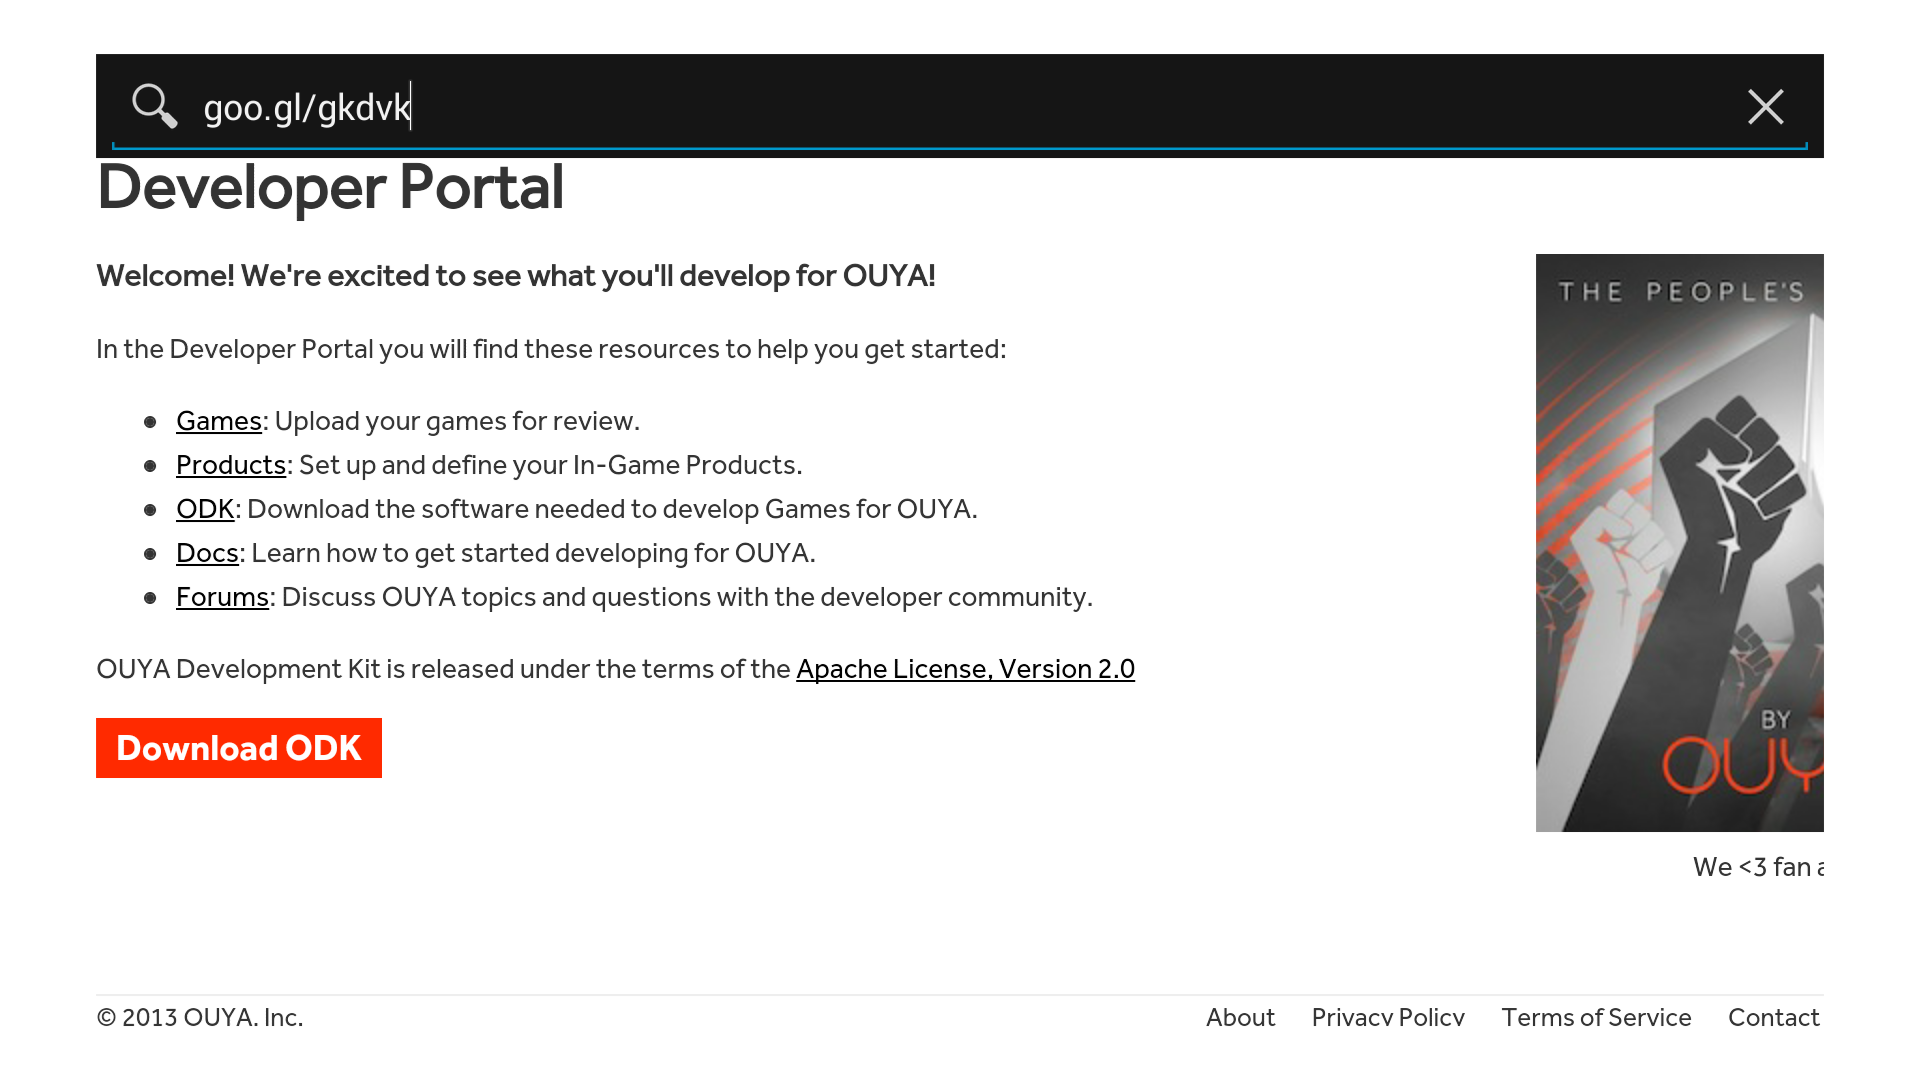
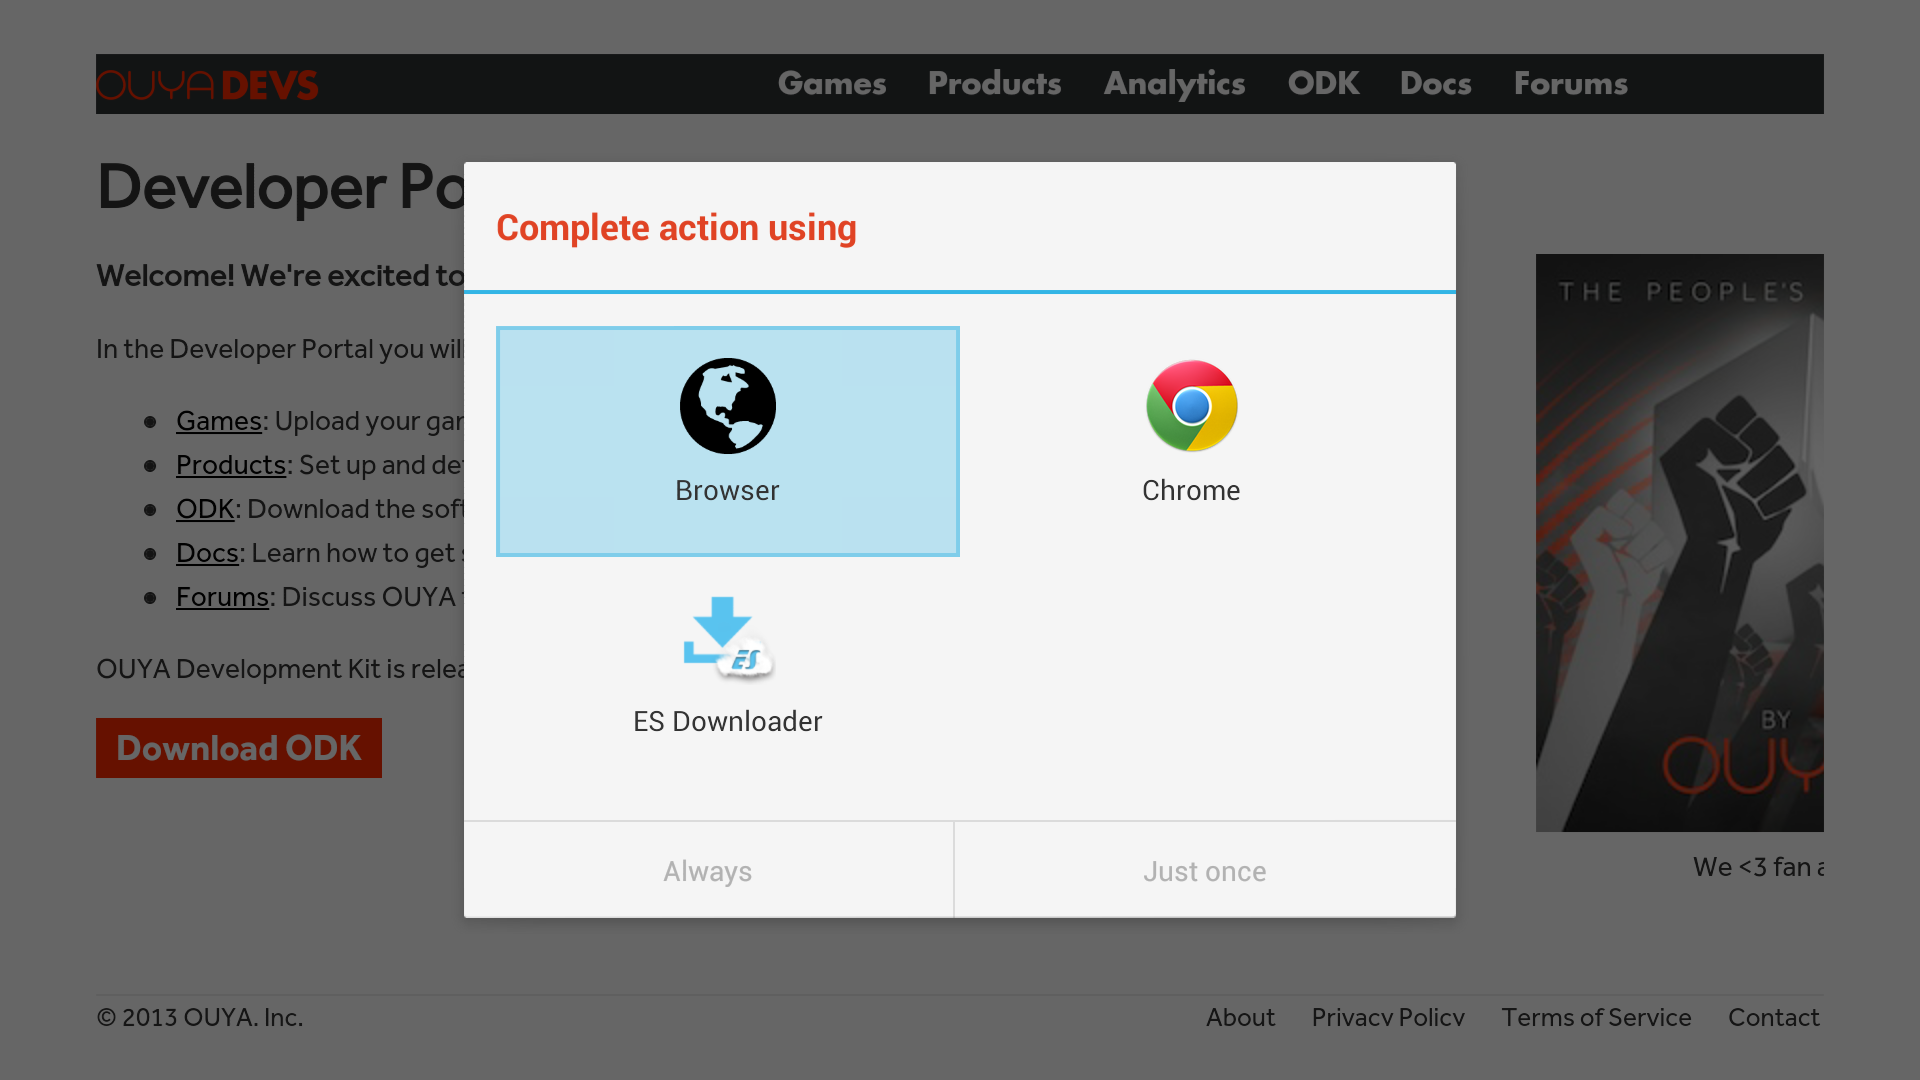 Step 3: Go to "http://goo.gl/gkdvk" (it's just a symlink to "http://mirrors.xbmc.org/test-builds/android/xbmc-20130219-32e99c7-android-hwaccel-armeabi-v7a.apk")
 -
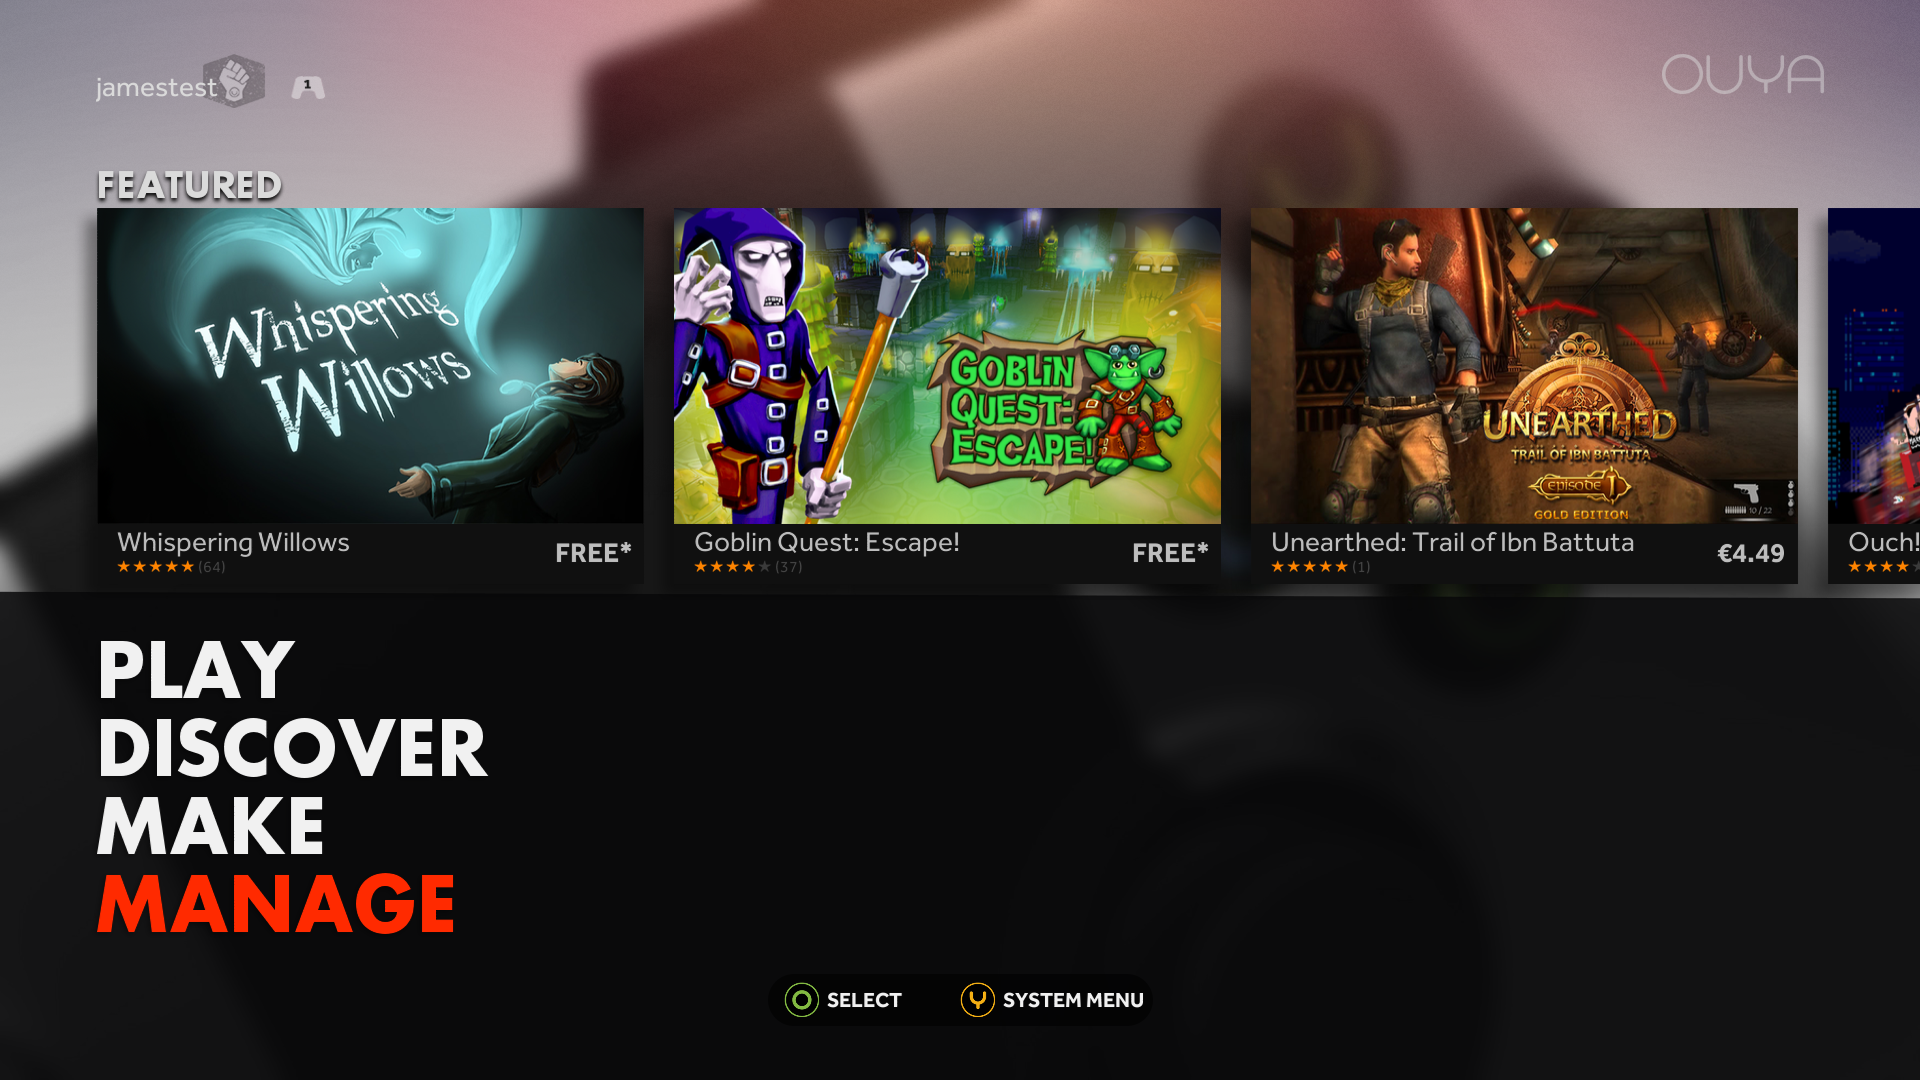 Step 4: The download is 50.3 MB and depending on connection can take a while, during the download you won't be able to tell the progress unless you have installed Chrome or ES File Explorer.
(If you have ES File Explorer you can just open after it finishes and install). -
 Step 5: After some time, navigate to the "Manage" tab -> "System" -> "Advanced"
 -
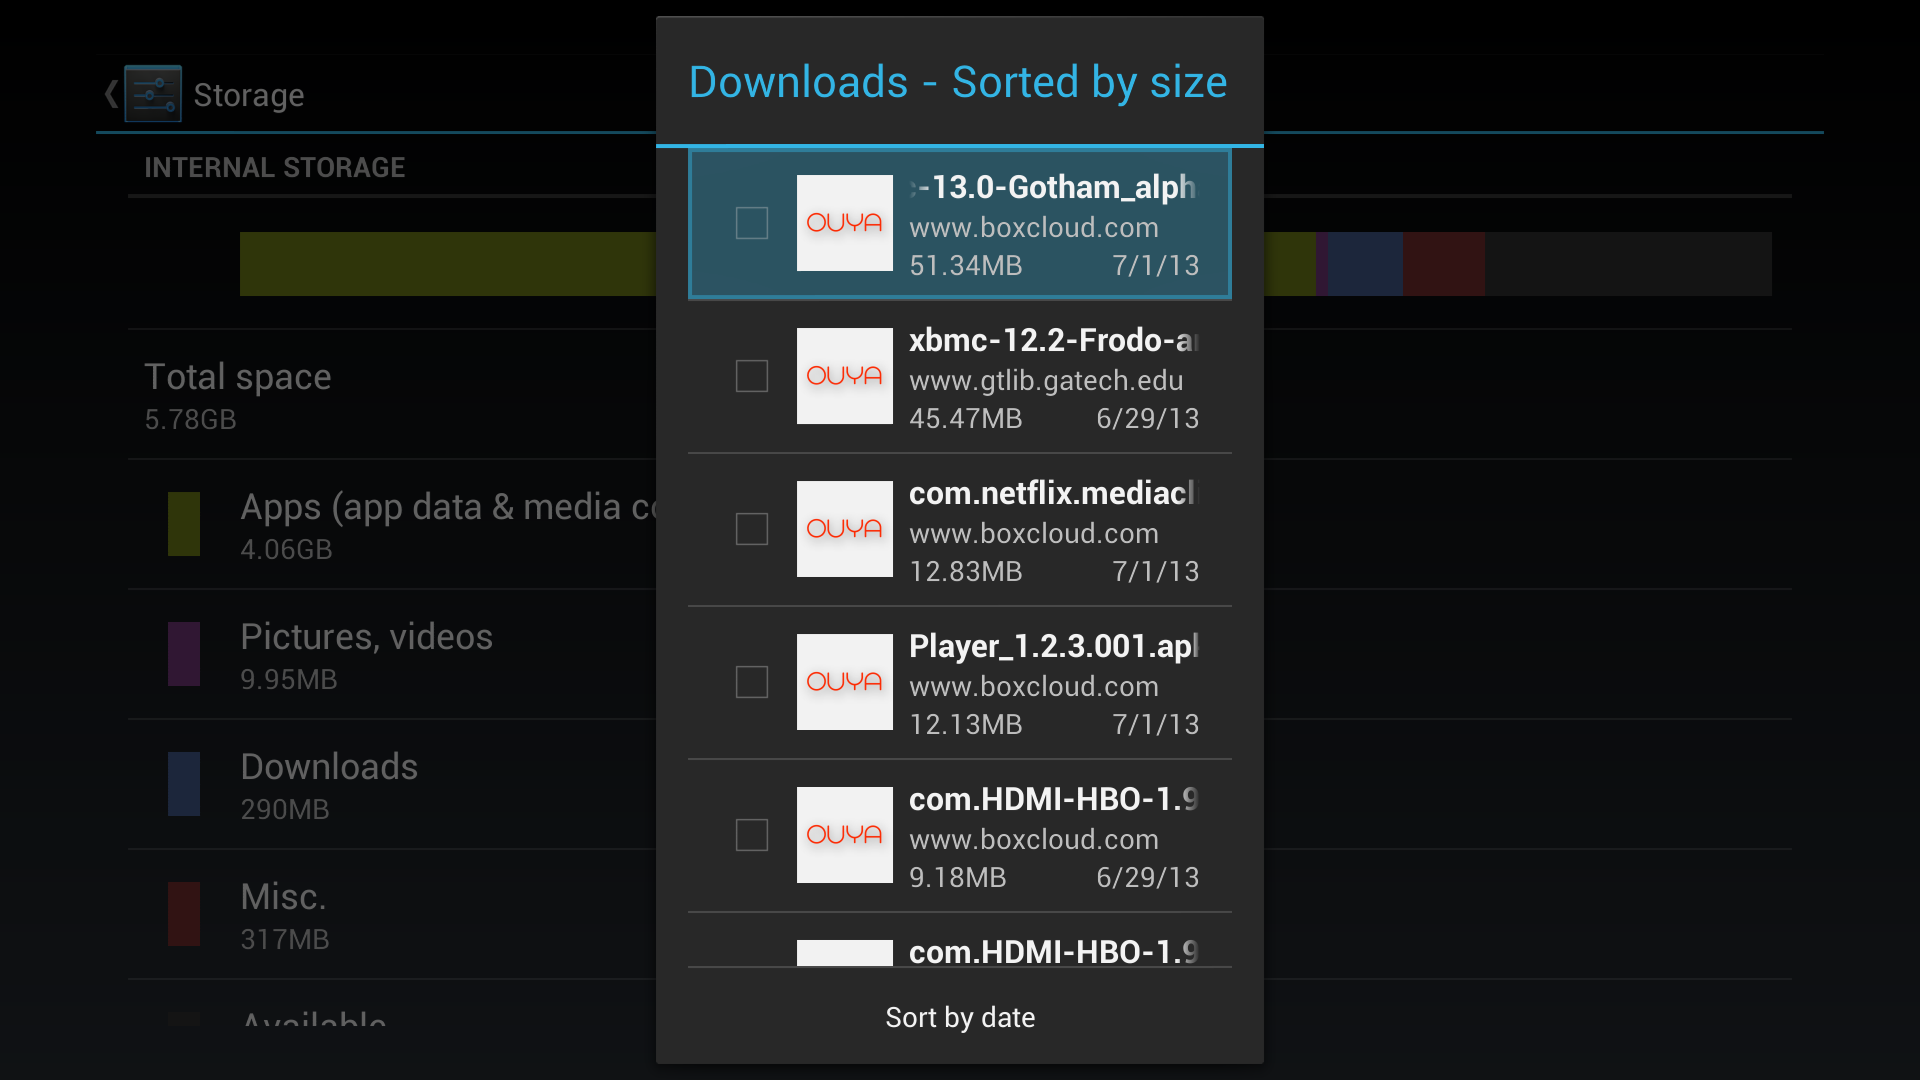 Step 6: Select "Storage" and then scroll down to "Downloads"
 -
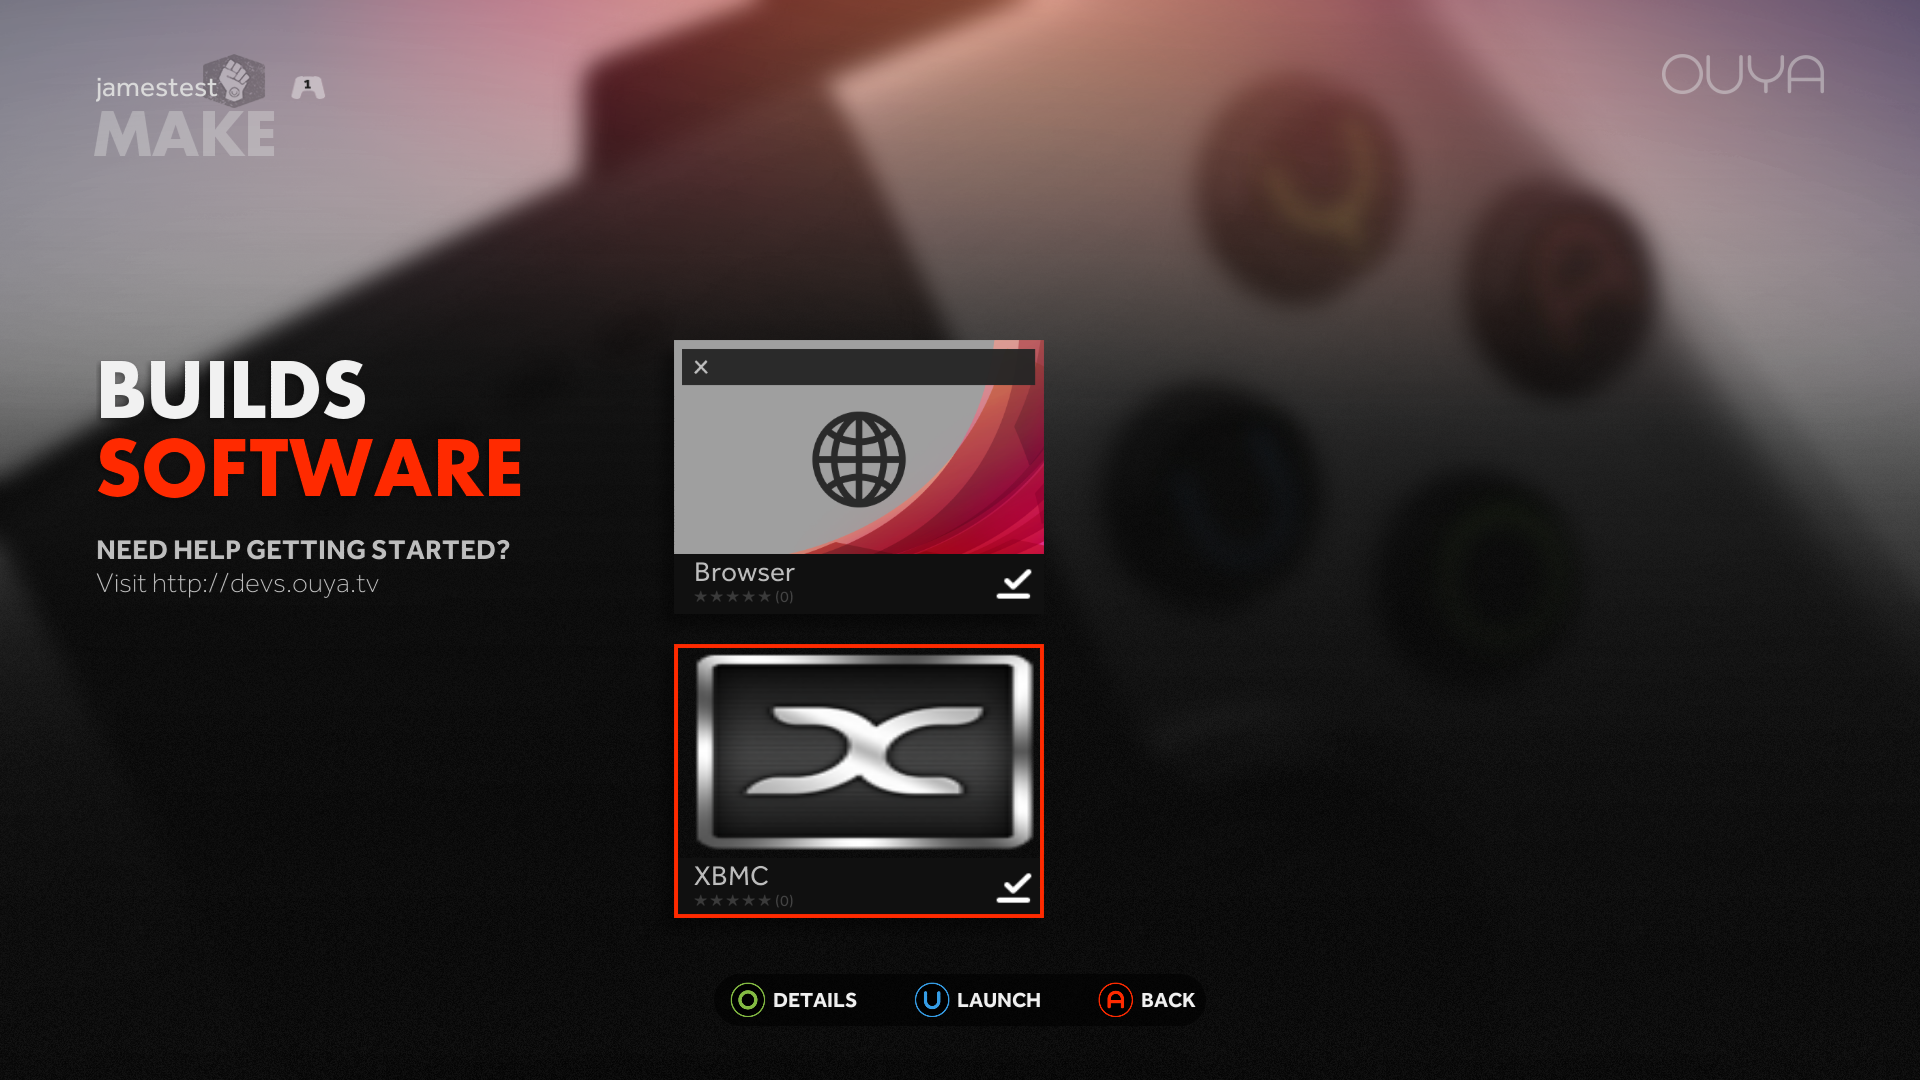 Step 7: There will be a list of all the downloads, select the XBMC download and click "install."
And you're done. -
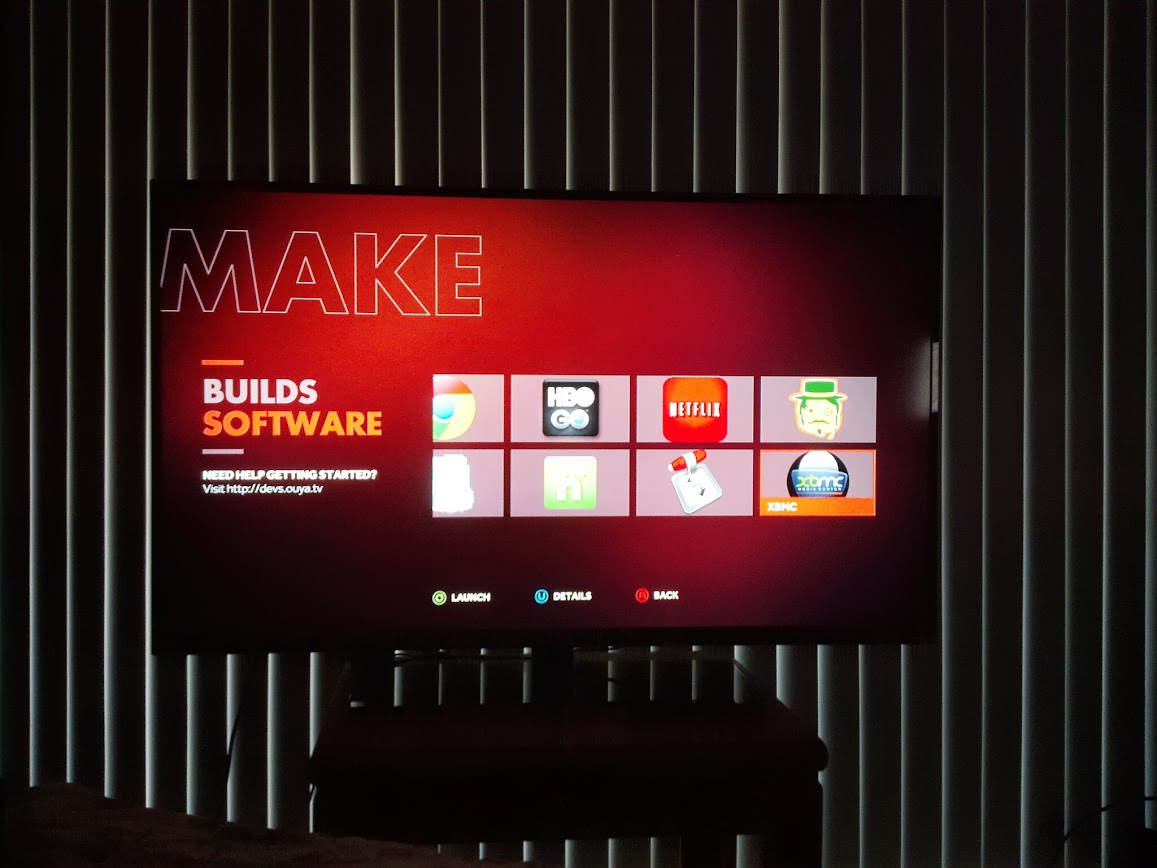 XBMC will be under the "Make" tab, just run it. It runs 720p MKV anime files from my Samba NAS without a problem (on mine at least), and you need to be hardwired to the router; WiFi gives too much lag on HD movies and TV shows.


