|
|
| (171 intermediate revisions by 15 users not shown) |
| Line 1: |
Line 1: |
| {{incomplete}} | | {{mininav|[[Settings]]}} |
| {{XBMC wiki toc}}
| |
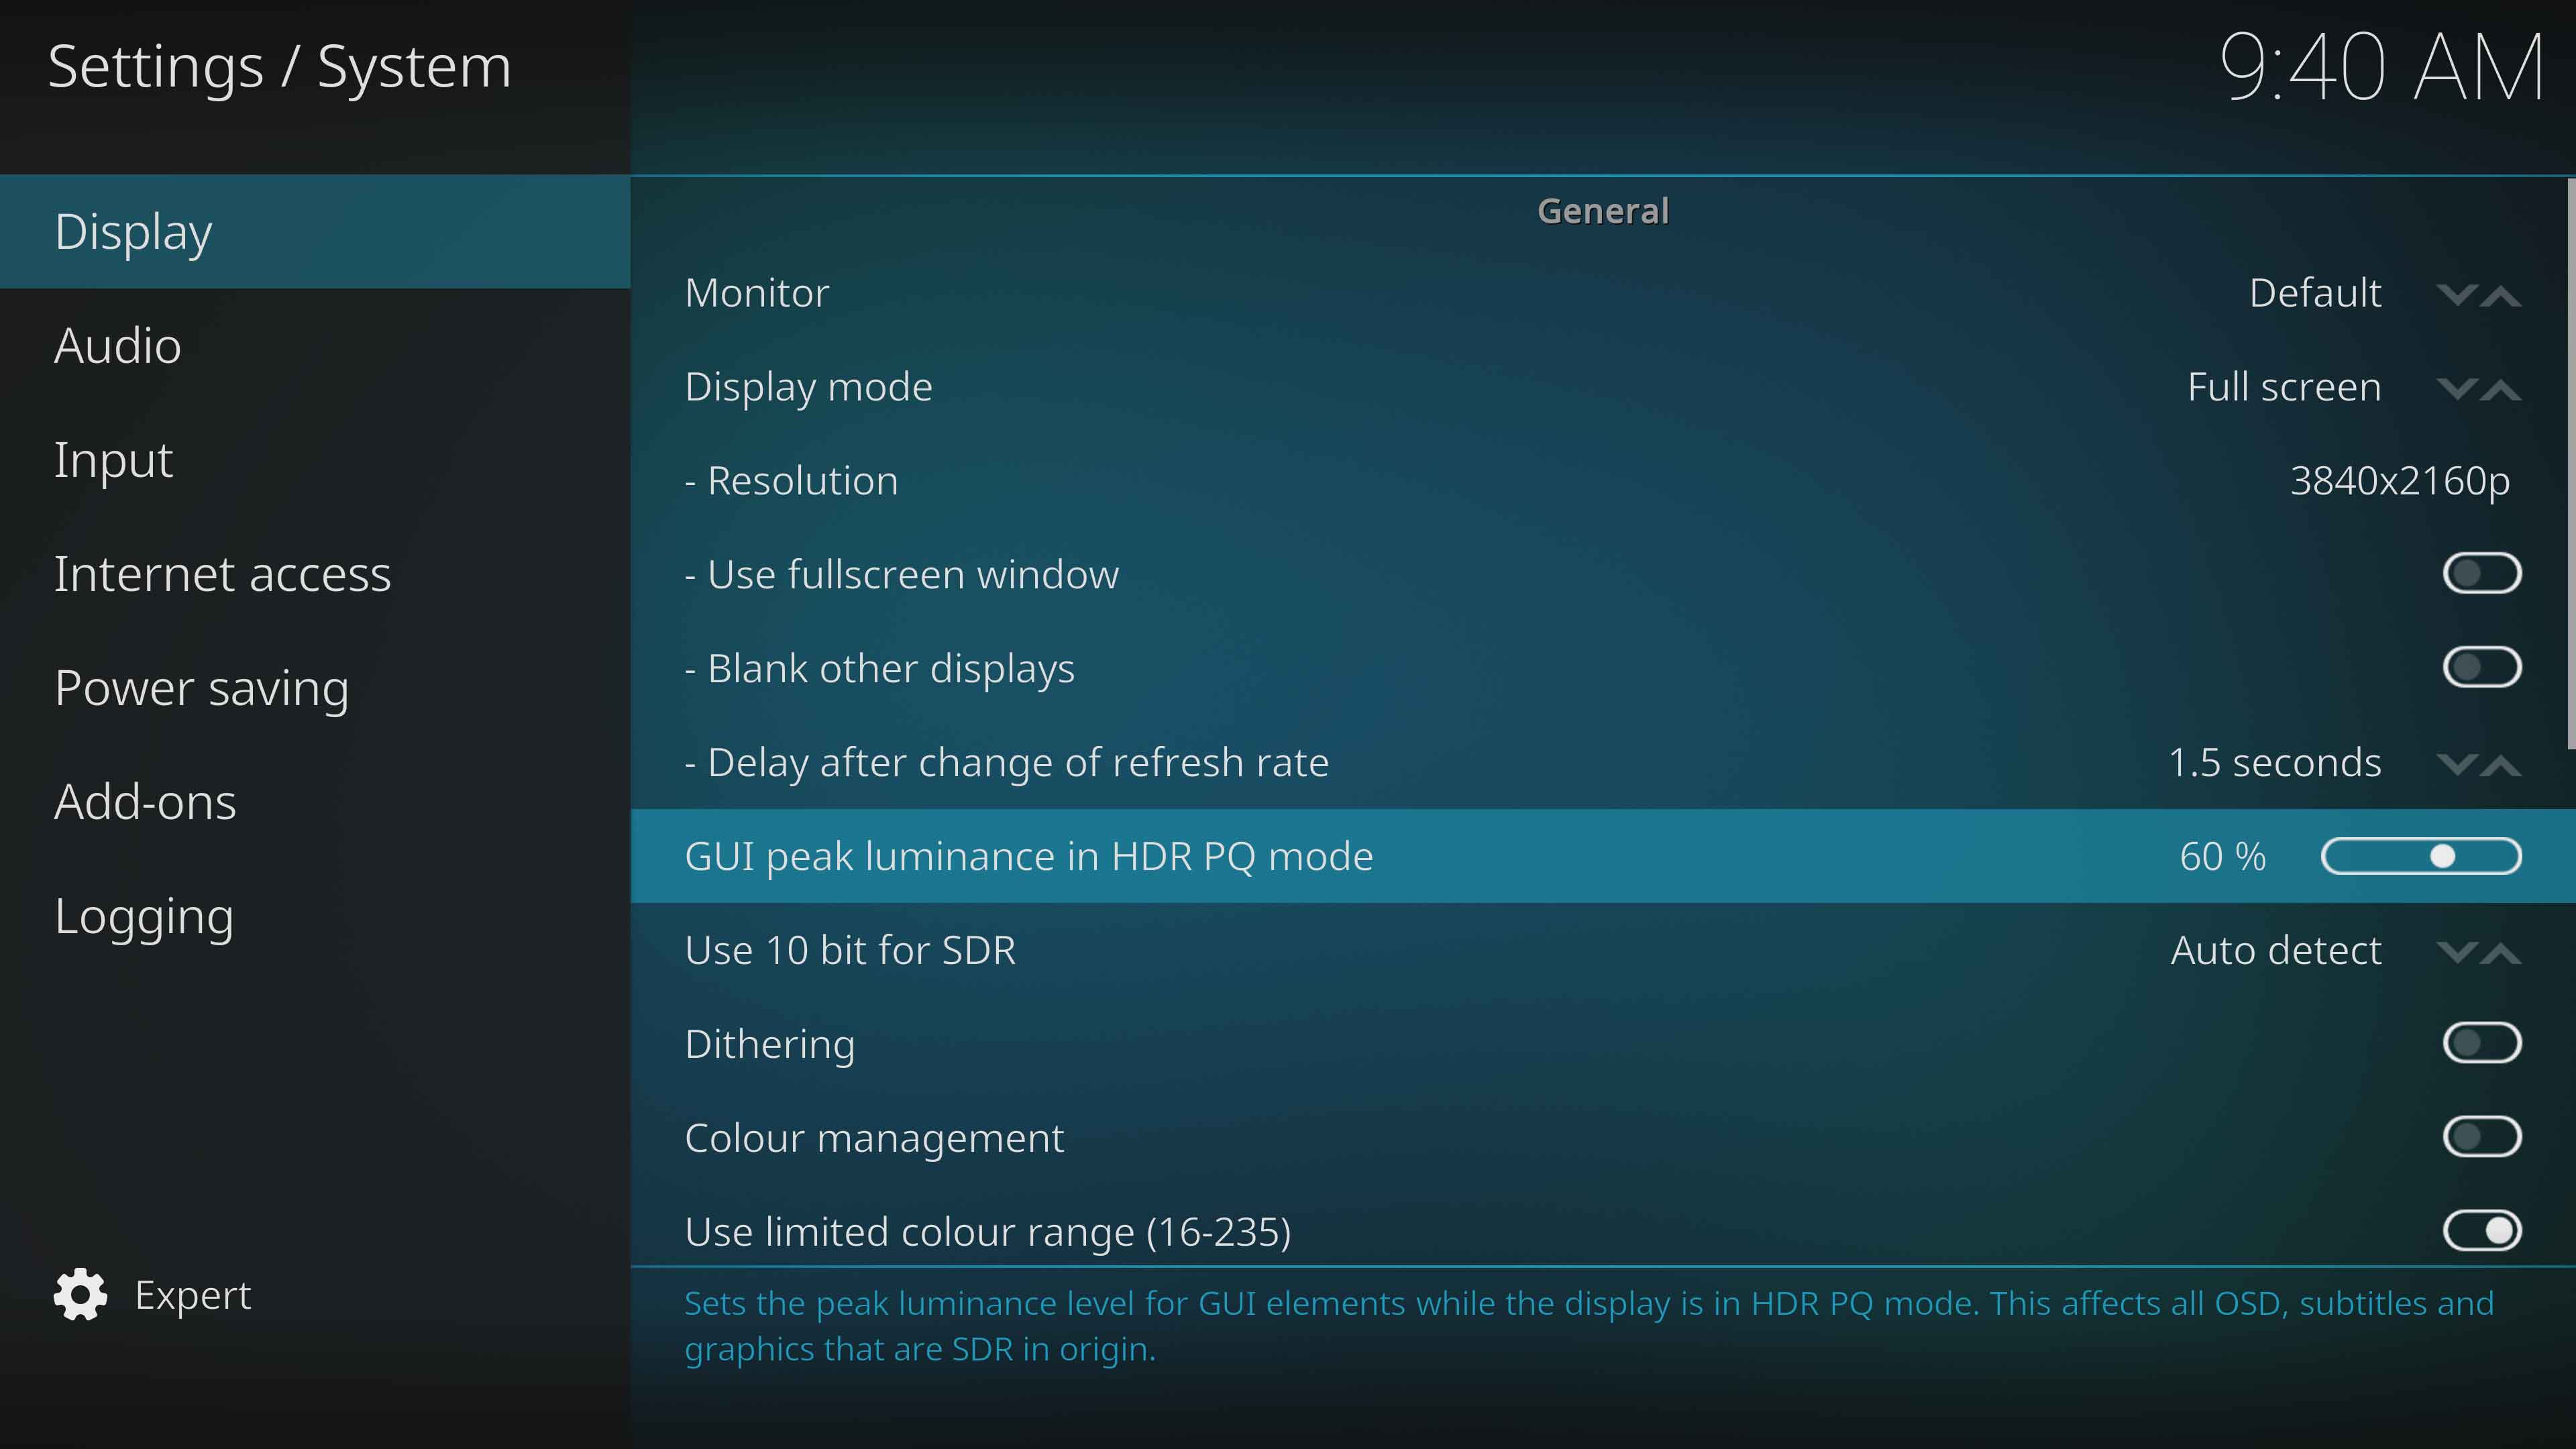
| ==Video Output==
| |
| ; '''Display Mode'''
| |
| : Display xbmc in a window, or fullscreen on the selected screen.
| |
| ; '''Resolution'''
| |
| : Changes the resolution that the User Interface is displayed in.
| |
| ; '''Use a fullscreen window rather than true fullscreen'''
| |
| : Windows: when active, do not use the DirectX fullscreen mode. The main benefit is for multi-screen configurations, where xbmc can be used at the same time as other applications without automatically minimizing. Uses a bit more resources and playback may be slightly less smooth.
| |
| ; '''Blank other displays'''
| |
| : In a multi-screen configuration, the screens where xbmc is not displayed are blacked out.
| |
| ; '''Vertical blank sync'''
| |
| : ''needs explanation''
| |
| ====Video Calibration...====
| |
| [[File:uicalibration.jpg|right|360px]] | |
| This screen allows you to calibrate the User Interface by adjusting the overscan. Use this tool if the image being displayed is too large or small for your display. Simply adjust the screen so that the arrows are in the top left and bottom right corners and that the entire frame is visible on screen.
| |
|
| |
|
| It offers the ability to adjust
| | [[File:Settings-System-Display-01.jpg|700px|right]] |
| *The overscan of the video - How close to the edges of the screen that the image is displayed
| | {| |
| *The positition where subtitles are displayed
| | |'''{{resize|1.3em|[[File:Circle arrow right font awesome.png|60px|left]] [[Settings/System/Display|Display]]}}''' |
| *The position of the on screen display
| | |- |
| *The pixel ratio - allows you calibrate the aspect ratio at which videos are played back
| | |'''{{resize|1.3em|[[File:Circle arrow right font awesome.png|60px|left]] [[Settings/System/Audio|Audio]]}}''' |
| | |- |
| | |'''{{resize|1.3em|[[File:Circle arrow right font awesome.png|60px|left]] [[Settings/System/Input|Input]]}}''' |
| | |- |
| | |'''{{resize|1.3em|[[File:Circle arrow right font awesome.png|60px|left]] [[Settings/System/Internet_access|Internet access]]}}''' |
| | |- |
| | |'''{{resize|1.3em|[[File:Circle arrow right font awesome.png|60px|left]] [[Settings/System/Power_saving|Power saving]]}}''' |
| | |- |
| | |'''{{resize|1.3em|[[File:Circle arrow right font awesome.png|60px|left]] [[Settings/System/Add-ons|Add-ons]]}}''' |
| | |- |
| | |'''{{resize|1.3em|[[File:Circle arrow right font awesome.png|60px|left]] [[Settings/System/Logging|Logging]]}}''' |
| | |} |
|
| |
|
| ==Audio Output==
| |
| ; Audio output
| |
| : Allows you to tell xbmc about the type of connection to the audio equipment. Optical/Coax and HDMI enable the passthrough of Dolby Digital and DTS to capable receivers.
| |
| ; Speaker Configuration
| |
| :
| |
| ; Boost volume level on downmix
| |
| :
| |
| ; - Dolby Digital (AC3) capable receiver
| |
| : Select this option if your receiver is capable of decoding AC3 streams.
| |
| ; - DTS Capable Receiver
| |
| : Select this option if your receiver is capable of decoding DTS streams.
| |
| ; '''Audio output device'''
| |
| :
| |
|
| |
|
| ==Input Devices==
| |
| ; '''Remote control sends keyboard presses'''
| |
| : When activated, your keyboard arrows will move the selection on the virtual keyboard. When desactivated, they will move the cursor from your text.
| |
| ; '''Enable Mouse'''
| |
| : If deactivated, XBMC will ignore all mouse movements and clicks.
| |
|
| |
|
| ==Power Saving==
| | {{updated|20}} |
| ; '''Put display to sleep when idle'''
| |
| :
| |
| ; '''Shutdown function timer'''
| |
| :
| |
| ; '''Shutdown function'''
| |
| :
| |
| | |
| ==Debugging==
| |
| {| | |
| | valign="top" |
| |
| ; Enable Debug Logging
| |
| : Toggles [[HOW-TO_Submit_a_Proper_Bug_Report#Logs_and_debug-log_files|debug log]] on / off. Useful for troubleshooting.
| |
| | |
| ==Master Lock==
| |
| '''NOTE: The Master Lock options are ONLY available while using the Default User profile!!'''
| |
| {| | |
| |
| |
| ; Master lock code and settings
| |
| : Opens [[The Master Lock Dialog]], where you can configure your Master Lock options.
| |
| ; Ask For Master Lock Code on Startup
| |
| : If enabled, the master lock code is required to unlock XBMC on startup
| |
|
| |
|
| [[category:Settings]] | | [[Category:Settings]] |

