Profiles: Difference between revisions
>Dankula |
>Dankula No edit summary |
||
| Line 1: | Line 1: | ||
XBMC supports multiple user profiles. These individual profiles allow you to customize the environment for multiple users, allowing for such functionality as: | XBMC supports multiple user profiles, much the same as setting up individual users on your home computer. These individual profiles allow you to customize the environment for multiple users, allowing for such functionality as: | ||
*Customized view settings such as skins for each user | *Customized view settings such as skins for each user | ||
*The ability to lock folders, such as network shares on a per-user basis | *The ability to lock folders, such as network shares on a per-user basis | ||
| Line 20: | Line 20: | ||
[[image:profile1.jpg|300px]] | [[image:profile1.jpg|300px]] | ||
|} | |} | ||
===Adding a Profile=== | |||
In order to add a profile, simply choose '''Add Profile... '''. | |||
{| | |||
[[image:profile2.jpg|300px]] | |||
| | |||
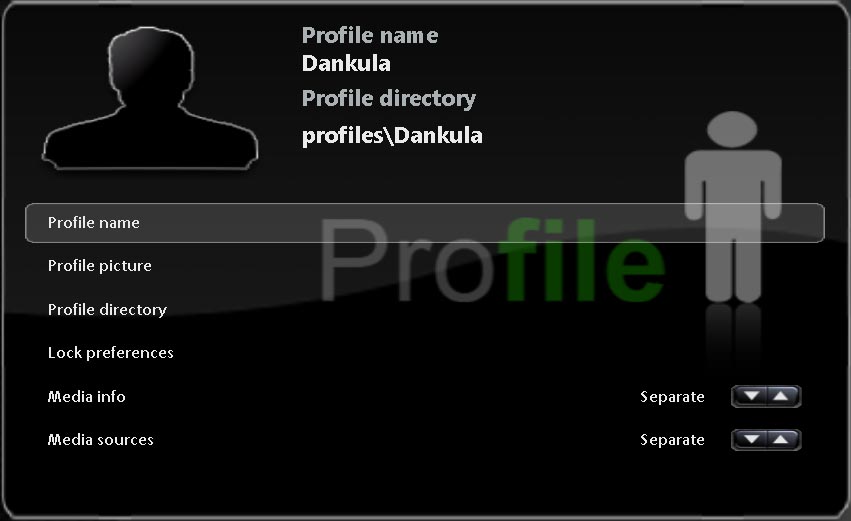
First, you will be prompted to enter a name for your profile. Enter the name for your profile. Then, it will prompt you for your profile directory. This is where your personalized settings will be stored. Choose ''New Folder'' and add a folder with the same name as your profile. Then select the new directory and choose '''OK'''.<br><br>You should then see a screen much like the one to the left. | |||
Revision as of 17:19, 6 July 2006
XBMC supports multiple user profiles, much the same as setting up individual users on your home computer. These individual profiles allow you to customize the environment for multiple users, allowing for such functionality as:
- Customized view settings such as skins for each user
- The ability to lock folders, such as network shares on a per-user basis
- Unique RSS feeds for each user
- Unique keymapping for each user
All options stored in The UserData Folder can be customized per profile, allowing for an amazing amount of flexibility.
Profile Settings
|
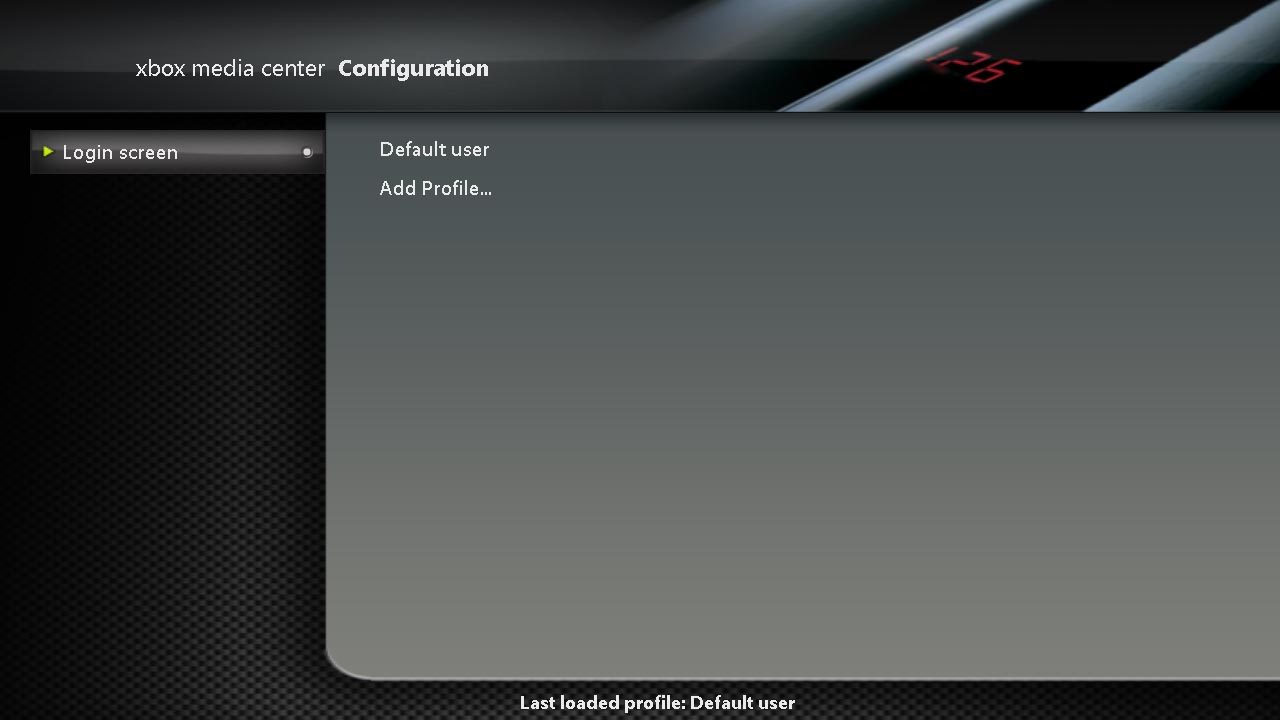
Selecting Profiles from the main settings window will bring you to the screen pictured to the left. In this screen you have the following options:
|
Adding a Profile
In order to add a profile, simply choose Add Profile... .

|
First, you will be prompted to enter a name for your profile. Enter the name for your profile. Then, it will prompt you for your profile directory. This is where your personalized settings will be stored. Choose New Folder and add a folder with the same name as your profile. Then select the new directory and choose OK. |
