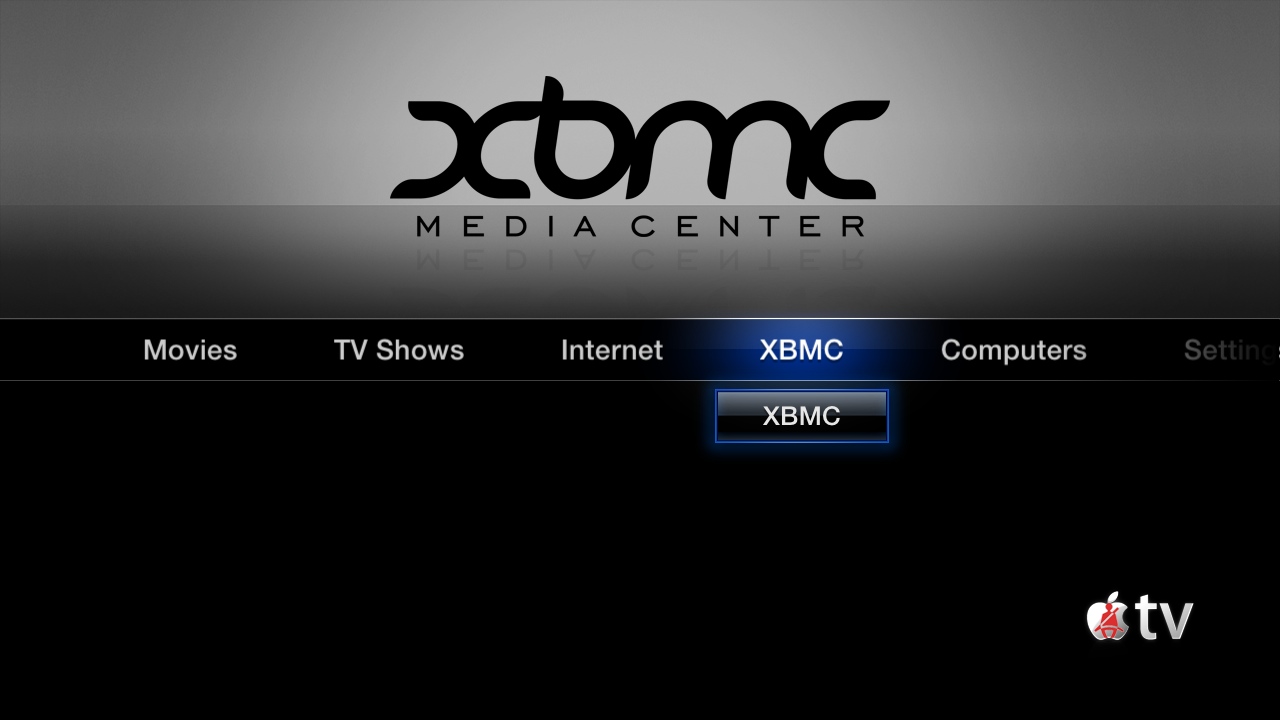
Archive:Install Kodi on Apple TV 2
Jump to navigation
Jump to search
Requirements:
- To install XBMC for Apple TV (black) you must have a jailbroken Apple TV 2 that is running any iOS between versions 4.1 and 4.4.4
- It is highly recommended to be on an iOS version on or before 4.3
- Look here to find out which version you are currently running.
- If you have any issues, be sure to read the iOS FAQ!
Installing from command line
- This is the same build installed from the nitoTV menu, if installed.
- Open up your terminal/ssh application and enter the following command to log in to your ATV2:
- You will be asked for a password: default password is alpine
- Continue to enter the following commands:
- Issue these commands in your Terminal window, in sequence:
apt-get install wget
wget -O- http://apt.awkwardtv.org/awkwardtv.pub | apt-key add -
echo "deb http://apt.awkwardtv.org/ stable main" > /etc/apt/sources.list.d/awkwardtv.list
echo "deb http://mirrors.xbmc.org/apt/atv2 ./" > /etc/apt/sources.list.d/xbmc.list
apt-get update
apt-get install org.xbmc.xbmc-atv2
reboot
Updating
Either update through NitoTV or issue the following commands to update:
- Open up your terminal/ssh application and enter the following command to log in to your ATV2:
- You will be asked for a password: default password is alpine
- Continue to enter the following commands:
apt-get update
apt-get install org.xbmc.xbmc-atv2
- You should now have the latest XBMC for ATV2. See here to verify your XBMC version.
