Archive:Install Kodi on Apple TV 2
Jump to navigation
Jump to search
The following HOW-TO requires you to have a jailbroken ATV2 running iOS 4.2.1(Apple TV Software 4.1.1) or iOS 4.1(Apple TV Software 4.0). Newer versions may also work but aren't officially supported.
Installing the Cydia build
- Open up your terminal/ssh application and enter the following command to log in to your ATV2 (the password will be alpine by default): ssh root@<YOUR.ATV2.IP.ADDRESS>
- Issue these three commands in your Terminal window, in sequence: apt-get install wget wget -O- http://apt.awkwardtv.org/awkwardtv.pub | apt-key add - echo "deb http://apt.awkwardtv.org/ stable main" > /etc/apt/sources.list.d/awkwardtv.list echo "deb http://mirrors.xbmc.org/apt/atv2 ./" > /etc/apt/sources.list.d/xbmc.list apt-get update apt-get install org.xbmc.xbmc-atv2
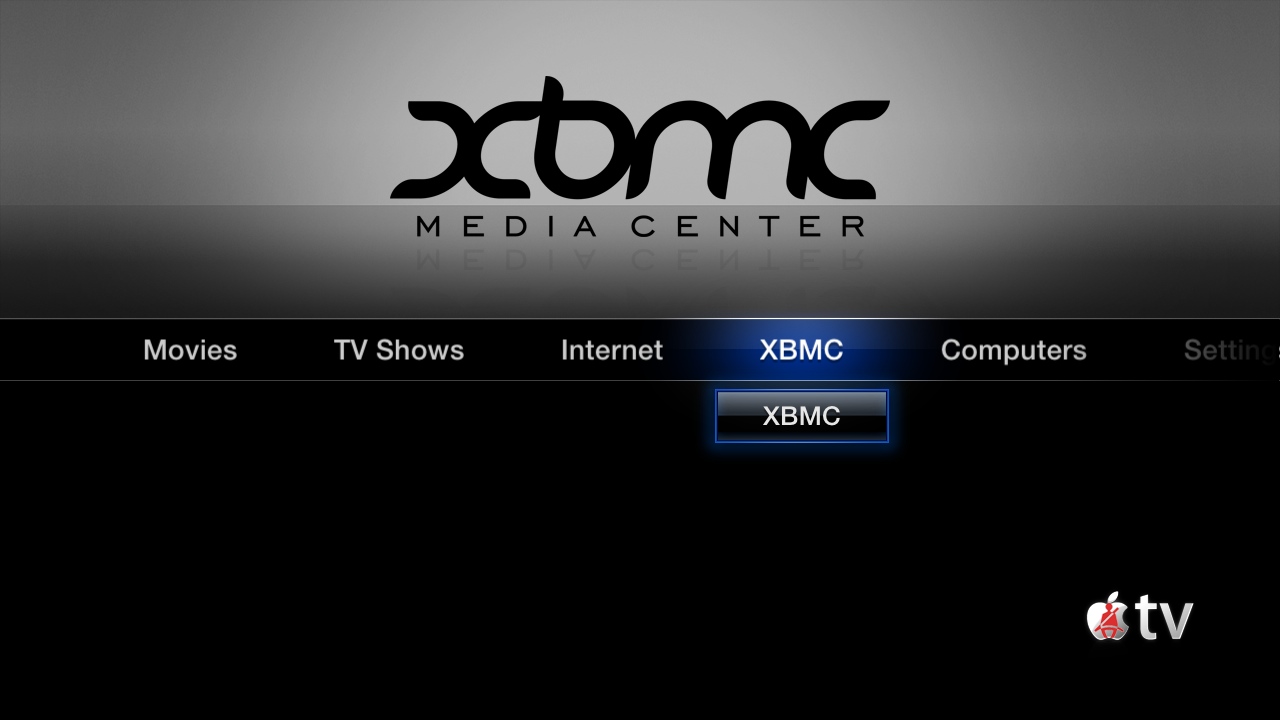
After XBMC is successfully installed, the ATV2 will restart, and XBMC should then be available as an option in the ATV2's main menu:
Installing the latest nightly build
Nightly builds incorporate the latest program code from developers and are created by an automated build bot; each night's build constitutes the "latest" version of XBMC that is publicly available.
- A list of the changes in each nightly build can be found at https://github.com/xbmc/xbmc/commits
- NOTE: You must install the Cydia version before you can install nightly builds. You only need to install the Cydia version once.
- Open http://mirrors.xbmc.org/nightlies/darwin/atv2/ in a web browser and copy the url of the most recent file in that listing.
- In that url you just copied, make note of the file name after "../atv2/". For example it will look something like "
xbmc-20110822-e391fde-master-atv2.deb". - Open up your terminal/ssh application and enter the following command to log in to your ATV2 (the password will be alpine by default):
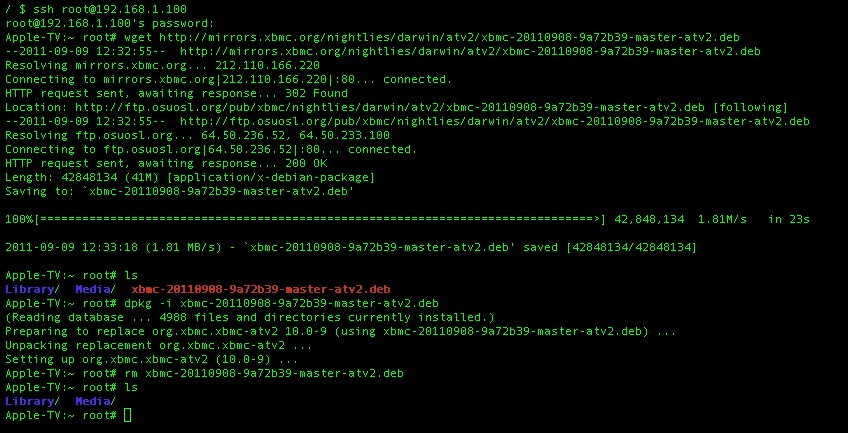
- Issue these three commands in your Terminal window, in sequence: wget URL-FROM-STEP-ONE-HERE dpkg -i FILENAME-FROM-STEP-TWO-HERE rm FILENAME-FROM-STEP-TWO-HERE
ssh [email protected]
If the dpkg -i command hangs, stop it with CTRL+C so it can proceed to use the updated removal script in the new package.

