Adding music to the library: Difference between revisions
No edit summary |
m (removed Category:FAQ using HotCat) |
||
| (5 intermediate revisions by the same user not shown) | |||
| Line 7: | Line 7: | ||
*Adding and removing Sources | *Adding and removing Sources | ||
*Scan (import) your music collection into the Music Library. | *Scan (import) your music collection into the Music Library. | ||
*Troubleshooting common problems | *Troubleshooting common problems <section end="intro"/> | ||
A reminder of the following: | A reminder of the following: | ||
| Line 70: | Line 70: | ||
#Once errors are corrected follow the steps detailed in '''Remove A Source''' | #Once errors are corrected follow the steps detailed in '''Remove A Source''' | ||
#Re-add the source using the '''Initial Set Source & Scan''' procedure detailed above | #Re-add the source using the '''Initial Set Source & Scan''' procedure detailed above | ||
}} | }} | ||
|} | |} | ||
= Network Sources = | = Network Sources = | ||
Kodi gives you the ability to listen to music from a variety of sources. | Kodi gives you the ability to listen to music from a variety of sources. | ||
<br /> | <br /> | ||
Some examples of sources that allow you to easily access all your digital music collection: | Some examples of sources that allow you to easily access all your digital music collection: | ||
* | * On your computer or a NAS (Network Attached Storage) device/system, which supports [[SMB]] file sharing | ||
* | * Stored directly on the hard drive | ||
* | * On CDs/DVDs | ||
* | * Streamed from the Internet | ||
<br /> | <br /> | ||
| Line 108: | Line 91: | ||
{{updated|18}} | {{updated|18}} | ||
[[Category:Index]] | [[Category:Index]] | ||
[[Category:Guides]] | [[Category:Guides]] | ||
| Line 115: | Line 97: | ||
[[Category:First time user]] | [[Category:First time user]] | ||
[[Category:Music library]] | [[Category:Music library]] | ||
[[Category:Quick Start Guide]] | [[Category:Quick Start Guide]] | ||
Latest revision as of 19:52, 22 February 2023
| Steps to create your Music Library |
|---|
 |
| 1. Guide Main Page |
| 2. Music Settings |
| 3. Music File Tagging |
| 4. Scanning Music Into Library |
| 5. Artist information folder |
| 6. Scraping Additional Music data
|
| 7. Update Music Library |
8. NFO Files
|
9. Artwork
|
10. Import-export library
|
| 11. Backup & Recover |
 |
Introduction
This page details the following:
- Adding and removing Sources
- Scan (import) your music collection into the Music Library.
- Troubleshooting common problems
A reminder of the following:
- Ensure the setting Fetch additional information during updates is disabled
- Ensure you have taken care to correctly tag your music and set up your Artist information folder
Adding Music to Library
- Populating the music library is a two step process.
- The first step reads the tags embedded in the music files. This is referred to as scanning. If there is any embedded artwork, this will also be scanned and cached.
- The second optional step fetches additional artwork, artist and album information. This information and artwork can be downloaded from either online sources or fetched from local nfo files. This is referred to as scraping and is covered in detail in the next step of the guide.
Initial Set Source & Scan
This process achieves the following:
- Sets your music source(s) in Kodi. Simply explained, this points Kodi to your music files
- Allows Kodi to scan the tags in the music files and import that data into the library
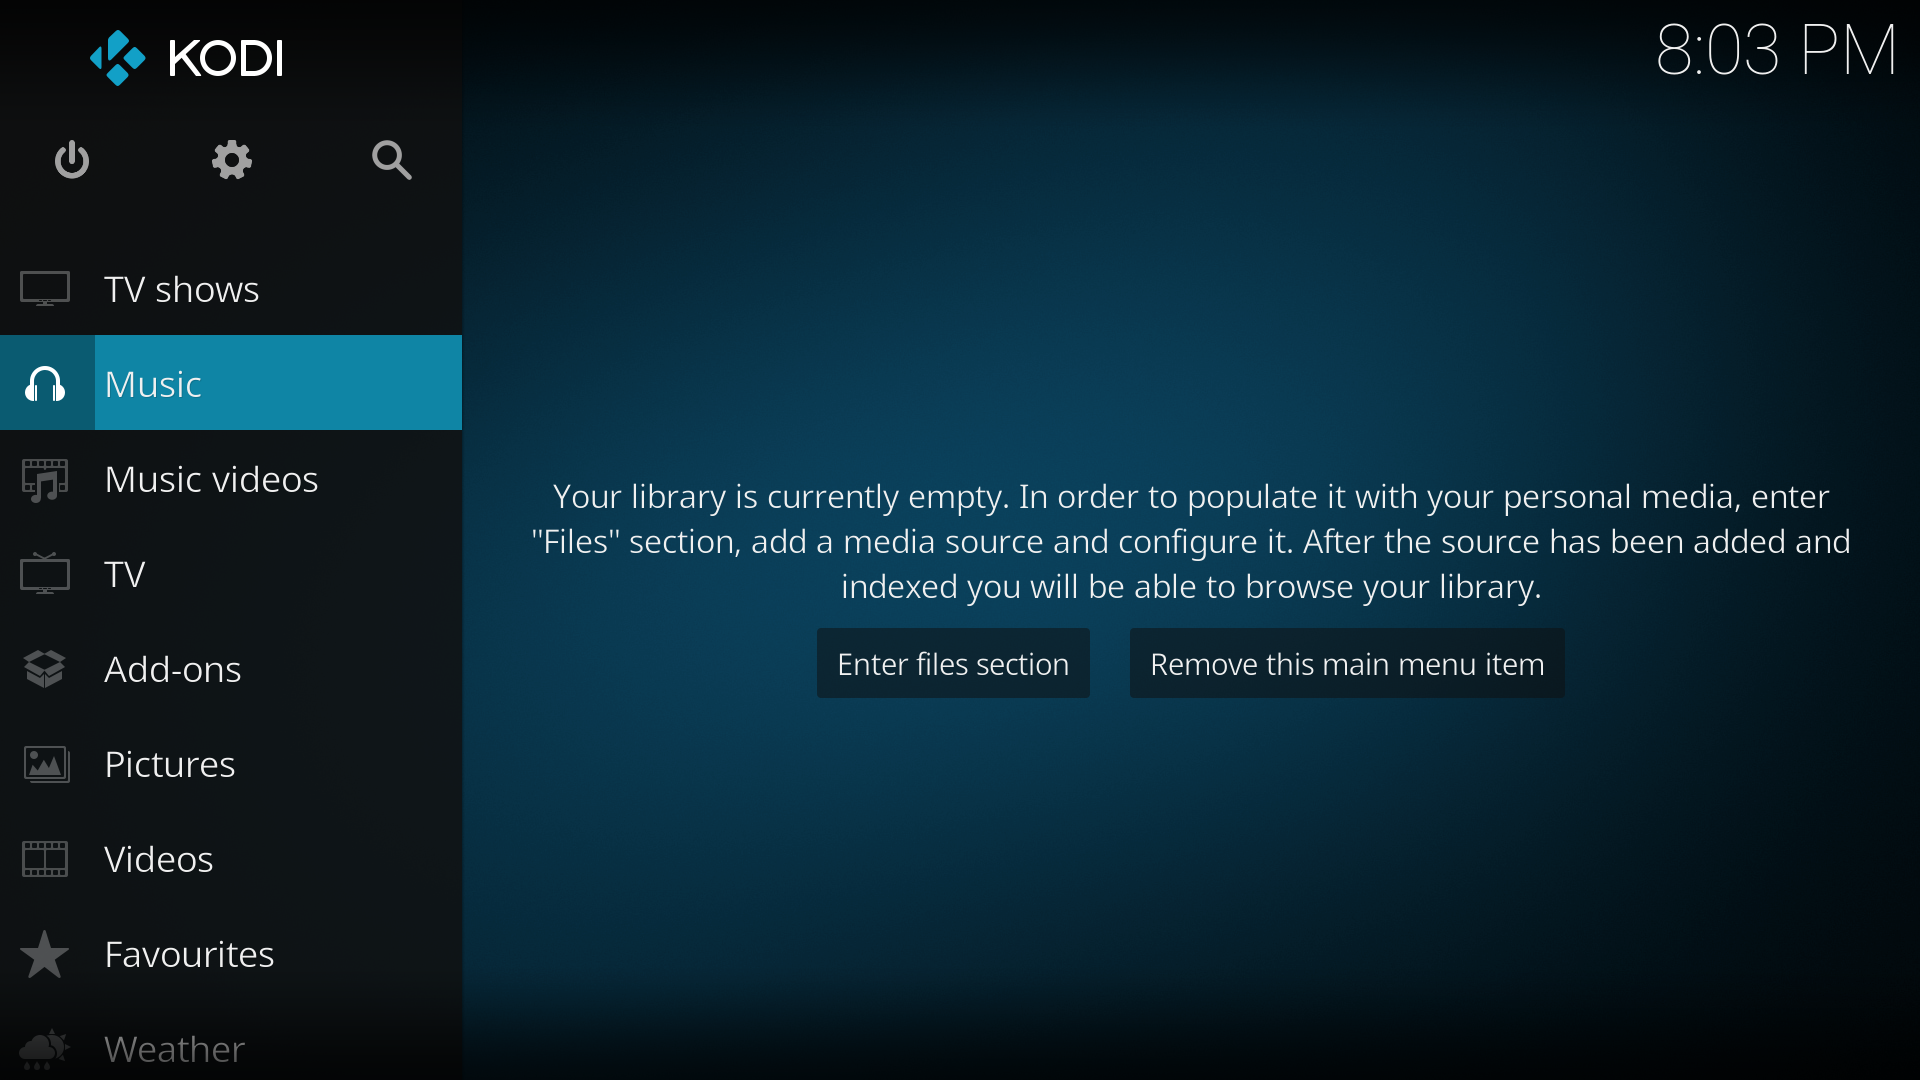
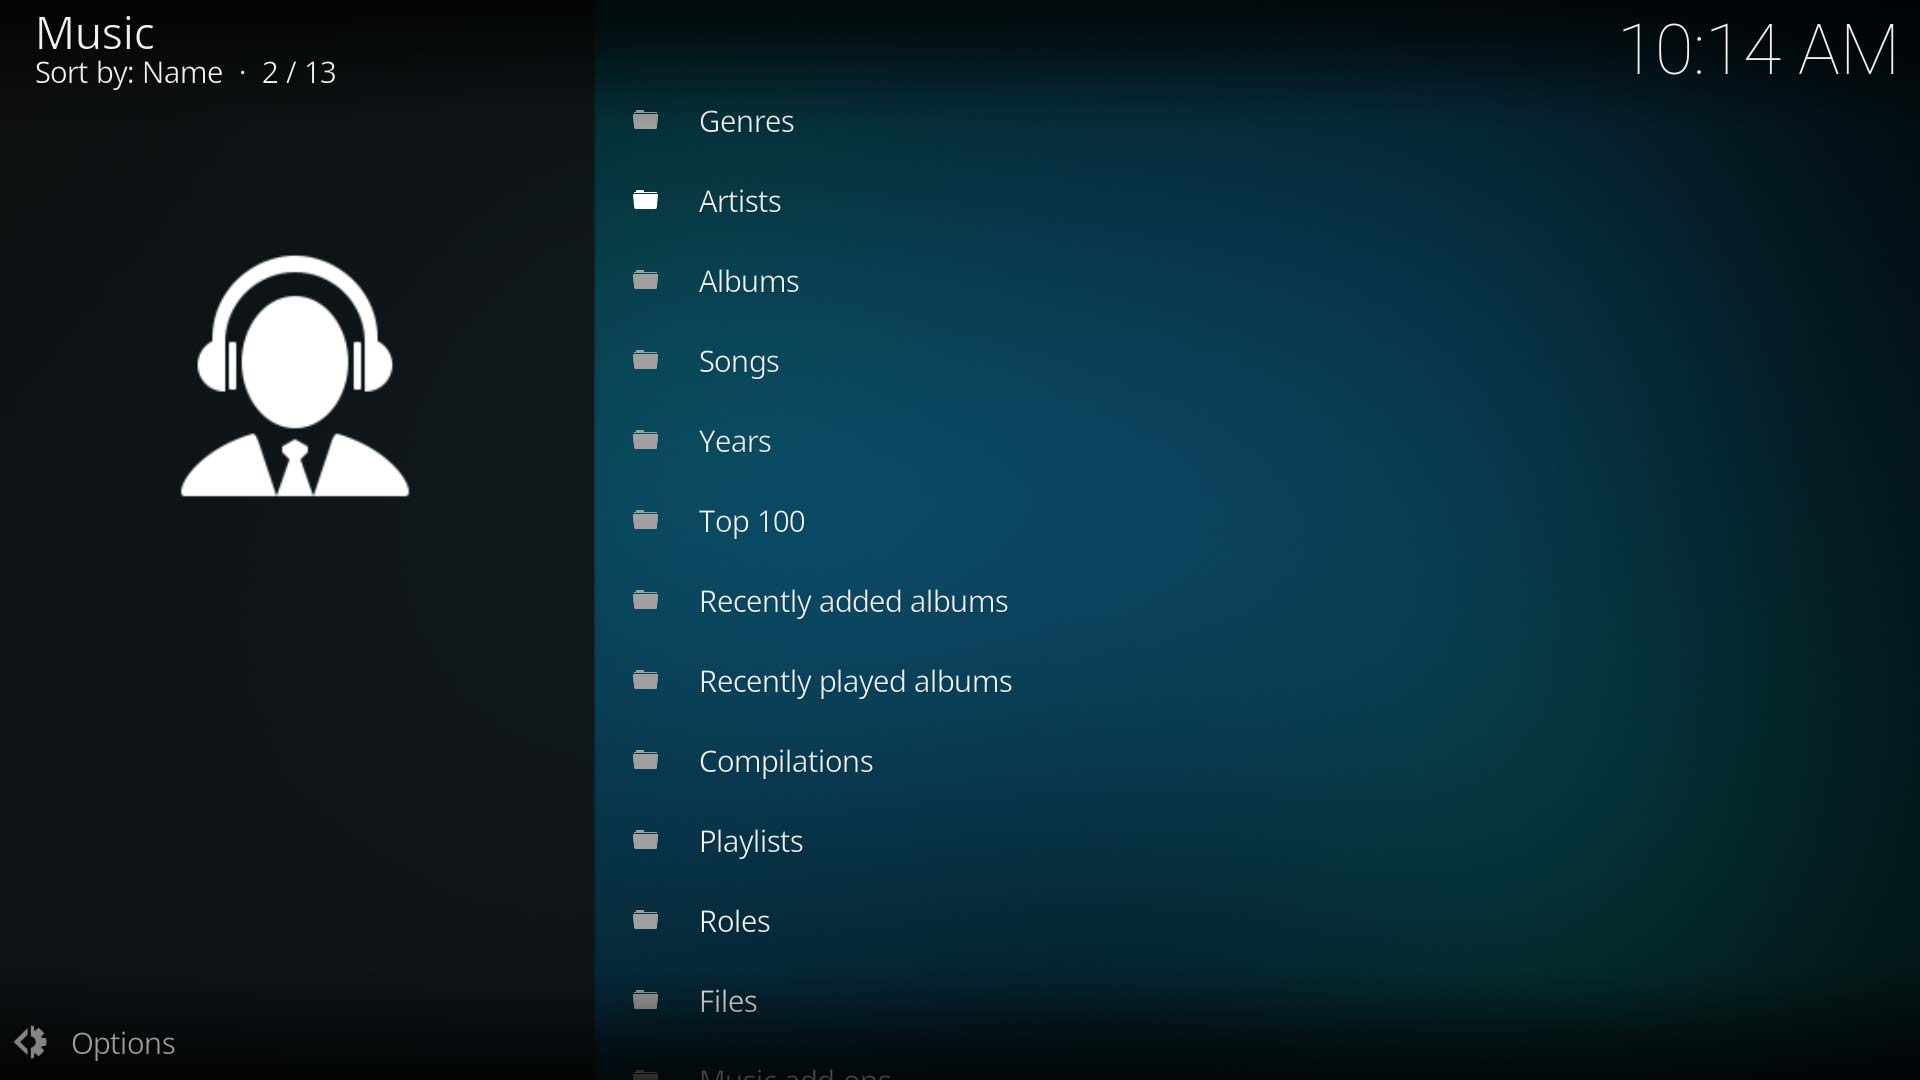
Step 1: On the Home menu select Music from the menu items.
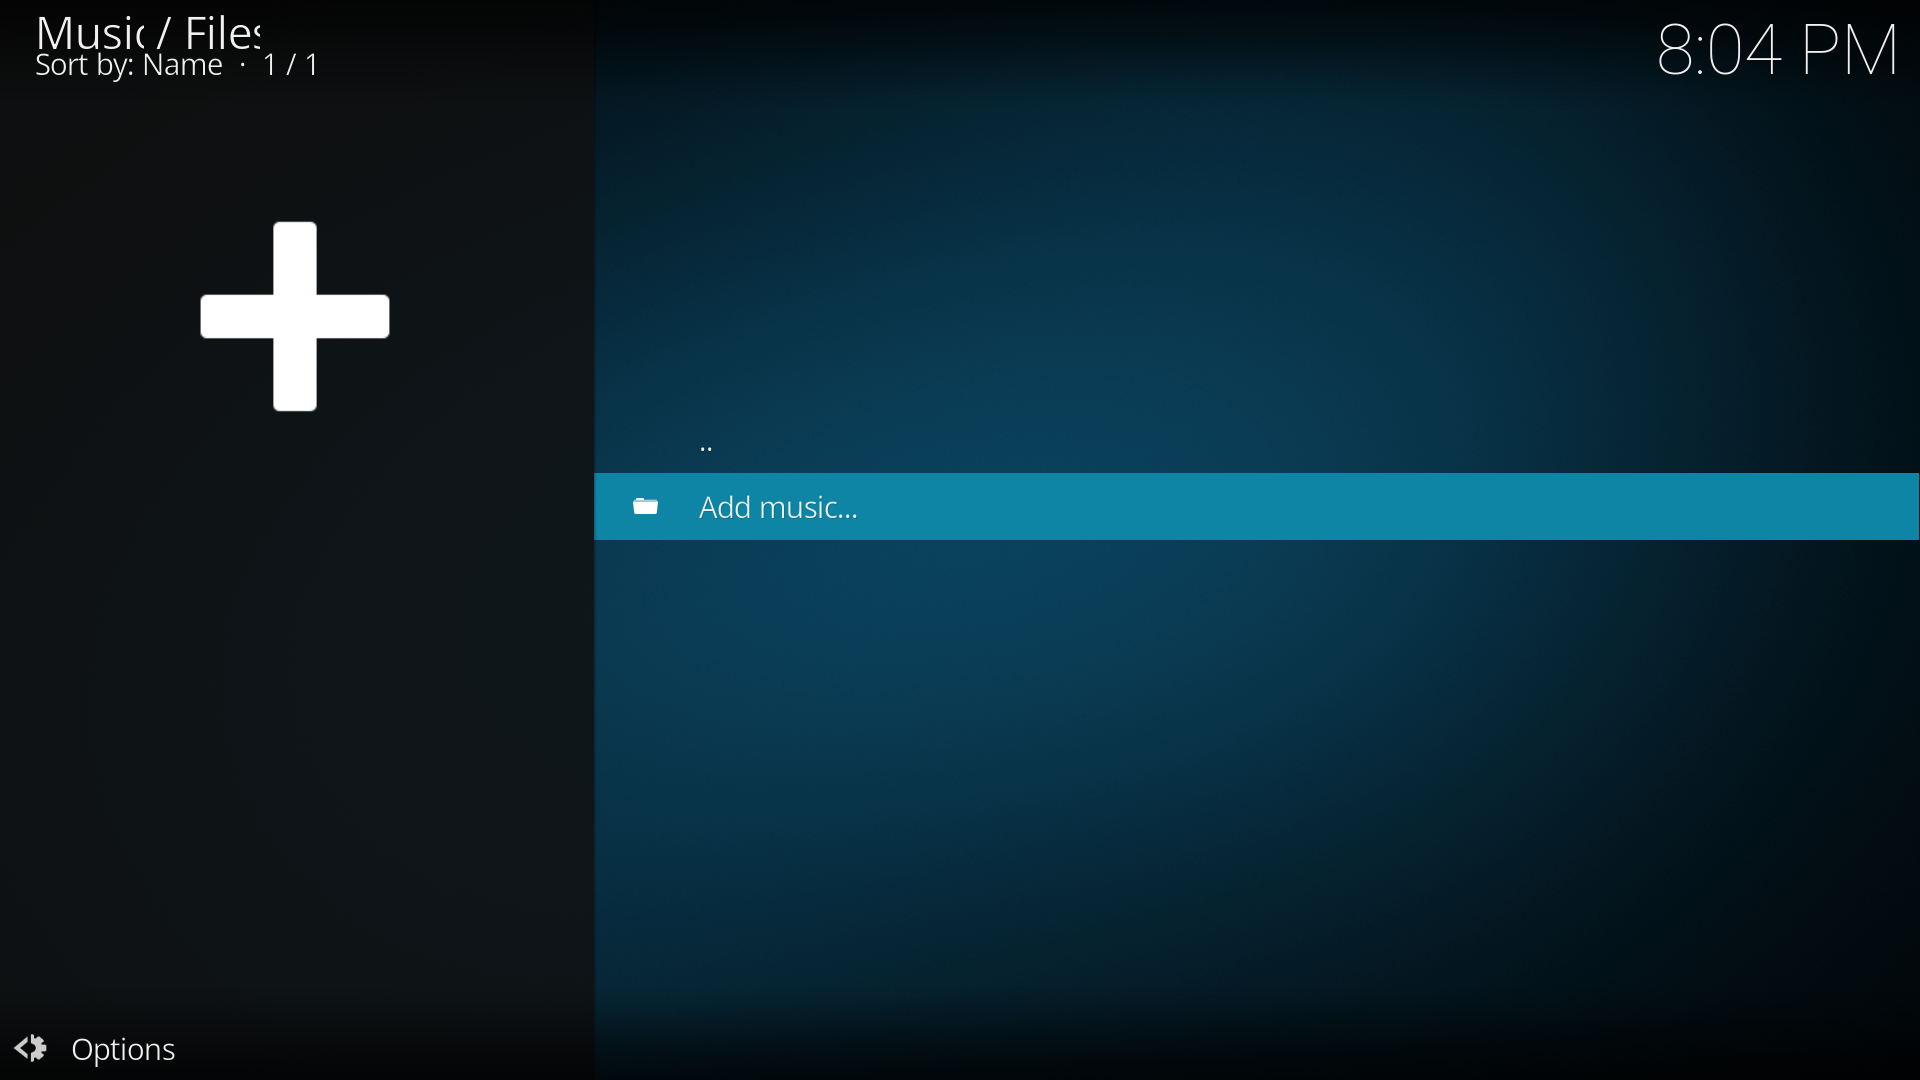
Step 2: In the Music File Browser select Add music. In some cases you may need to select Files to access this.
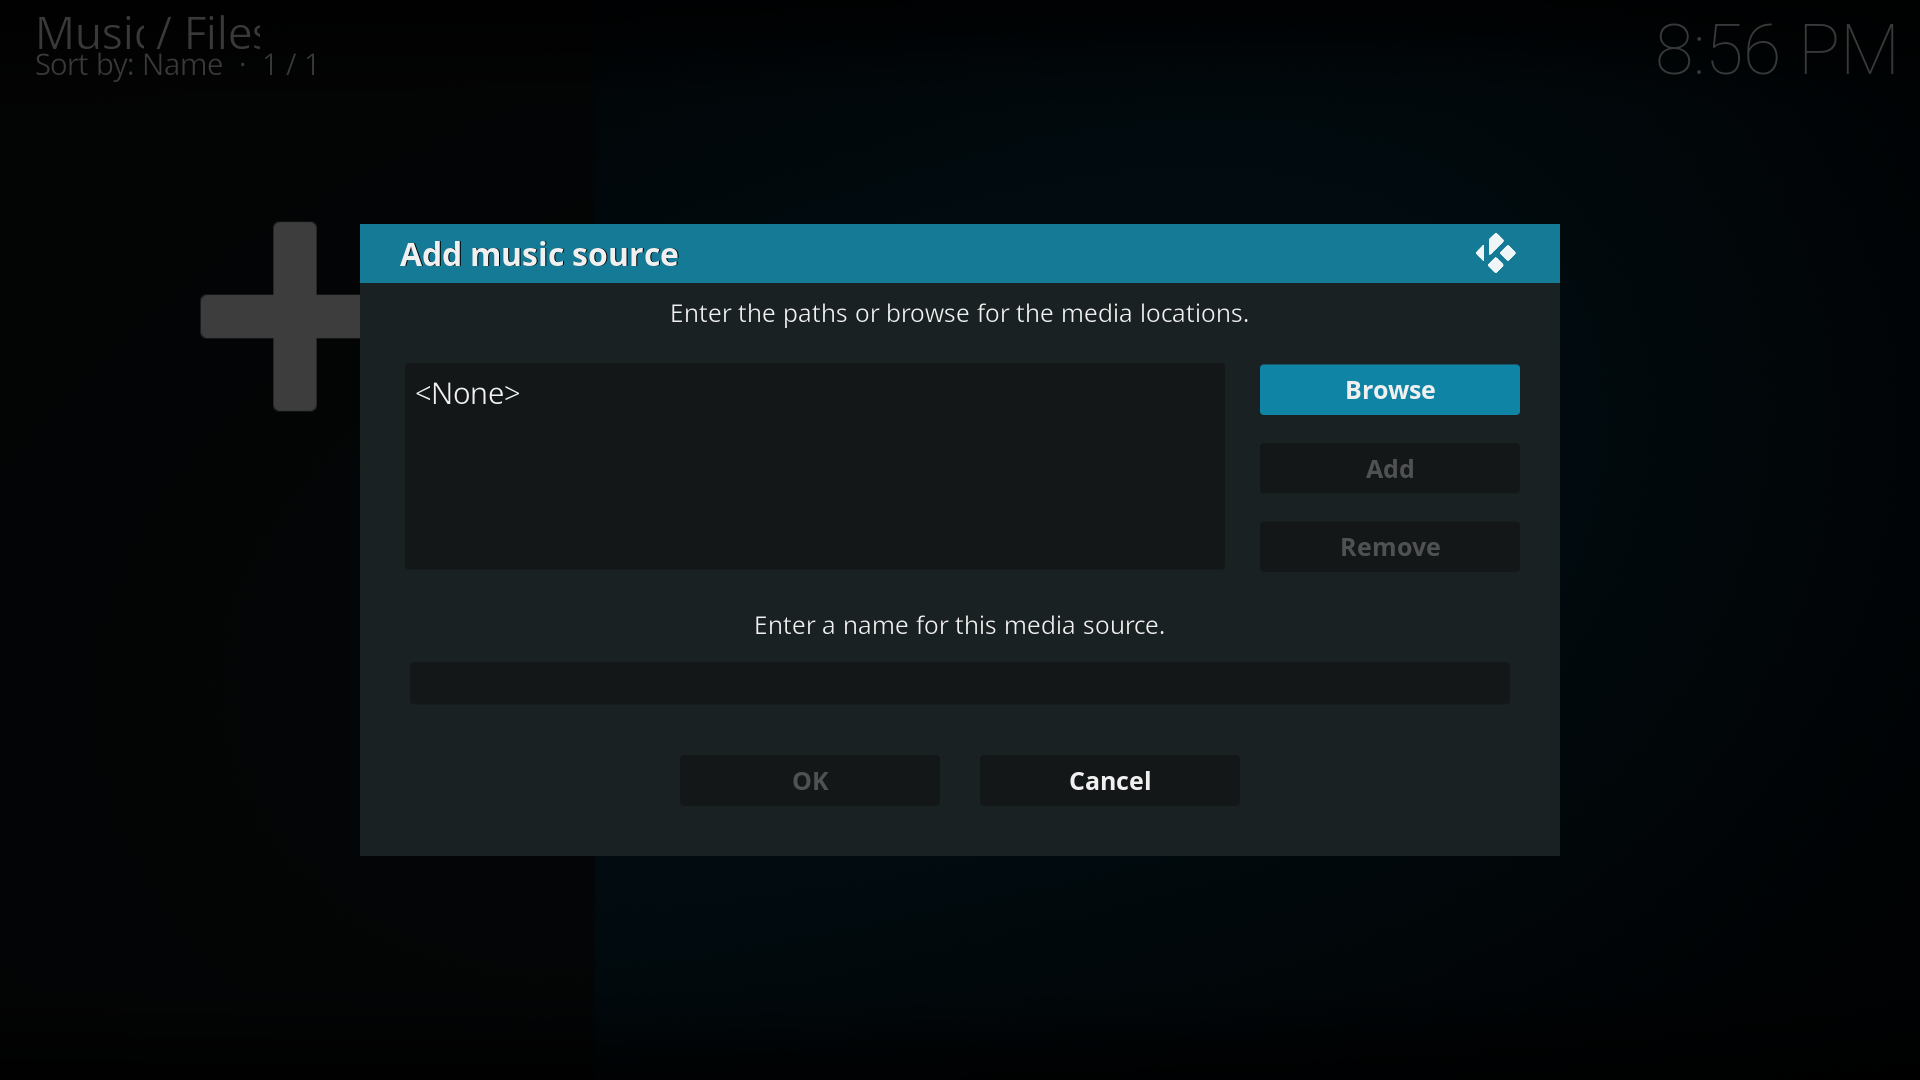
Step 3: In the Add music source window select Browse. You can also manually add your source by selecting the box with <None> then typing in your path. If you chose to do it this way skip to Step 5
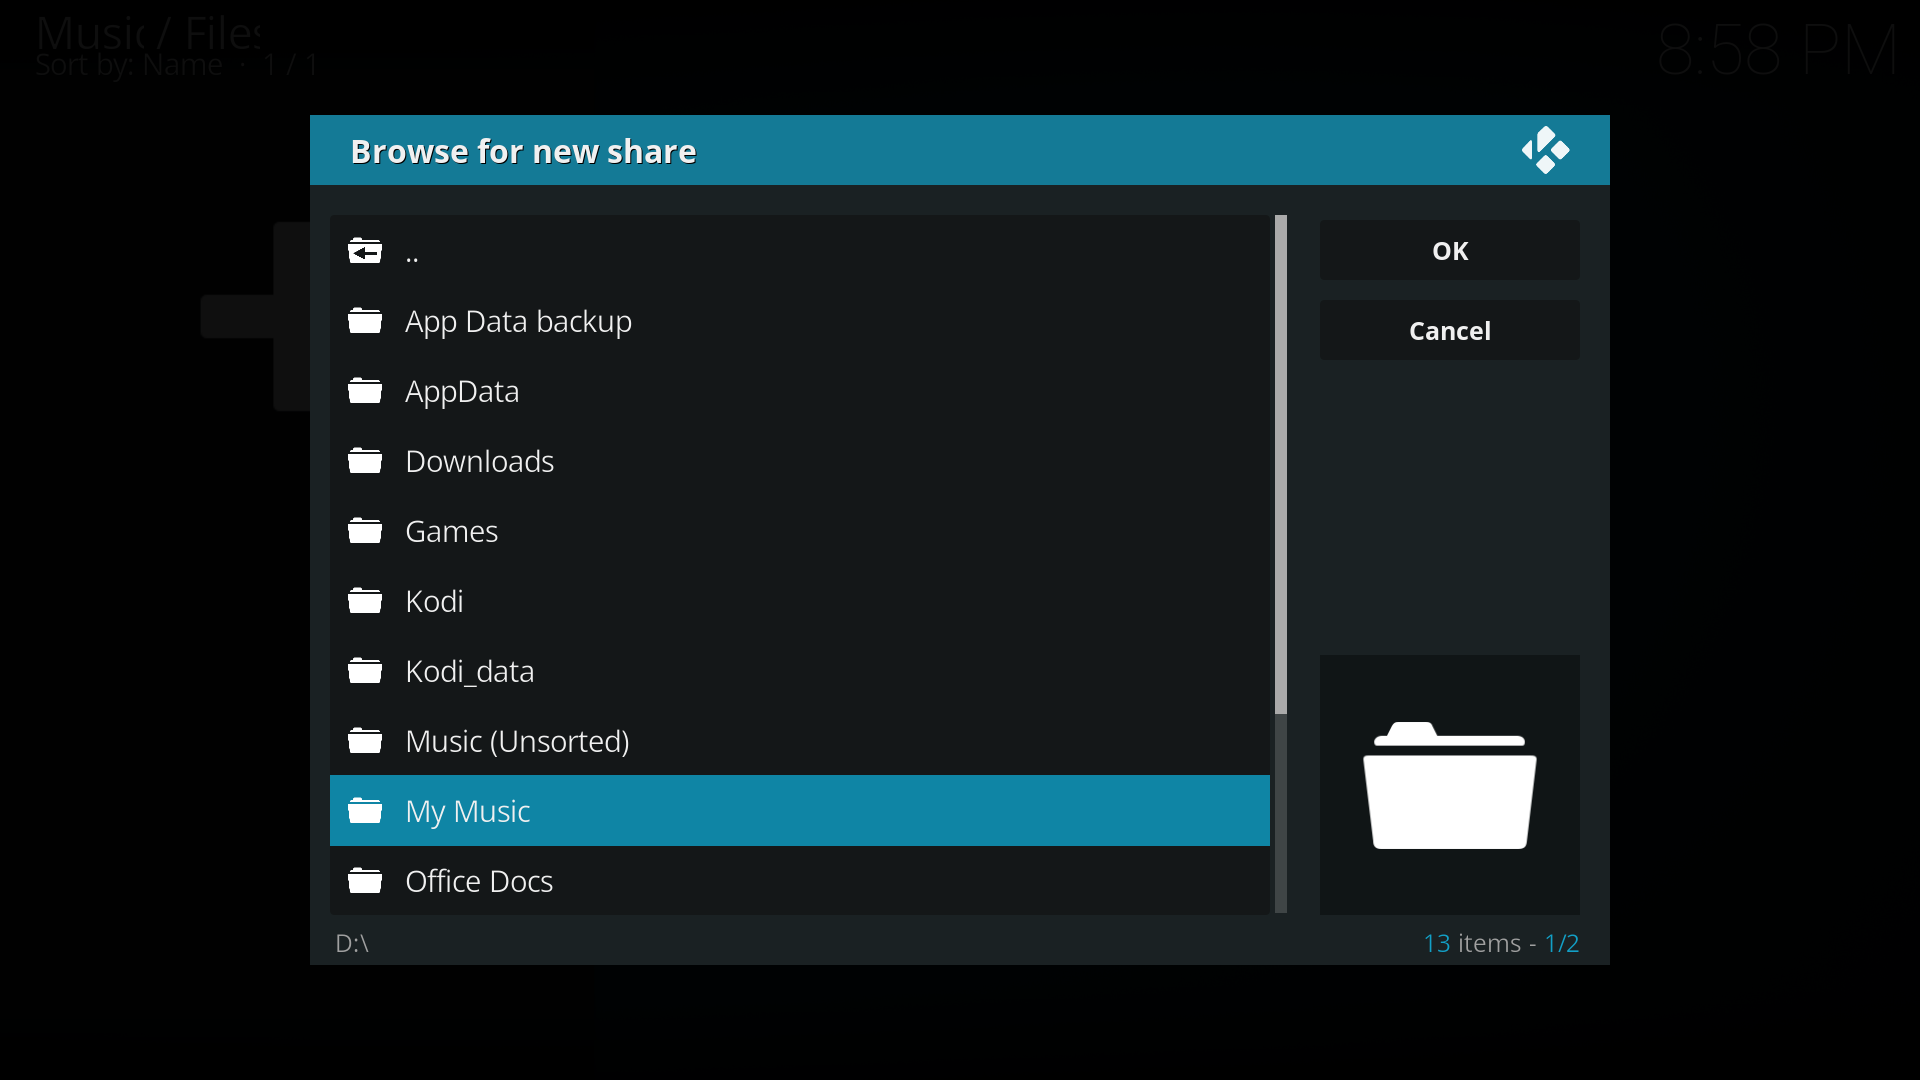
Step 4: In the Browse for new share window, navigate to where your music is stored, select the folder and then select OK.
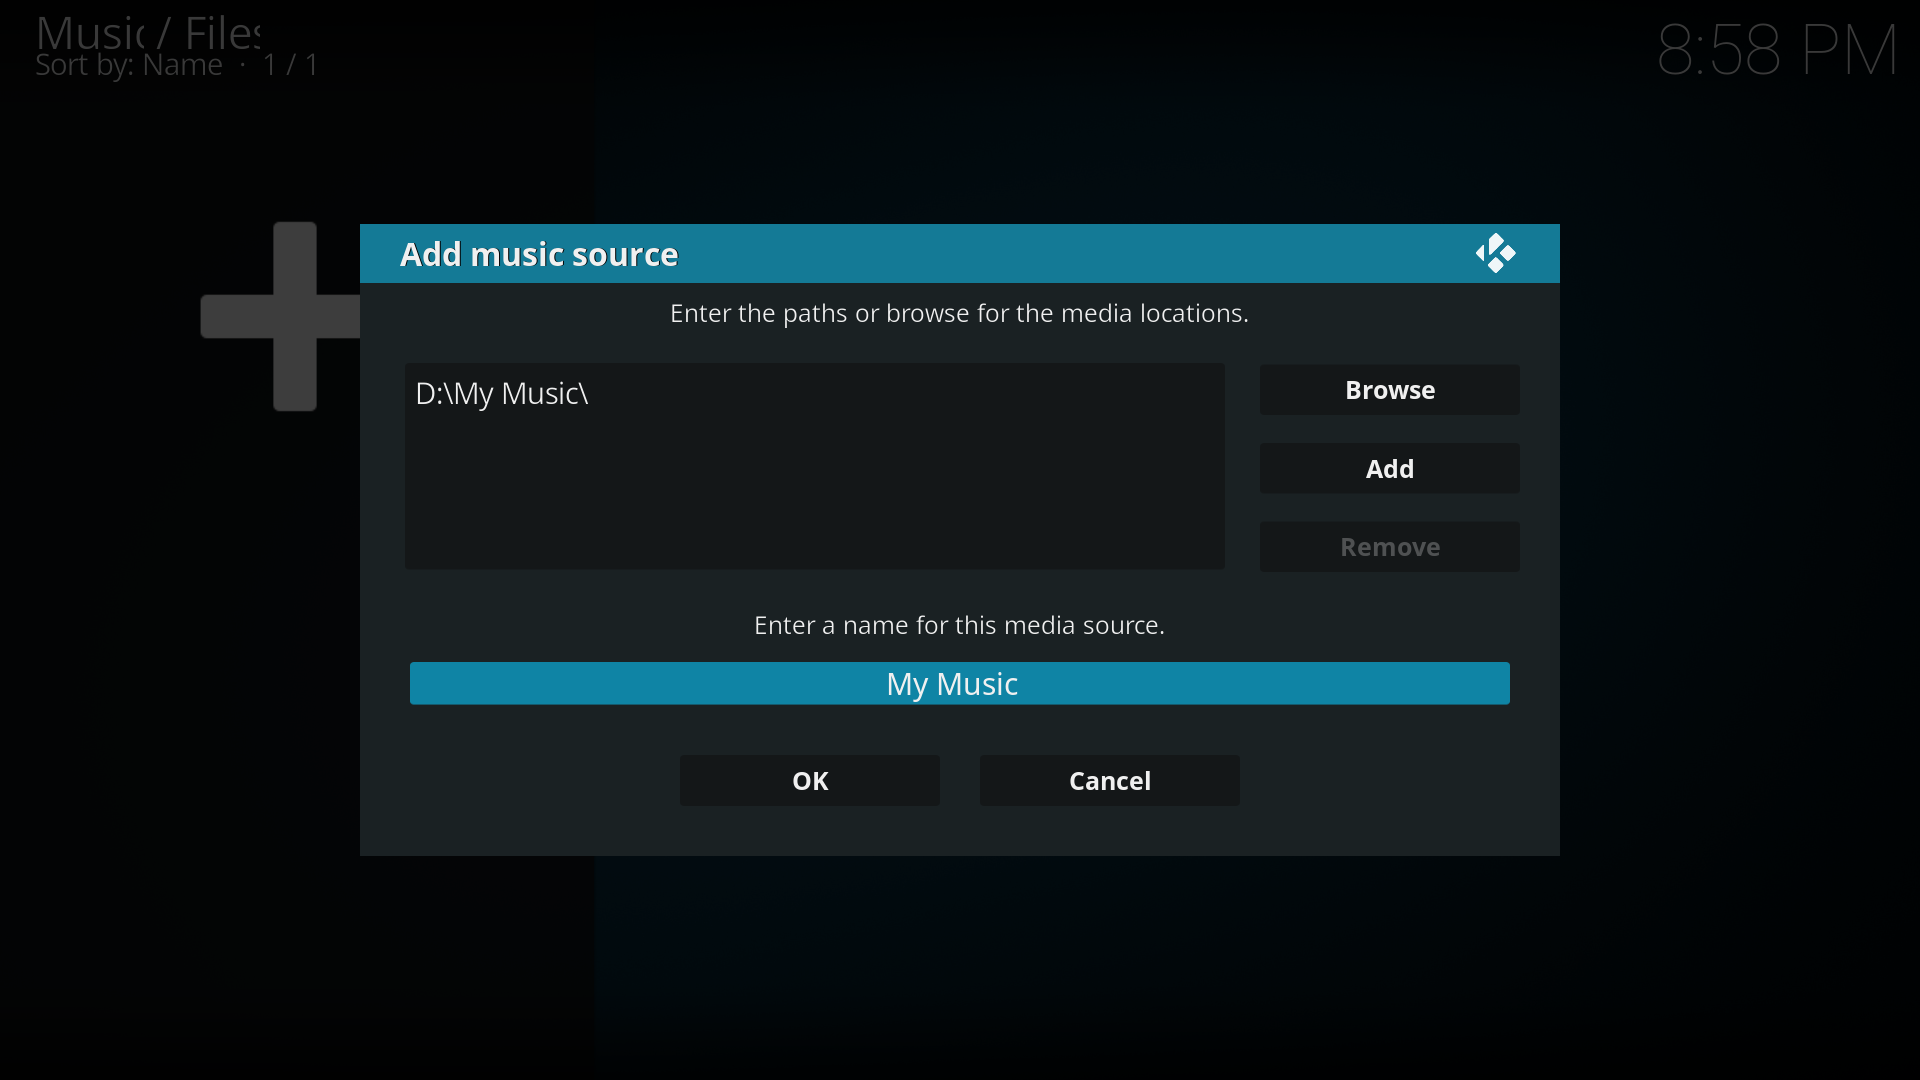
Step 5: You will now be taken back to the Add music source window. Under Enter a name for this media source you can optionally name your media source to replace the suggested name. Select OK
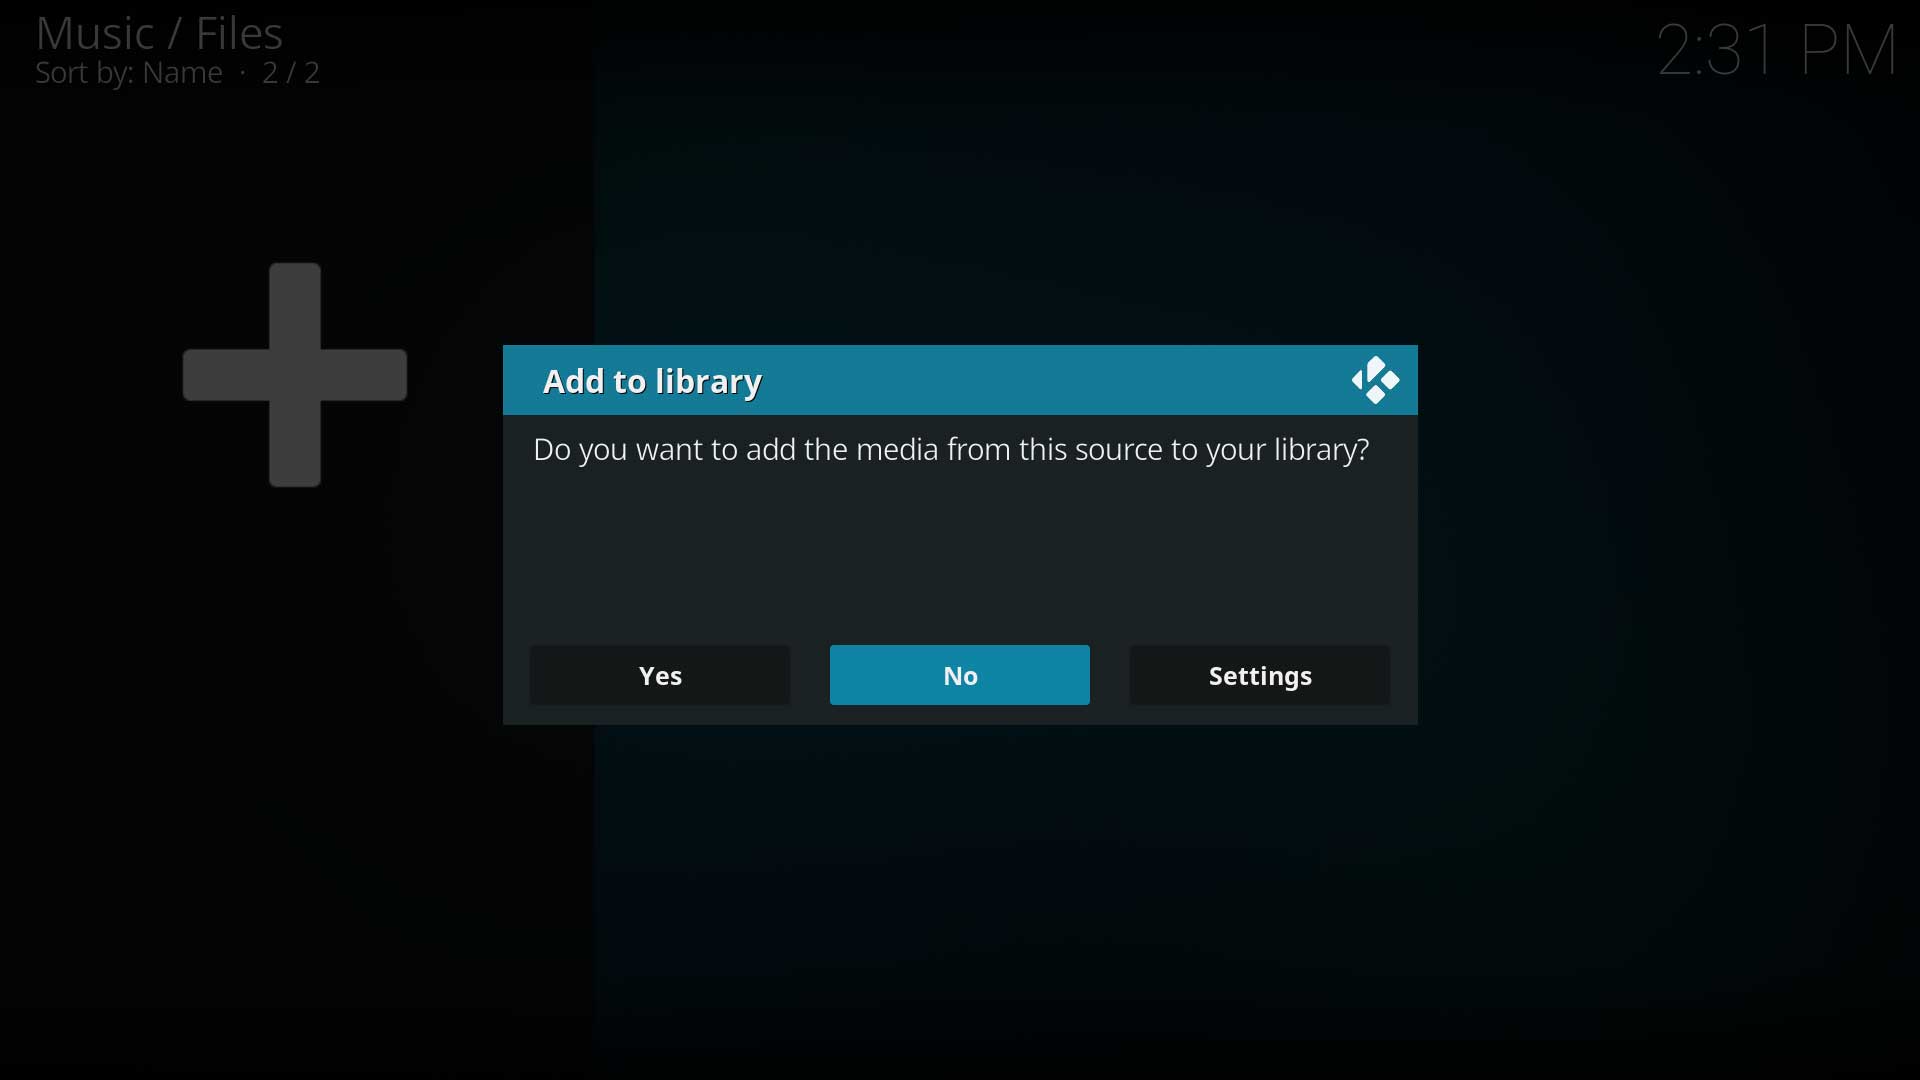
Step 6: You will now be asked if you wish to add your media source to the library. If you do, then select Yes, if you do not, then select No. By selecting No you will only have the option of accessing your media though the Music file browser
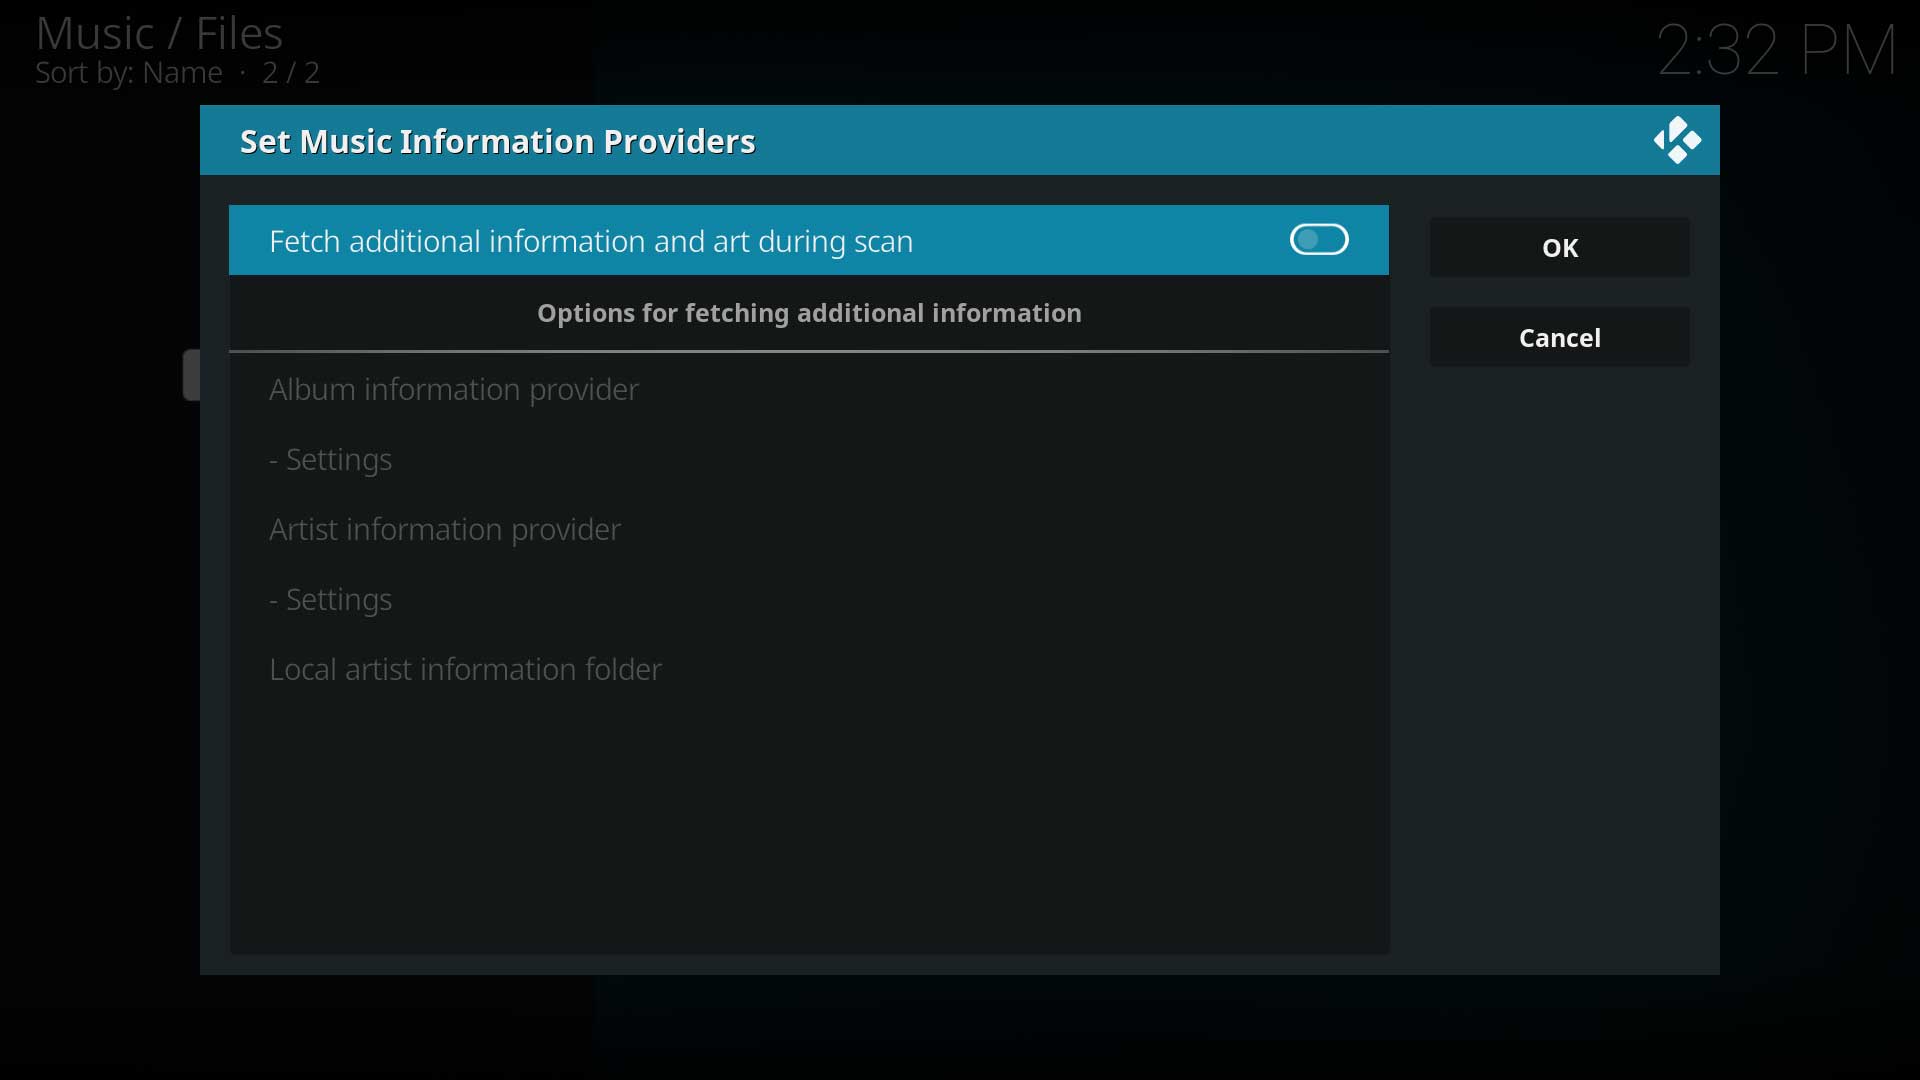
Step 7: Choosing Settings in the previous step allows fetching additional info, setting up the scrapers and adding the Artist Information Folder if these have not been done yet. For the first scan, leave these disabled.
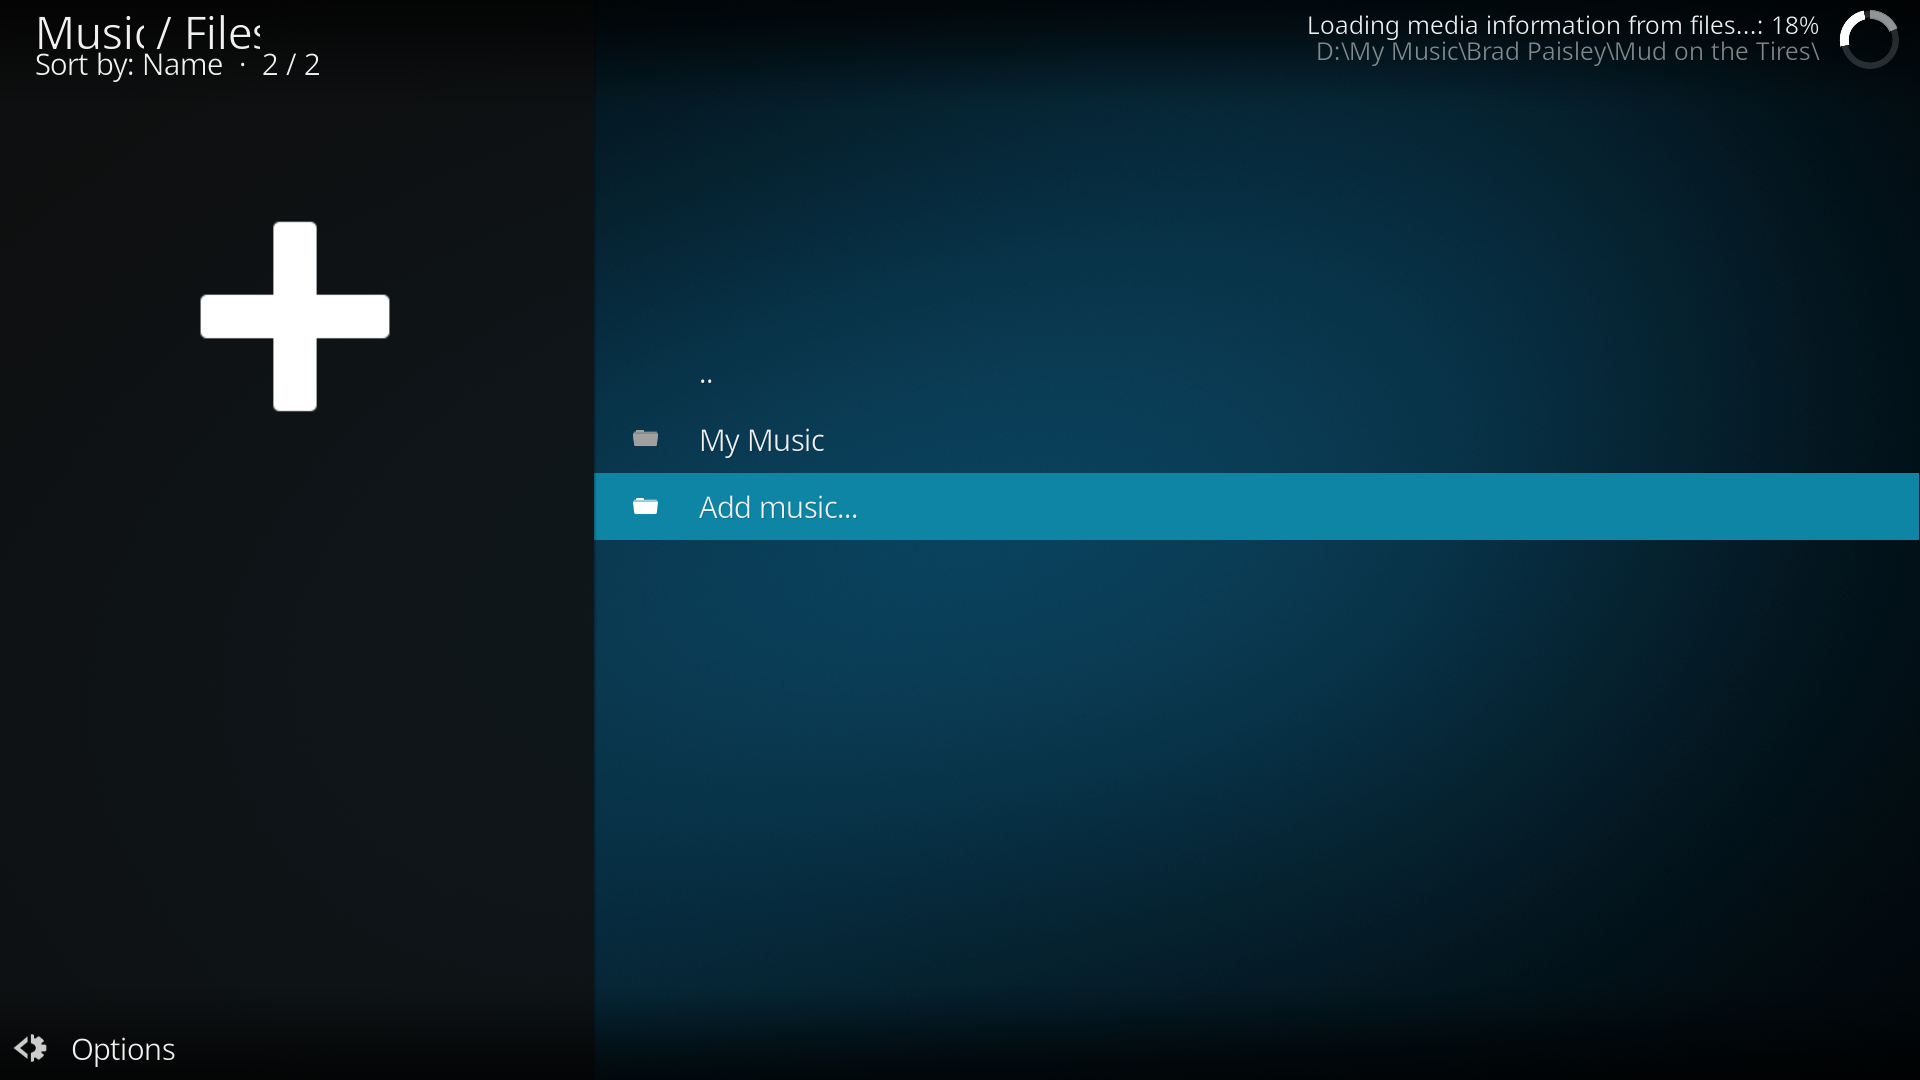
Step 8: If you selected Yes in step 6, Kodi will begin scanning your source to the library. Once finished, you can back out to the Main Menu. There is no ability to queue processes so wait until the first scan is finished before adding more sources.
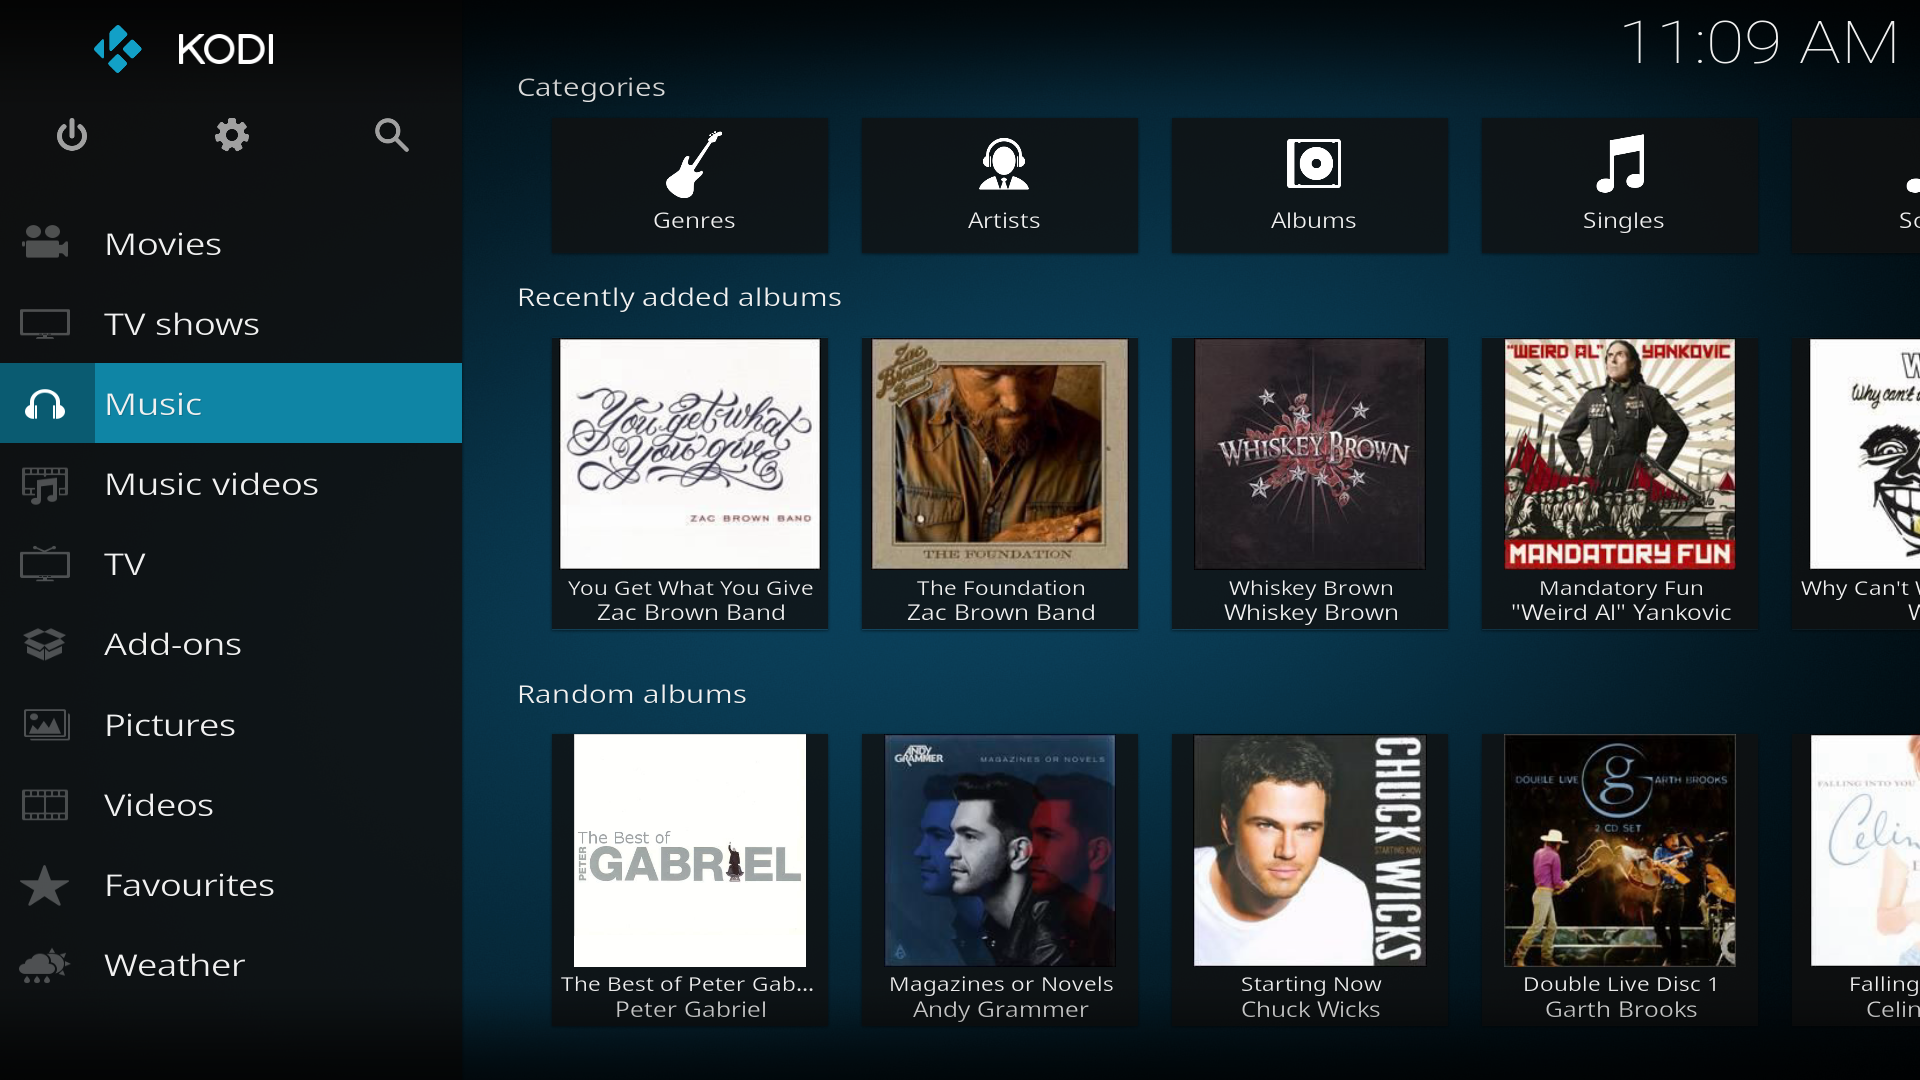
Step 9: Once your library is scanned you will be able to see & access Recently added albums, Random albums, Random Artist & Unplayed albums on the Home menu.


Adding Additional Music Sources
To add additional sources to your library, from the Main Menu enter Music. Navigate to the to the bottom of the page and select Files. Then repeat the steps from Step 2 in the previous section.

Scan to Library
In step 6 above, you were asked Do you want to add the media from this source to your library?
Click the below link if you selected No and would now like to add the music files into the library
Troubleshooting
|
|
Network Sources
Kodi gives you the ability to listen to music from a variety of sources.
Some examples of sources that allow you to easily access all your digital music collection:
- On your computer or a NAS (Network Attached Storage) device/system, which supports SMB file sharing
- Stored directly on the hard drive
- On CDs/DVDs
- Streamed from the Internet
| Return to top |
|---|
| Next step: | Artist Information Folder |