Adding video sources: Difference between revisions
(General updates) |
m (Structured markup for clarity - if other conventions exist, please advise) |
||
| Line 10: | Line 10: | ||
#'''Add to Library''' - Scrape the media into the library | #'''Add to Library''' - Scrape the media into the library | ||
Each section is a direct continuation of the previous section, and only separated for clarity. | {{note|Each section is a direct continuation of the previous section, and only separated for clarity.}} | ||
{{warning|[[UPnP]] cannot be used to create a library. It is recommended that you share your media using another protocol such as [[SMB]].}} | |||
= Adding Sources = | = Adding Sources = | ||
Revision as of 01:50, 10 December 2022
| Create Video Libraries |
| 1. The Basics |
| 2. Source Folder |
| 3. Movie Setup |
| 4a. TV Show Setup |
| 4b. Seasons Setup |
| 4c. Episodes Setup |
| 5. Music Videos Setup |
| 6. Add Source & Scrape |
| 7. Scraping Problems |
Introduction
This step of the guide will enable you to complete the following actions:
- Add Sources - Add the Source folder to Kodi
- Set Content - Advise Kodi what type of media is in the Source
- Scraper Settings - Adjust the scraper settings to your preferences, or change to a different scraper
- Add to Library - Scrape the media into the library
Note: Each section is a direct continuation of the previous section, and only separated for clarity.
| UPnP cannot be used to create a library. It is recommended that you share your media using another protocol such as SMB. |
Adding Sources
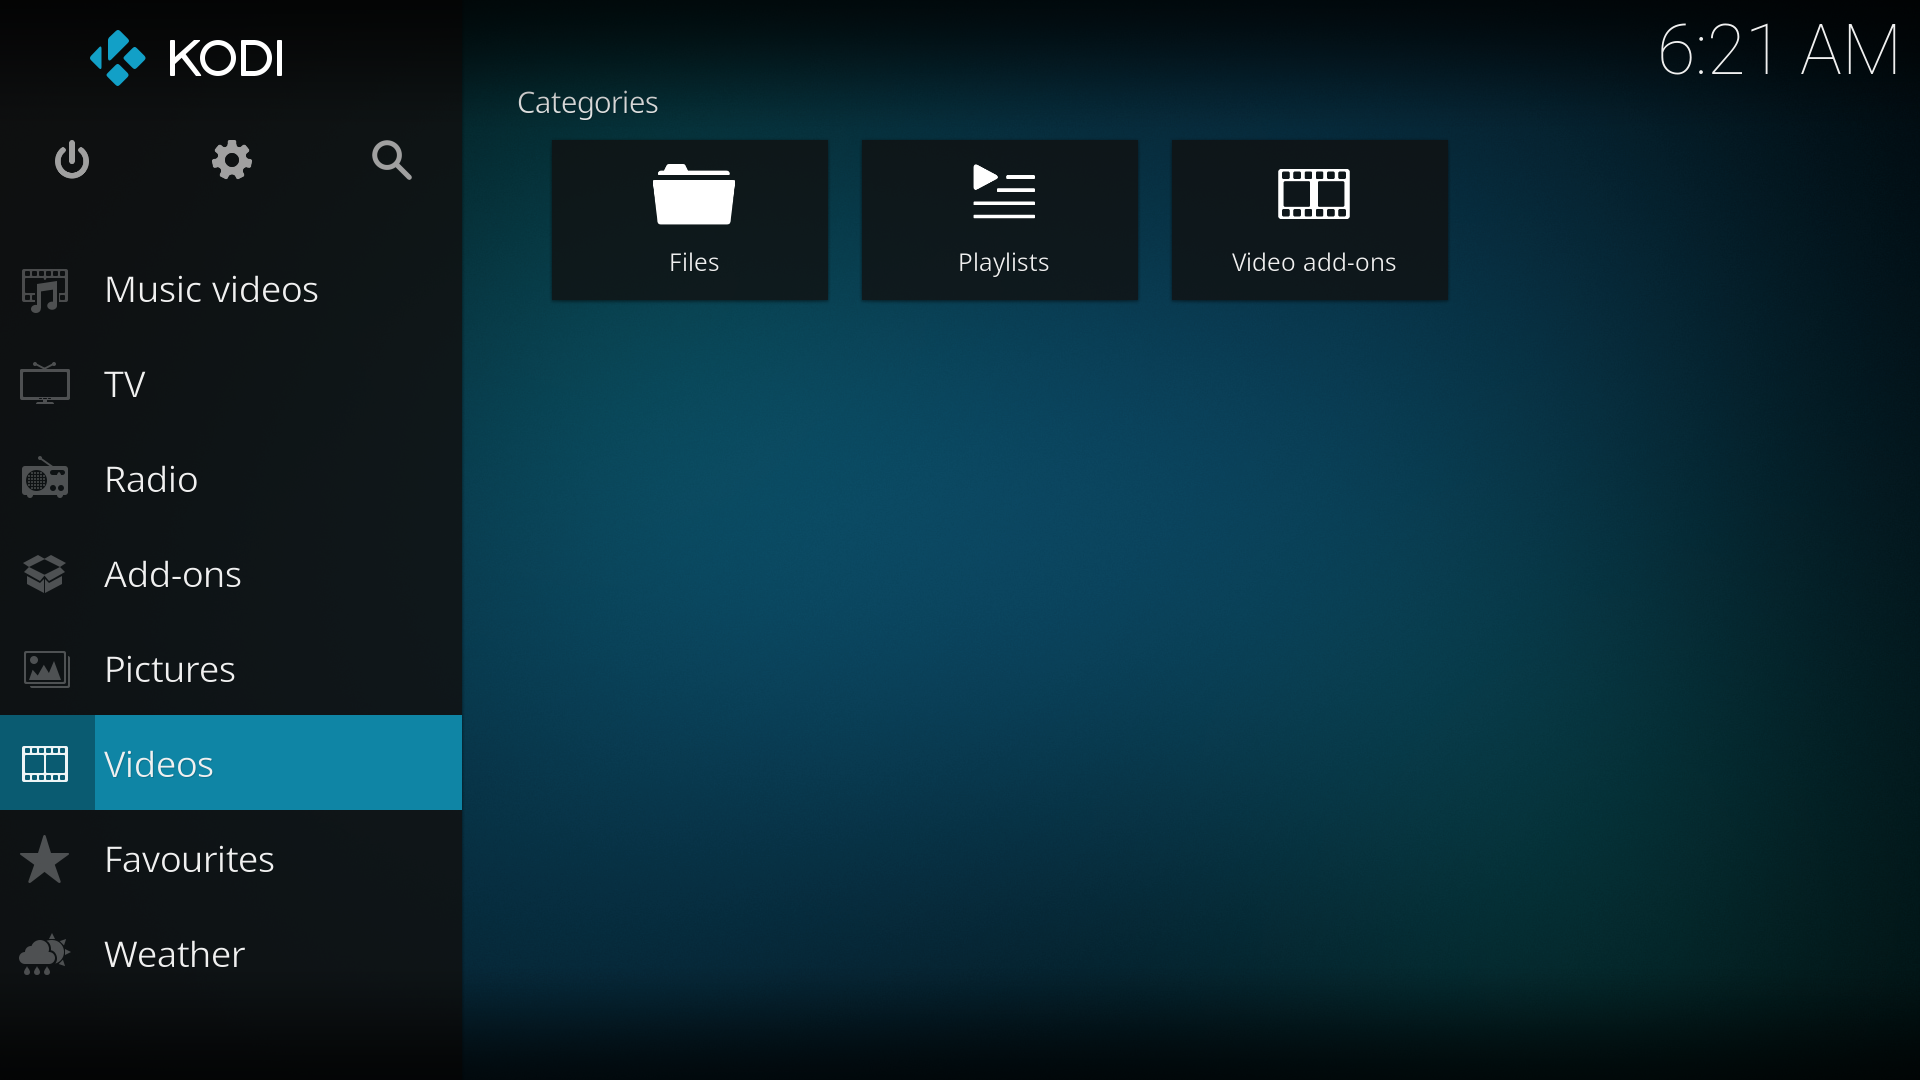
Step 1: Select VIDEOS in the home screen menu.
(Or select Enter files section if that button is visible)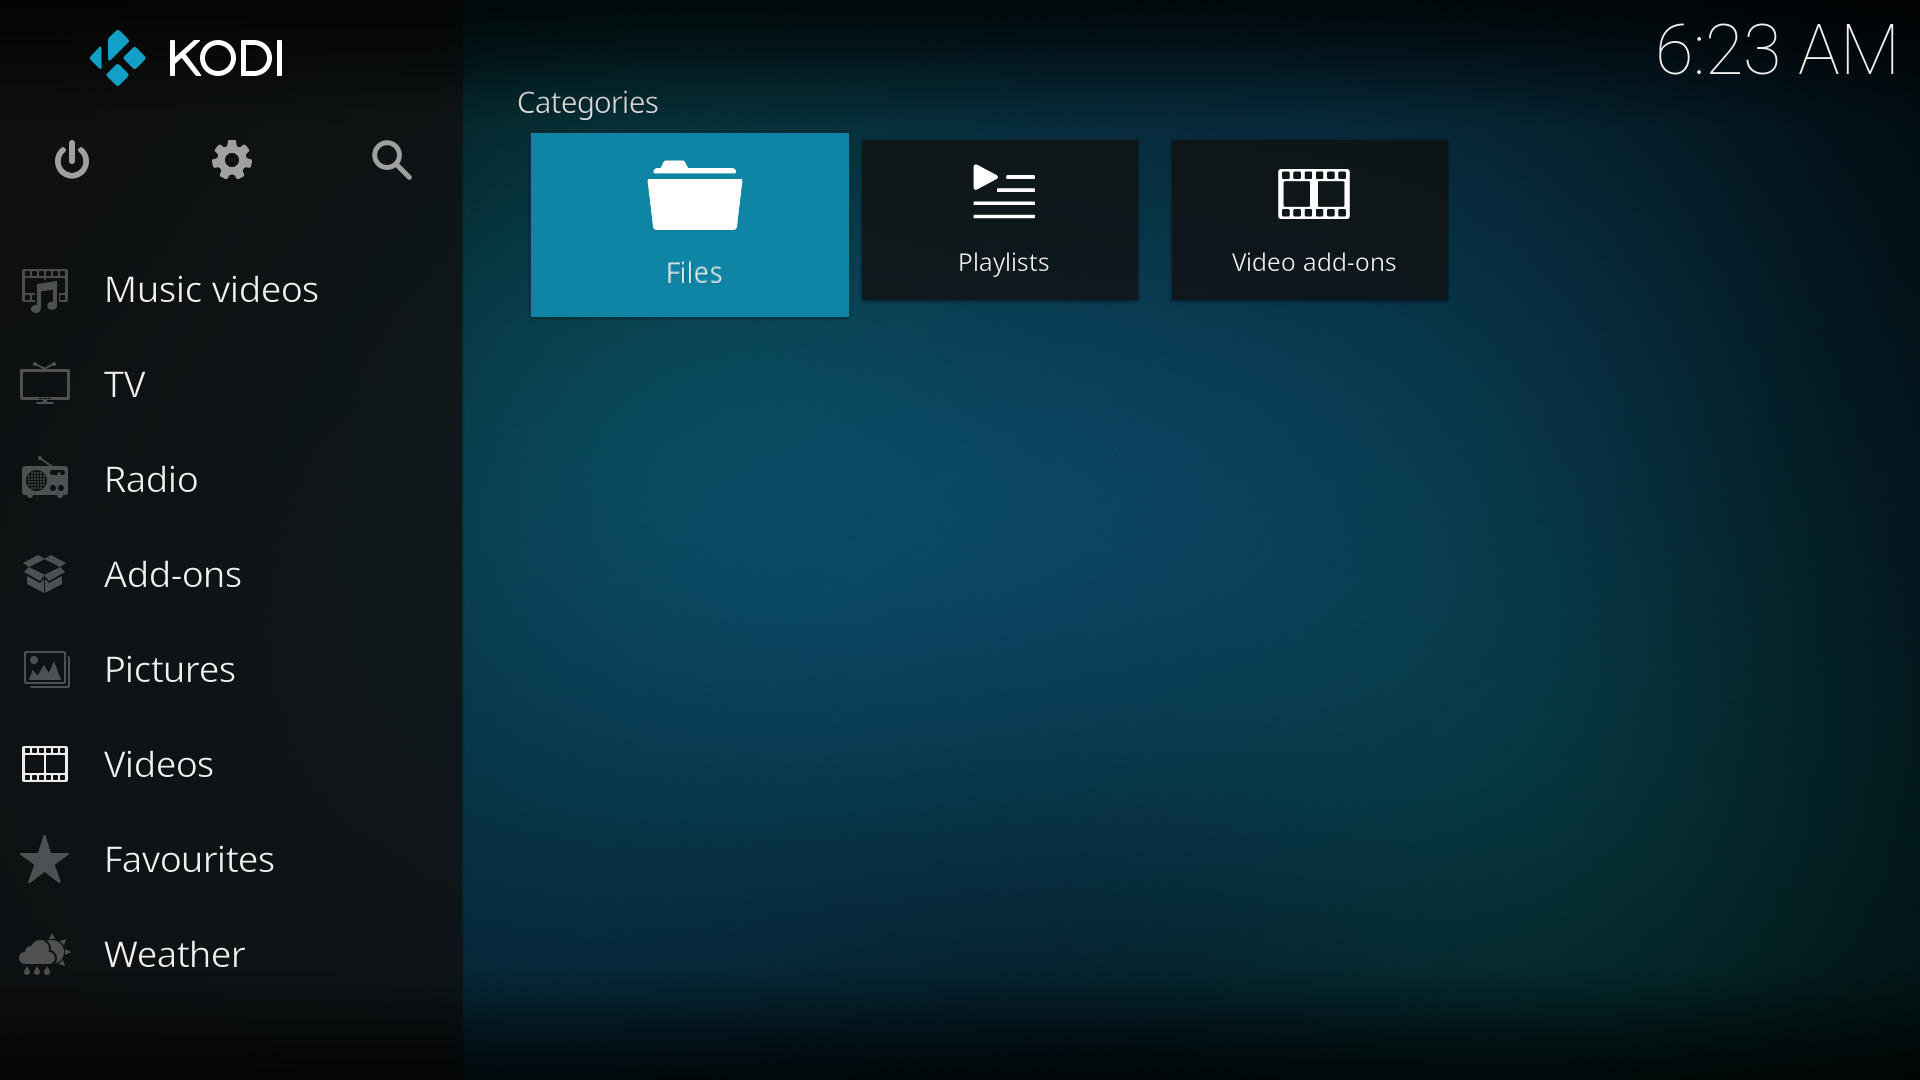
Step 2: Select FILES
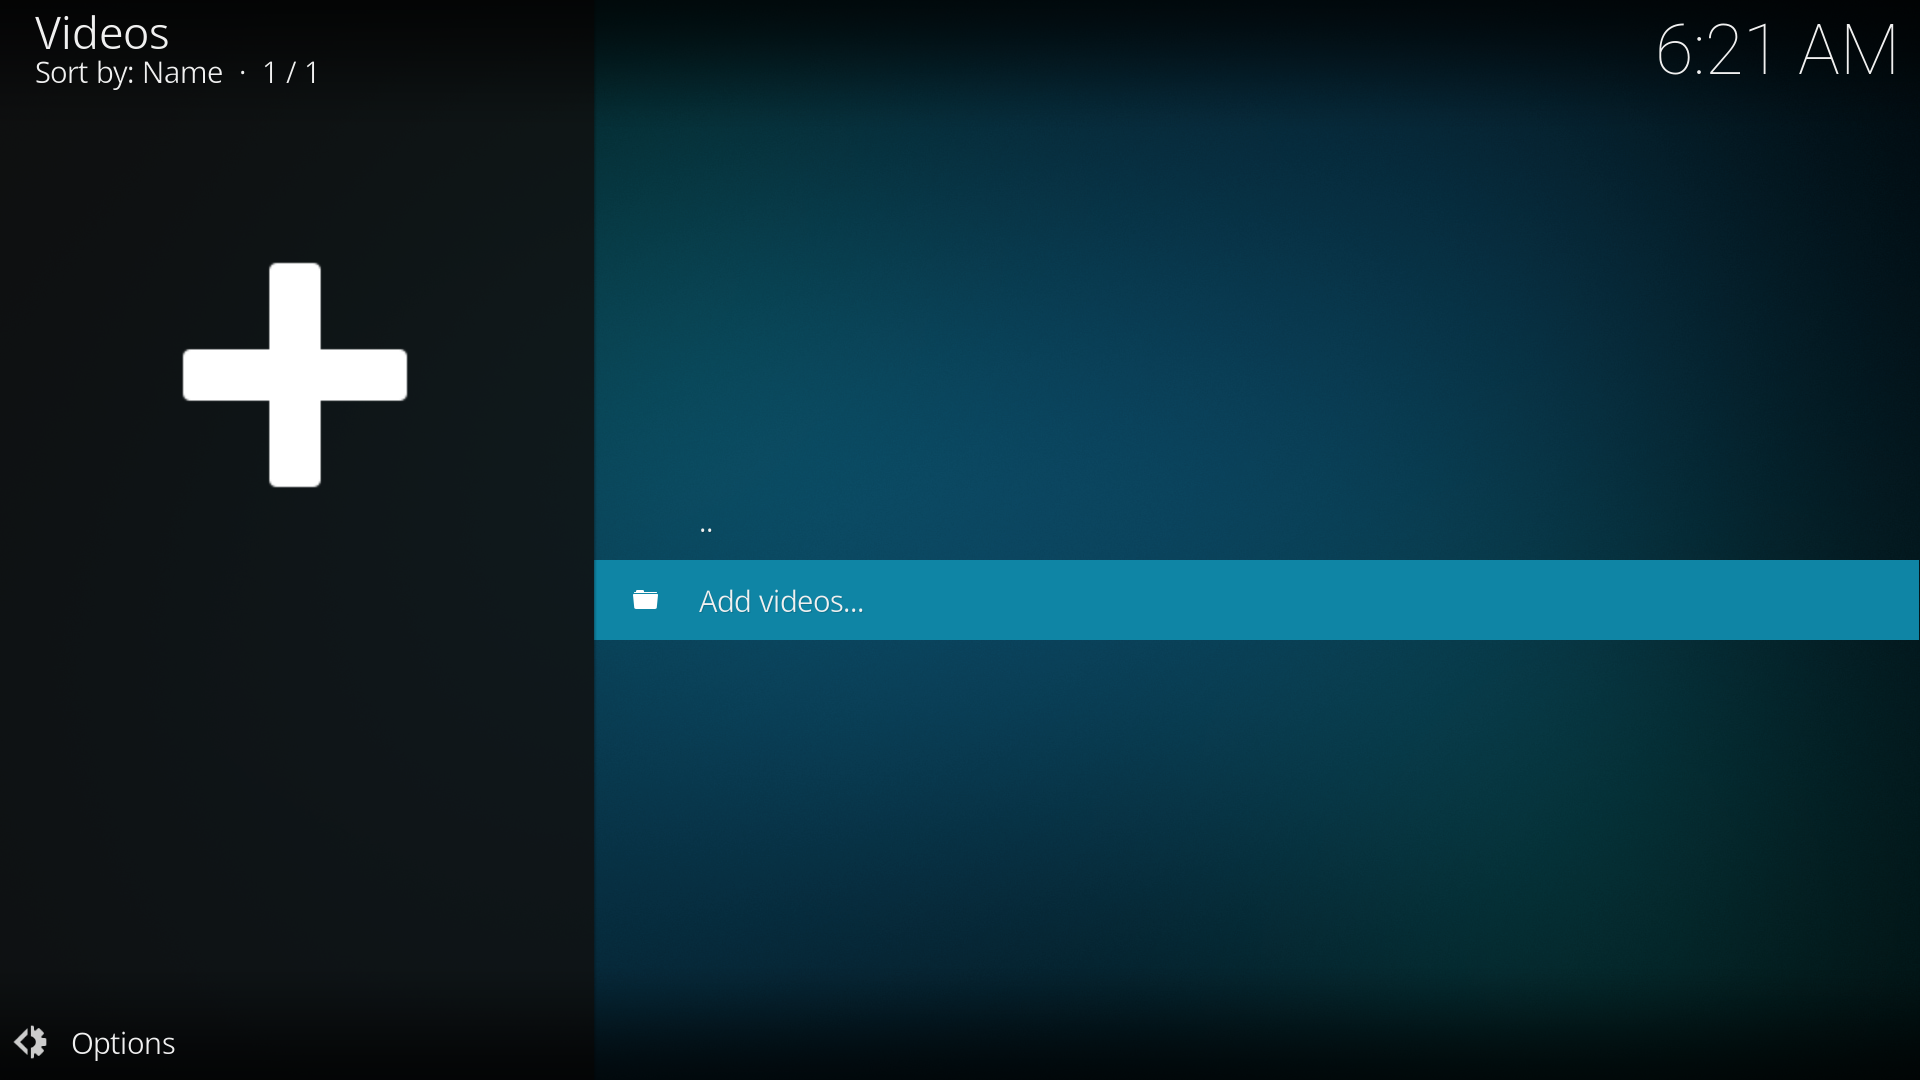
Step 3: Select ADD VIDEOS....
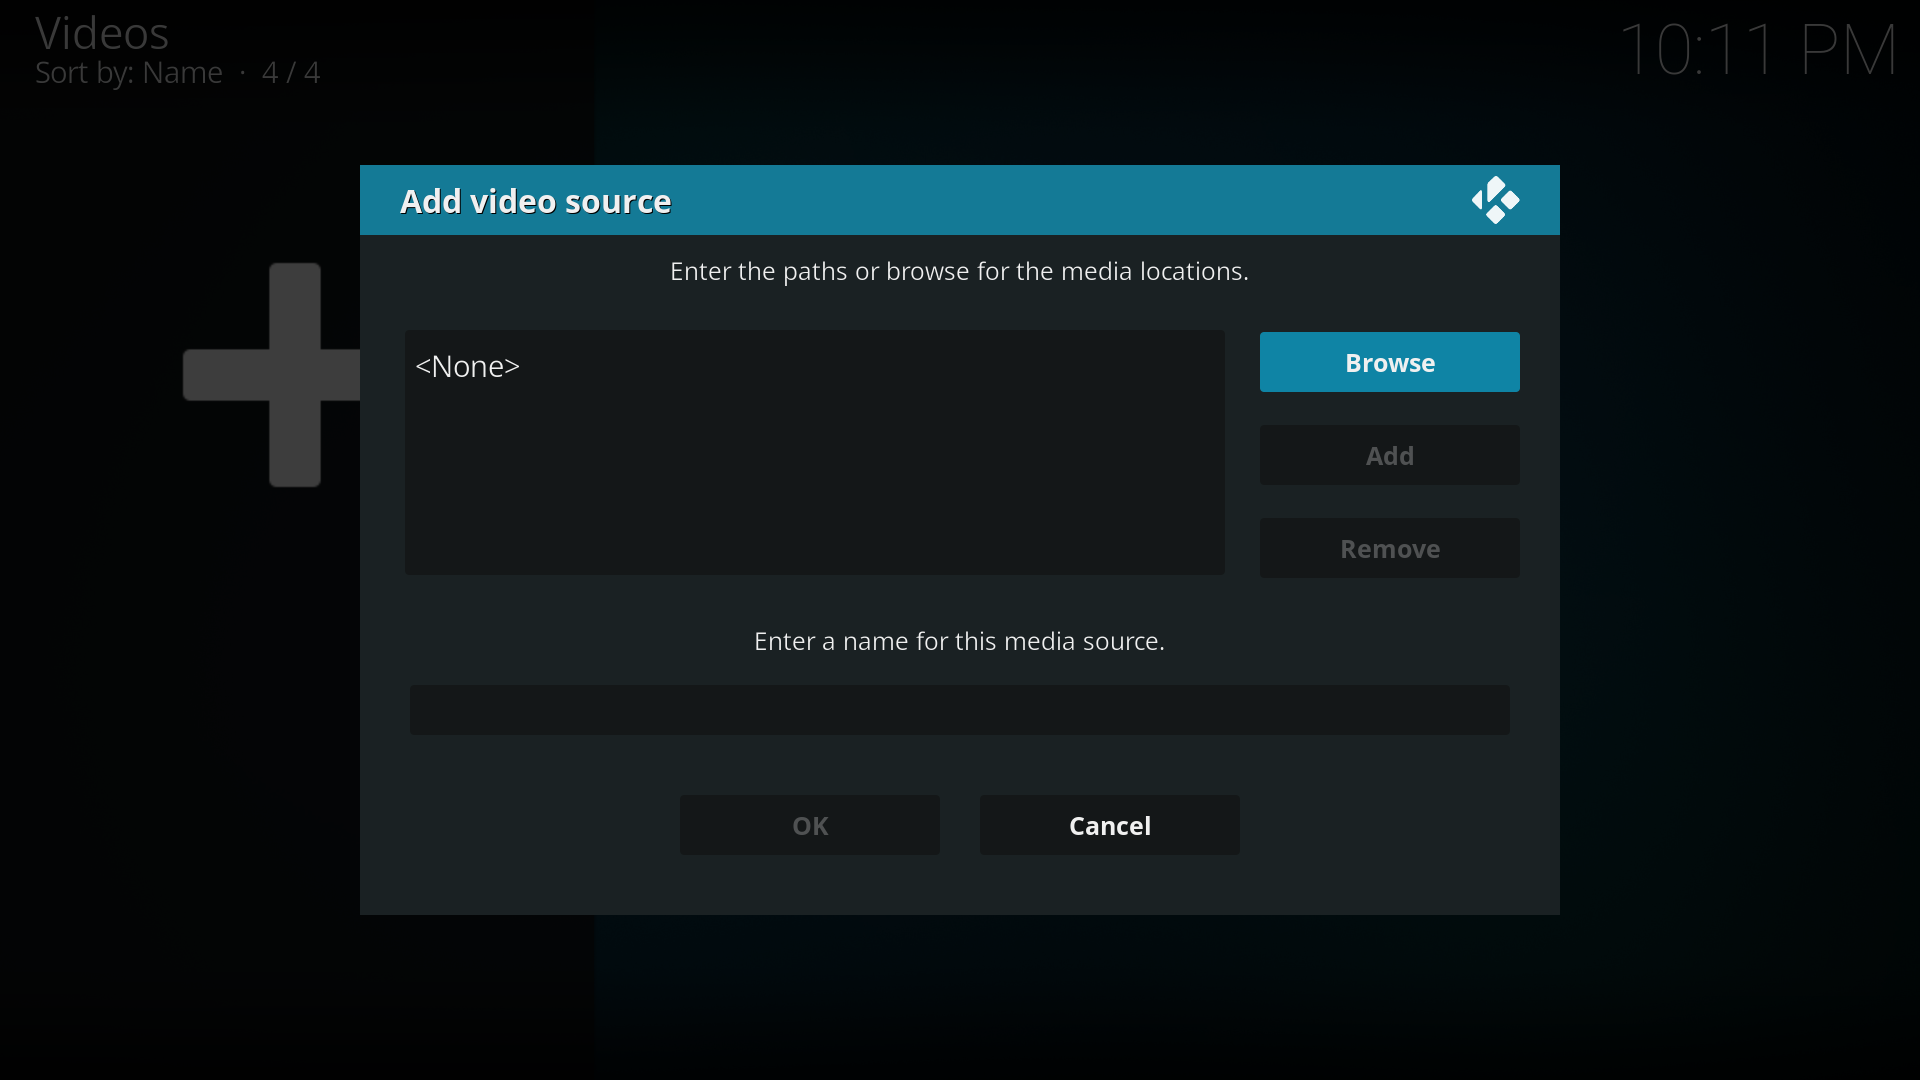
Step 4: Select the BROWSE
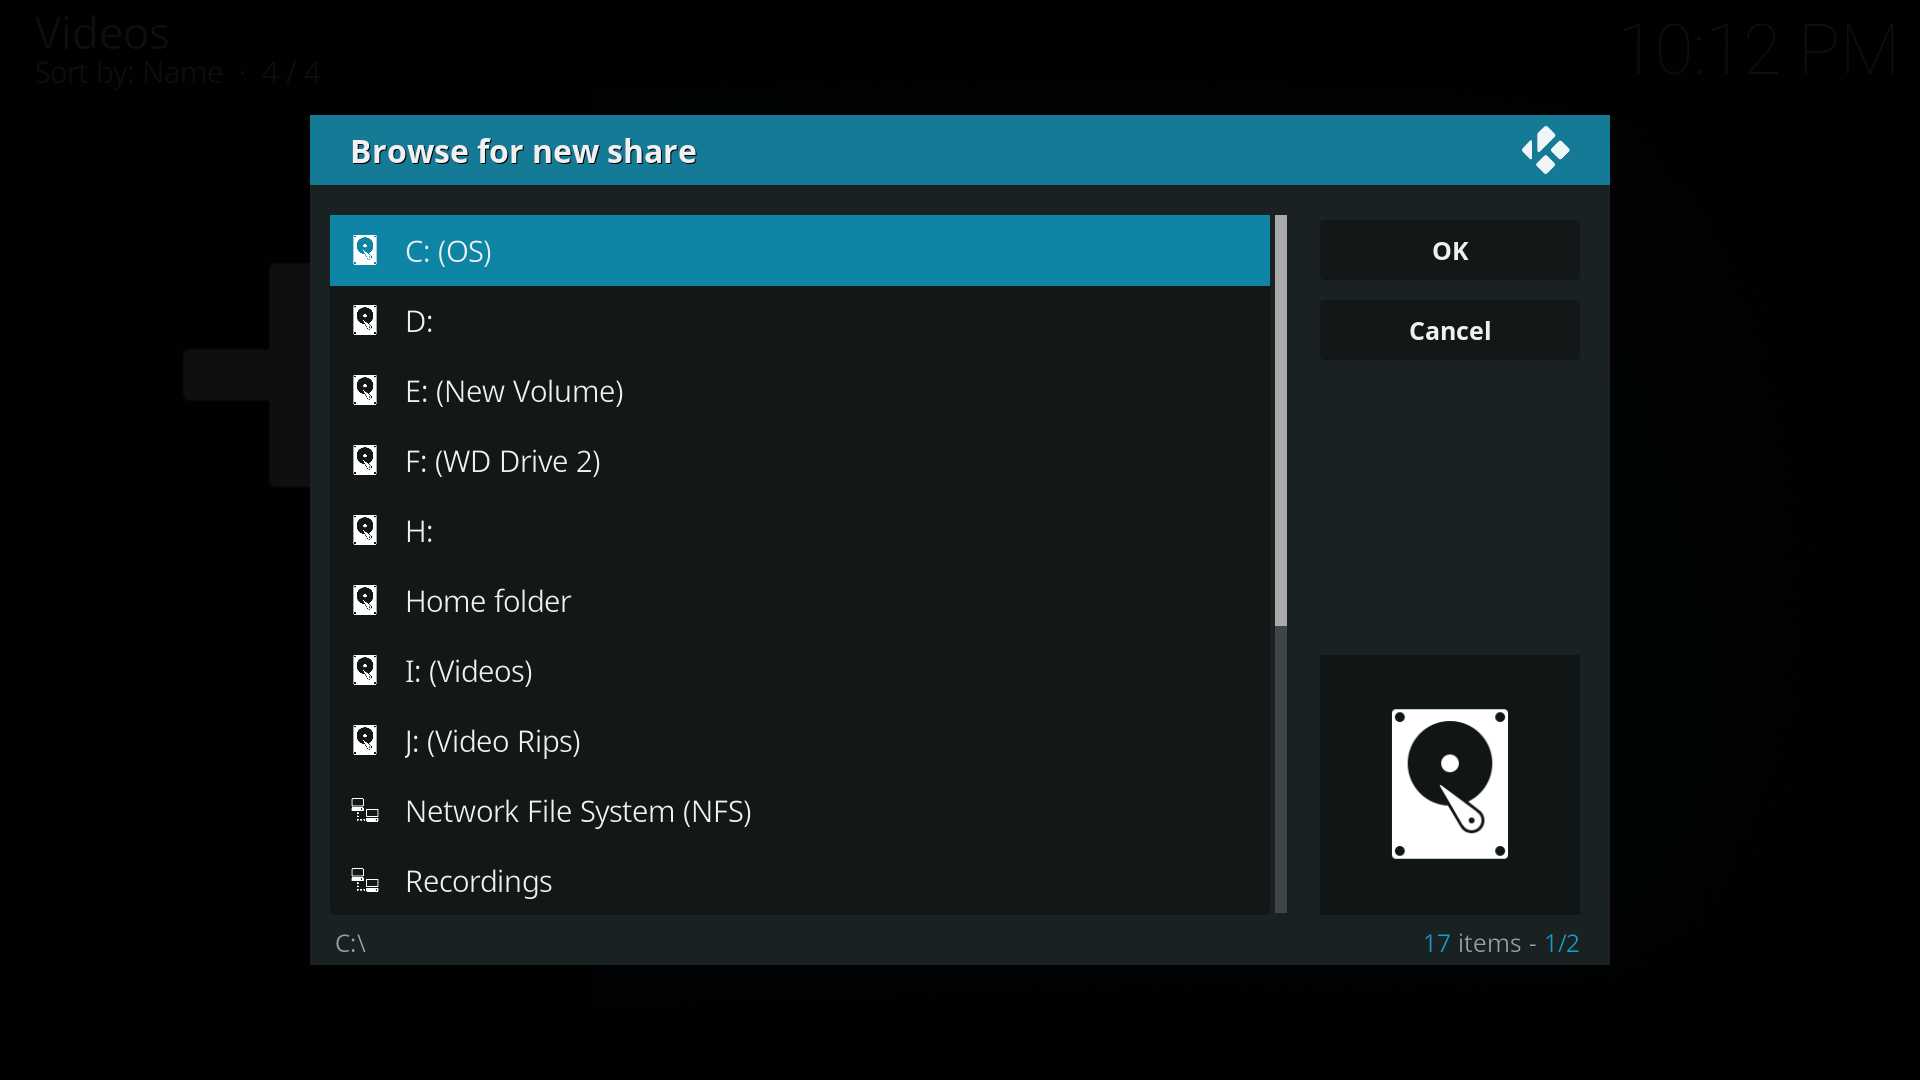
Step 5: Browse to locate your Source folder. Enter the Source folder so you see your titles. Select OK
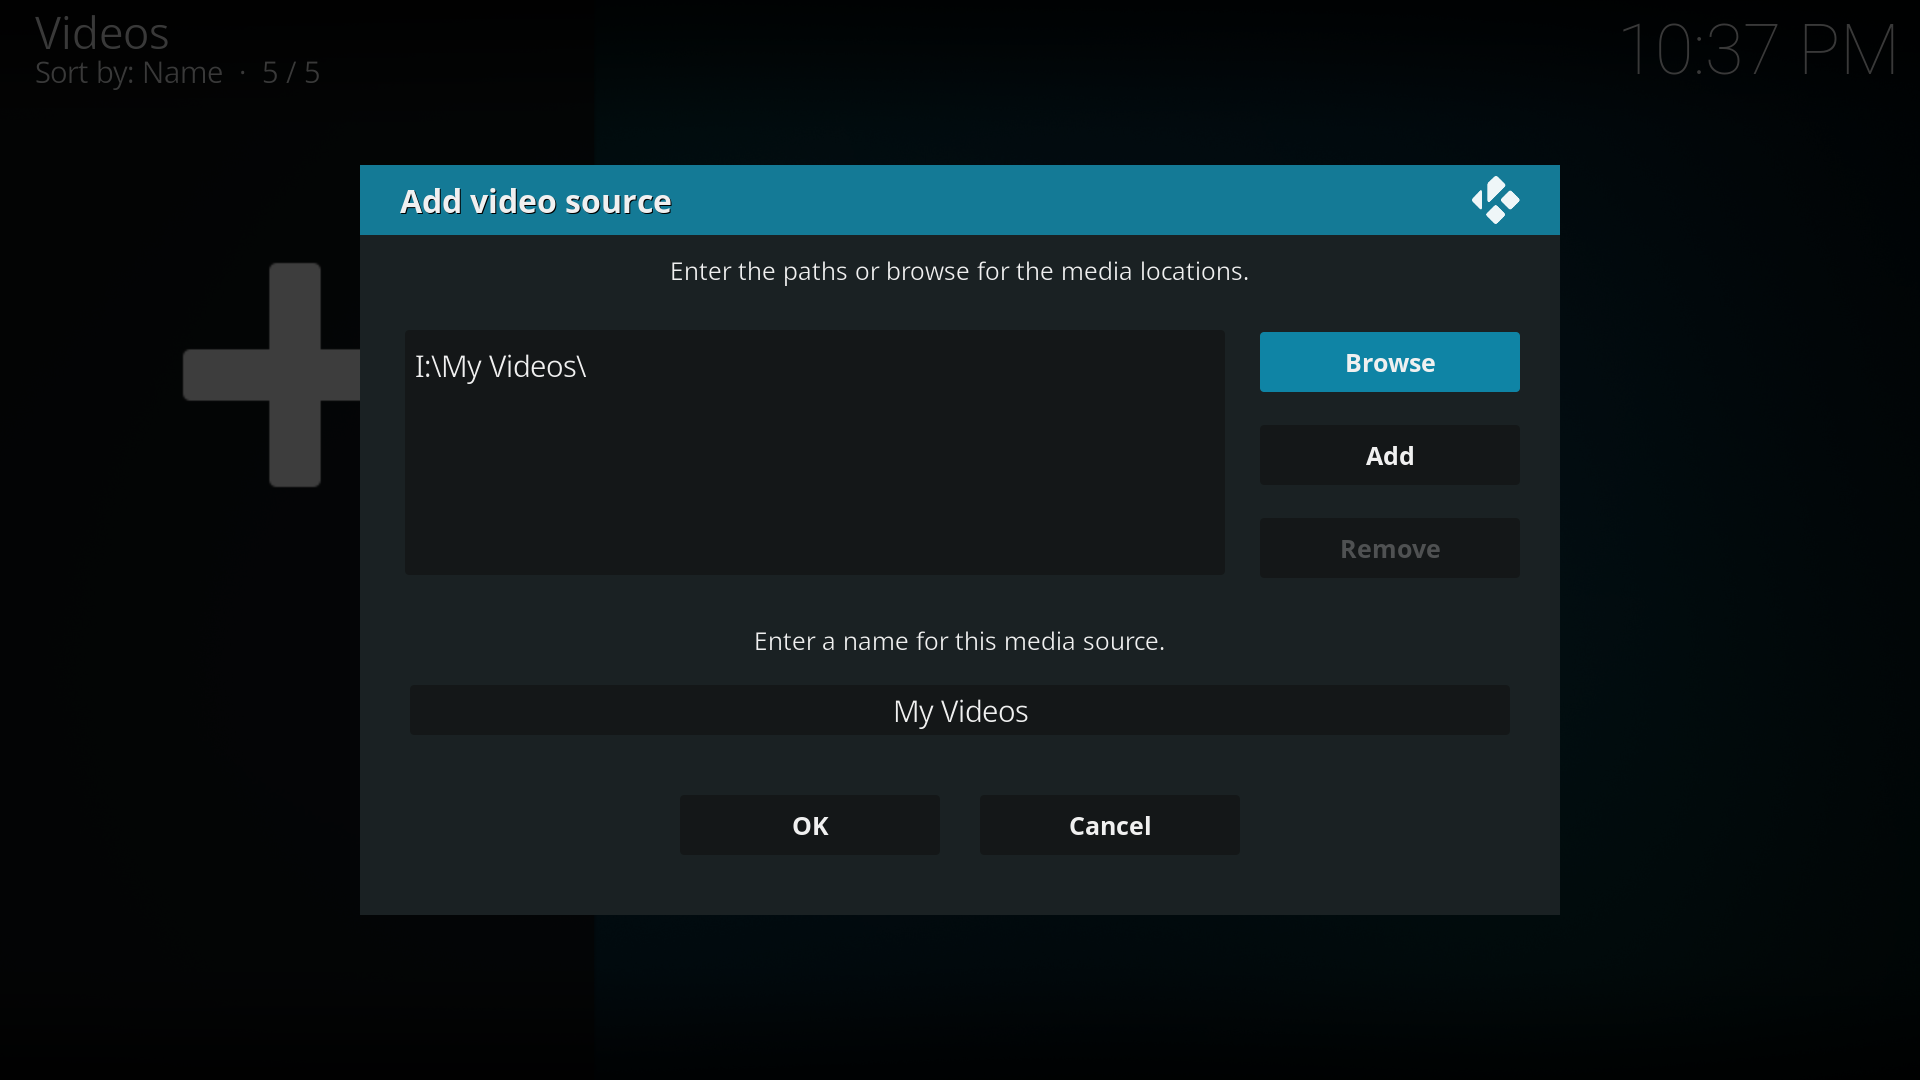
Step 6: Either use the default name or rename the Source. The name doesn't matter to Kodi, but keep the names unique for ease of maintenance.
Then select OK.


Set Content
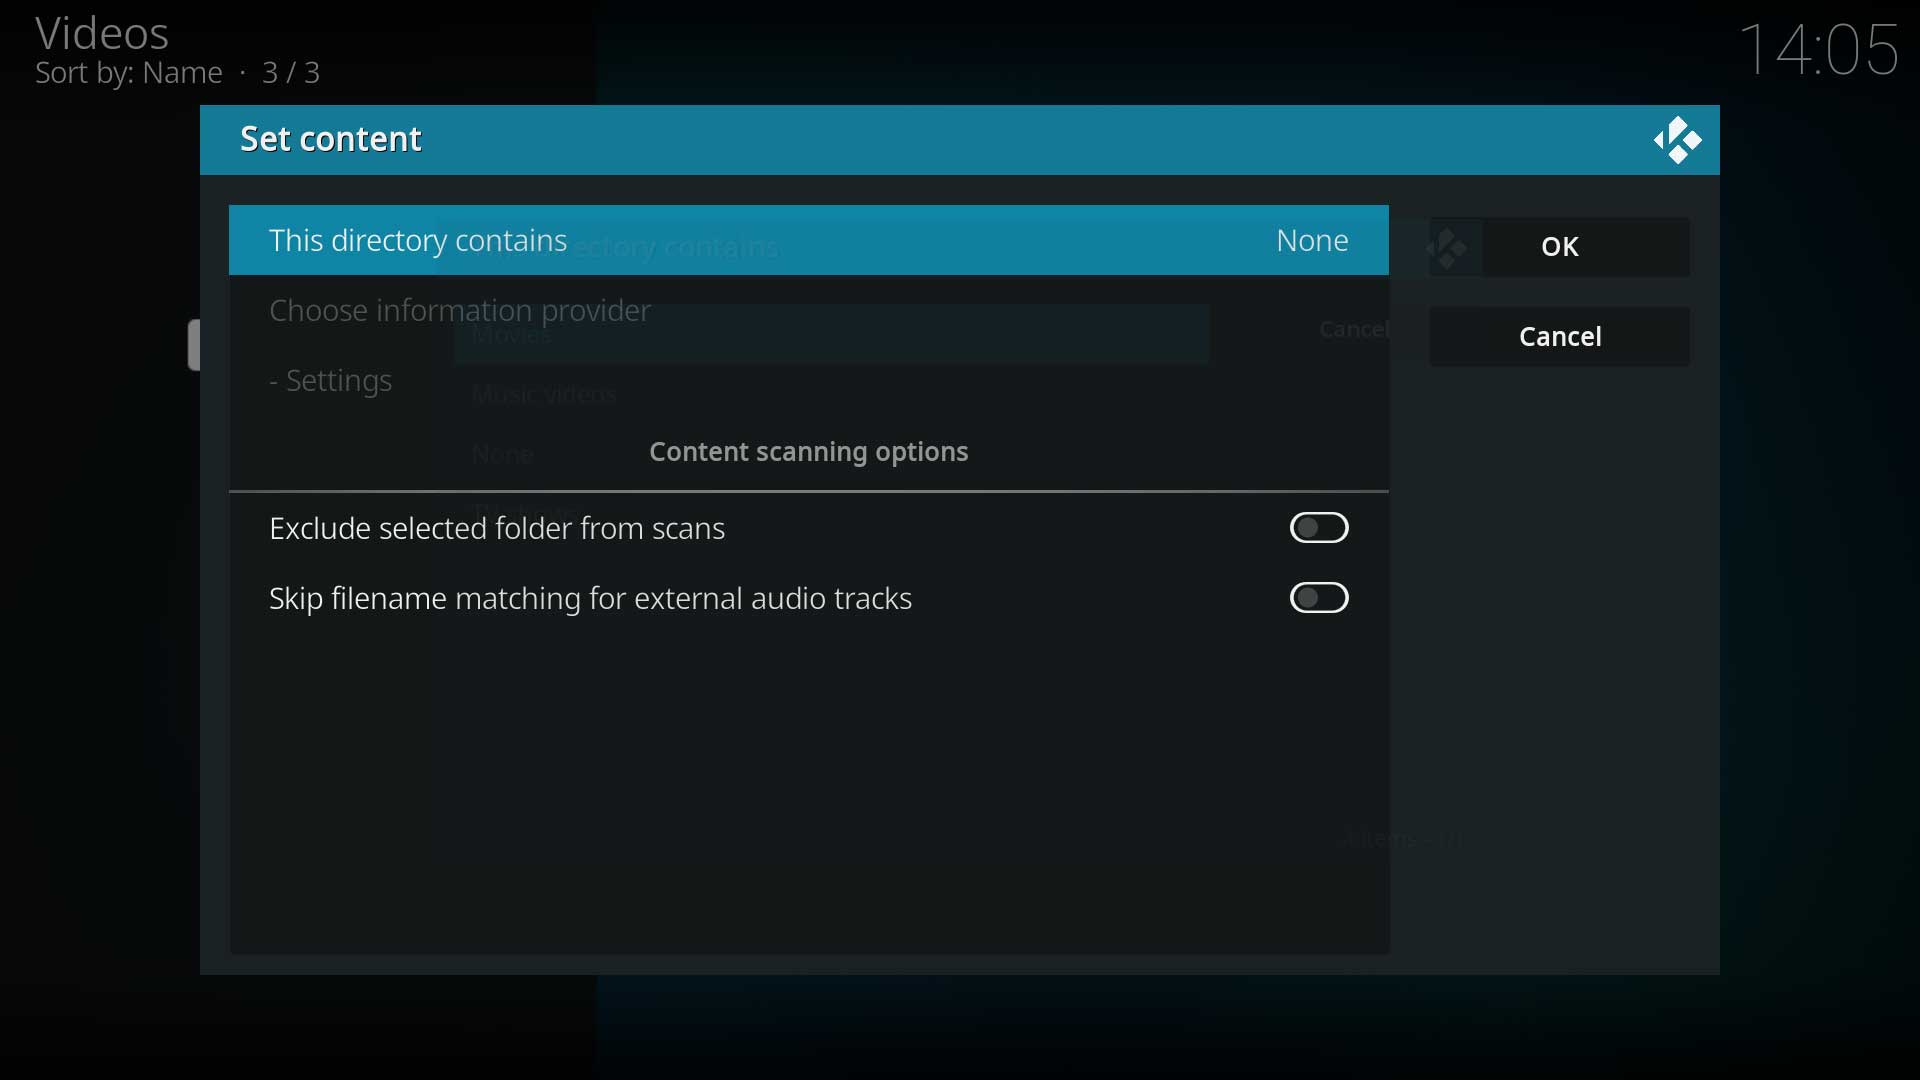
Step 7: The set content window will display. This is where the media type is set.
Select the option This directory contains.
Step 8: Select the type of media that is in the Source.


| Set Content for Movies | Set Content for TV Shows | |
|---|---|---|
 Step 9a |
 Step 9b | |
|
|
| Do not select Local information only Scraper. Using this scraper will prevent your TV Shows from being scanned into the library when using NFO files. Kodi always scans for, and uses NFO files first, regardless of what scraper is set. |
Additional scrapers are available. Before replacing the default scraper, ensure the scraper works for your version of Kodi and is suitable for your needs.
- All Movie scrapers- Movie scraper add-ons
- All TV Show scrapers - TV scraper add-ons
Add to Library
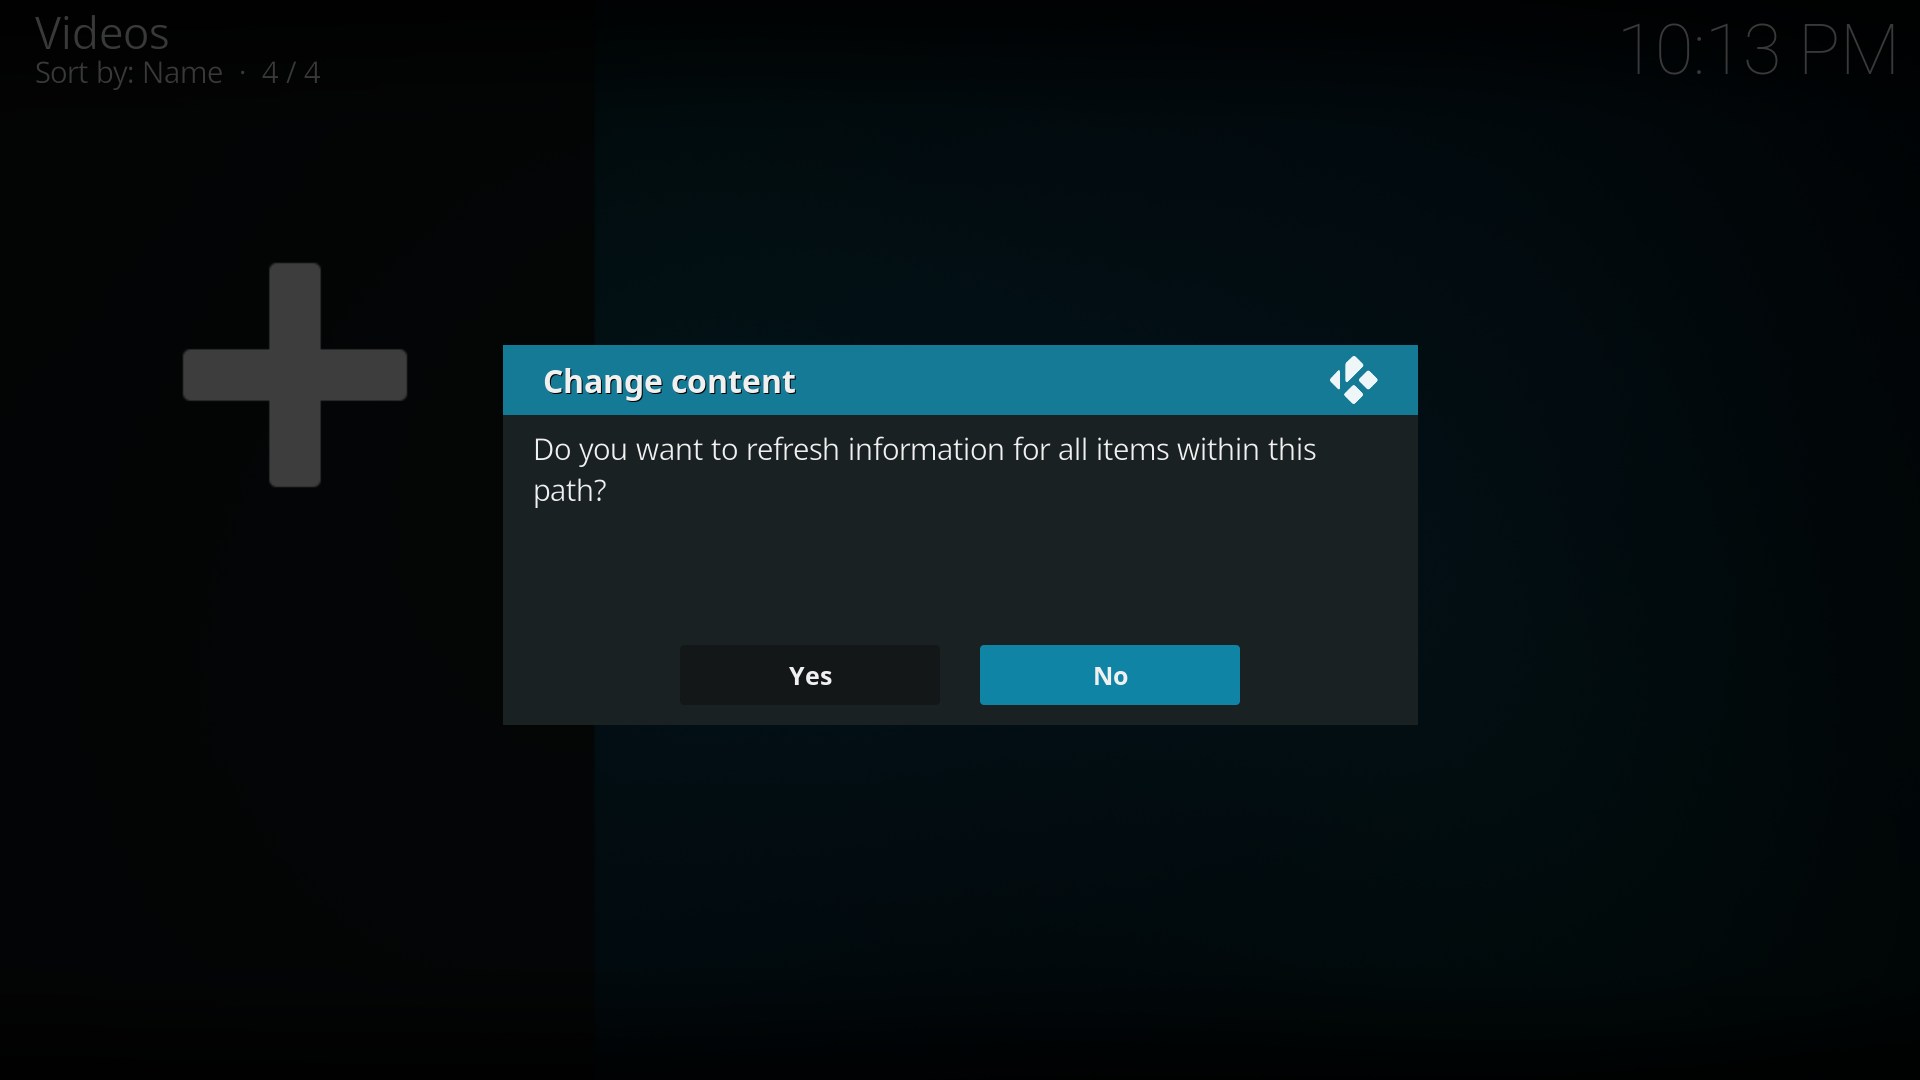
Step 10: Press Yes to scrape the content to the library
If No is selected, it can be scanned later from the Context Menu of the Source

Once you press Yes, Kodi will scan your library and attempt to match each title in your library to the title at the site of the Information Provider. If a match is found, the metadata and artwork is downloaded and used for the library display. Depending upon the size of your library, this could take some time. A single movie could take approx 30 seconds, a library of 400 movies could take over an hour.
When the scraping process is complete, be sure to check the Event Log to view any titles that were not added to the library, which is normally due to incorrect naming. See... Scraping Problems
| Previous step | |
| Episodes Setup |
| Return to top |
|---|