Adding video sources: Difference between revisions
No edit summary |
|||
| Line 16: | Line 16: | ||
File:Quick-start-1.png|'''Step 1:''' Select "Videos" in the home screen menu. | File:Quick-start-1.png|'''Step 1:''' Select "Videos" in the home screen menu. | ||
File:Quick-start-2.png|'''Step 2:''' Select Files, then select "Add Videos". Note: if you do not see an option "Add Videos", you need to enable it by going to Settings > Appearance > File Lists > Show 'add source' buttons. | File:Quick-start-2.png|'''Step 2:''' Select Files, then select "Add Videos". Note: if you do not see an option "Add Videos", you need to enable it by going to Settings > Appearance > File Lists > Show 'add source' buttons. | ||
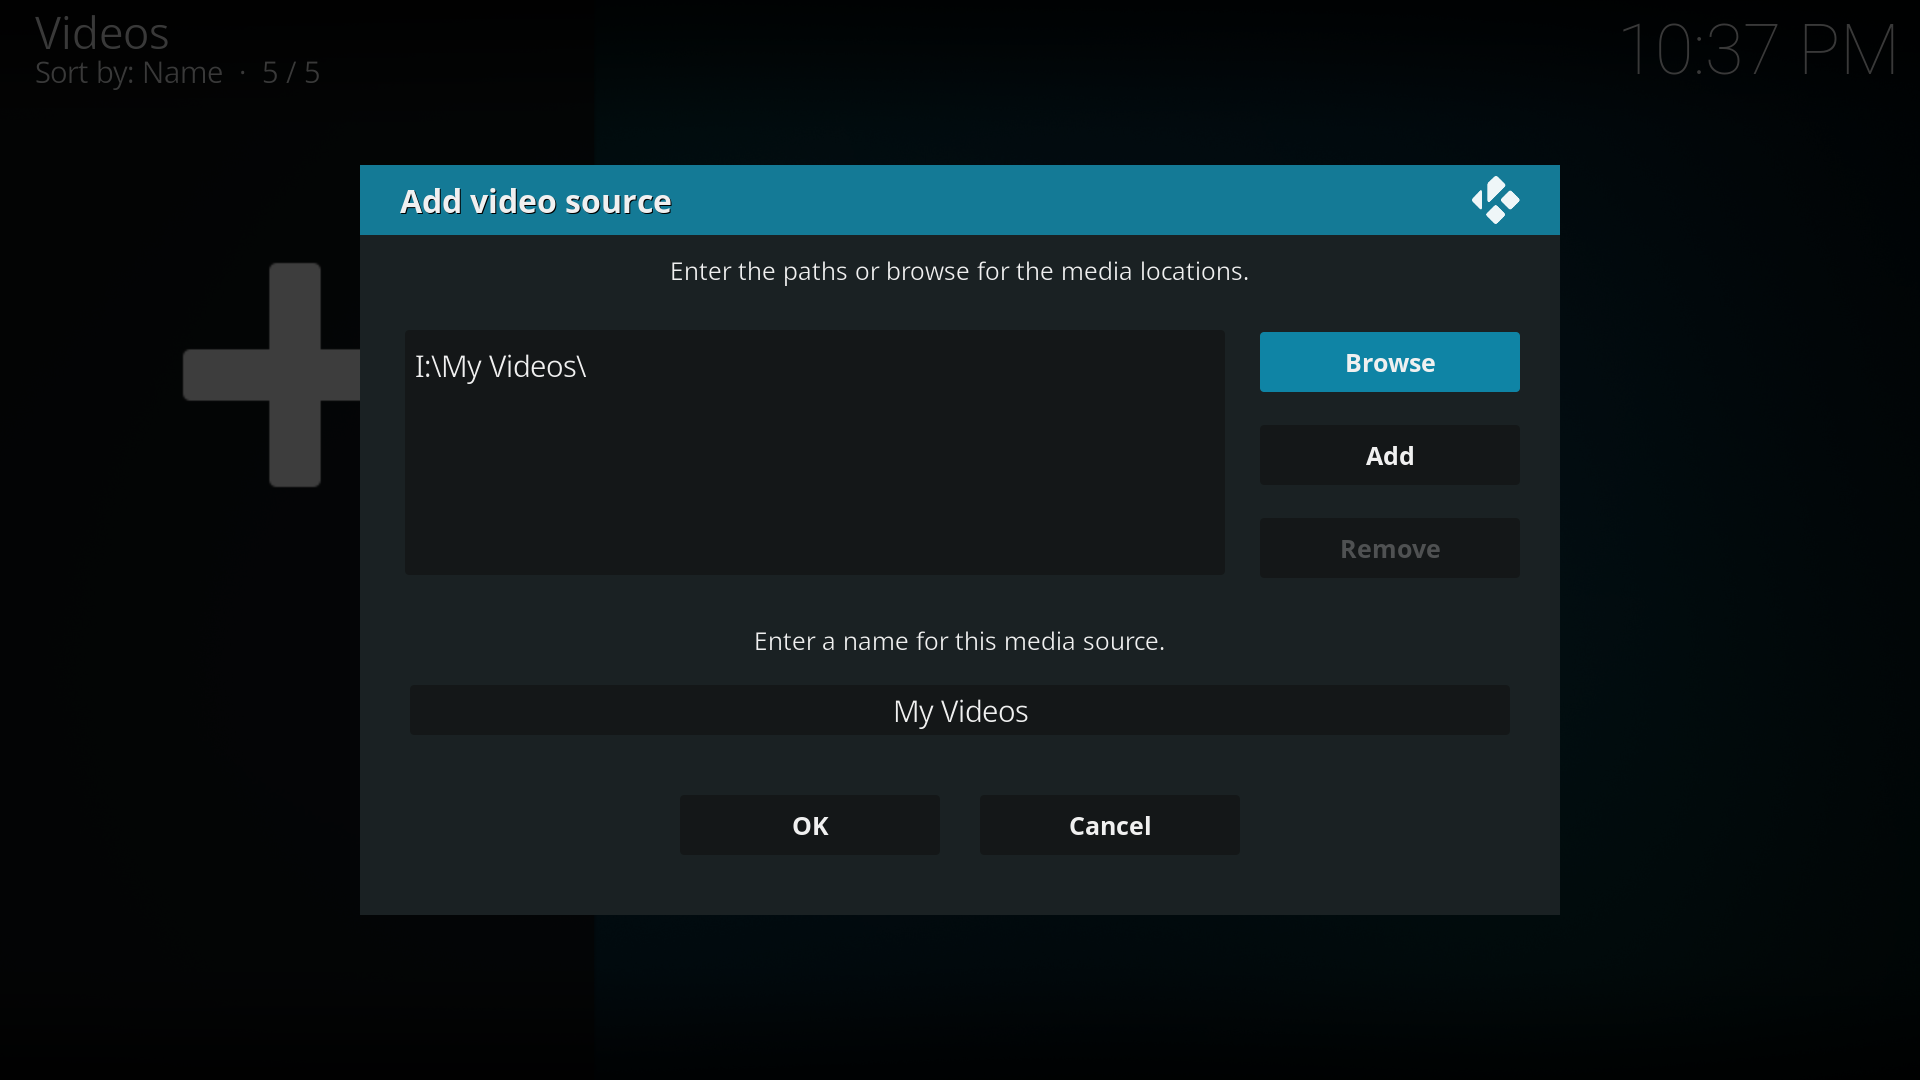
File:Quick-start-3.png|'''Step 3:''' The "Add Video Source" screen will be displayed. Then select the "Browse" button. | File:Quick-start-3.png|'''Step 3:''' The "Add Video Source" screen will be displayed. Then select the "Browse" button. {{note|You can also type a local or network file path directly into this box, if you already know the address/path. For example, <code>smb://192.162.0.4</code> could be typed in directly and saved, which will skip the "browsing" step.}} | ||
File:Quick-start-4.png|'''Step 4:''' Now browse to where you keep your videos stored. Once you have found the folder you keep your videos in, select the "OK" button. If you keep them shared on a network drive, read the [[Configuring PC Shares]] article for more information about setting up a share on your computer first. | File:Quick-start-4.png|'''Step 4:''' Now browse to where you keep your videos stored. Once you have found the folder you keep your videos in, select the "OK" button. If you keep them shared on a network drive, read the [[Configuring PC Shares]] article for more information about setting up a share on your computer first. | ||
File:Quick-start-5.png|'''Step 5:''' Name this Video Source however you like. If it is a movie folder, you will probably want to name it "Movies", and if it is a TV Show folder then you will probably want name it TV Shows. The name doesn't matter to Kodi. Then select "OK". | File:Quick-start-5.png|'''Step 5:''' Name this Video Source however you like. If it is a movie folder, you will probably want to name it "Movies", and if it is a TV Show folder then you will probably want name it TV Shows. The name doesn't matter to Kodi. Then select "OK". | ||
Revision as of 08:46, 15 January 2016
Template:Video setup quick links
A video source is a kind of media source. Media sources are the links that tell Kodi where your content is stored and what type of content is contained within each one.
You can have multiple sources for each media type.
You can use local media, file shares, removable USB drives, etc.
Note: UPnP won't work with the library features (scanning data in like summaries and movie covers) in Kodi, but just about all the other options should be fine.
Adding sources
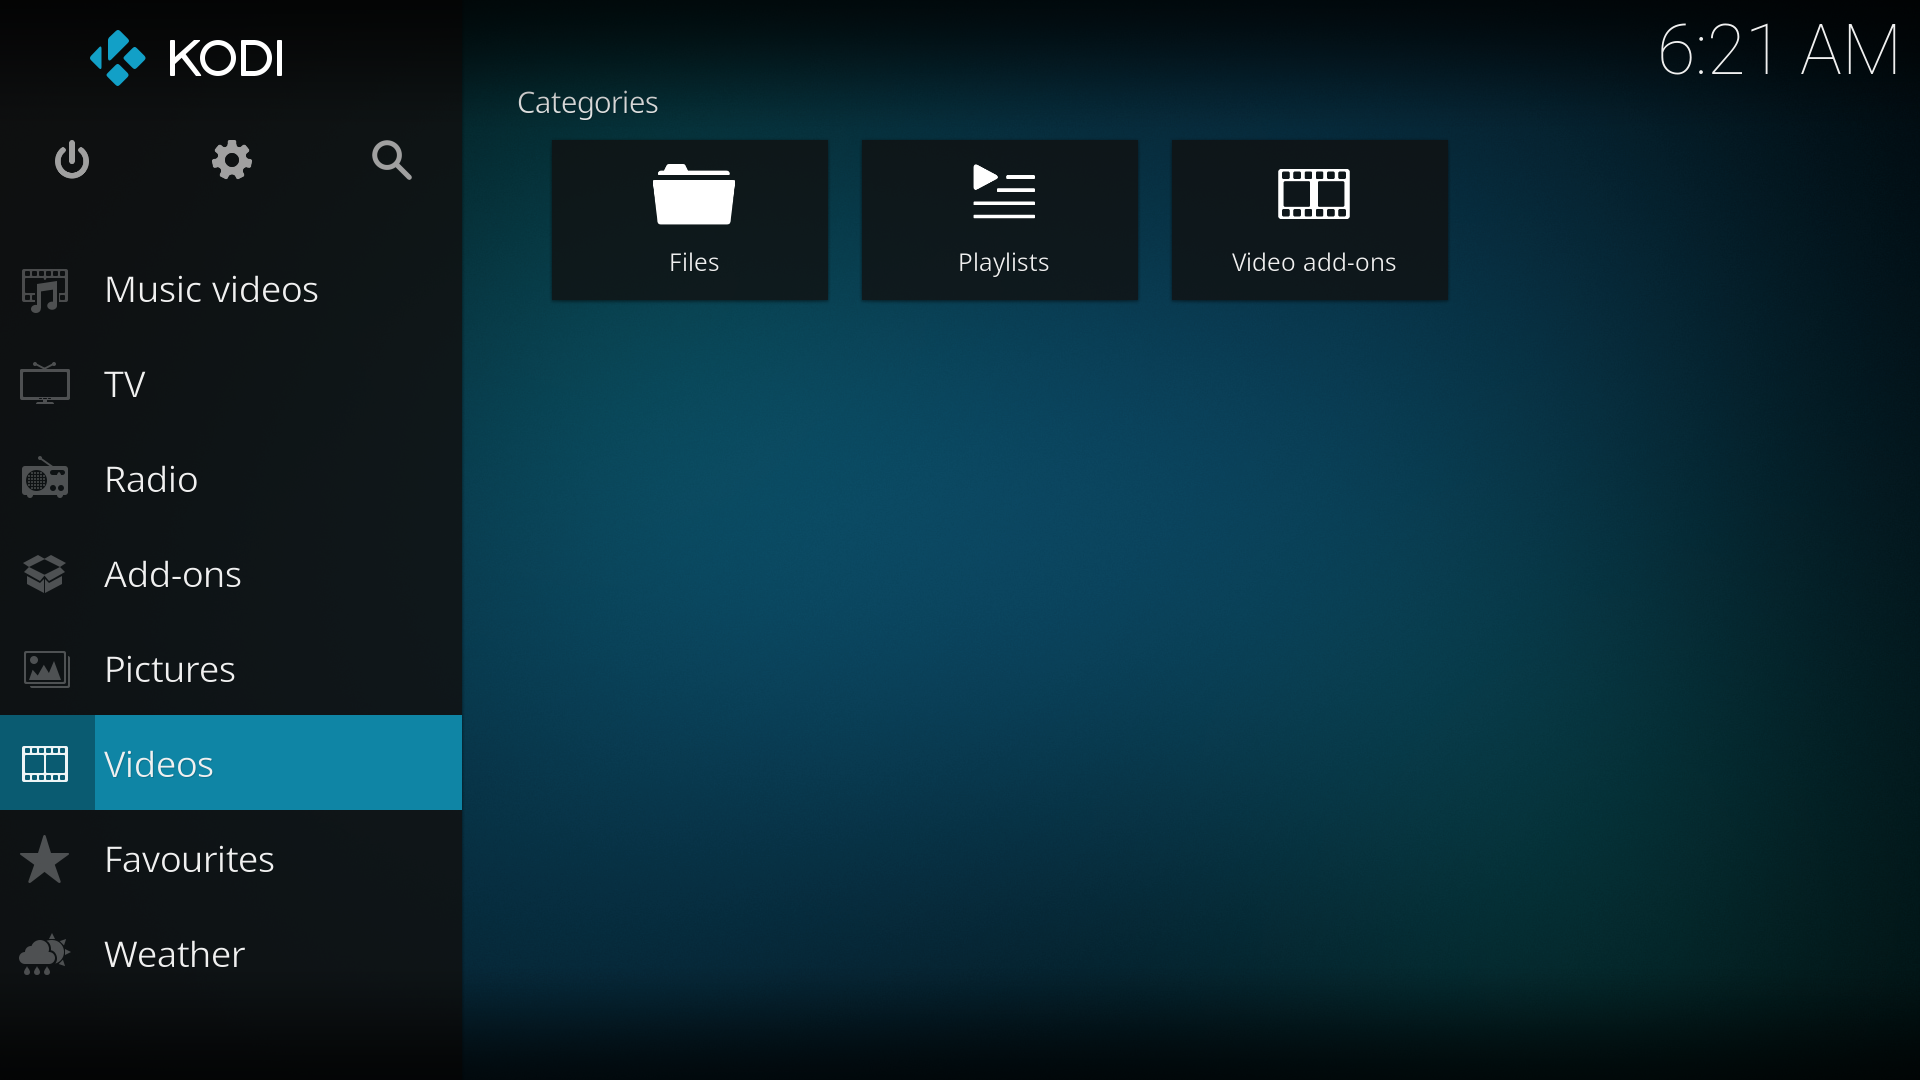
Step 1: Select "Videos" in the home screen menu.
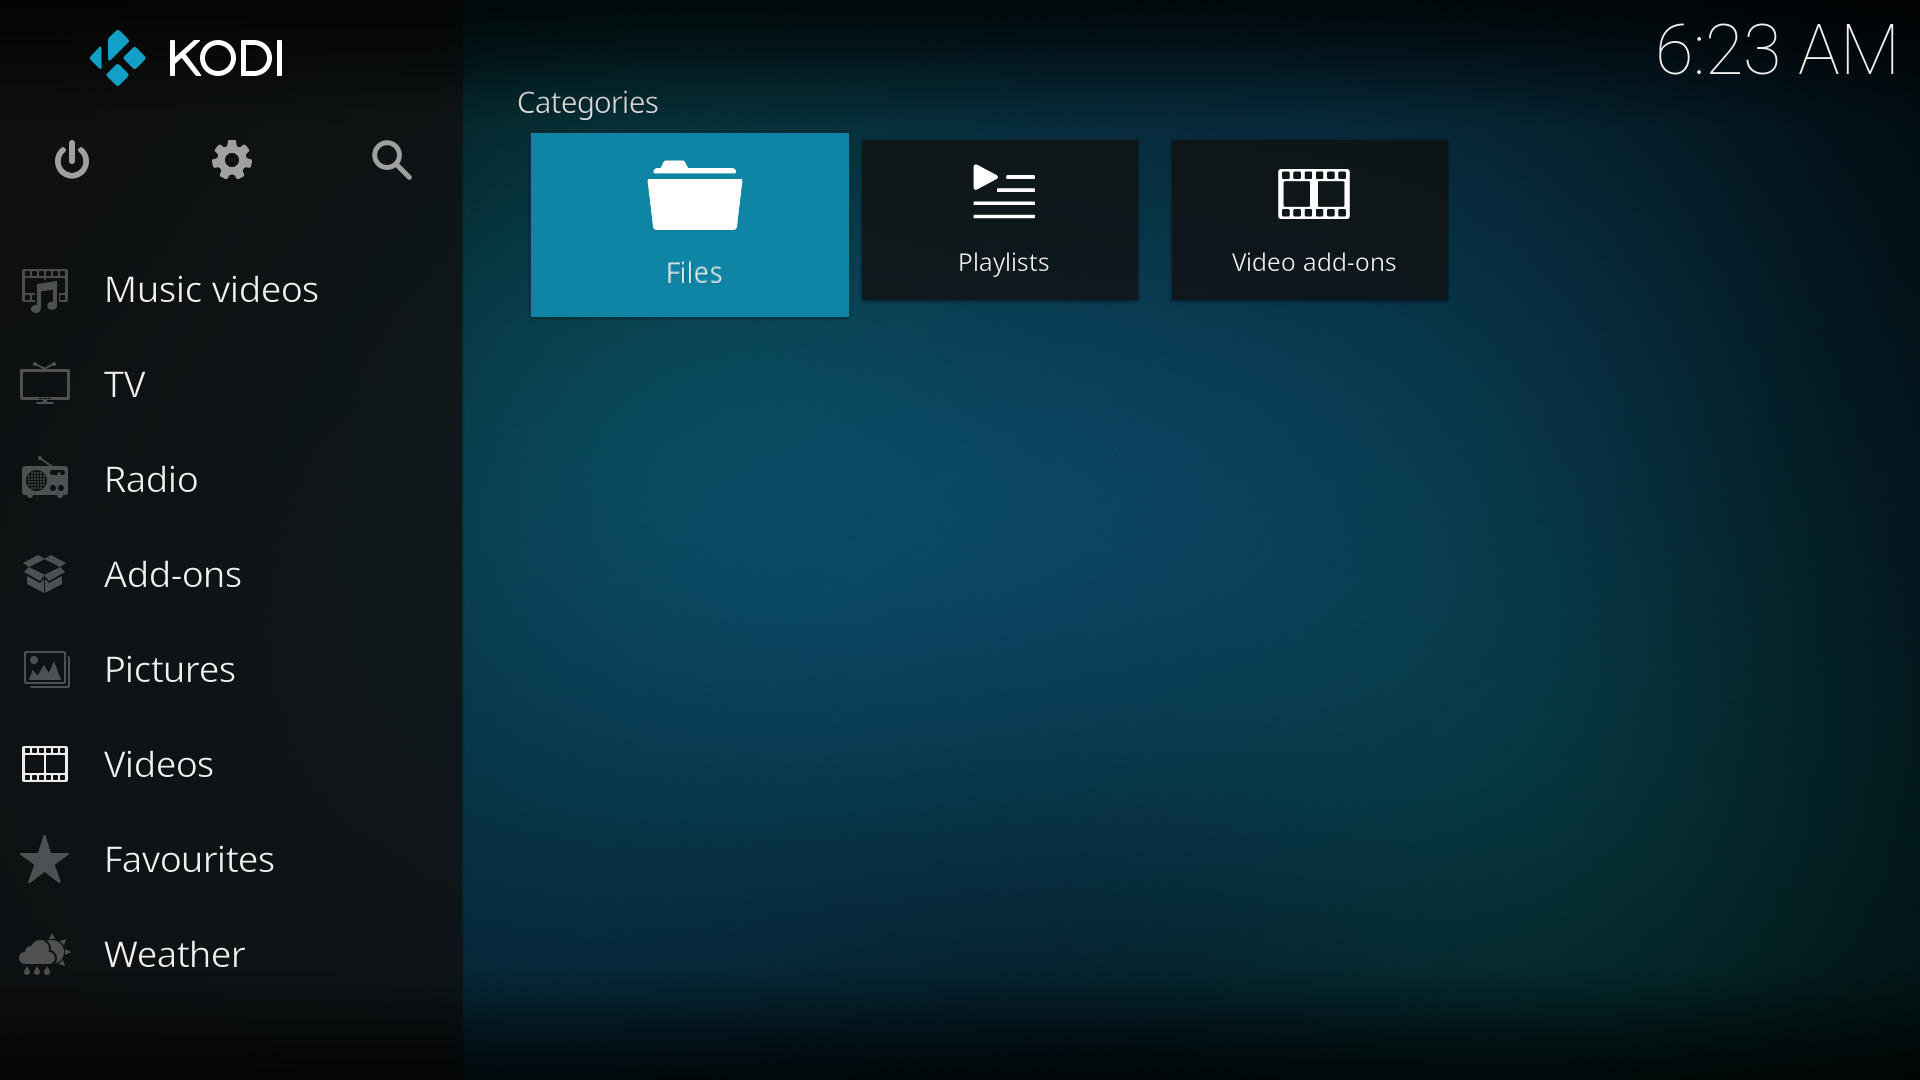
Step 2: Select Files, then select "Add Videos". Note: if you do not see an option "Add Videos", you need to enable it by going to Settings > Appearance > File Lists > Show 'add source' buttons.
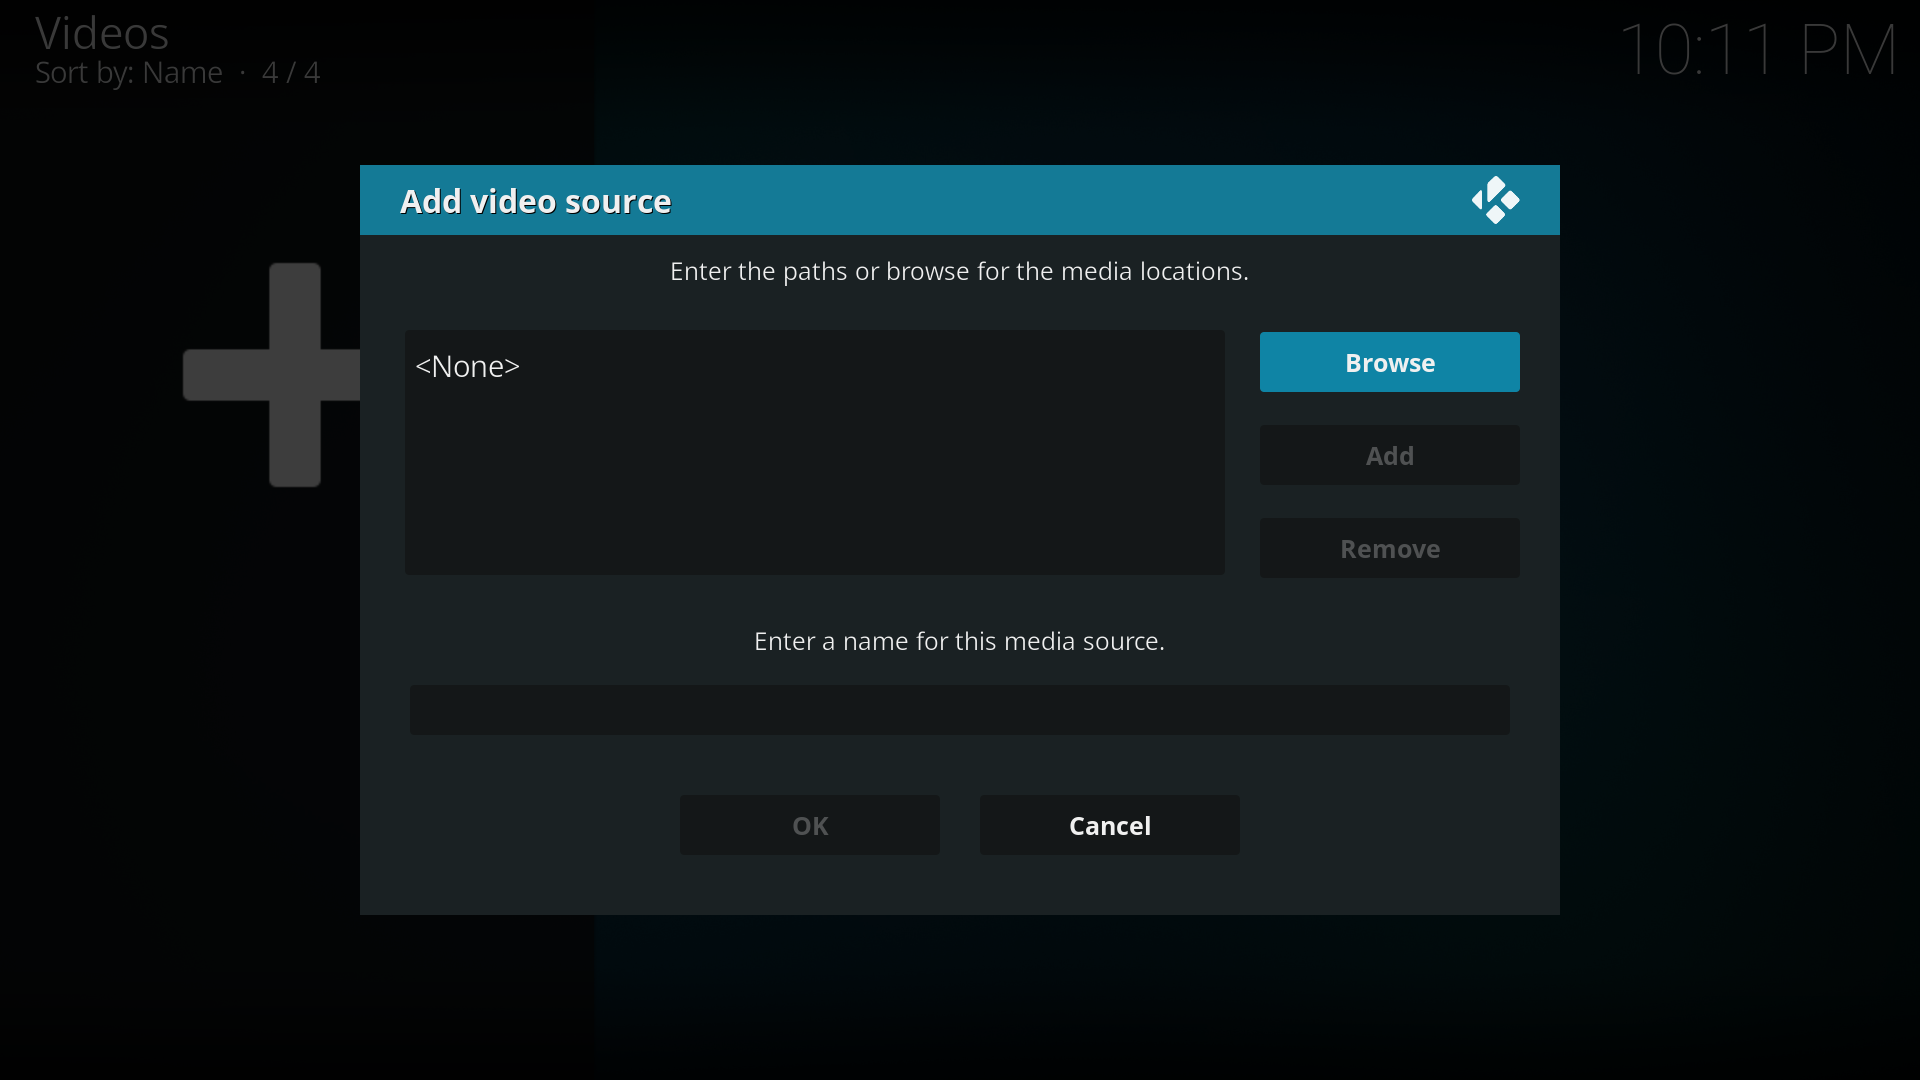
Step 3: The "Add Video Source" screen will be displayed. Then select the "Browse" button. Note: You can also type a local or network file path directly into this box, if you already know the address/path. For example,
smb://192.162.0.4could be typed in directly and saved, which will skip the "browsing" step.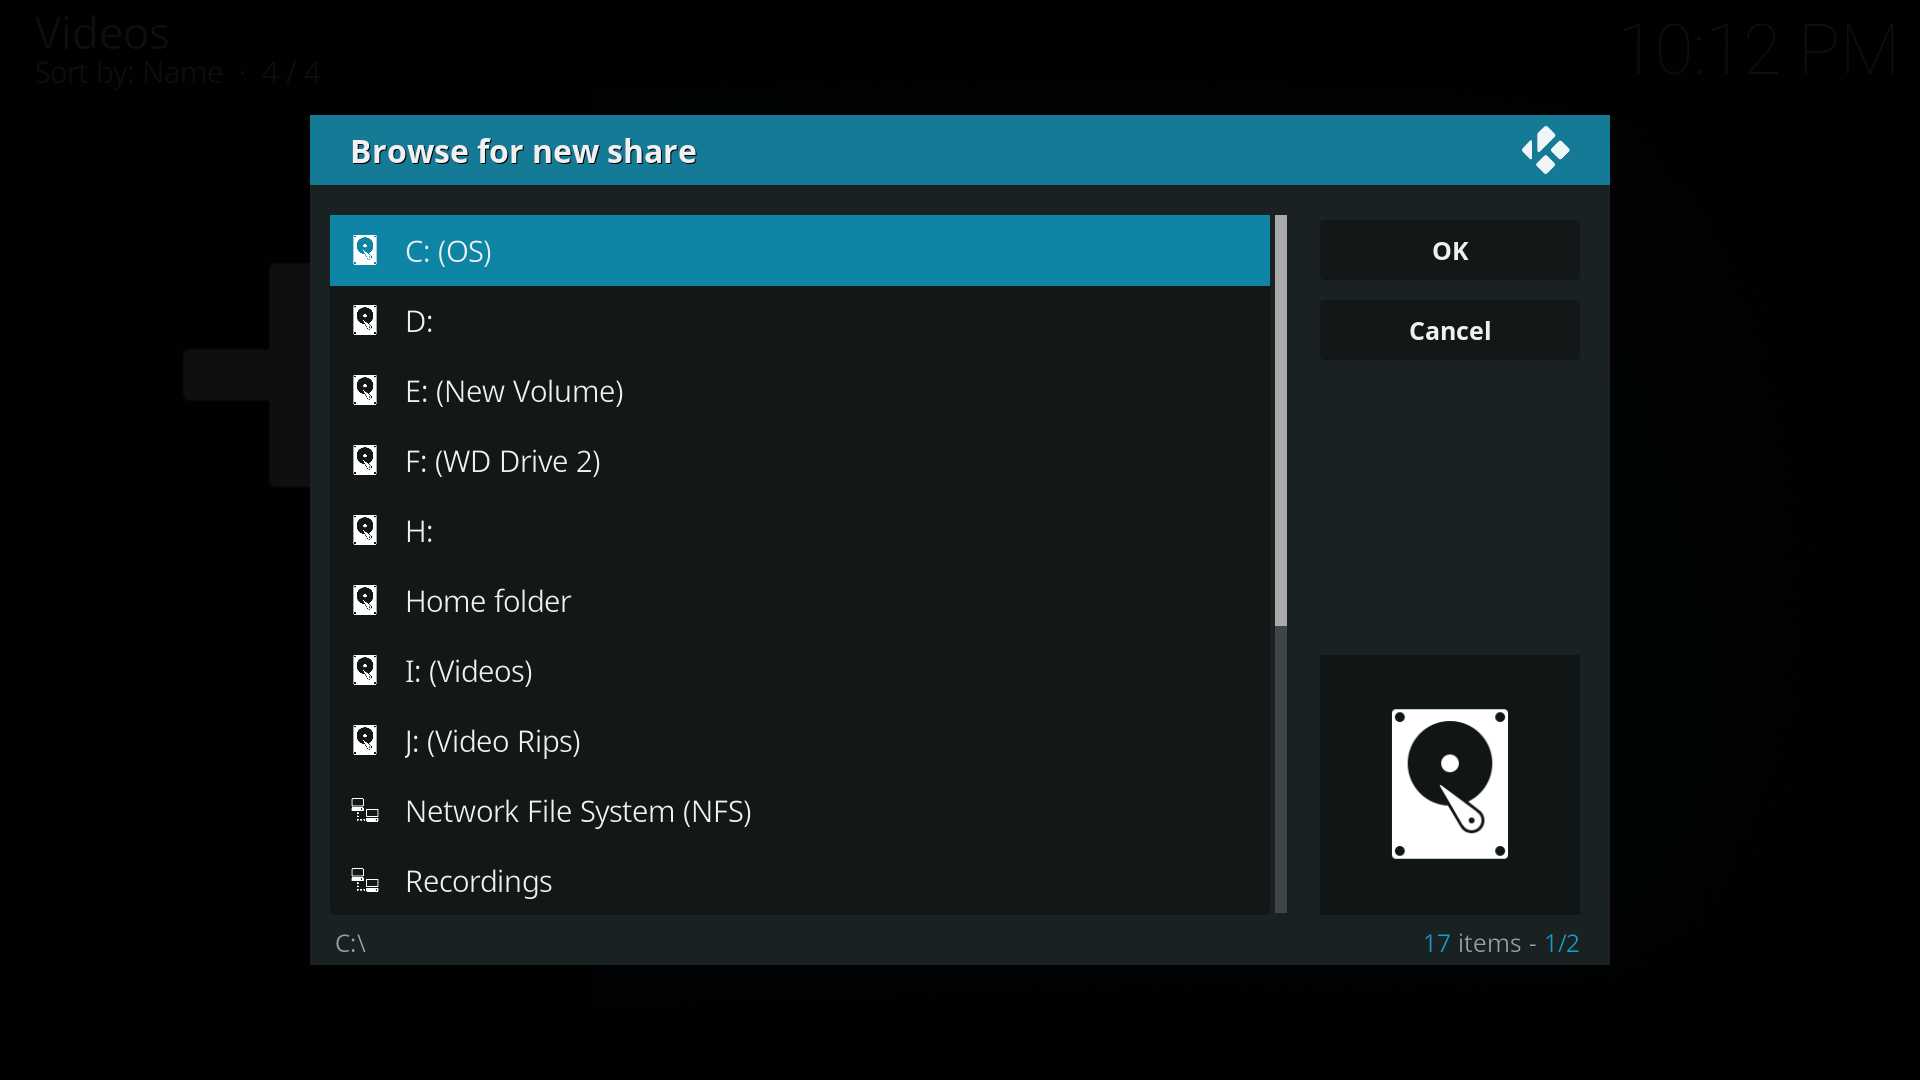
Step 4: Now browse to where you keep your videos stored. Once you have found the folder you keep your videos in, select the "OK" button. If you keep them shared on a network drive, read the Configuring PC Shares article for more information about setting up a share on your computer first.
Step 5: Name this Video Source however you like. If it is a movie folder, you will probably want to name it "Movies", and if it is a TV Show folder then you will probably want name it TV Shows. The name doesn't matter to Kodi. Then select "OK".
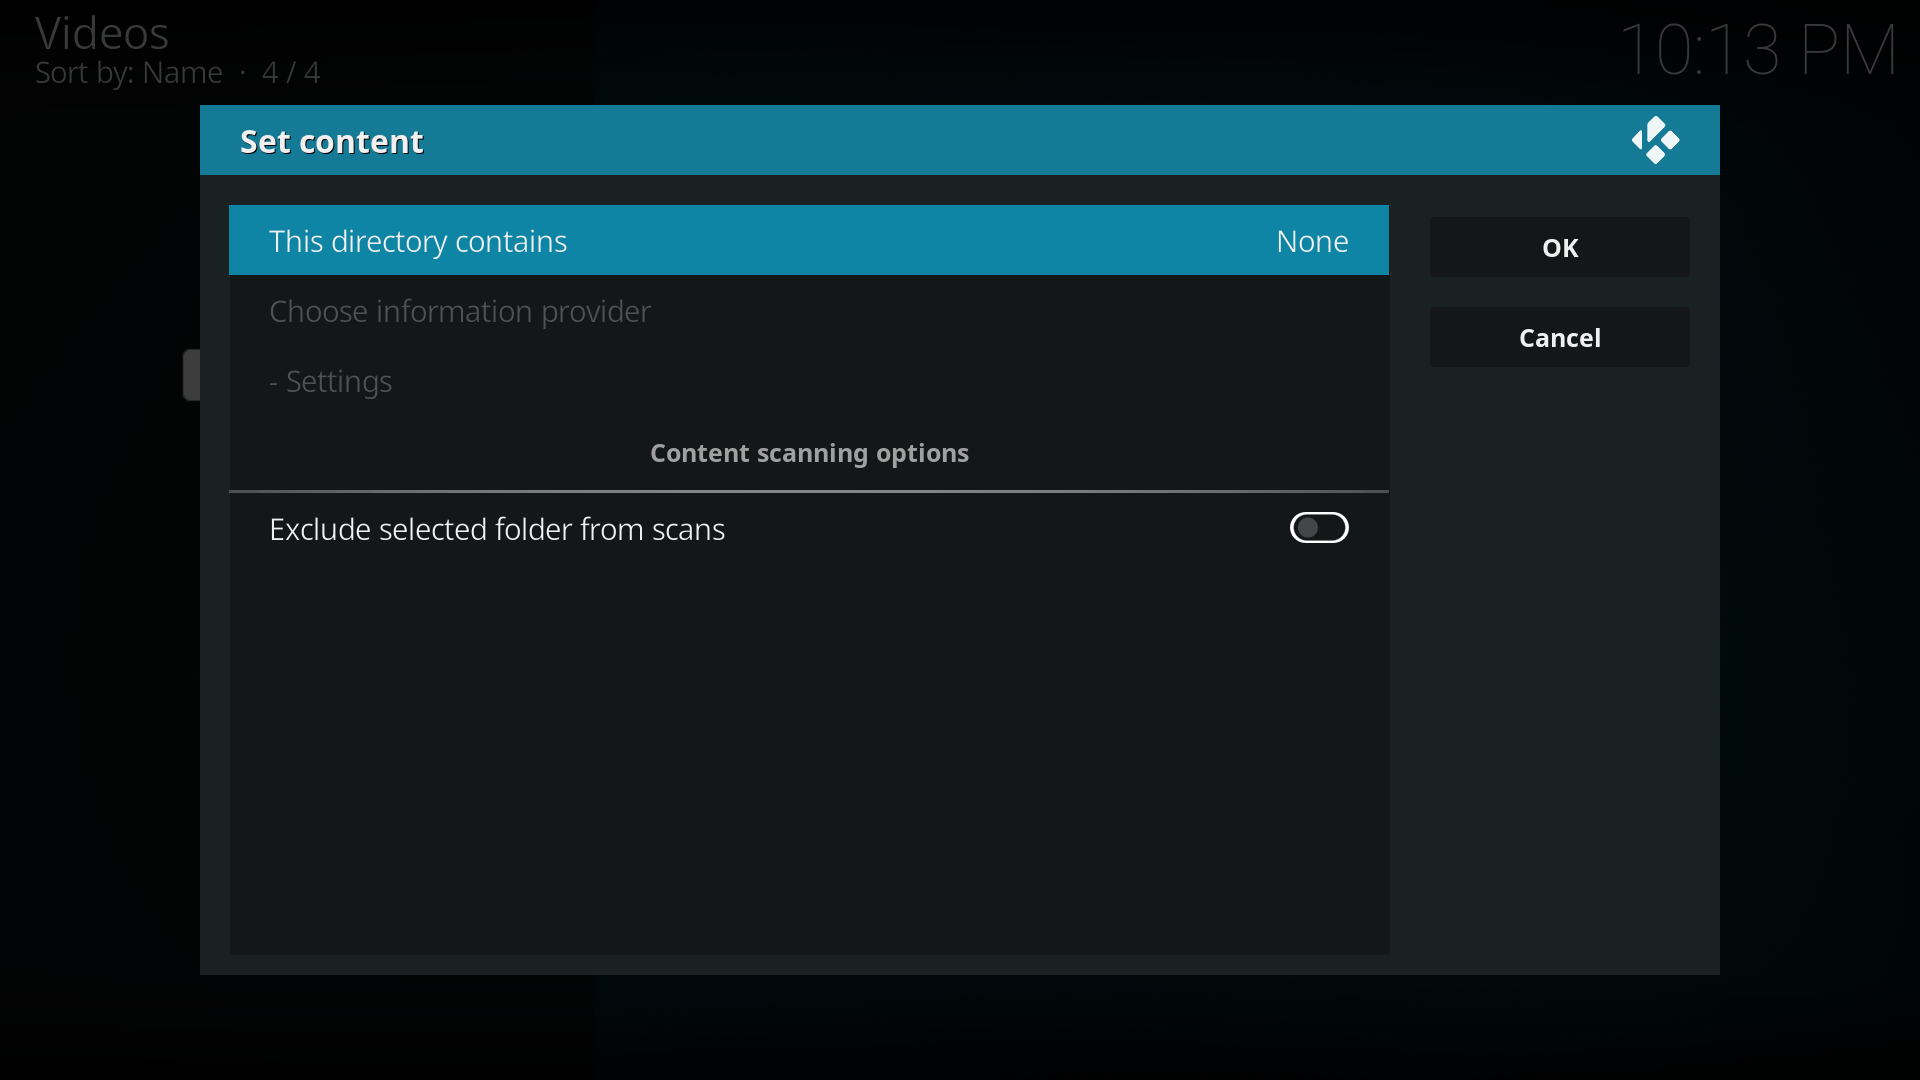
Step 6: The set content window will display, this is where you tell Kodi what type of media is in the folder. Press the down arrow until you reach the correct type (in this example movies)
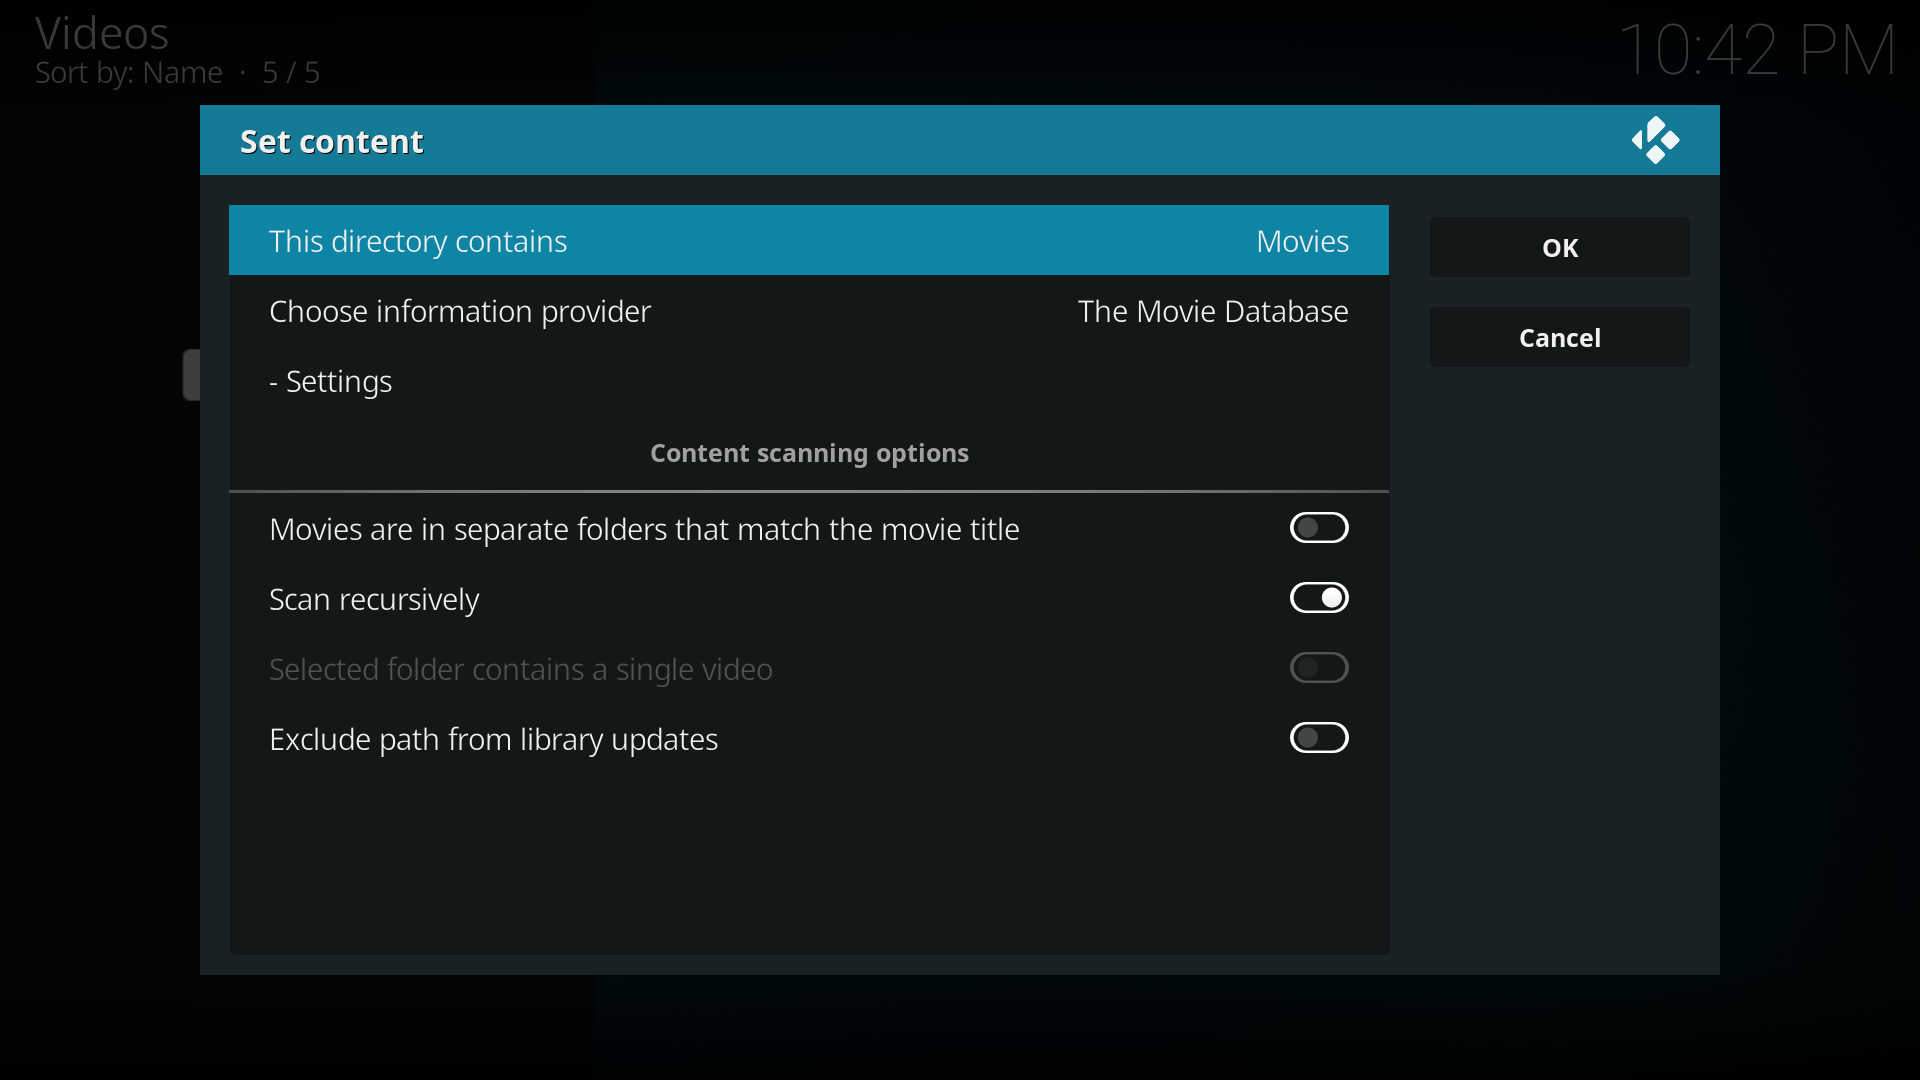
Step 7: There are a number of options underneath, see Setting content and scanning to check what options to enable. Then select "OK"
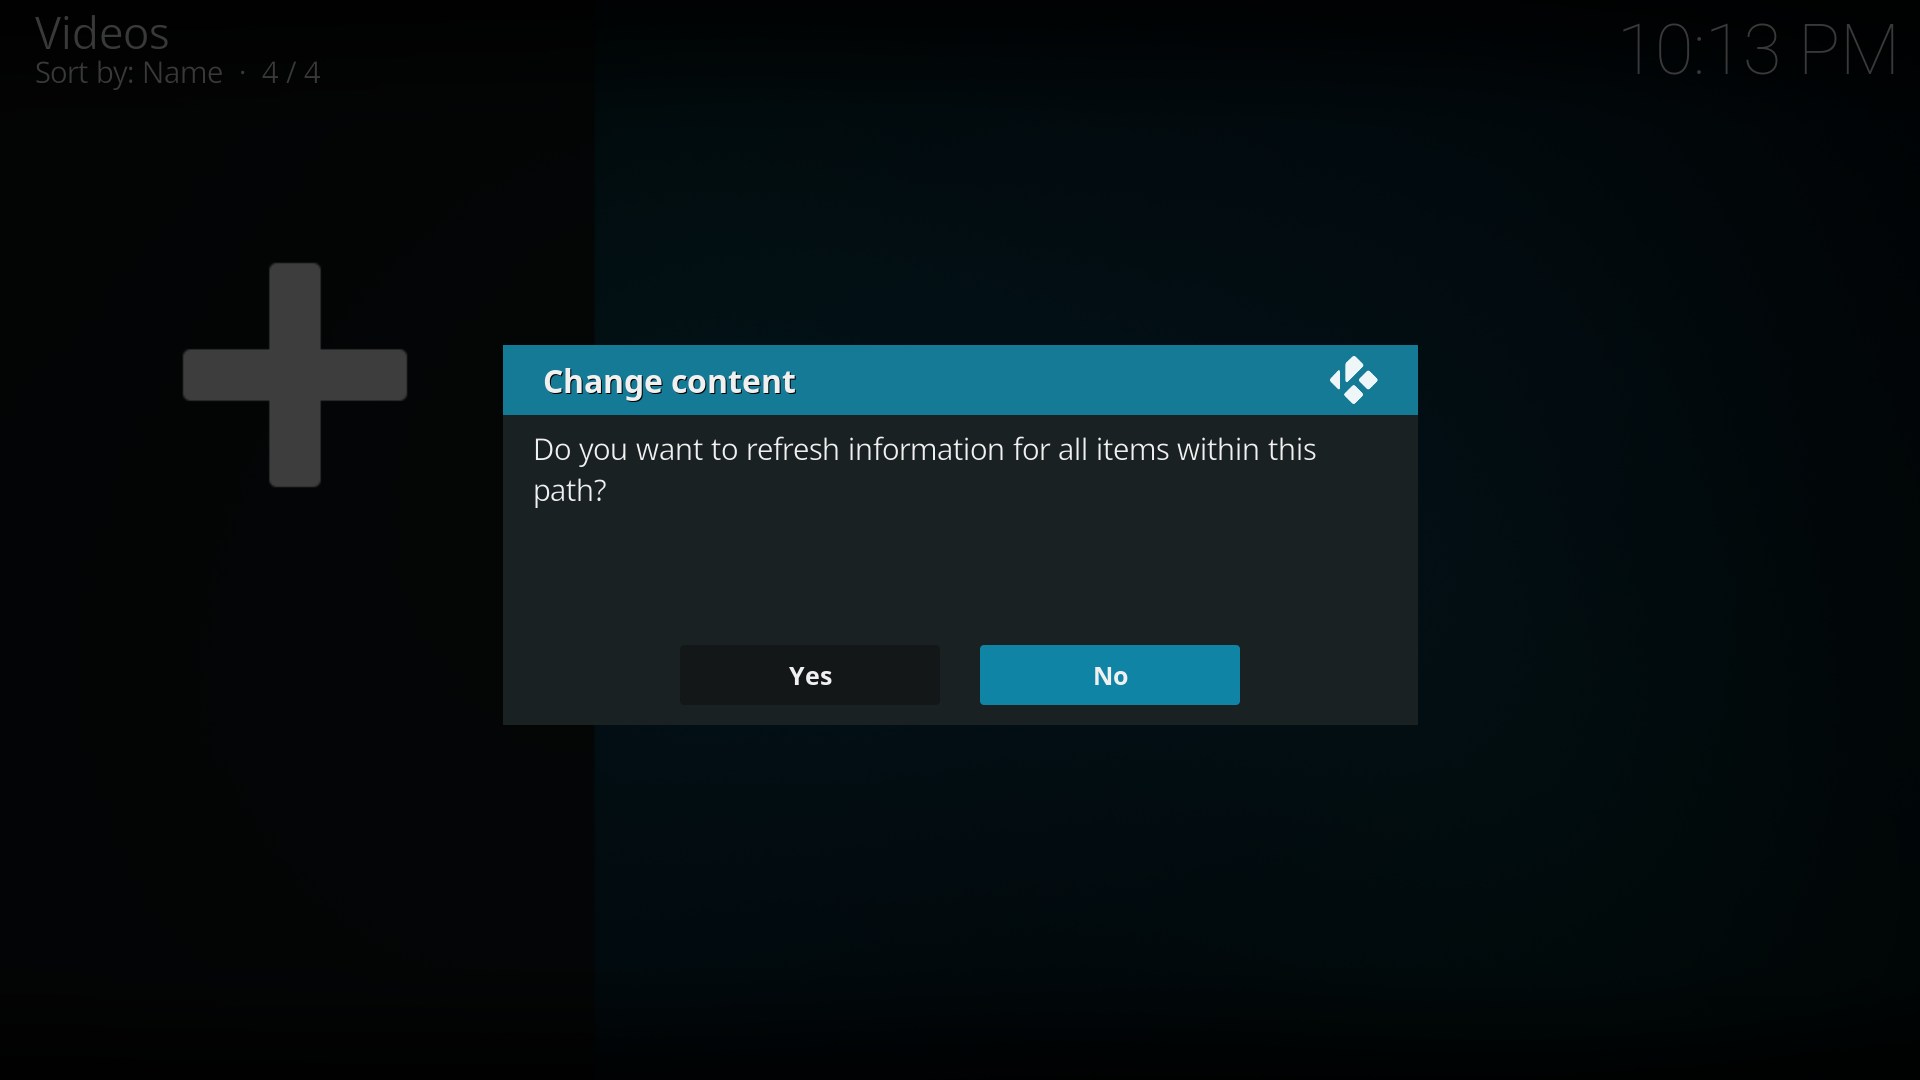
Step 8: Press Yes to scan the content to the library (if no is pressed, it can be scanned later).


Adding Remote sources
For details on the supported protocols and configuration
- See: File sharing
Follow the steps (above) for adding a source, but when you get to the 'browse' section (step 4), you need to do one of the following:
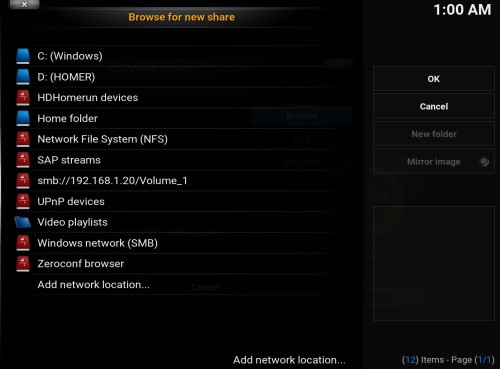
If your remote device is visible from one of the existing choices (e.g 'Network File system' , 'UPnP Devices' etc)
- Select a remote location, and you should be able to browse to the remote server.
If the device is not visible, or
- It is a remote NAS
- It is an SMB server
You will need to add a new network location:
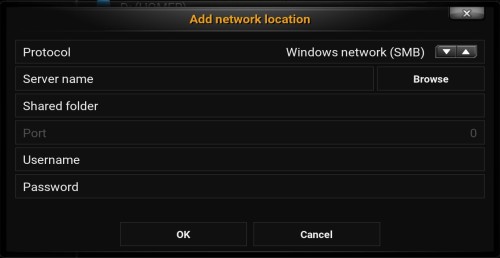
Choose Add network location... from the list of new shares. Fill in all the details and use the IP Address for the server name. (don't trust that zero-conf will work)
Click OK and you should see your server in the list of sources
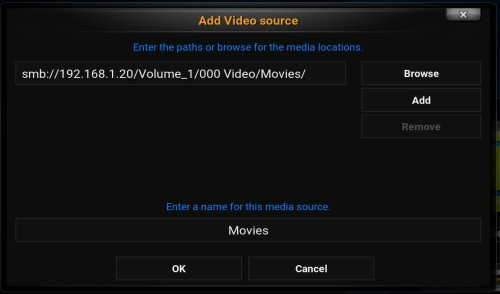
Now you should be able to add the path to the type of source from the server


Making one source from multiple locations

You might notice that Kodi has an "ADD" button in addition to a "BROWSE" button when you are adding a source. After you add your first location, you can add a second location (network or local. you can even mix them) and Kodi will show both folders as a single folder/source.
Kodi will also combine the subfolders within the source/locations. For example, if you had a hard drive for TV shows, but ran out of space, you could make a second hard drive with the same folder paths and Kodi would merge them together to a single directory path. Such as
Hard drive 1/TV shows/Hard drive 2/TV shows/
and the same is true for an additional nested folder with the same way:
Hard drive 1/TV shows/American Dad/Hard drive 2/TV shows/American Dad/
You could have half of a show on one hard drive, half on another, and Kodi will show it to you as if it was in a single location by using multiple locations in a single source.
Note: This only impacts the basic "Files view". The default Library nodes will combine things by show even if their files are spread across multiple drives. Most users will not really benefit from using multiple paths in a single source.