Web interface
Web interfaces allow users to control and interact with their Kodi installation through a web browser. This can be used for a remote control, library management, visual feedback, and many other things.
Turning on the web interface
The webserver is disabled by default and has to be manually enabled by the user. This can be done in Settings → Services → Webserver → Allow control of Kodi via HTTP. The settings allow to specify a custom port number and an optional username and password for HTTP's Basic Access Authentication. Furthermore a Web interface can be chosen which will be used when accessing the webserver without any specific path.
Using the web interface
There are two options to use any given web interface:
Default web interface
To set a web interface add-on as the default web UI, go to System -> Services -> Webserver and select that add-on for the Default value. Then go to the hostname (or IP address) of that HTPC+Port number.
Note: Some platforms use port 80, which is the assumed port if no port is given in the address.
For example, http://10.0.0.3:8080 or http://192.168.1.7
Using multiple web interfaces at once
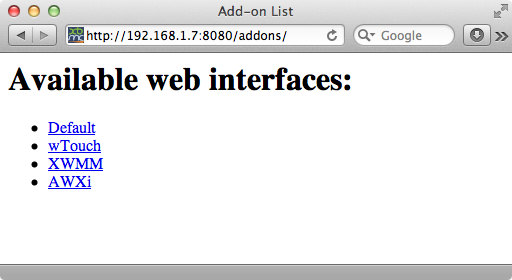
Let's say http://123.4.5.6:8080 is your local IP for accessing your default web interface add-on. You can access the other web interface add-ons you have installed by going to http://123.4.5.6:8080/addons/ where you will see a directory listing.
For example, http://10.0.0.3:8080/addons/ or http://192.168.1.7/addons/
