|
|
| Line 83: |
Line 83: |
| |} | | |} |
| {{-}} | | {{-}} |
| | |
| | [[Category:Audio]] |
|
| |
|
| == Input devices == | | == Input devices == |
Revision as of 08:38, 22 January 2014
Video output
- Display Mode
- Display XBMC in a window, or fullscreen on the selected screen.
- Resolution
- Changes the resolution that the User Interface is displayed in.
- Use a fullscreen window rather than true fullscreen
- ...when active (Windows only). Does not use the DirectX fullscreen mode. The main benefit is for multi-screen configurations, where XBMC can be used at the same time as other applications without automatically minimizing. Uses a bit more resources and playback may be slightly less smooth.
- Blank other displays
- In a multi-screen configuration, the screens where XBMC is not displayed are blacked out.
- Vertical blank sync
- This eliminates vertical tearing.
- Video calibration...
- See #Video calibration...
- LCD/VFD
- ?
Template:Gotham box
|
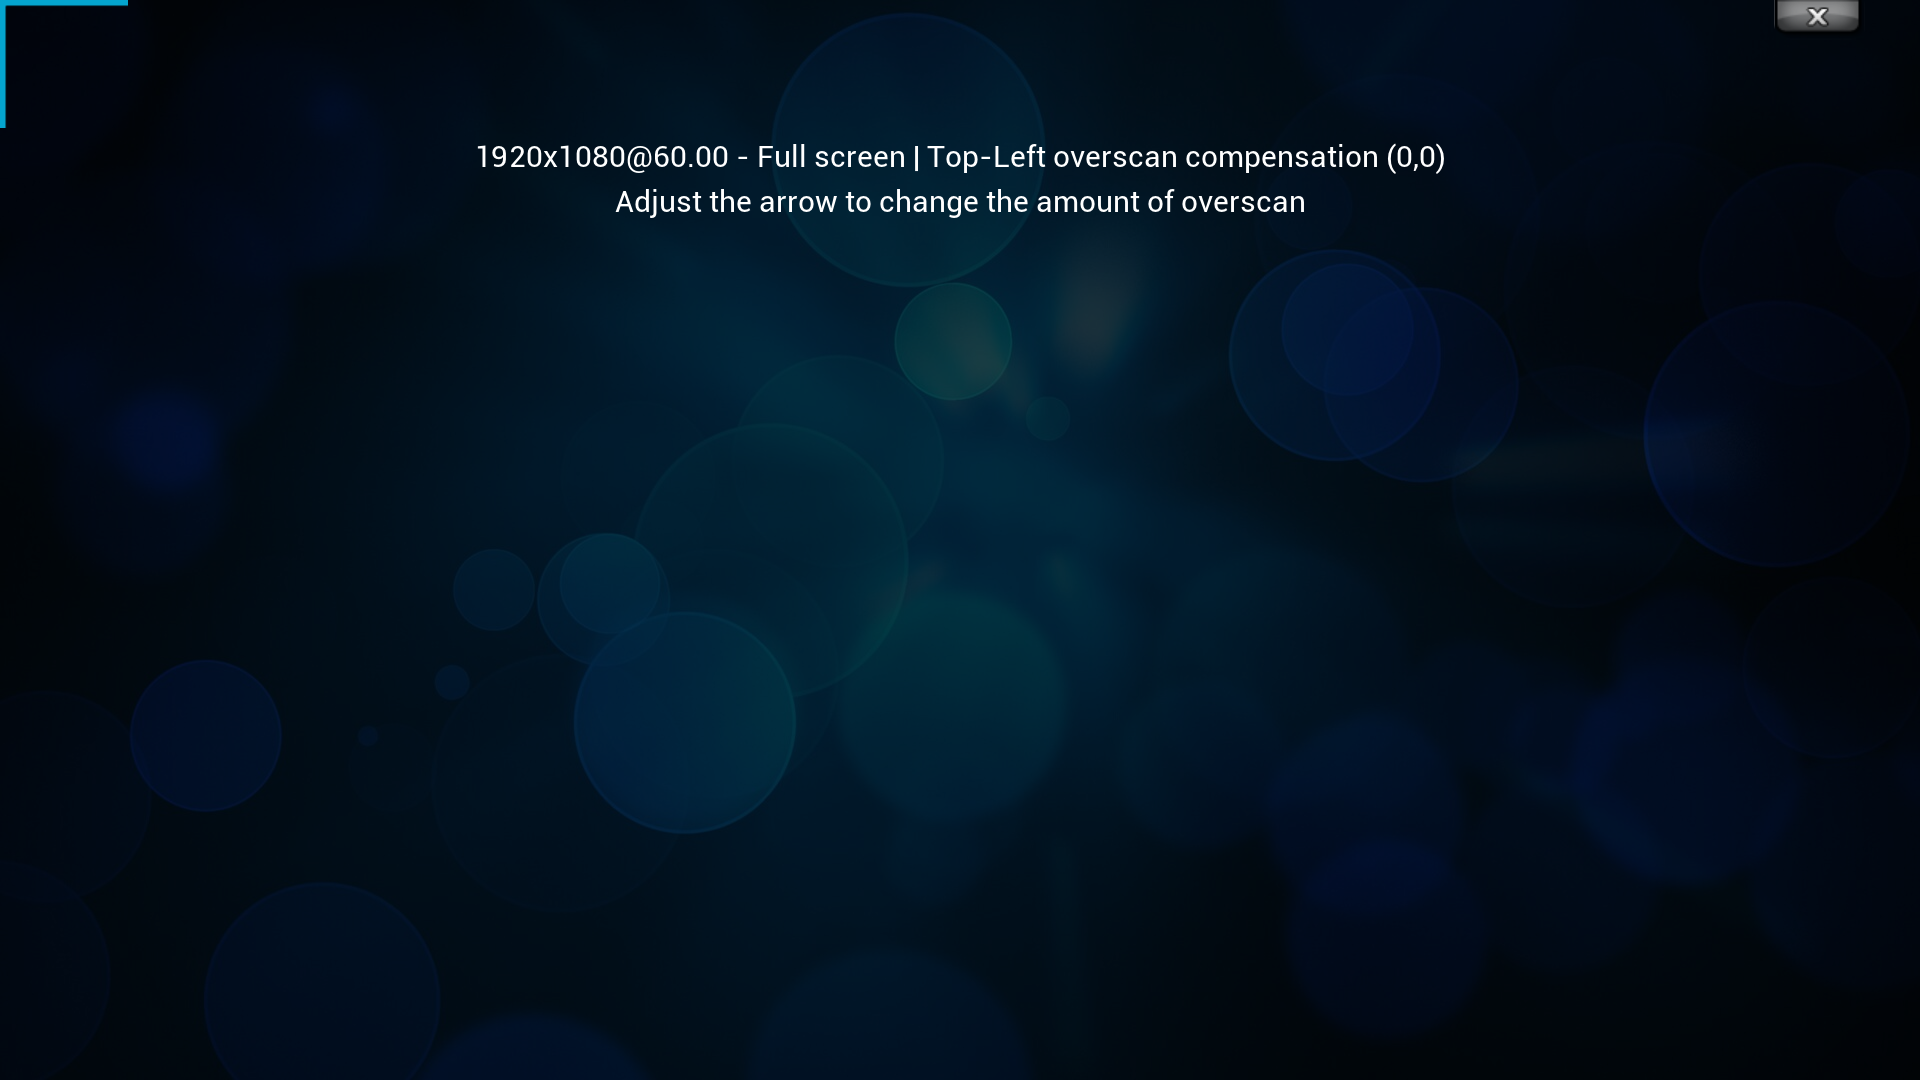
Video calibration...
Note: Always adjust your hardware display settings before XBMC's settings (such as overscan, etc).
This screen allows you to calibrate the User Interface by adjusting the overscan. Use this tool if the image being displayed is too large or small for your display.
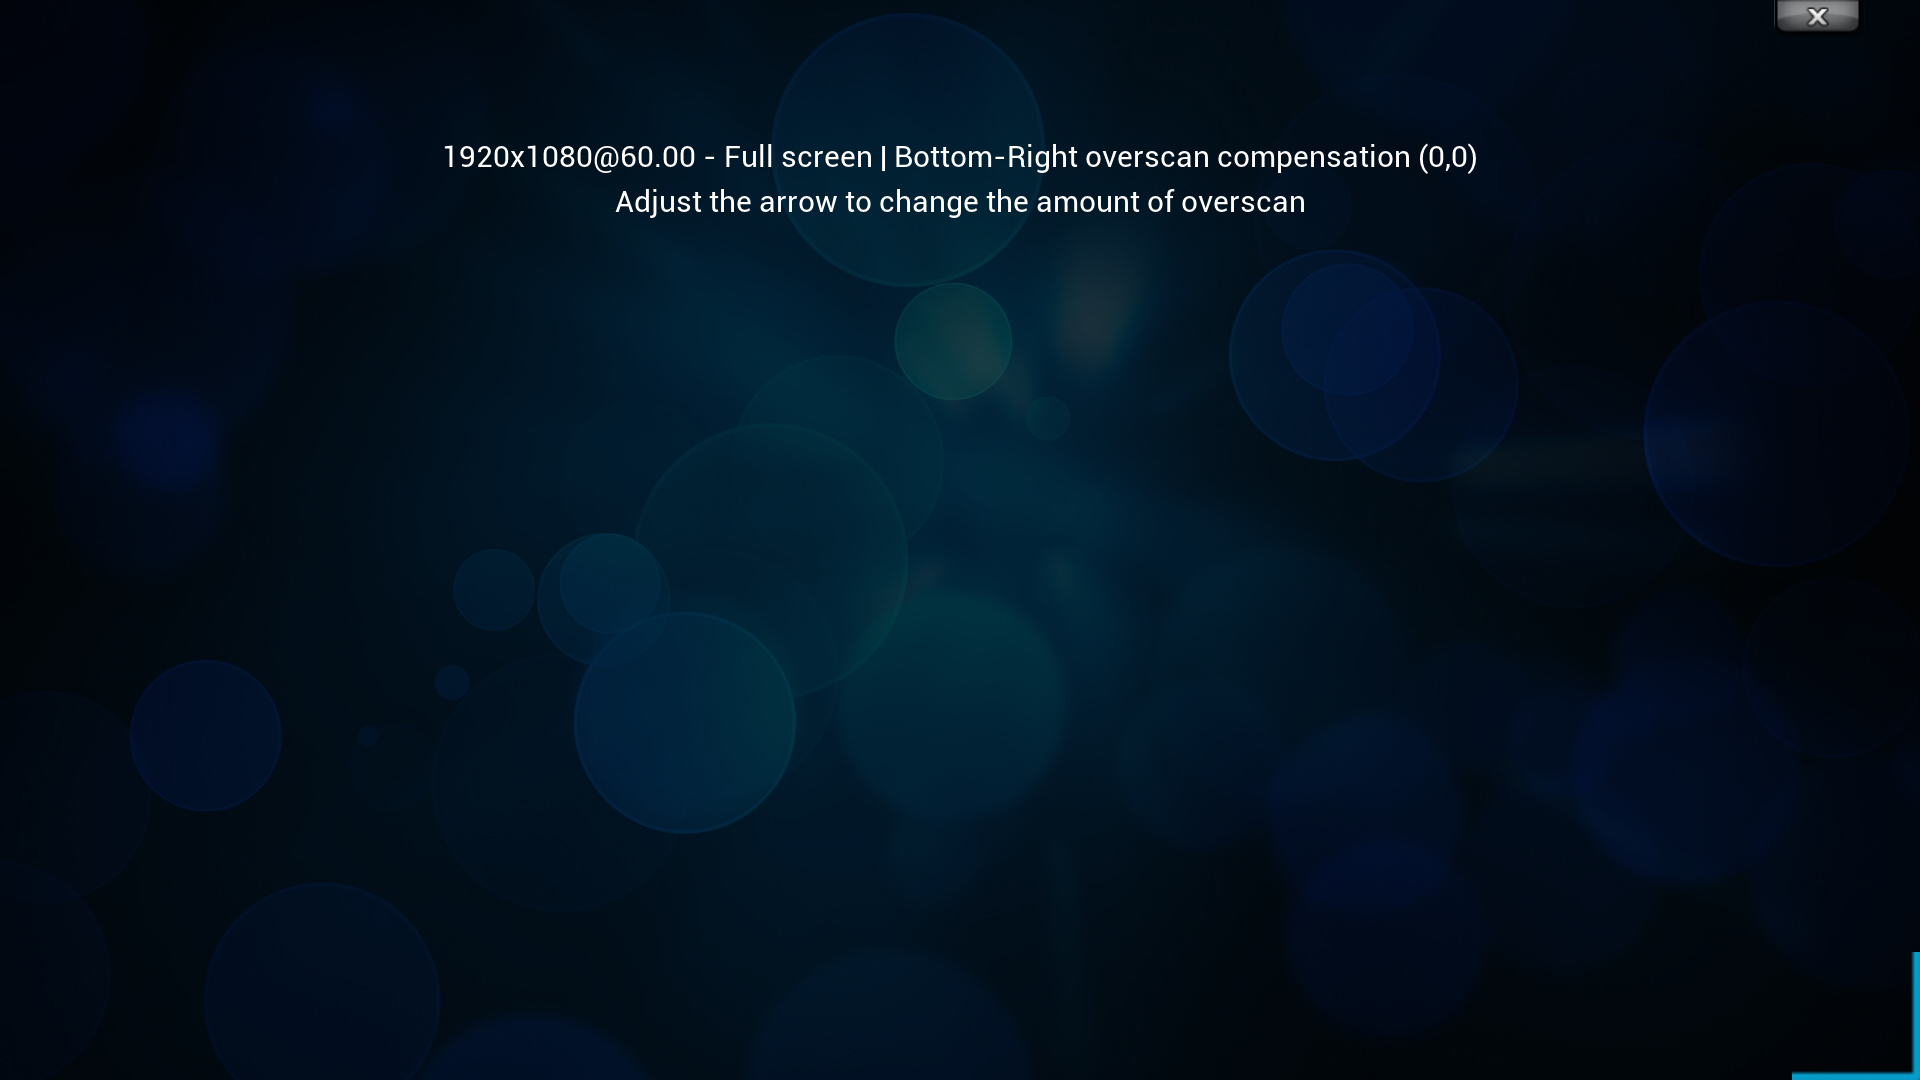
Simply adjust the screen so that the arrows are in the top left and bottom right corners and that the entire frame is visible on screen.
It offers the ability to adjust:
- The overscan of the video - How close to the edges of the screen that the image is displayed.
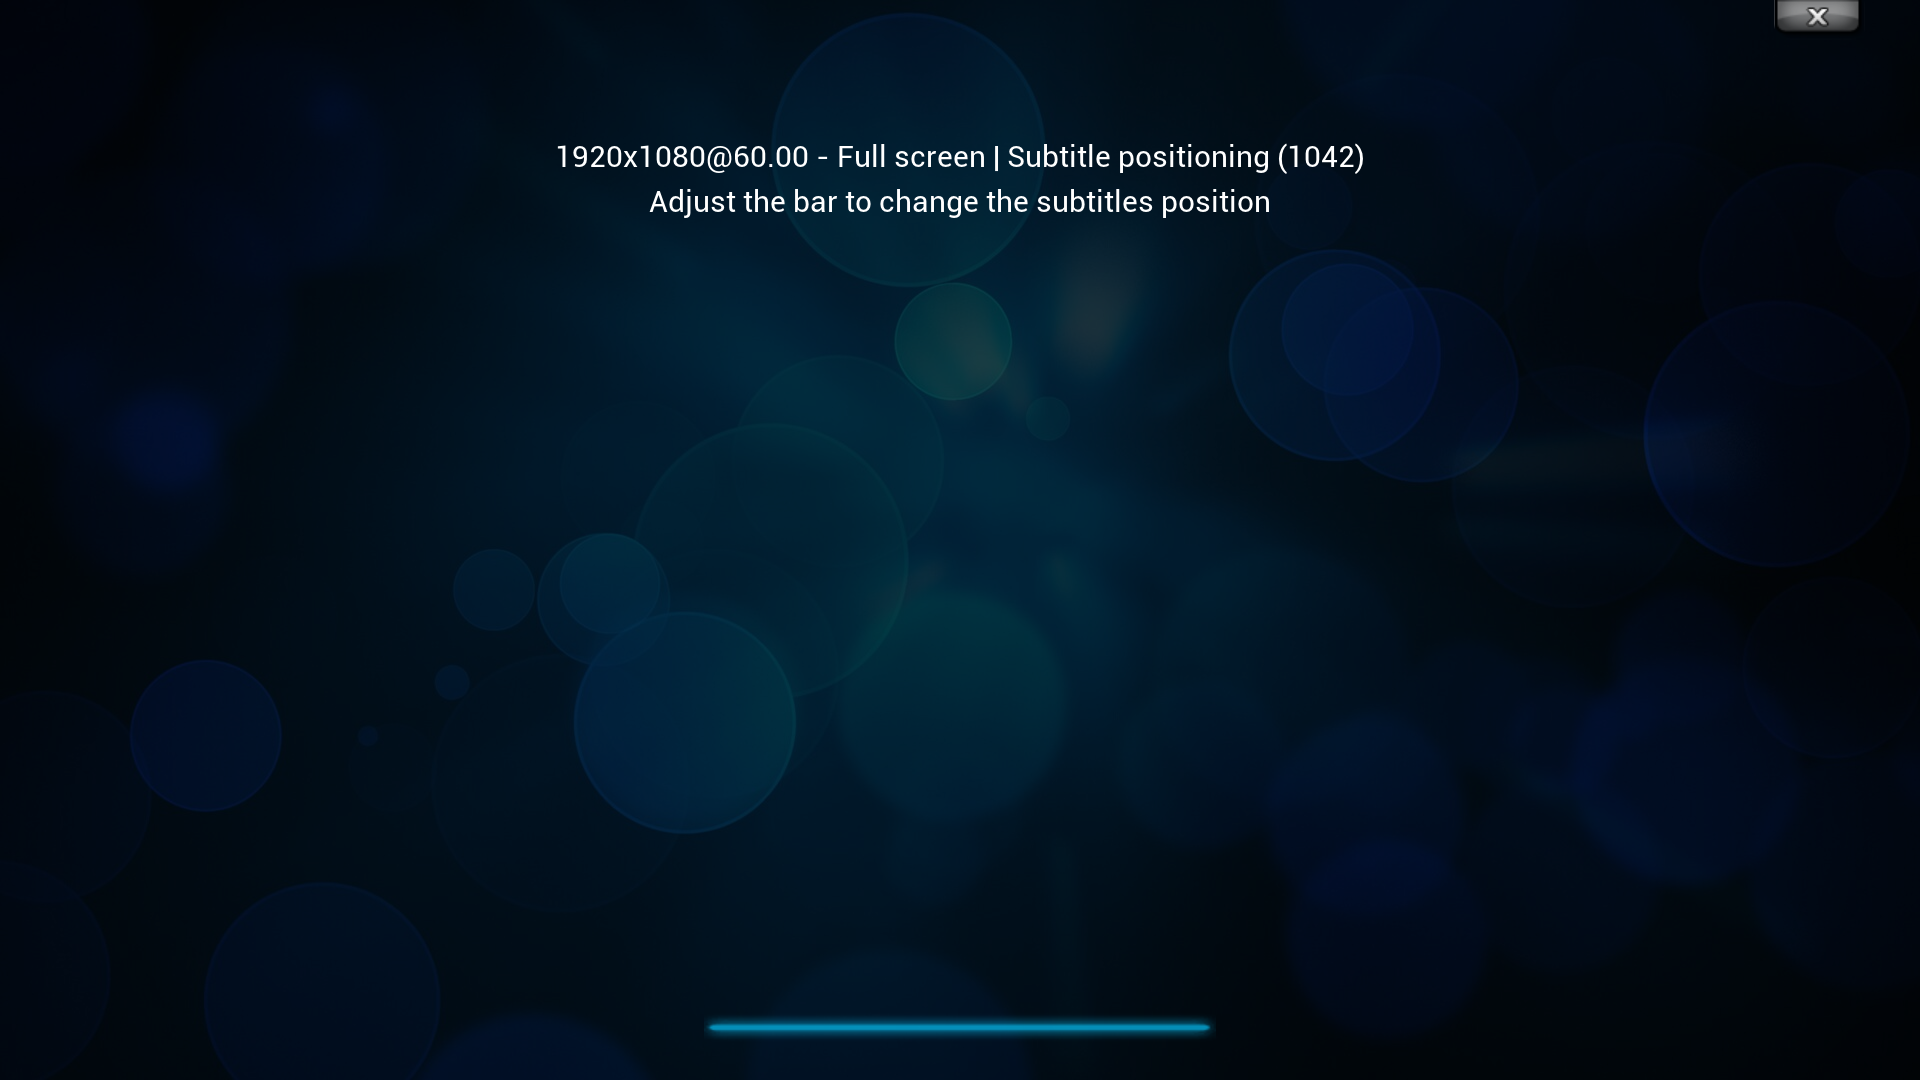
- The position where subtitles are displayed.
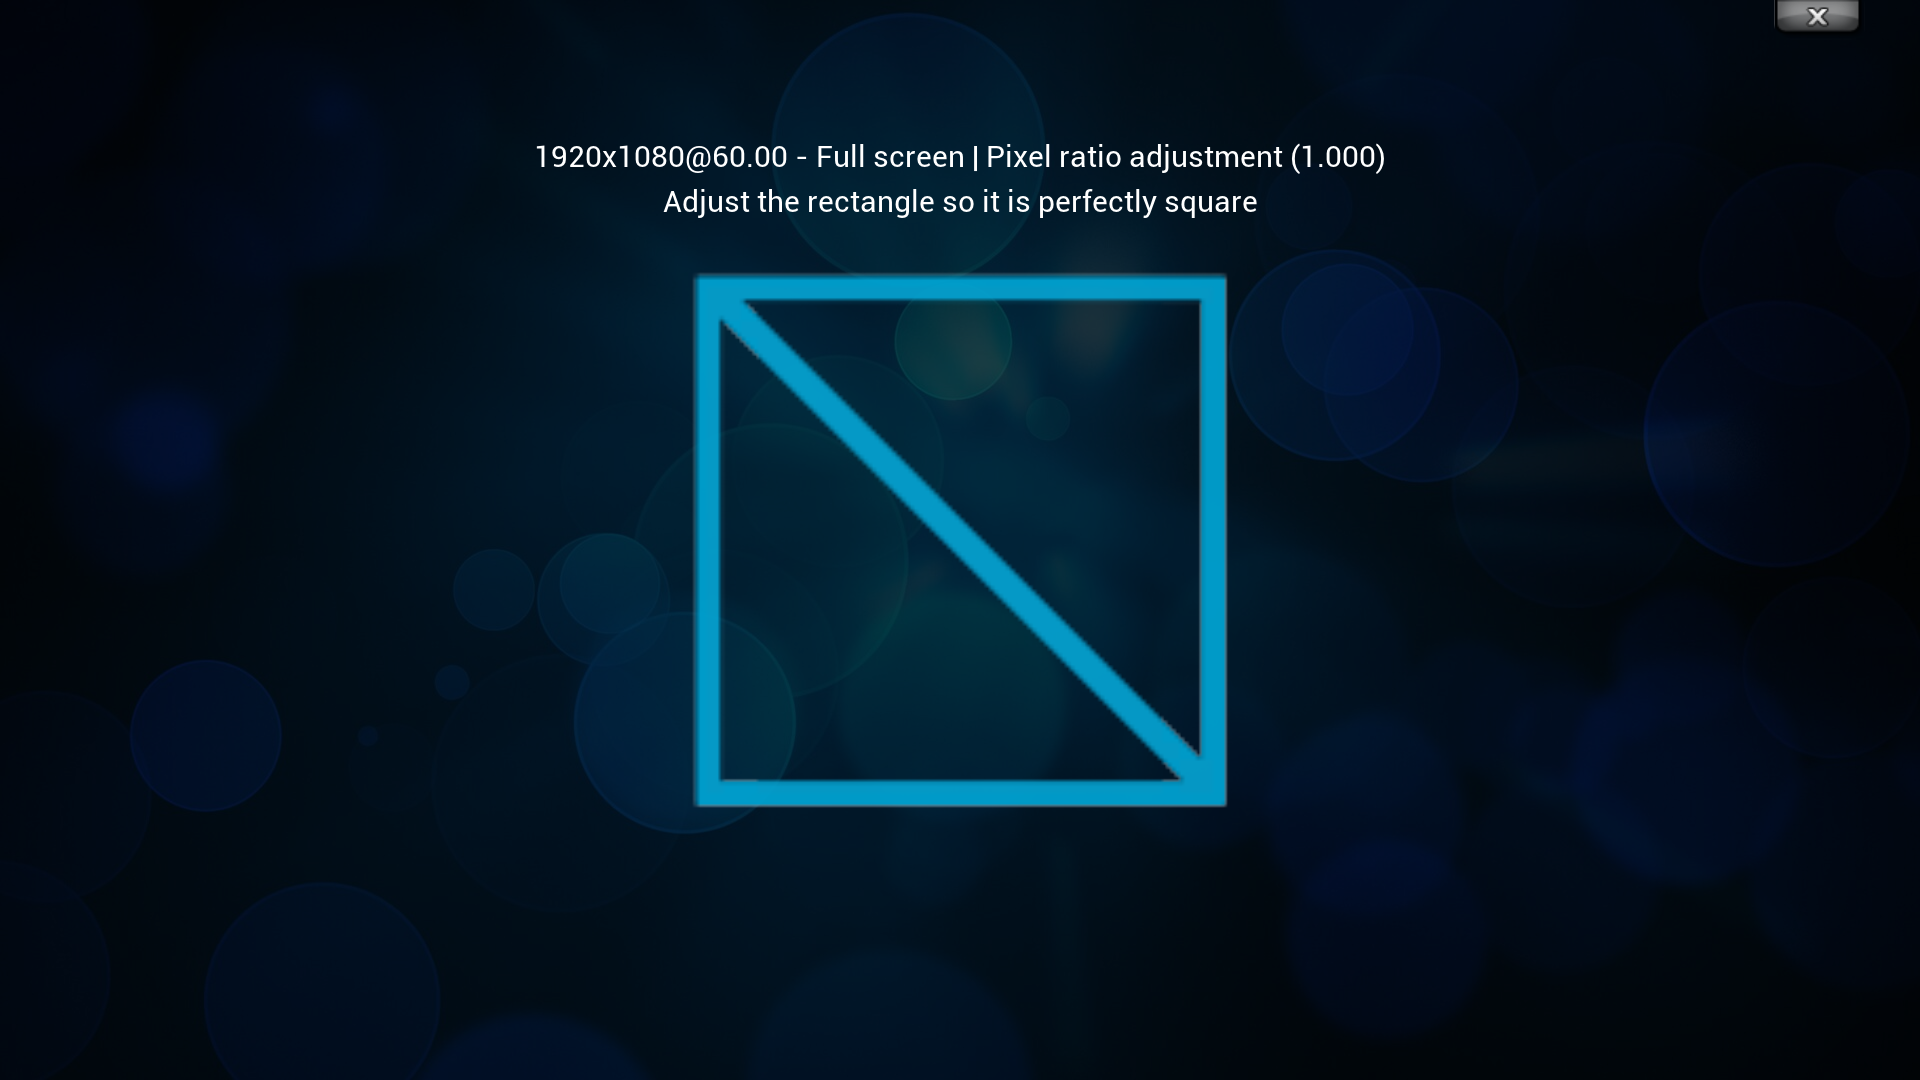
- The pixel ratio allows you calibrate the aspect ratio at which videos are played back.
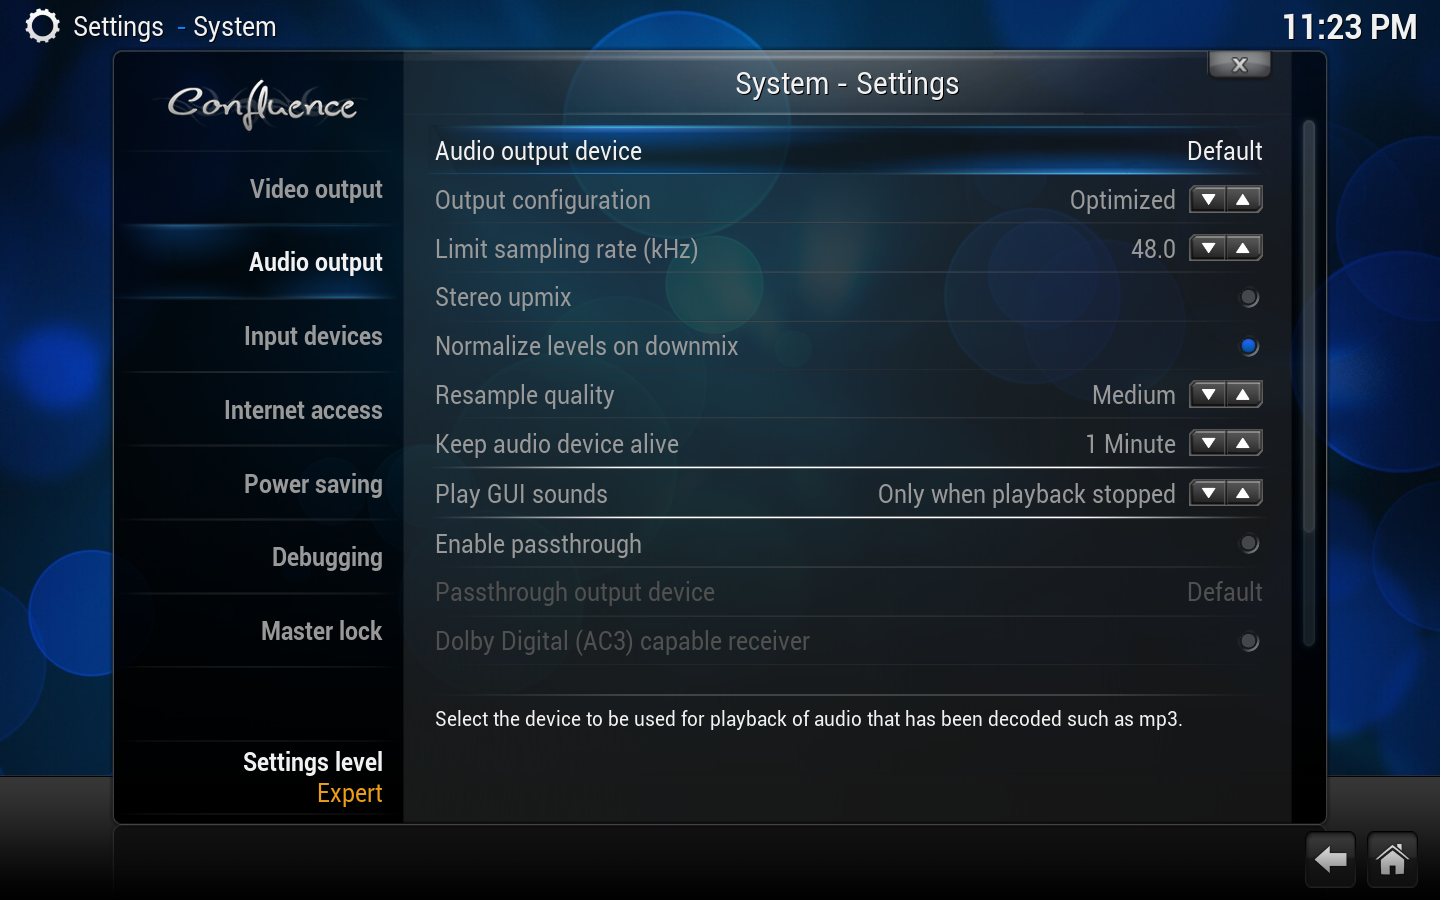
Audio output
- Audio output
This allows you to tell XBMC about the type of connection to the audio equipment so it can set the available GUI options appropriately, in addition it tells XBMC the LPCM capabilities of the connection. This unrelated with telling XBMC where the audio is actually sent, this is done via Audio output device and Passthrough output device settings.
- - Analog: Disables all the "capable receiver" options for passthrough and allows multi-channel LPCM to be pass to a soundcard.
- - Optical/Coax: This enables the selection of the Dolby Digital and DTS capable receiver options and limits the output of LPCM to 2 channels. :
- - HDMI: This enables all the capable receiver options, so in addition to what's available for Optical/Coax, TrueHD, DTS-HD and Multichannel LPCM capable receiver options are now selectable, in addition there is no limit on how LPCM is passed.
- Speaker Configuration
Select your physical speaker layout.
- Boost volume level on downmix
Boosts AC3 streams that have been downmixed to 2 channels
- Output stereo to all speakers
This upmixes 2 channel stereo sources to what specified by the Speaker Configuration so audio is output on all speakers
- - Dolby Digital (AC3) capable receiver
- Select this option if your receiver is capable of decoding AC3 streams.
- - DTS capable receiver
- Select this option if your receiver is capable of decoding DTS streams.
- - AAC capable receiver
- Select this option if your receiver is capable of decoding AAC streams.
- - MultiChannel LPCM capable receiver
- Select this option if your receiver is capable of decoding LPCM streams.
- - TrueHD capable receiver
- Select this option if your receiver is capable of decoding TrueHD streams.
- - DTS-HD capable receiver
- Select this option if your receiver is capable of decoding DTS-HD streams.
- Audio output device
This is the device you use to play LPCM or audio decoded by XBMC such as mp3's and FLAC.
- Passthrough output device
This device you use to play the encoded formats, these are any of the formats checked above in the "capable receiver" options.
- Play GUI sounds
This sets how interface sounds are handled such as when navigating the menus, select from Never, Only when playback stopped, or Always.
|
Input devices
Note: The content of this screen largely depends on the input devices that XBMC detects.
- Remote control sends keyboard presses
- When activated, your keyboard arrows will move the selection on the virtual keyboard. When deactivated, they will move the cursor from your text.
- Enable mouse and Touch Screen support
- If deactivated, XBMC will ignore all mouse movements and clicks.
|
Internet access
- Use an HTTP proxy server to access the internet
- If your internet connection uses a proxy, configure it here.
- - Server
- Proxy server
- - Port
- Defines the port of the proxy server
- - Username
- Defines the username used for the proxy server
- - Password
- Defines the password used for the proxy server
- Internet connection bandwidth limitation
- If you have limited bandwidth available, select a suitable value here and XBMC will try to keep to these limits. ?
|
Power saving
- Put display to sleep when idle
- Turns off display when idle. Useful for TVs that turn off when there is no display signal detected, but you don't want to suspend/shutdown the whole computer. Selectable from 5 minutes to 120 minutes.
- Shutdown function timer
- Sleeps the computer when idle. Selectable from 5 minutes to 120 minutes.
- Shutdown function
- Defines what "Shutdown" will do by default. Can be set to actually shutdown, suspend, minimize, or quit.
|
XBMC also has a "Custom shutdown timer" selectable from the power icon on the home screen, or from the shutdown menu (press S on a keyboard).
Debugging
- Enable debug logging
- Toggles debug log on / off. Useful for troubleshooting.
- Screenshot folder
- Folder used to save screenshots taken within XBMC. (see Keyboard controls for the screenshot key for your OS)
|
Master lock
Note: The Master Lock options are ONLY available while using the Default User profile.
- Master lock code and settings
- Opens the Master Lock dialog, where you can configure your Master Lock options.
- Ask For Master Lock Code on Startup
- If enabled, the master lock code is required to unlock XBMC on startup
|
Master lock settings
- Master Lock
- Allows you to set the master lock password. Can be one of three types:
- Numeric Password - Enter a Numeric Password using the On Screen Keyboard
- Gamepad Button Combo - Enter a series of buttons using the Gamepad
- Full-Text Password - Enter a plain-text password using the On Screen Keyboard
With the Master Lock, you can restrict access to the following sections when selected:
- Lock Music Section
- Lock Video Section
- Lock Pictures Section
- Lock Programs and Scripts Section
- Lock File Manager
- Lock Settings
|
Locked out?
XBMC will give you three tries when you need to enter a lock/password to access something that is locked. If you max out these three tries then just quit XBMC and re-open it to get three more tries. The Master Lock code is stored in the "profiles.xml" file in the userdata folder. Should you get locked out, you can delete or edit the "profiles.xml" file.