Log file/File manager access: Difference between revisions
(Page Overhaul) |
No edit summary |
||
| Line 15: | Line 15: | ||
= Which Log do I choose = | = Which Log do I choose = | ||
The {{kodi}} logs are ''Session Logs''. The logs are written from {{kodi}} startup to {{kodi}} shutdown (or crash). The next time you start {{kodi}}, the existing '''kodi.log''' is renamed '''Kodi.old.log''' and a new '''kodi.log''' is created for this new session. In effect you only ever have two logs available- the current one, and the previous one. | |||
Which log you upload depends... | Which log you upload depends... | ||
| Line 29: | Line 29: | ||
<gallery mode="packed" widths=" | <gallery mode="packed" widths="500px" heights="282px"> | ||
File:FileManager01.jpg| {{large|'''Step 2:'''}} This is the File Manager. In panel A or B, select '''Add source'''. | File:FileManager01.jpg| {{large|'''Step 2:'''}} This is the File Manager. In panel A or B, select '''Add source'''. | ||
File:FileManager02.jpg| {{large|'''Step 3:'''}} Select '''None''' from the ''Add file source'' dialogue box. | File:FileManager02.jpg| {{large|'''Step 3:'''}} Select '''None''' from the ''Add file source'' dialogue box. | ||
| Line 36: | Line 36: | ||
File:Filemanager05.jpg| {{large|'''Step 6:'''}} The above image shows the new ''Logpath'' and ''Documents'' sources added. | File:Filemanager05.jpg| {{large|'''Step 6:'''}} The above image shows the new ''Logpath'' and ''Documents'' sources added. | ||
File:Filemanager06.jpg| {{large|'''Step 7:'''}} In Panel B: Open the receiving Source you added. <br>In Panel A: Open the '''logpath''' source and select the file(s) to be copied. | File:Filemanager06.jpg| {{large|'''Step 7:'''}} In Panel B: Open the receiving Source you added. <br>In Panel A: Open the '''logpath''' source and select the file(s) to be copied. | ||
File:Filemanager07.jpg| {{large|'''Step 8:'''}} With the file highlighted call up the '''''[[Basic_controls#Context_Menu|Context Menu]]'''''. Select '''Copy'''. | File:Filemanager07.jpg| {{large|'''Step 8:'''}} With the file highlighted call up the '''''[[Basic_controls#Context_Menu|Context Menu]]'''''. Select '''Copy'''.<br> '''Note:''' The option ''View as text'' allows viewing of the log on-screen. | ||
File:Filemanager08.jpg| {{large|'''Step 9:'''}} Select '''Yes''' to confirm the copy. | File:Filemanager08.jpg| {{large|'''Step 9:'''}} Select '''Yes''' to confirm the copy. | ||
File:Filemanager09.jpg| {{large|'''Step 10:'''}} The log file has now been copied to the ''Documents'' source. | File:Filemanager09.jpg| {{large|'''Step 10:'''}} The log file has now been copied to the ''Documents'' source. | ||
</gallery> | </gallery> | ||
{{large|'''Step 11:'''}} The log should now be accessible outside {{kodi}}. Continue with the steps to upload the log as shown in '''''[[Log_file/Easy#Upload Log|Easy Method- Upload Log]]''''' or '''''[[Log_file/Advanced|Advanced Method- Upload Log]]''''' | |||
<center>{{resize|1.4em|'''End'''}}</center> | |||
---- | |||
Revision as of 23:08, 4 July 2018
Introduction
This page describes another method to access the log file using the Kodi File manager. This method can be used as the fallback option if the Kodi Logfile Uploader is not functioning on your installation. If you are using a desktop type operating system such as Windows, using the Kodi File Manager is not necessary as all files can be accessed through the file browser of the operating system.
The File Manager is a remote control friendly interface that uses an A-B panel system. Files selected from Panel A can be copied into Panel B, for example. A full list of available functions is shown in the Context Menu image below.
Adding a Source here is the same process as adding a Source for Movies, TV Shows and Music. Sources added here will not show in the Media Sources page and vice-versa.
When adding Sources, either panel can be used to Add Source as the newly added source will display in both panels. When adding the Source which you intend to transfer the Log File to, ensure that it is a location that is easily accessible. It can be network share, USB drive or other accessible location which will allow you to later browse and obtain the log from.
Which Log do I choose
The Kodi logs are Session Logs. The logs are written from Kodi startup to Kodi shutdown (or crash). The next time you start Kodi, the existing kodi.log is renamed Kodi.old.log and a new kodi.log is created for this new session. In effect you only ever have two logs available- the current one, and the previous one.
Which log you upload depends...
- If you have created the log which captures the problem and have not restarted Kodi, then upload kodi.log
- If you have created the log which captures the problem and have restarted Kodi, maybe because it crashed, then upload kodi.old.log
Steps
To gain access to the Logfile, follow these steps...
Step 1: Access the File manager from the Settings menu. See: Basic controls
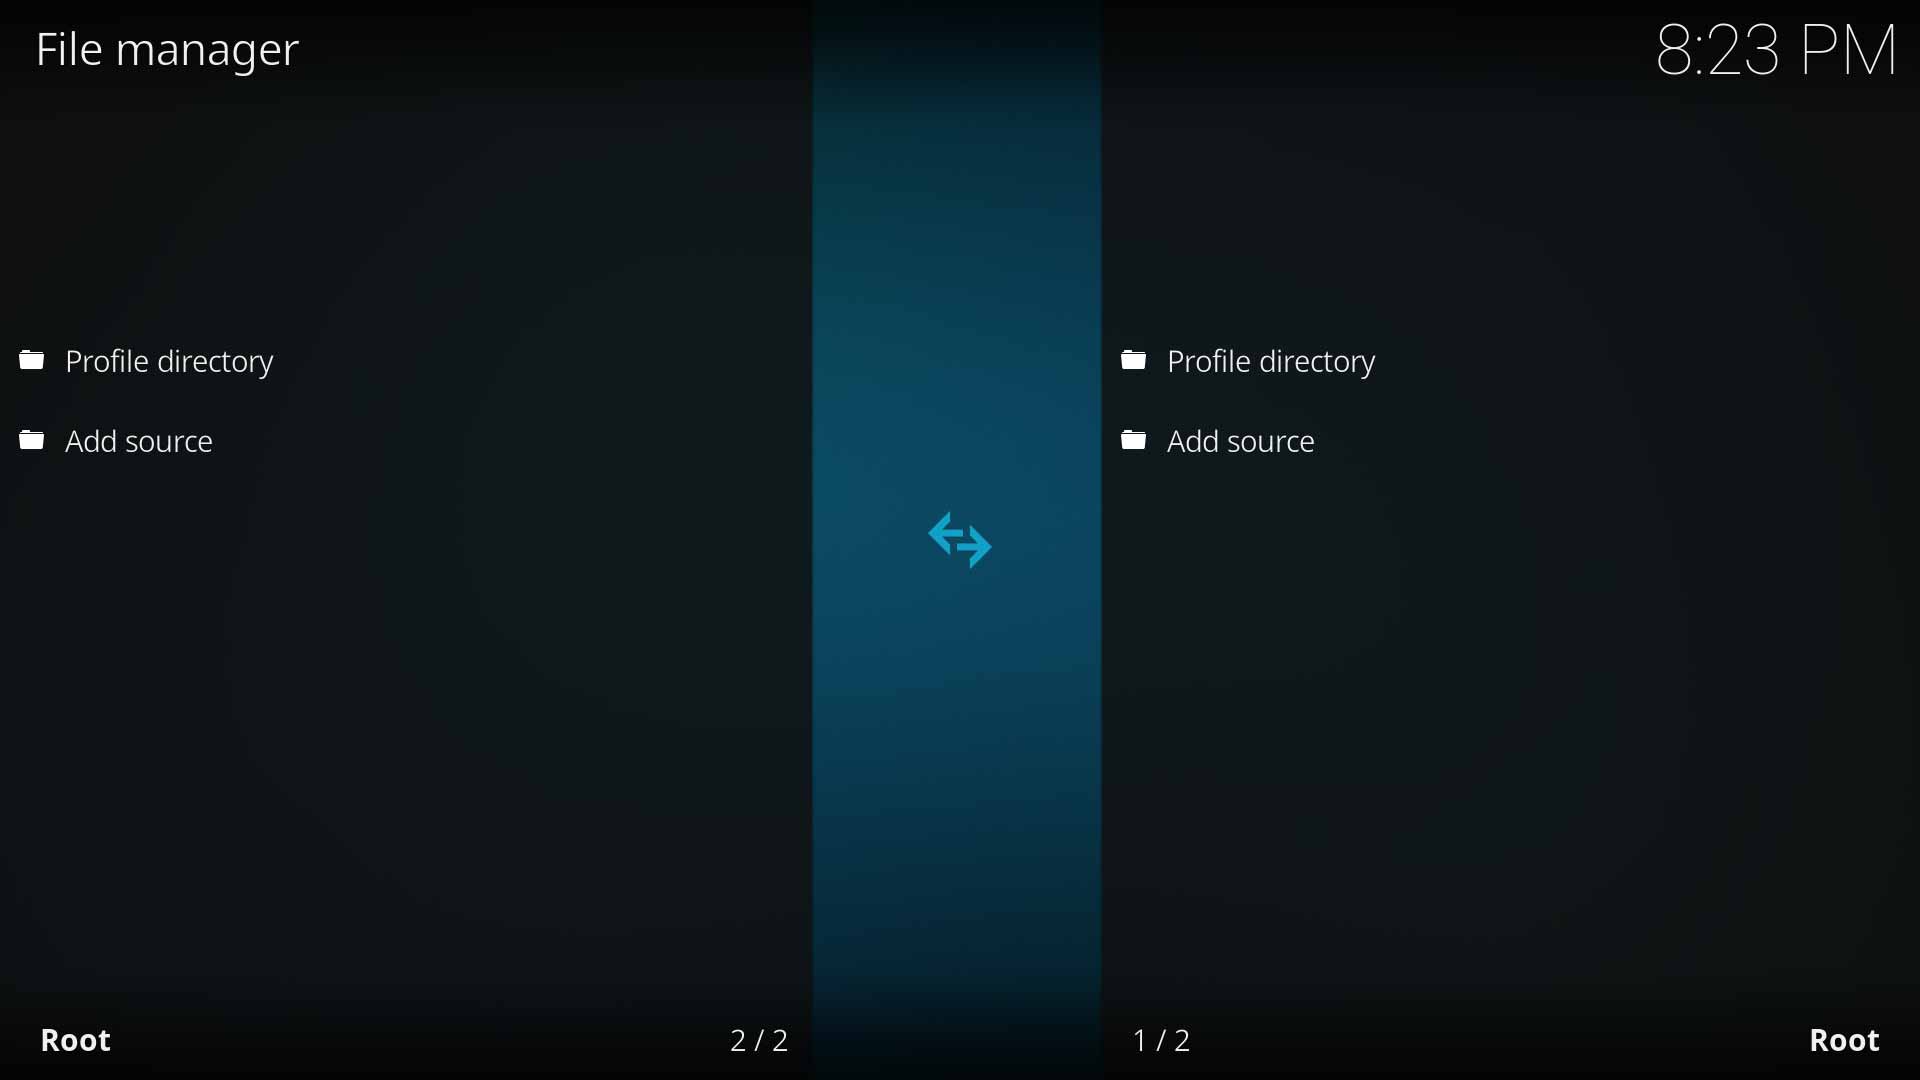
Step 2: This is the File Manager. In panel A or B, select Add source.
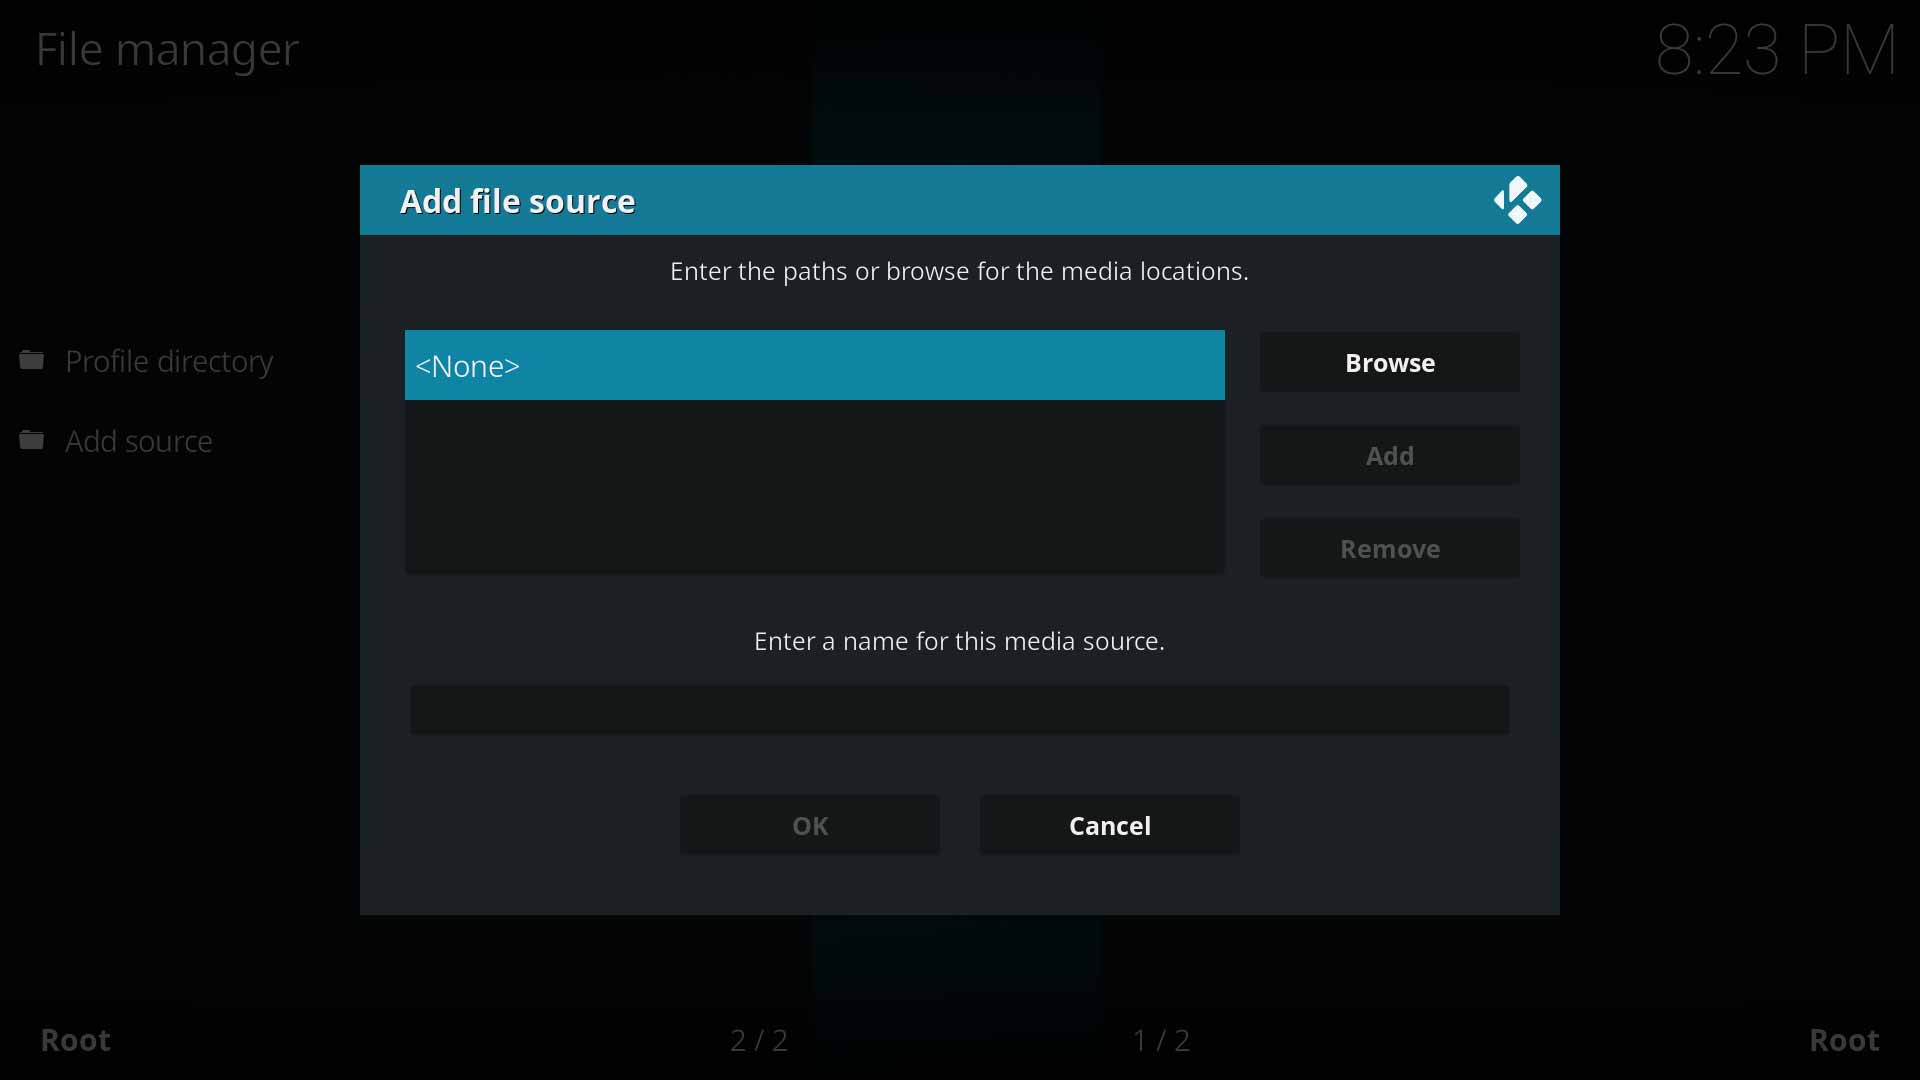
Step 3: Select None from the Add file source dialogue box.
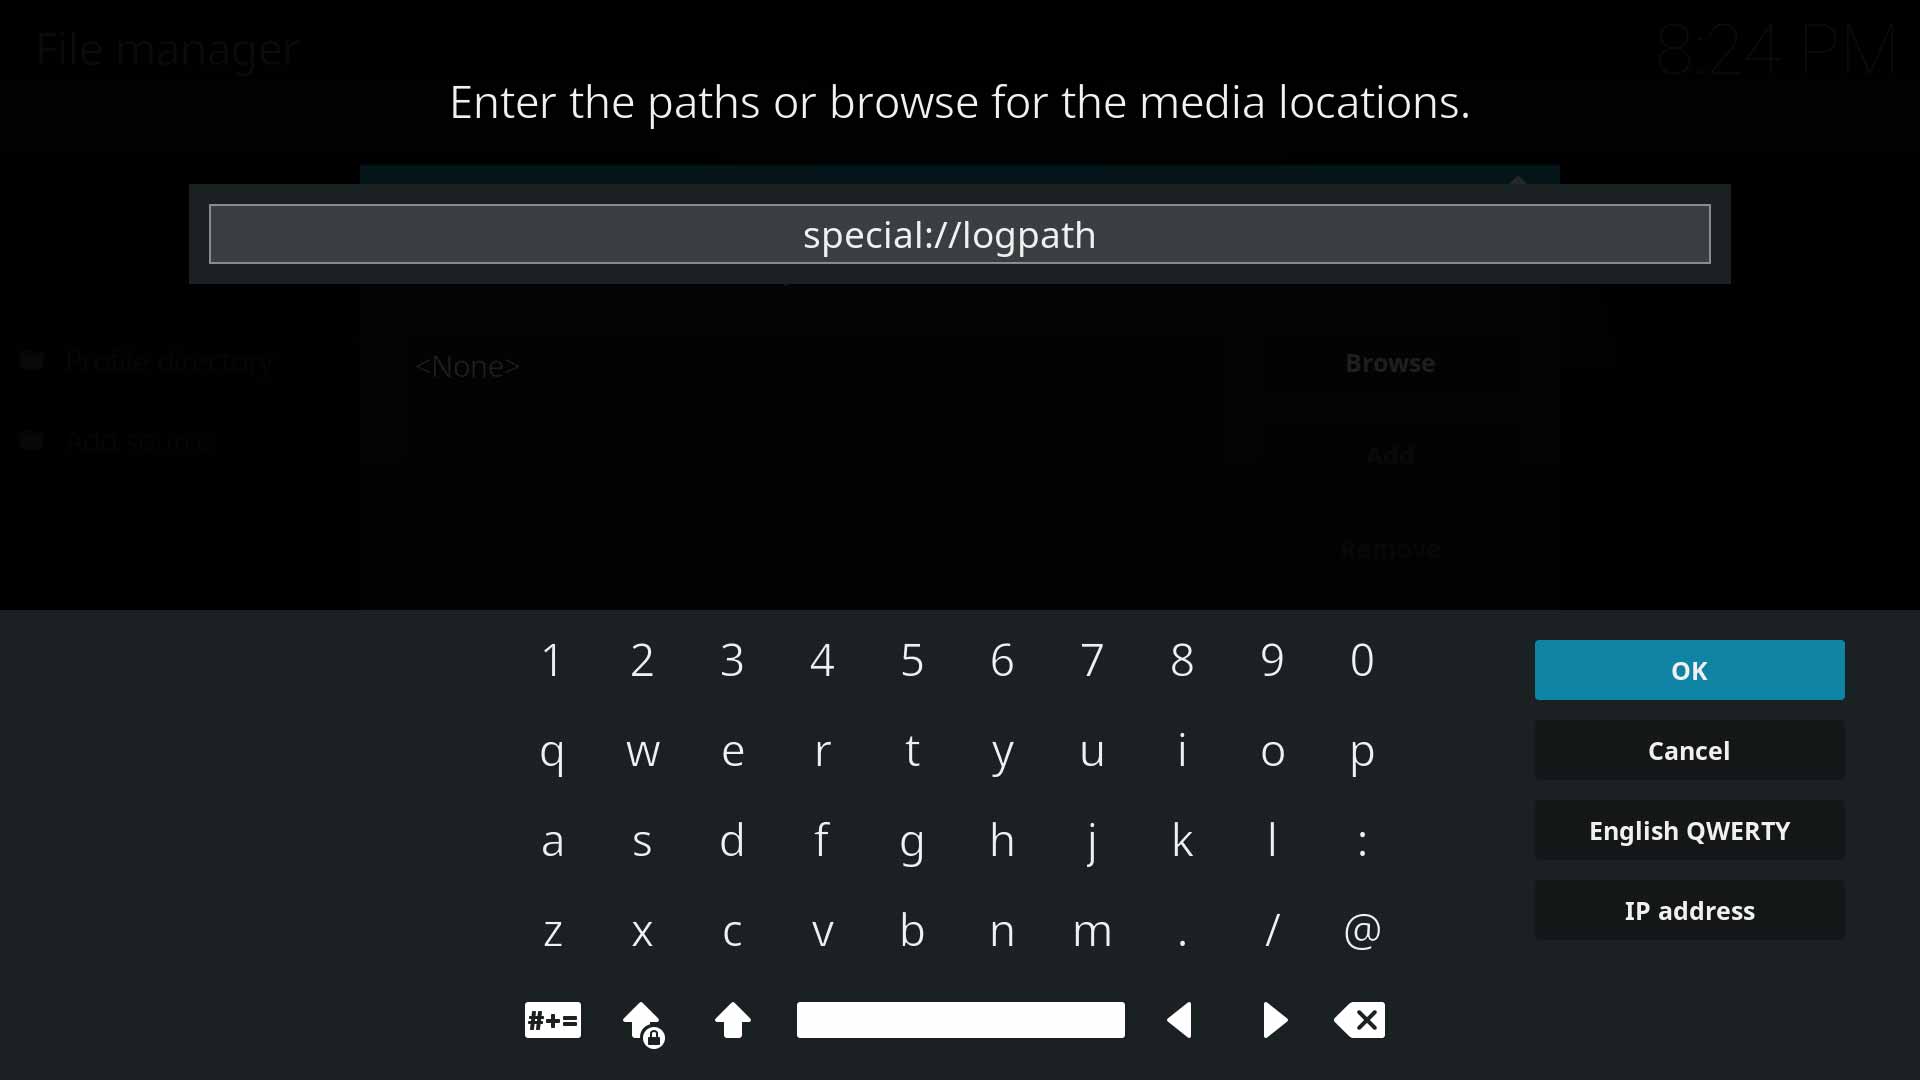
Step 4: Type in
special://logpathand then press Ok.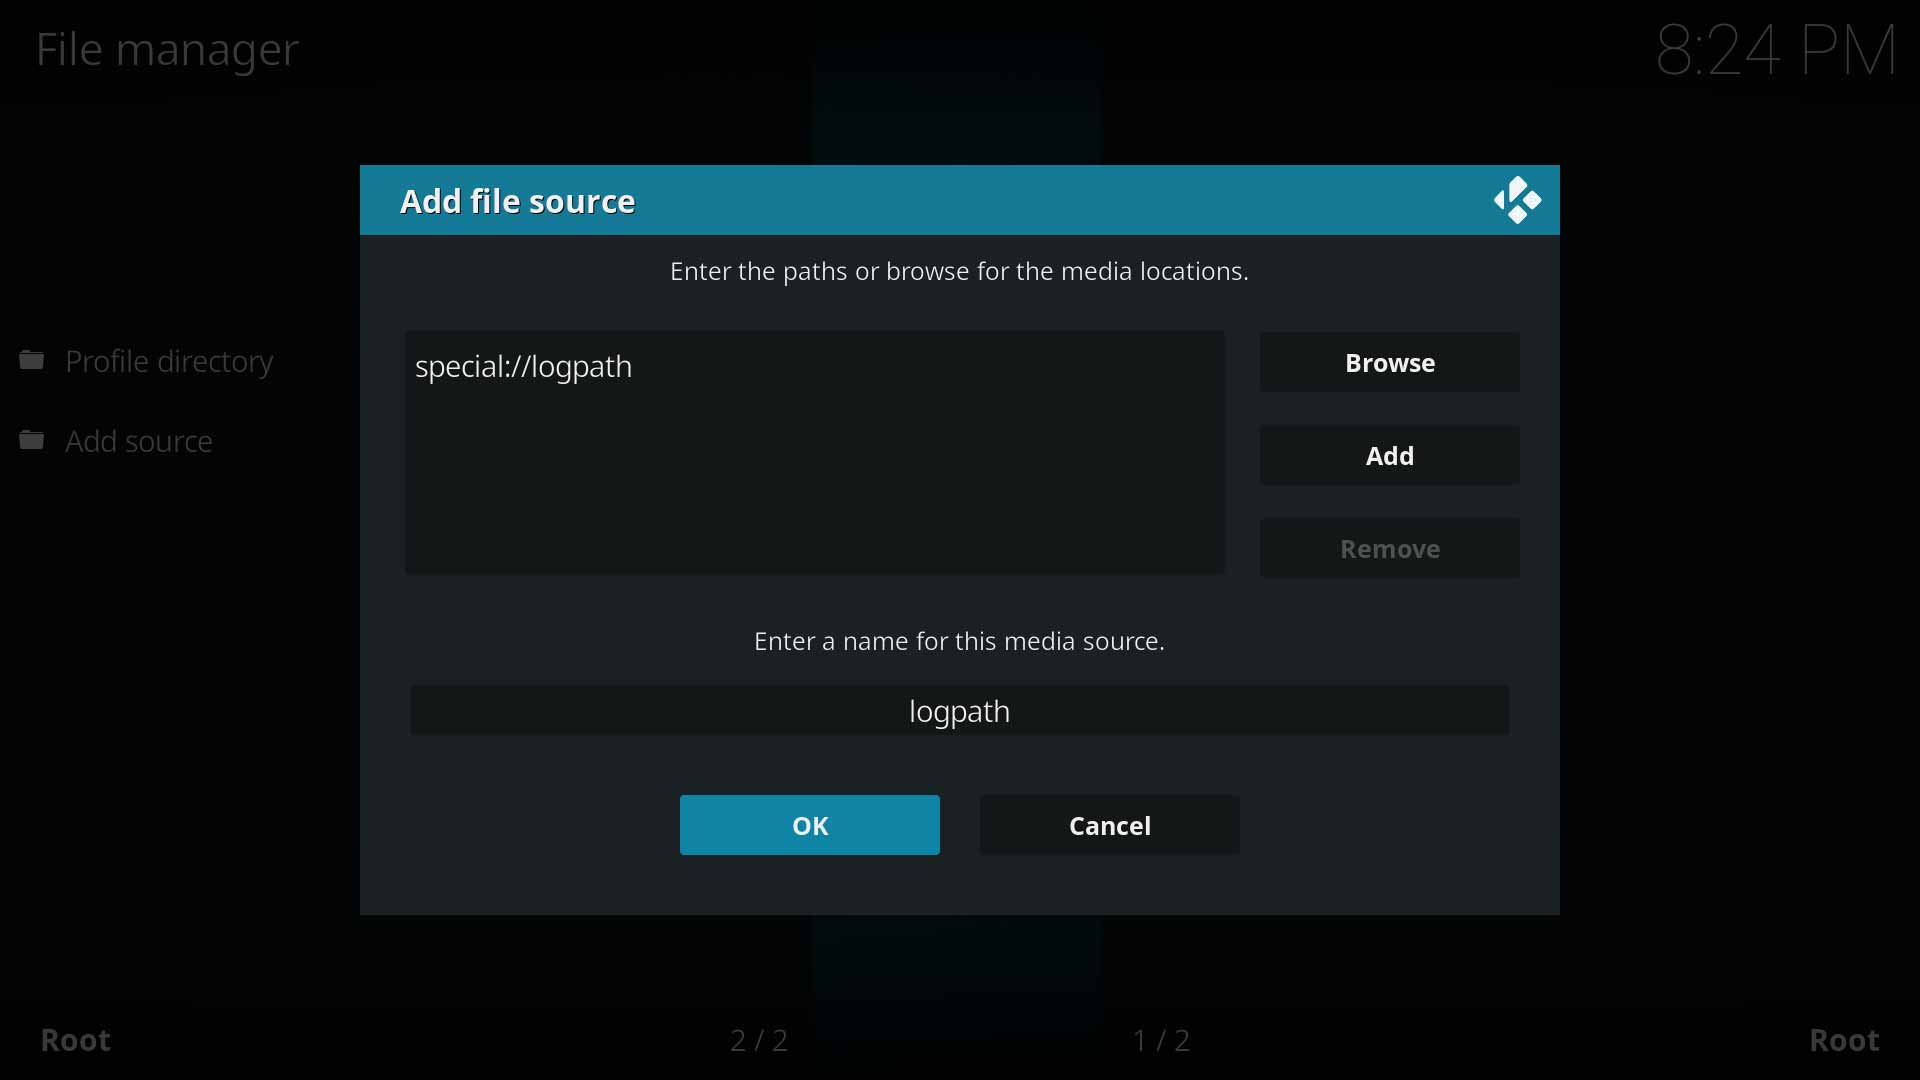
Step 5: If required rename the Source. Press OK to add the logpath as a source.
Repeat the above steps to add the Source where the logfile will be transferrd to.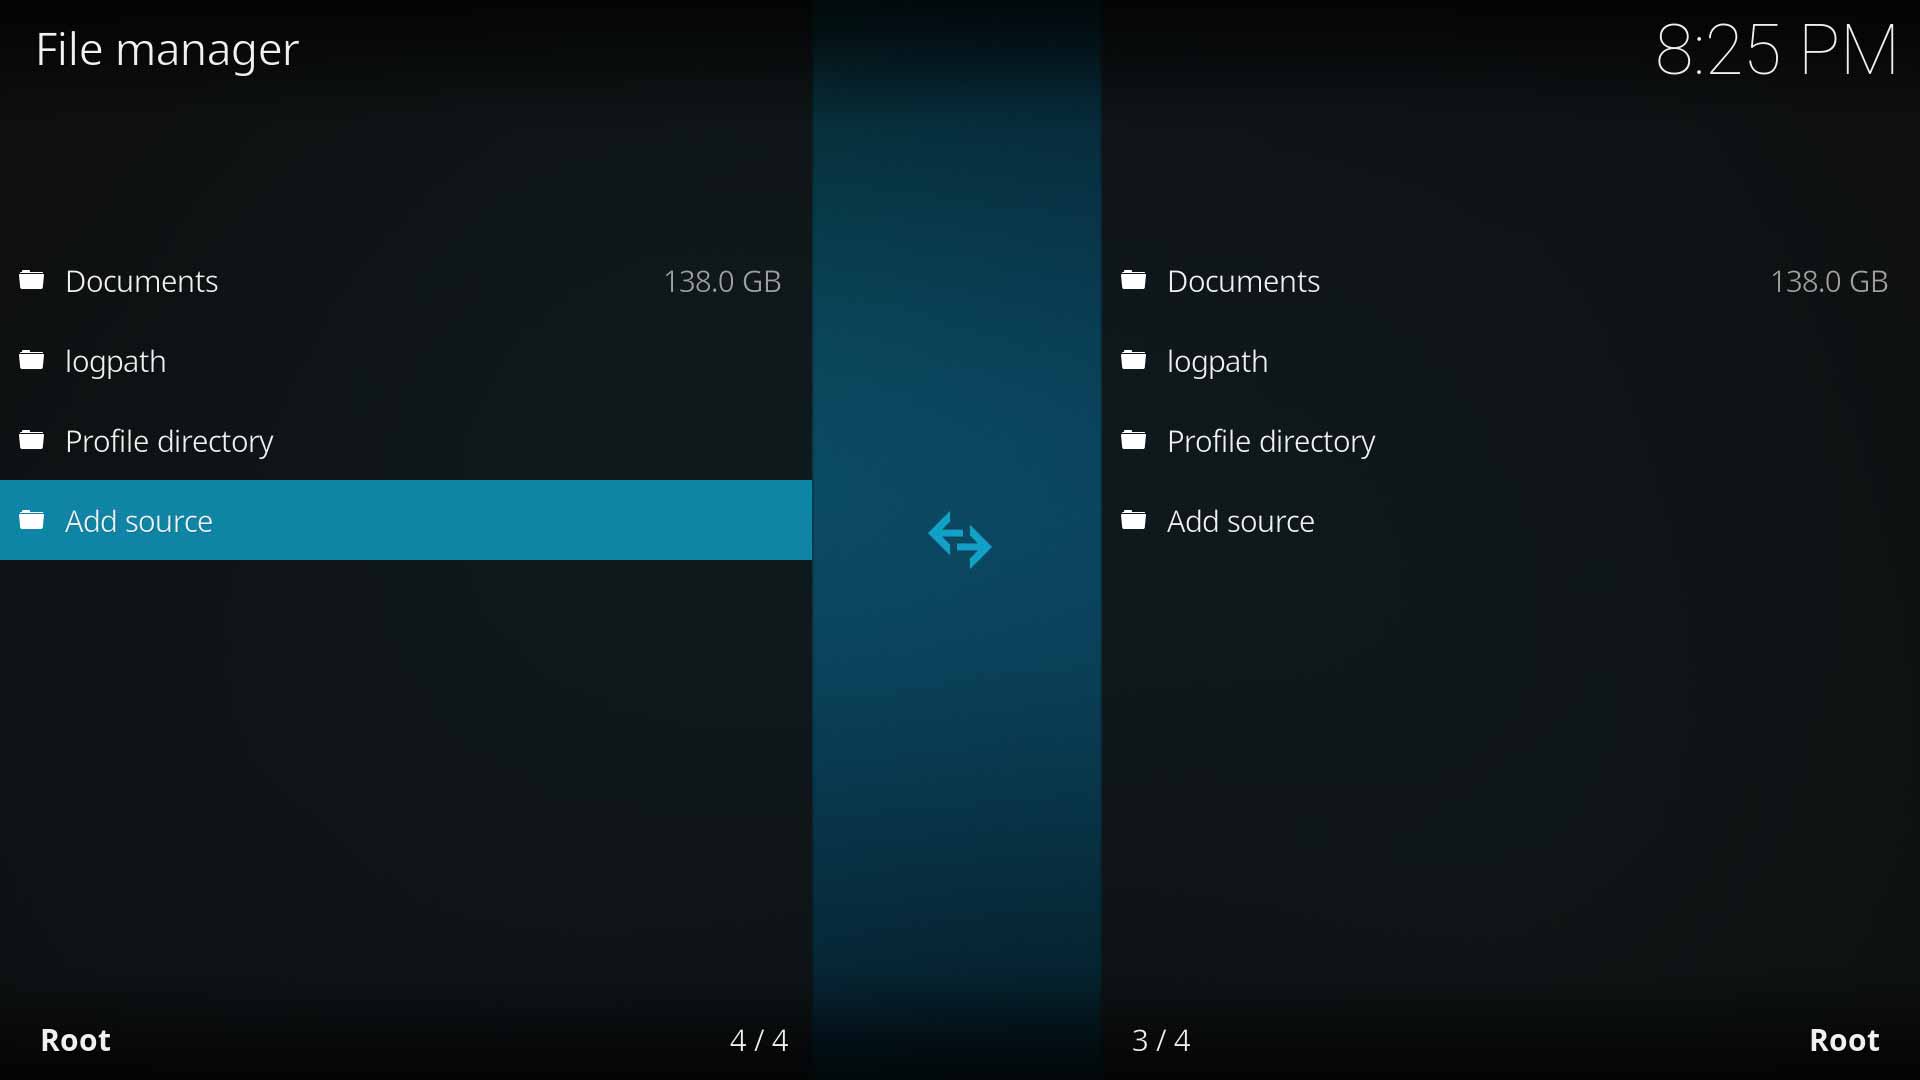
Step 6: The above image shows the new Logpath and Documents sources added.
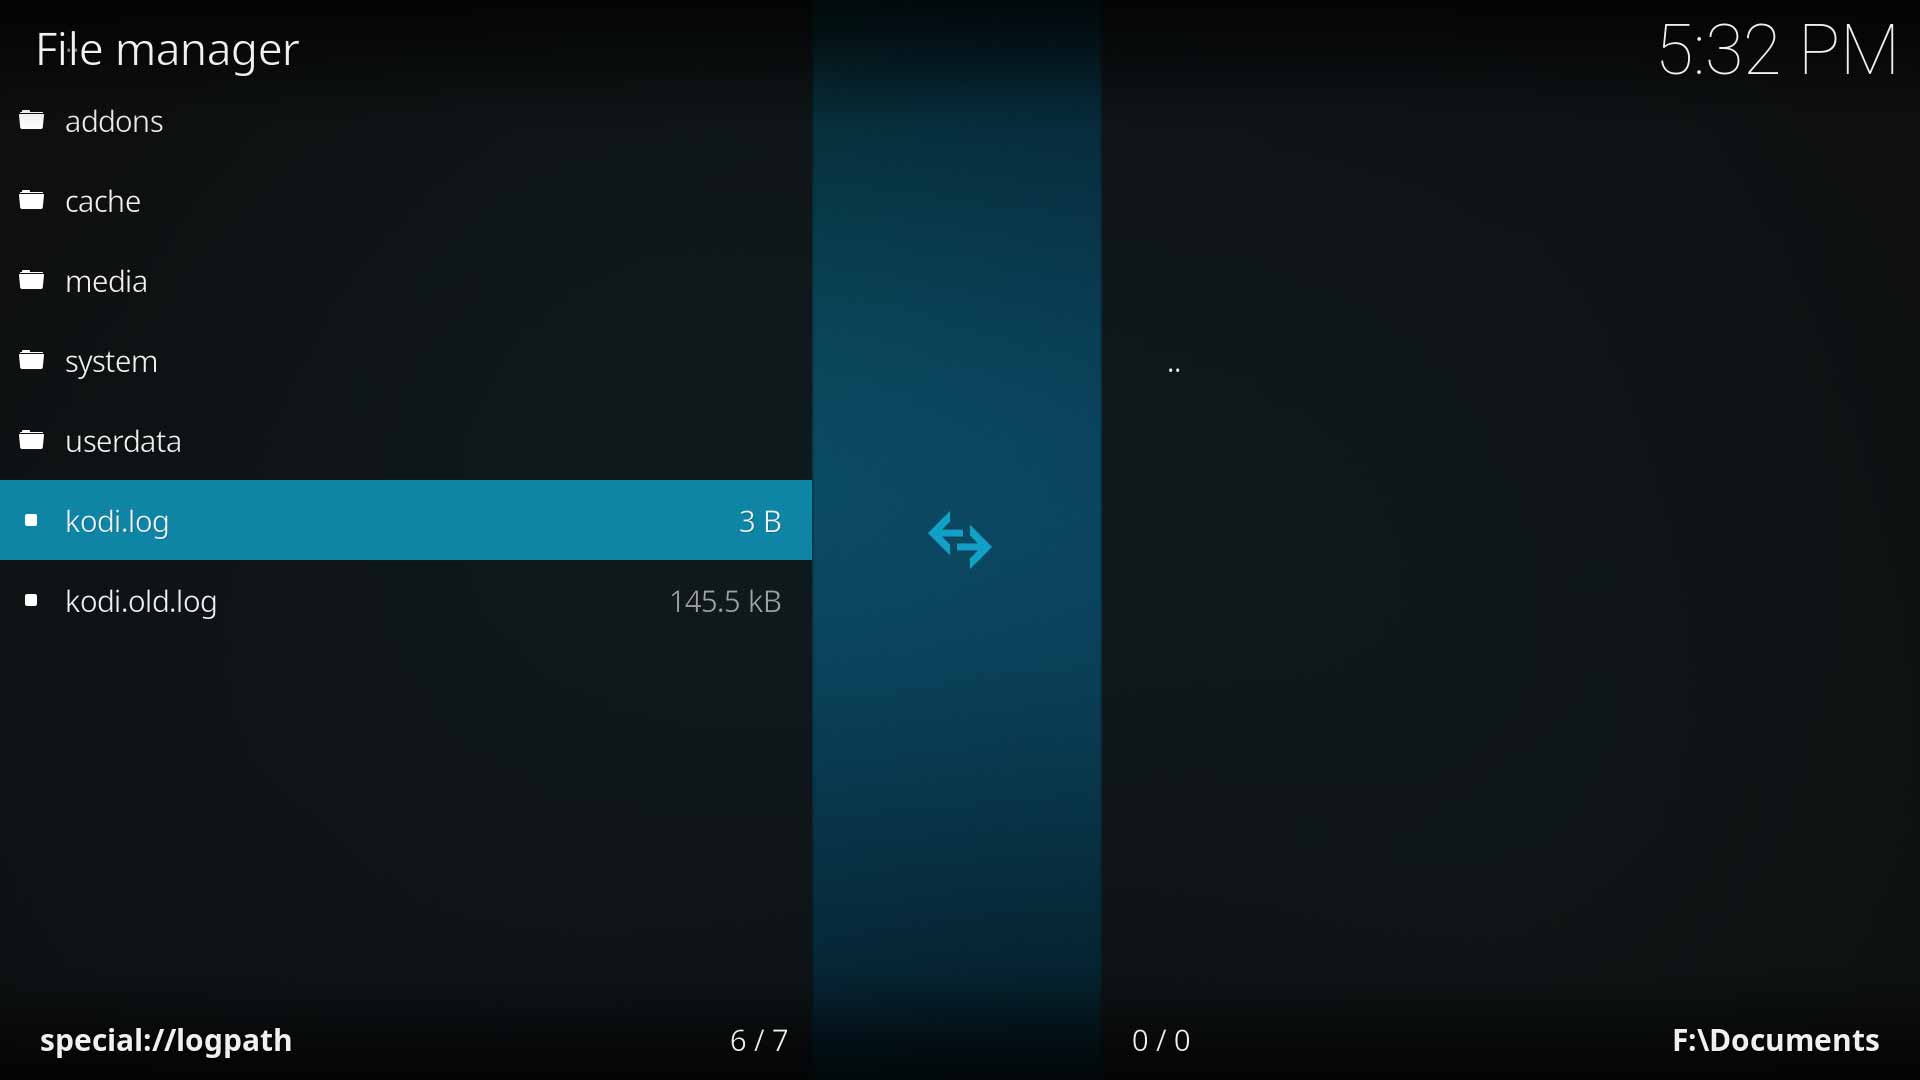
Step 7: In Panel B: Open the receiving Source you added.
In Panel A: Open the logpath source and select the file(s) to be copied.
Step 8: With the file highlighted call up the Context Menu. Select Copy.
Note: The option View as text allows viewing of the log on-screen.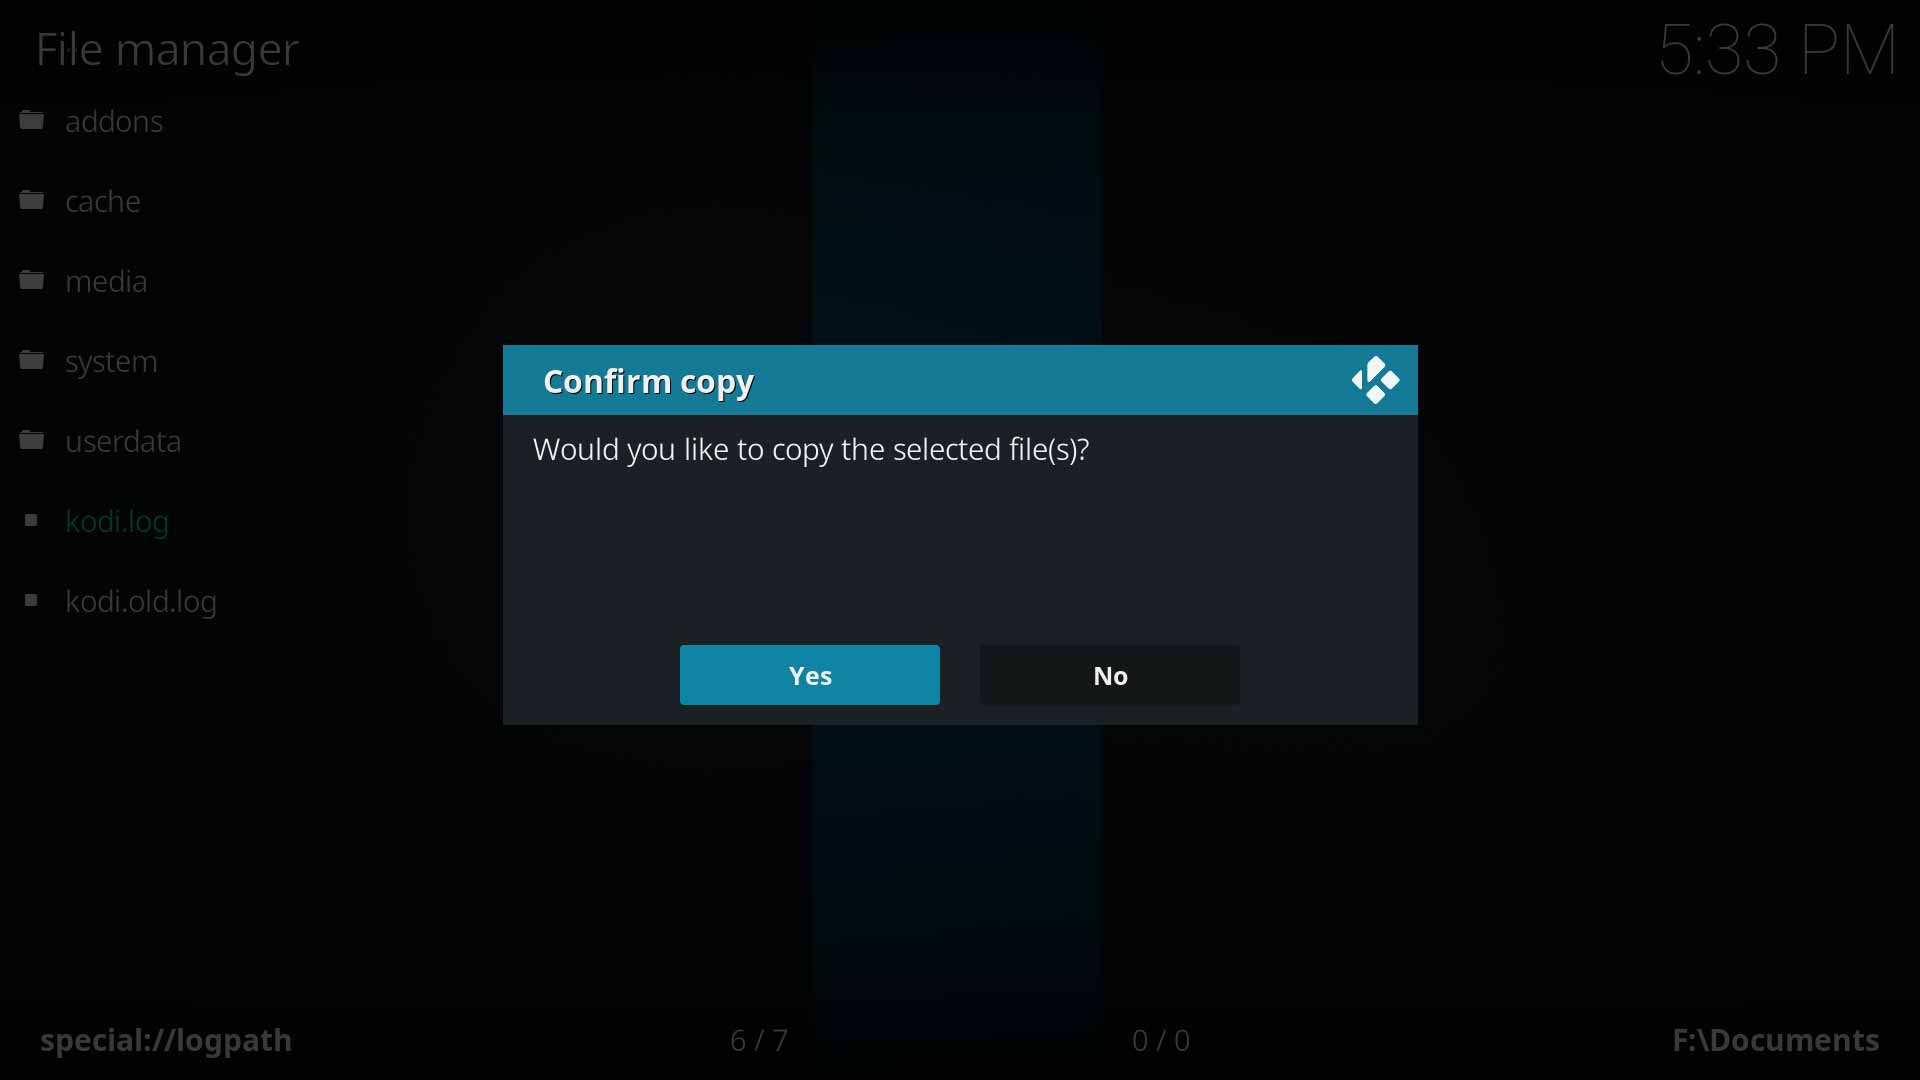
Step 9: Select Yes to confirm the copy.
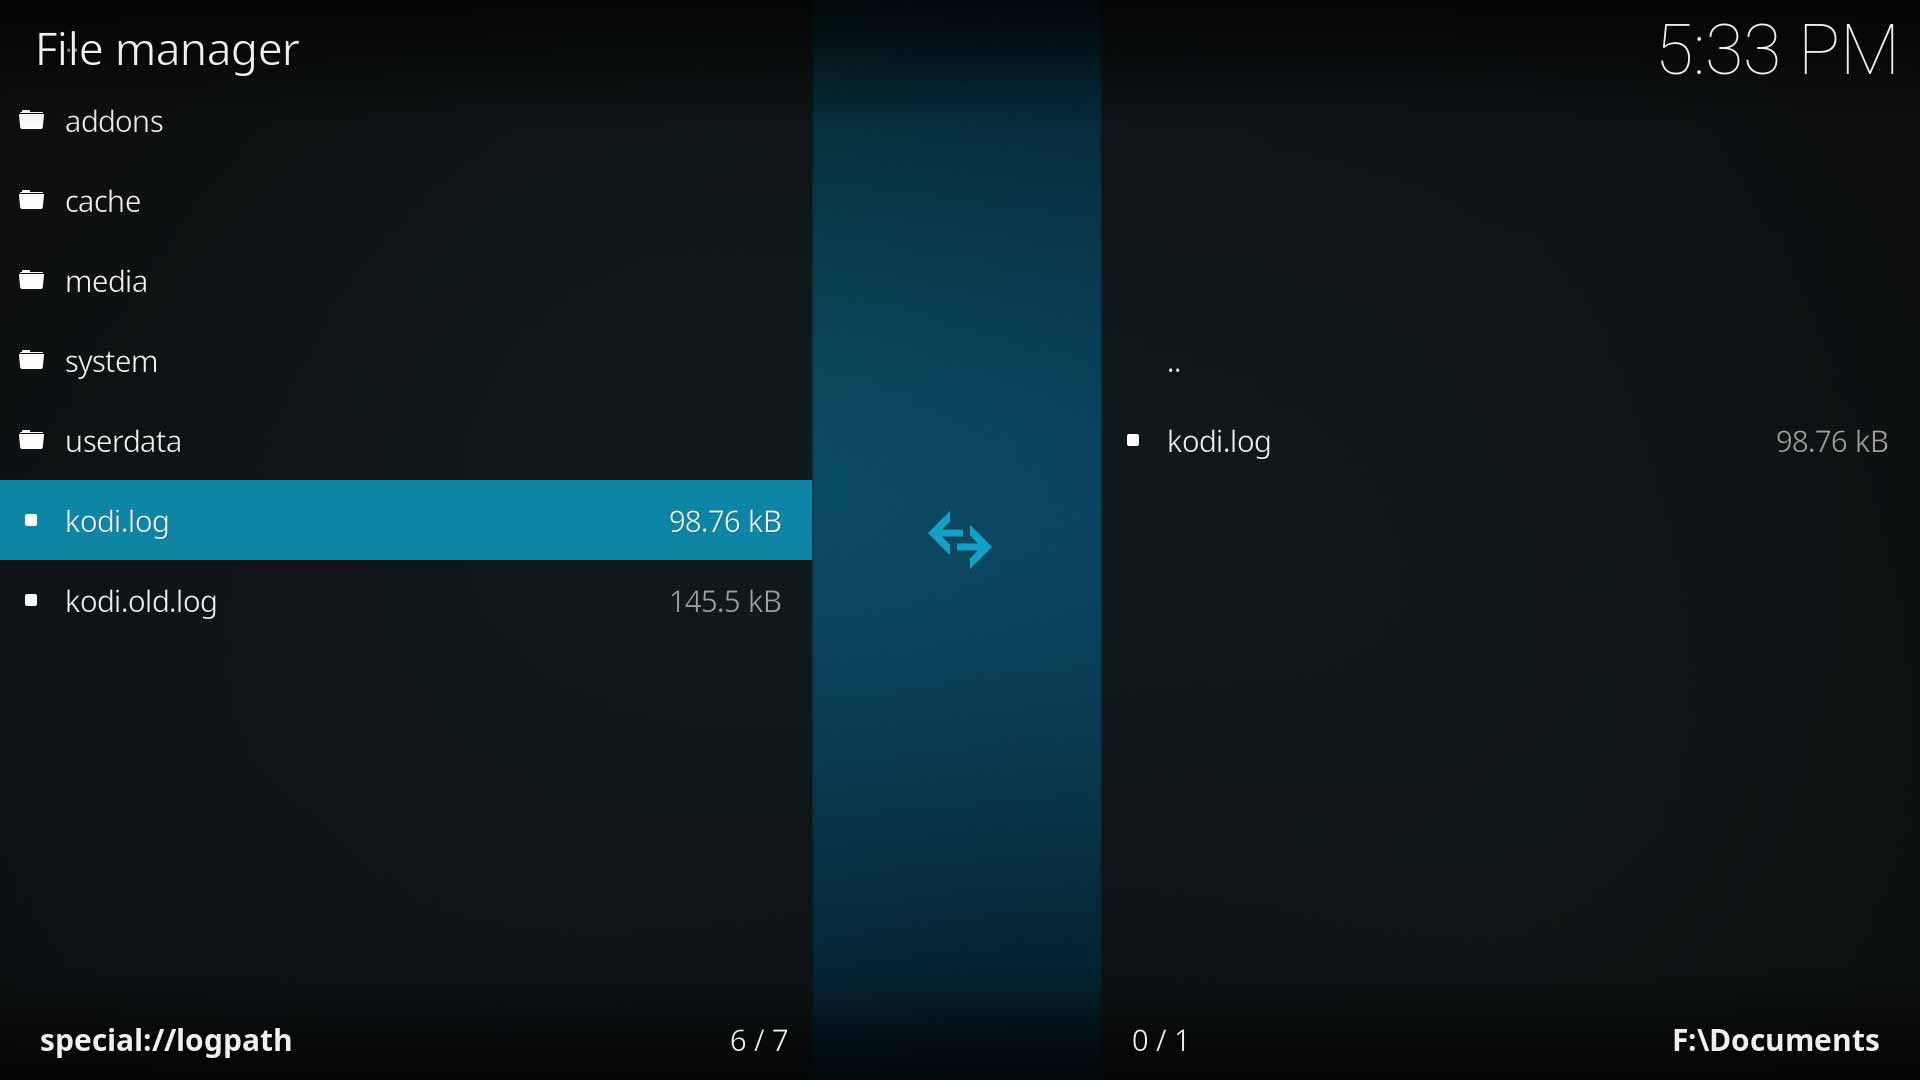
Step 10: The log file has now been copied to the Documents source.


Step 11: The log should now be accessible outside Kodi. Continue with the steps to upload the log as shown in Easy Method- Upload Log or Advanced Method- Upload Log
| Return to top |
|---|