Kore Manual
Kore is the official, full featured, Kodi remote app for Android based devices.
Installing
To install Kore on your Android device Android 4.0.3 or higher is required.
Kore is available on the Play Store, on F-Droid and directly here.
To install Kore *.apk file, you need to enable the 'Unknown sources'-option at Settings -> Security -> Unknown sources.
Kodi settings
Kore is able to scan your network for existing and running Kodi instances. In order Kore being able to fetch those instances it has to be in the same network as your Kodi instances and you need to enable the Kodi webserver via "Allow remote control via HTTP" as seen here: Settings/Services/Control#Web_server
If, for whatever reason, Kore doesn't show the instance you want to add, you might need to do the manual setup which will be explained below.
First run
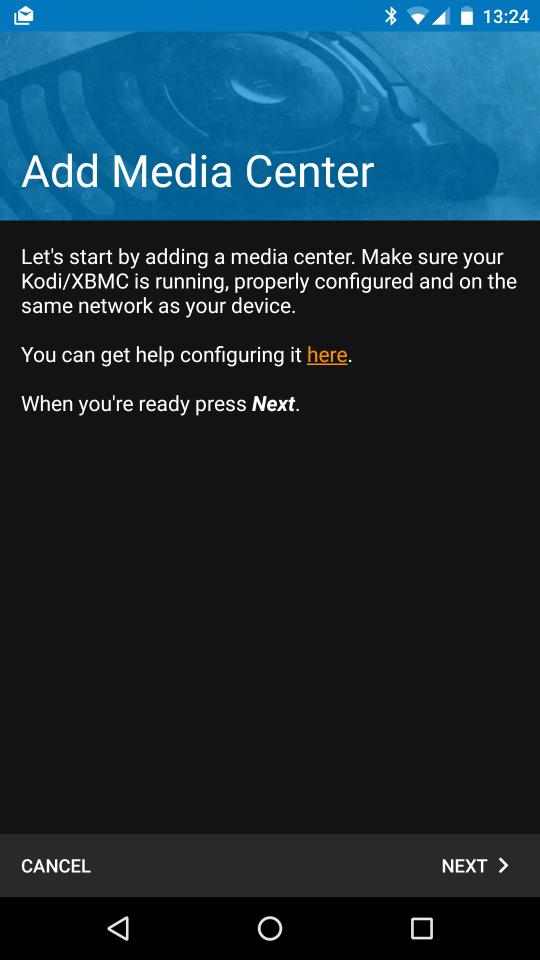
After starting Kore for the first time you will be prompted to a screen like this:
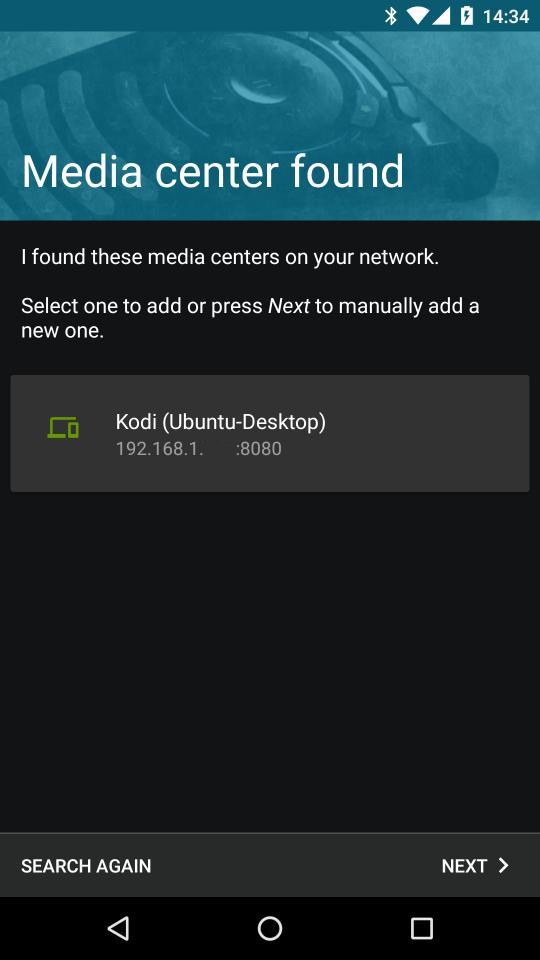
After hitting NEXT >, Kore will start scanning your network for running Kodi instances. If it will find some it will look like this:
Now just click on the instance you want to add.
Note: If you push NEXT > you will get to the manual setup which will be explained later
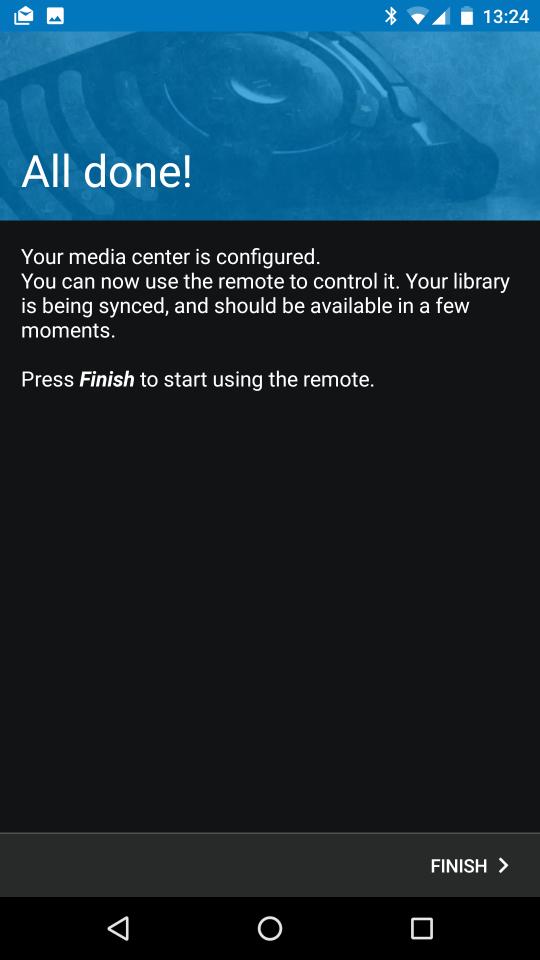
After doing so Kore will connect to your Kodi instance and if everything went file the next screen will look like:
To finish the first run wizard, you need to push FINISH >. Kore will start syncing your library (if one exist on the running Kodi instance) and your media should be available after a few seconds.
Manual setup
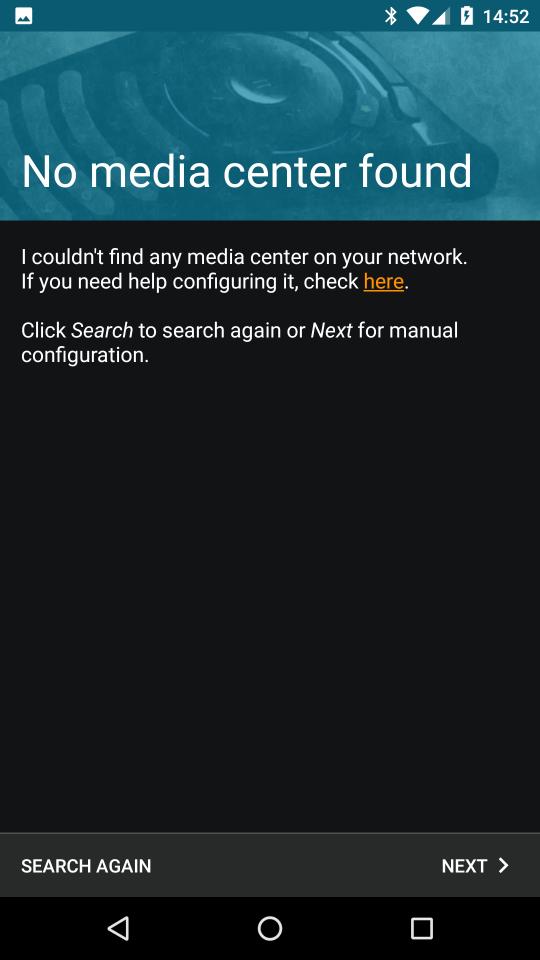
Sometimes (unfortunately), if the automatic scan for existing Kodi devices doesn't work, we need to do the manual setup. In order to do so, Kodis webserver needs to be enabled like explained above. So, if your screen looks like this:
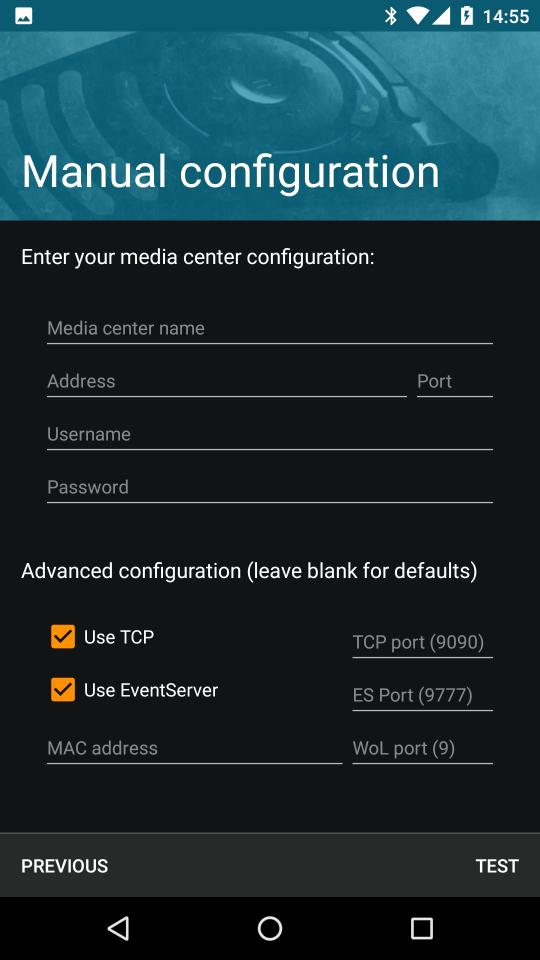
Then just push NEXT > and you will enter the manual setup screen:
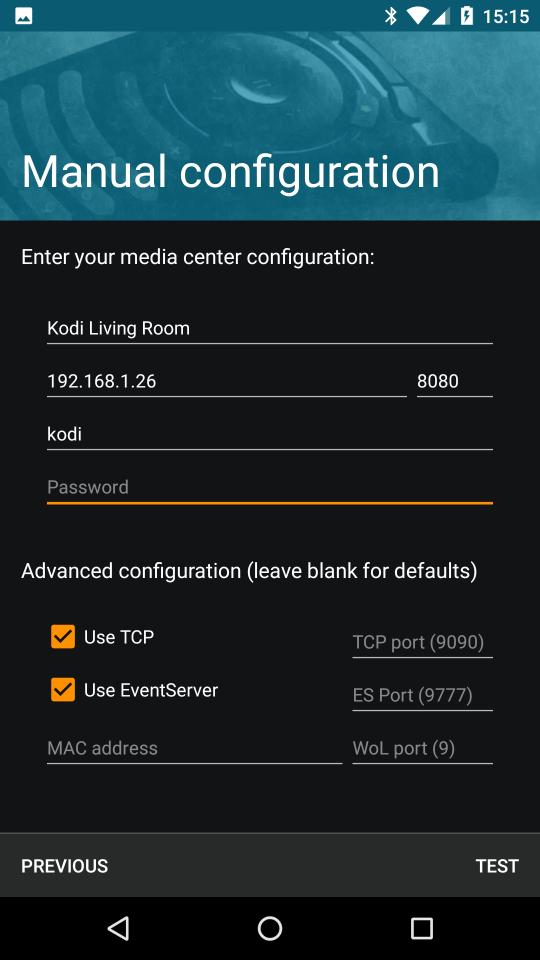
Media center name: Enter any name you like to identify your Kodi instance. For example: "Kodi Living Room" or "Kodi Bedroom"
Address: Enter the IP-address of your Kodi instance, which can be found under Settings -> System information -> Network. For example: 192.168.1.26
Port: Enter the port of the webserver. If you have changed the port, just look at Settings/Services/Control#Web_server to what it is set and use that. The default is: 8080
Username: Enter the username for the Kodi instance. Check the webserver settings if you have changed the username. The default is: kodi
Password: Per default there is no username set. If you have changed that, just use the password you have given.
Use TCP: We recommend to not to touch this setting and leave them blank for defaults.
Use EventServer: We recommend to not to touch this setting and leave them blank for defaults.
MAC address: This is needed if the machine you are running Kodi at is capable of WoL (Wake on LAN) to turn it on via the "magic paket"-method. You need to enter the NICs MAC address for that to work if it is cabapble of WoL.
WoL port (9): This is the default port for the WoL magic paket to be sent to. Leave it blank if you are unsure.
After you entered everything it might look like this:
If everything went well you will see again the "All done!" screen and after finishing the wizard you will be able to control your Kodi instance
Usage
Work in progress
Trouble shooting and FAQ
Work in progress
