Installing: Difference between revisions
Jump to navigation
Jump to search
(→OS) |
m (Bot: Automated text replacement (- XBMC + {{name}} )) |
||
| Line 5: | Line 5: | ||
<section begin="OS" /> | <section begin="OS" /> | ||
{| width="100%" | {| width="100%" | ||
| width="14%" align="center" | {{main page icon|image=Android OS.png|link=HOW-TO:Install | | width="14%" align="center" | {{main page icon|image=Android OS.png|link=HOW-TO:Install {{name}} for Android|title=Android}} | ||
| width="14%" align="center" | <center> | | width="14%" align="center" | <center> | ||
{| | {| | ||
| Line 11: | Line 11: | ||
| style="width:60px;" align="center" | [[File:iOS OS.png|60x60px|center|link=iOS FAQ#Installing]] | | style="width:60px;" align="center" | [[File:iOS OS.png|60x60px|center|link=iOS FAQ#Installing]] | ||
|} | |} | ||
{{big|'''[[HOW-TO:Install | {{big|'''[[HOW-TO:Install {{name}} for iOS|iOS]] / [[HOW-TO:Install {{name}} on ATV2|ATV2]]'''}}</center> | ||
| width="14%" align="center" | {{main page icon|image=Linux OS.png|link=HOW-TO:Install | | width="14%" align="center" | {{main page icon|image=Linux OS.png|link=HOW-TO:Install {{name}} for Linux|title=Linux}} | ||
| width="14%" align="center" | {{main page icon|image=Mac OS.png|link=HOW-TO:Install | | width="14%" align="center" | {{main page icon|image=Mac OS.png|link=HOW-TO:Install {{name}} for Mac|title=Mac OS X}} | ||
| width="14%" align="center" | {{main page icon|image=Windows OS.png|link=HOW-TO:Install | | width="14%" align="center" | {{main page icon|image=Windows OS.png|link=HOW-TO:Install {{name}} for Windows|title=Windows}} | ||
<includeonly>| width="14%" align="center" | {{main page icon|image=XBMCbuntu.png|link=XBMCbuntu|title=XBMCbuntu}} | <includeonly>| width="14%" align="center" | {{main page icon|image=XBMCbuntu.png|link=XBMCbuntu|title=XBMCbuntu}} | ||
| width="14%" align="center" | {{main page icon|image=Raspberry Pi Logo.png|link=HOW-TO:Install | | width="14%" align="center" | {{main page icon|image=Raspberry Pi Logo.png|link=HOW-TO:Install {{name}} on Raspberry Pi|title=Raspberry Pi}}</includeonly> | ||
|} | |} | ||
<section end="OS" /> | <section end="OS" /> | ||
| Line 28: | Line 28: | ||
| width="50%" | {{big|'''[[OpenELEC]]'''}}<br />{{#lst:OpenELEC|intro}} | | width="50%" | {{big|'''[[OpenELEC]]'''}}<br />{{#lst:OpenELEC|intro}} | ||
|- valign="top" | |- valign="top" | ||
| [[File:LiveUSB Instal - logo.png|60x60px|link=Run or install | | [[File:LiveUSB Instal - logo.png|60x60px|link=Run or install {{name}} from USB drive]] | ||
| {{big|'''[[Run or install | | {{big|'''[[Run or install {{name}} from USB drive]]'''}}<br />{{#lst:Run or install {{name}} from USB drive|intro}} | ||
|} | |} | ||
| Line 38: | Line 38: | ||
{| width="100%" cellpadding="5" | {| width="100%" cellpadding="5" | ||
|- valign="top" | |- valign="top" | ||
| [[File:Raspberry Pi Logo.png|60x60px|link=HOW-TO:Install | | [[File:Raspberry Pi Logo.png|60x60px|link=HOW-TO:Install {{name}} on Raspberry Pi]] | ||
| width="50%" | {{big|'''[[HOW-TO:Install | | width="50%" | {{big|'''[[HOW-TO:Install {{name}} on Raspberry Pi|Raspberry Pi]]'''}}<br />{{#lst:Raspberry Pi|intro}} | ||
| [[File:Apple TV 1 white BG.png|60x60px|link=HOW-TO:Install | | [[File:Apple TV 1 white BG.png|60x60px|link=HOW-TO:Install {{name}} on Apple TV 1 (Linux)]] | ||
| width="50%" | {{big|'''[[HOW-TO:Install | | width="50%" | {{big|'''[[HOW-TO:Install {{name}} on Apple TV 1 (Linux)|Apple TV 1 (silver)]]'''}}<br />{{#lst:Apple TV 1|intro}} | ||
|- valign="top" | |- valign="top" | ||
| [[File:Apple TV 2nd Generation.jpg|60x60px|link=HOW-TO:Install | | [[File:Apple TV 2nd Generation.jpg|60x60px|link=HOW-TO:Install {{name}} on Apple TV 2]] | ||
| {{big|'''[[HOW-TO:Install | | {{big|'''[[HOW-TO:Install {{name}} on Apple TV 2|Apple TV 2 (black)''']]}}<br />{{#lst:ATV2|intro}} | ||
| [[File:OUYA.png|60x60px|link=HOW-TO:Install | | [[File:OUYA.png|60x60px|link=HOW-TO:Install {{name}} on OUYA]] | ||
| {{big|'''[[HOW-TO:Install | | {{big|'''[[HOW-TO:Install {{name}} on OUYA|OUYA]]'''}}<br />{{#lst:OUYA|intro}} | ||
|} | |} | ||
Revision as of 01:06, 5 June 2014
XBMC can be installed on a wide range of supported hardware, from normal desktop computers, ARM powered tablets and phones, to tiny set-top-boxes, and more.
OS
Standalone (linux)

|
XBMCbuntu XBMCbuntu |

|
OpenELEC OpenELEC |

|
Run or install XBMC from USB drive Run or install XBMC from USB drive |
Devices
See also: Devices
| Raspberry Pi The Raspberry Pi, Raspberry Pi 2/3 and Raspberry Pi Zero are a series of ARM-powered, credit card-sized single-board computers (developer boards) made in the UK by the non-profit Raspberry Pi Foundation organization for educational and hobbyist purposes. These low power computers are mass produced at very low prices and the high number of units sold gives it massive community support. As Kodi HTPC, all Raspberry Pis support full 1080p (Full HD) video playback of the most commonly used codecs, most if not all Kodi add-ons, and have reasonably responsive GUI performance. |
File:Apple TV 1 white BG.png | Apple TV 1 (silver) Apple TV 1 | |

|
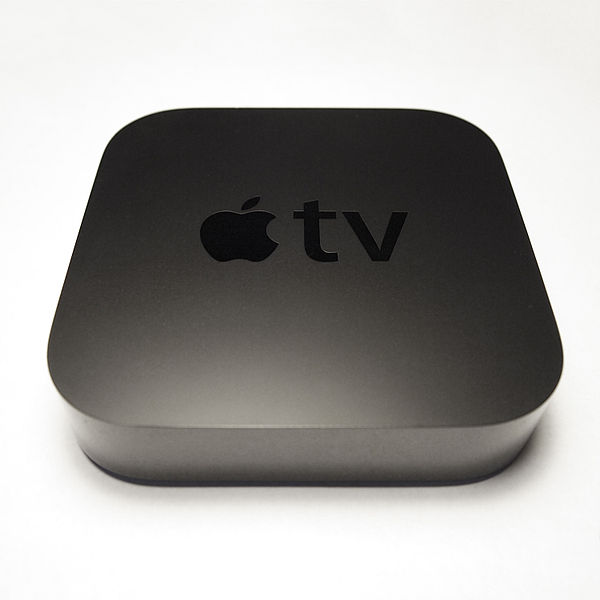
Apple TV 2 (black) ATV2 |

|
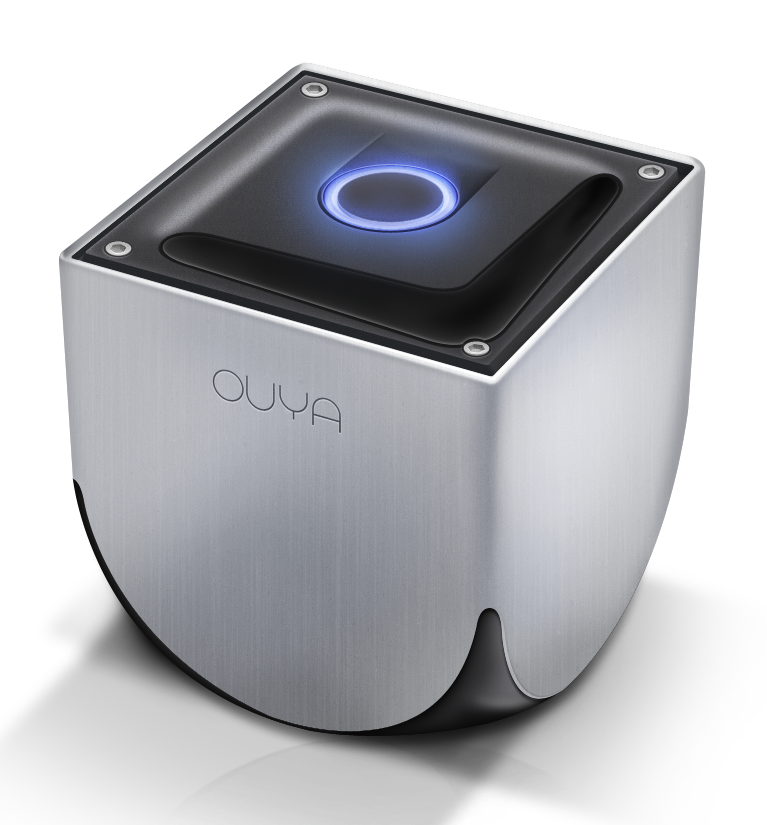
OUYA OUYA |


