Compiling Kodi-Game: Difference between revisions
(Remove section →Compile Addons) |
|||
| Line 28: | Line 28: | ||
== Run Kodi == | == Run Kodi == | ||
Until button map data has been gathered, input needs to be configured manually. Execute <code>ActivateWindow(GameControllers)</code> (which is mapped to "t" until the window can be launched from the GUI). | |||
< | |||
</ | |||
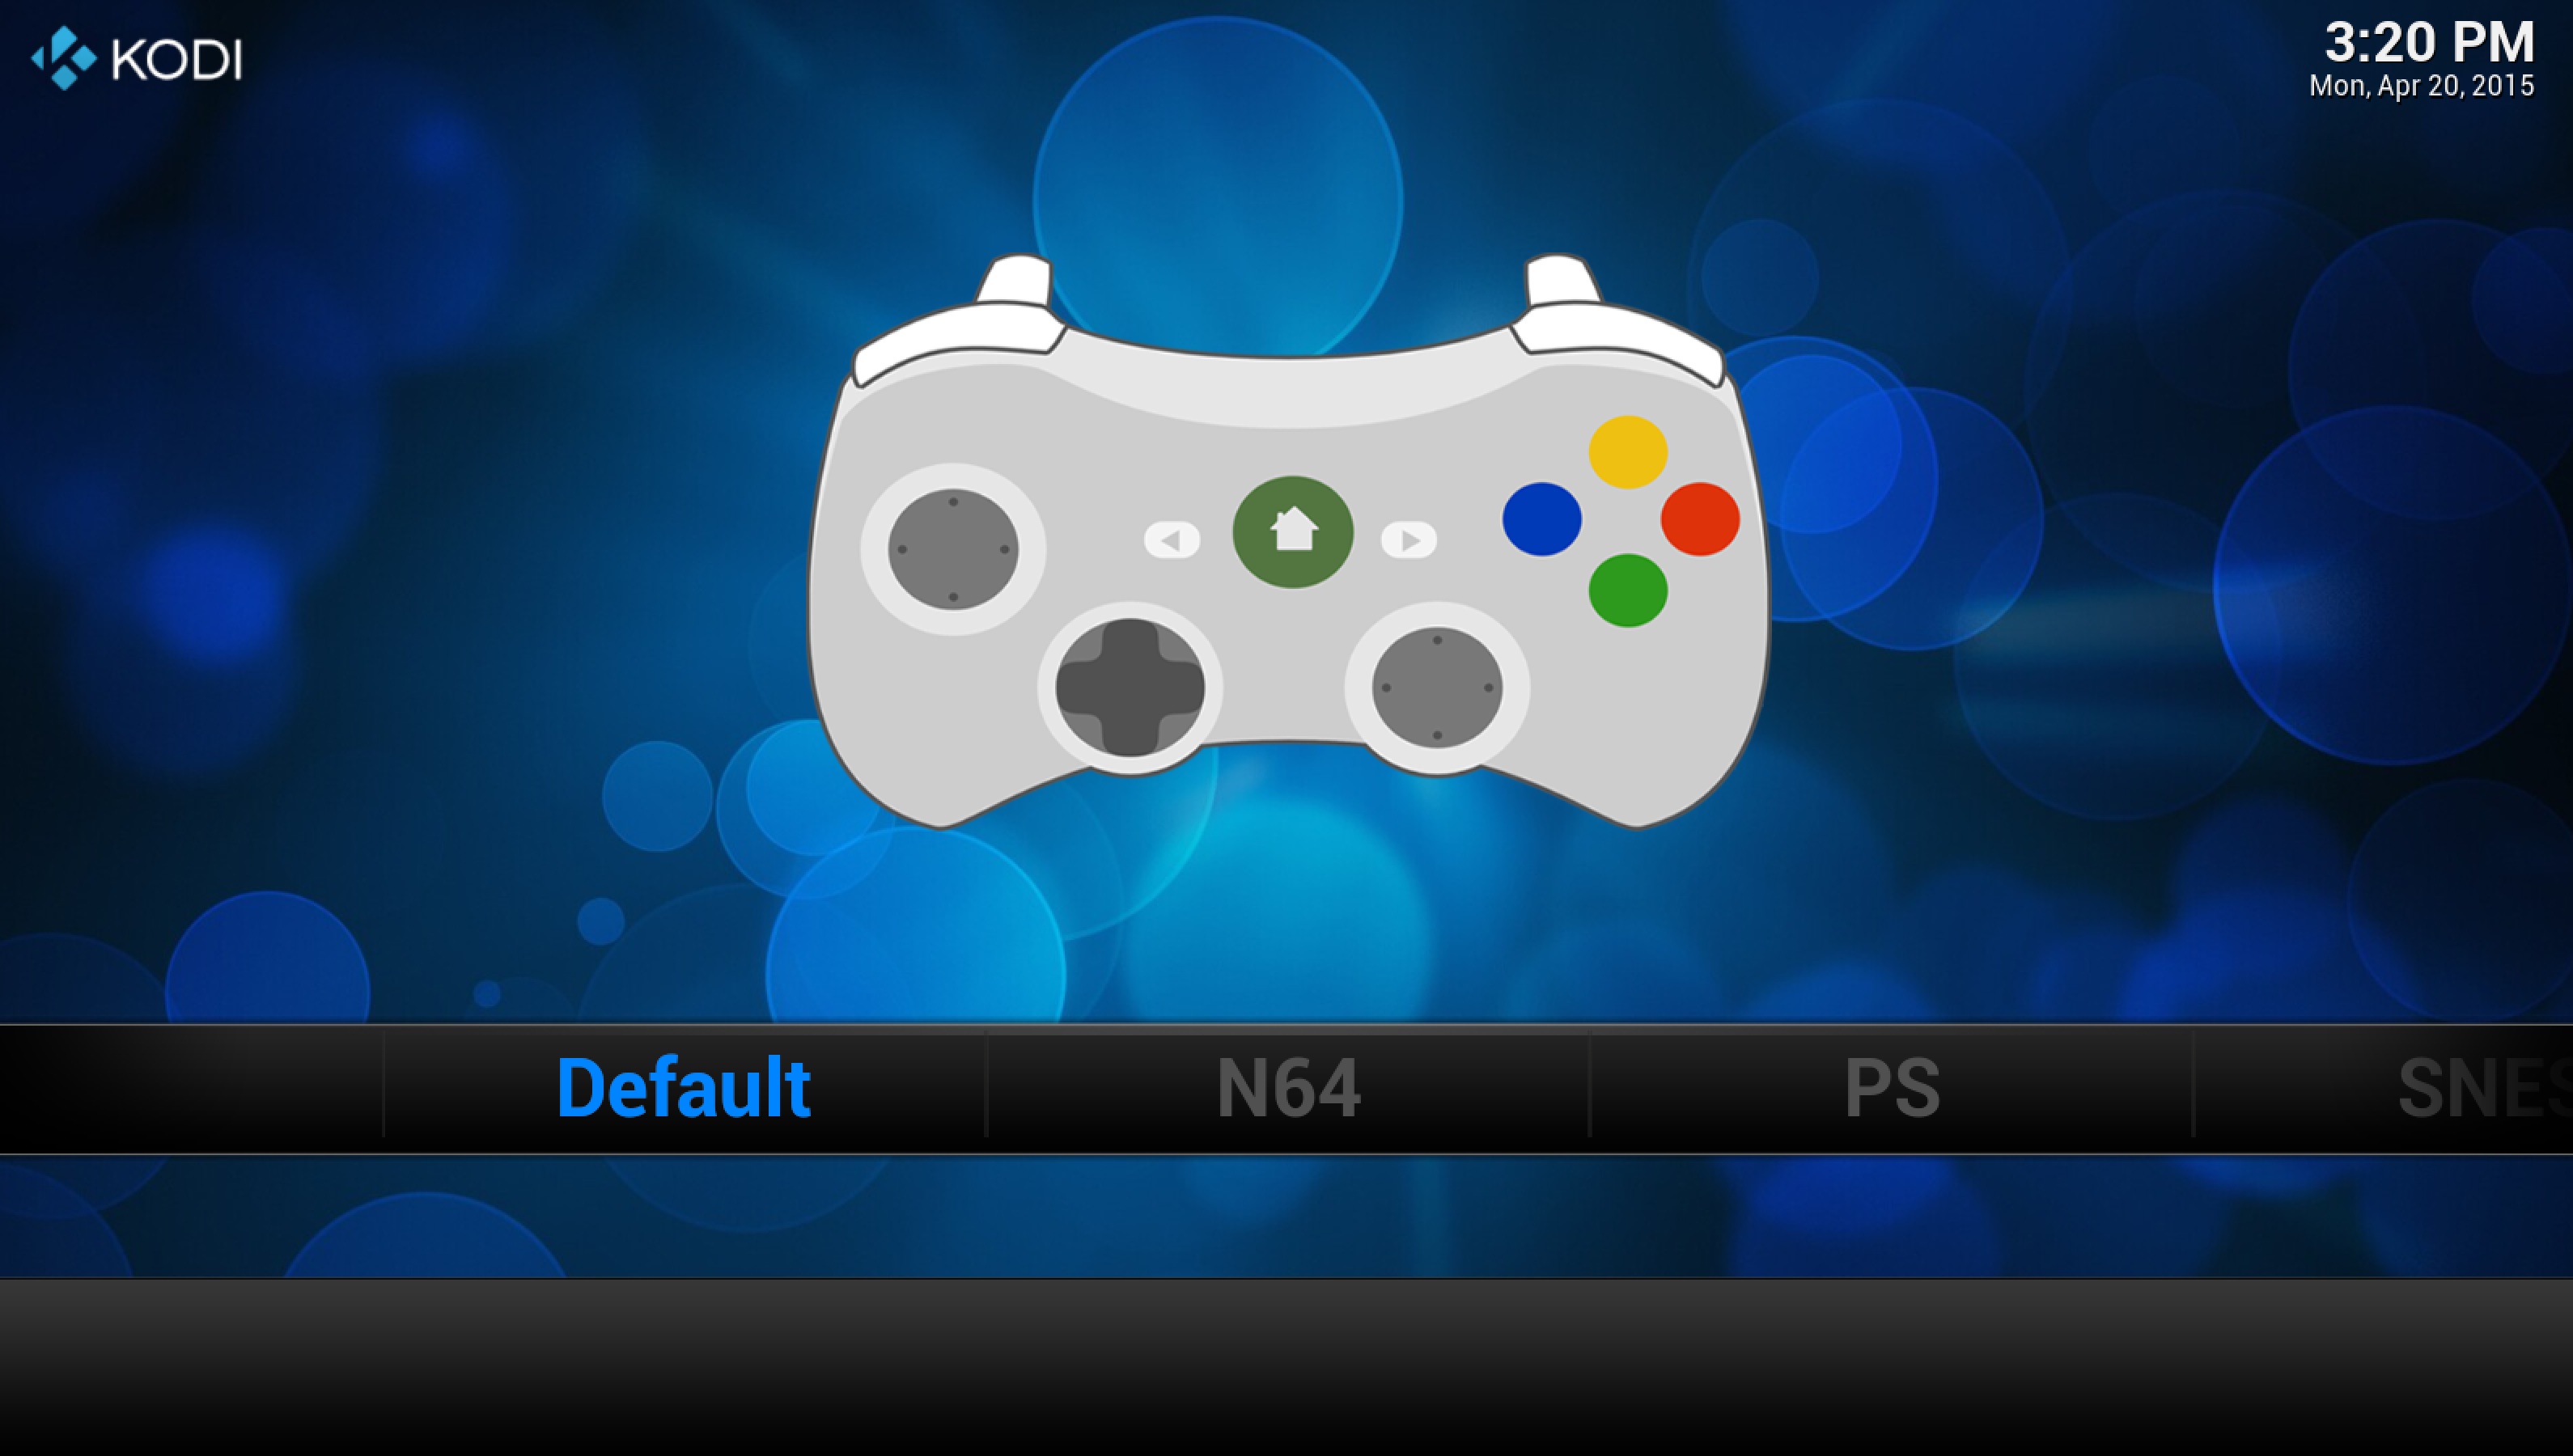
[[File:Controller_configuration_utility.jpg|thumb|600px|left|Controller configuration utility]] | |||
<div style="clear: both"></div> | |||
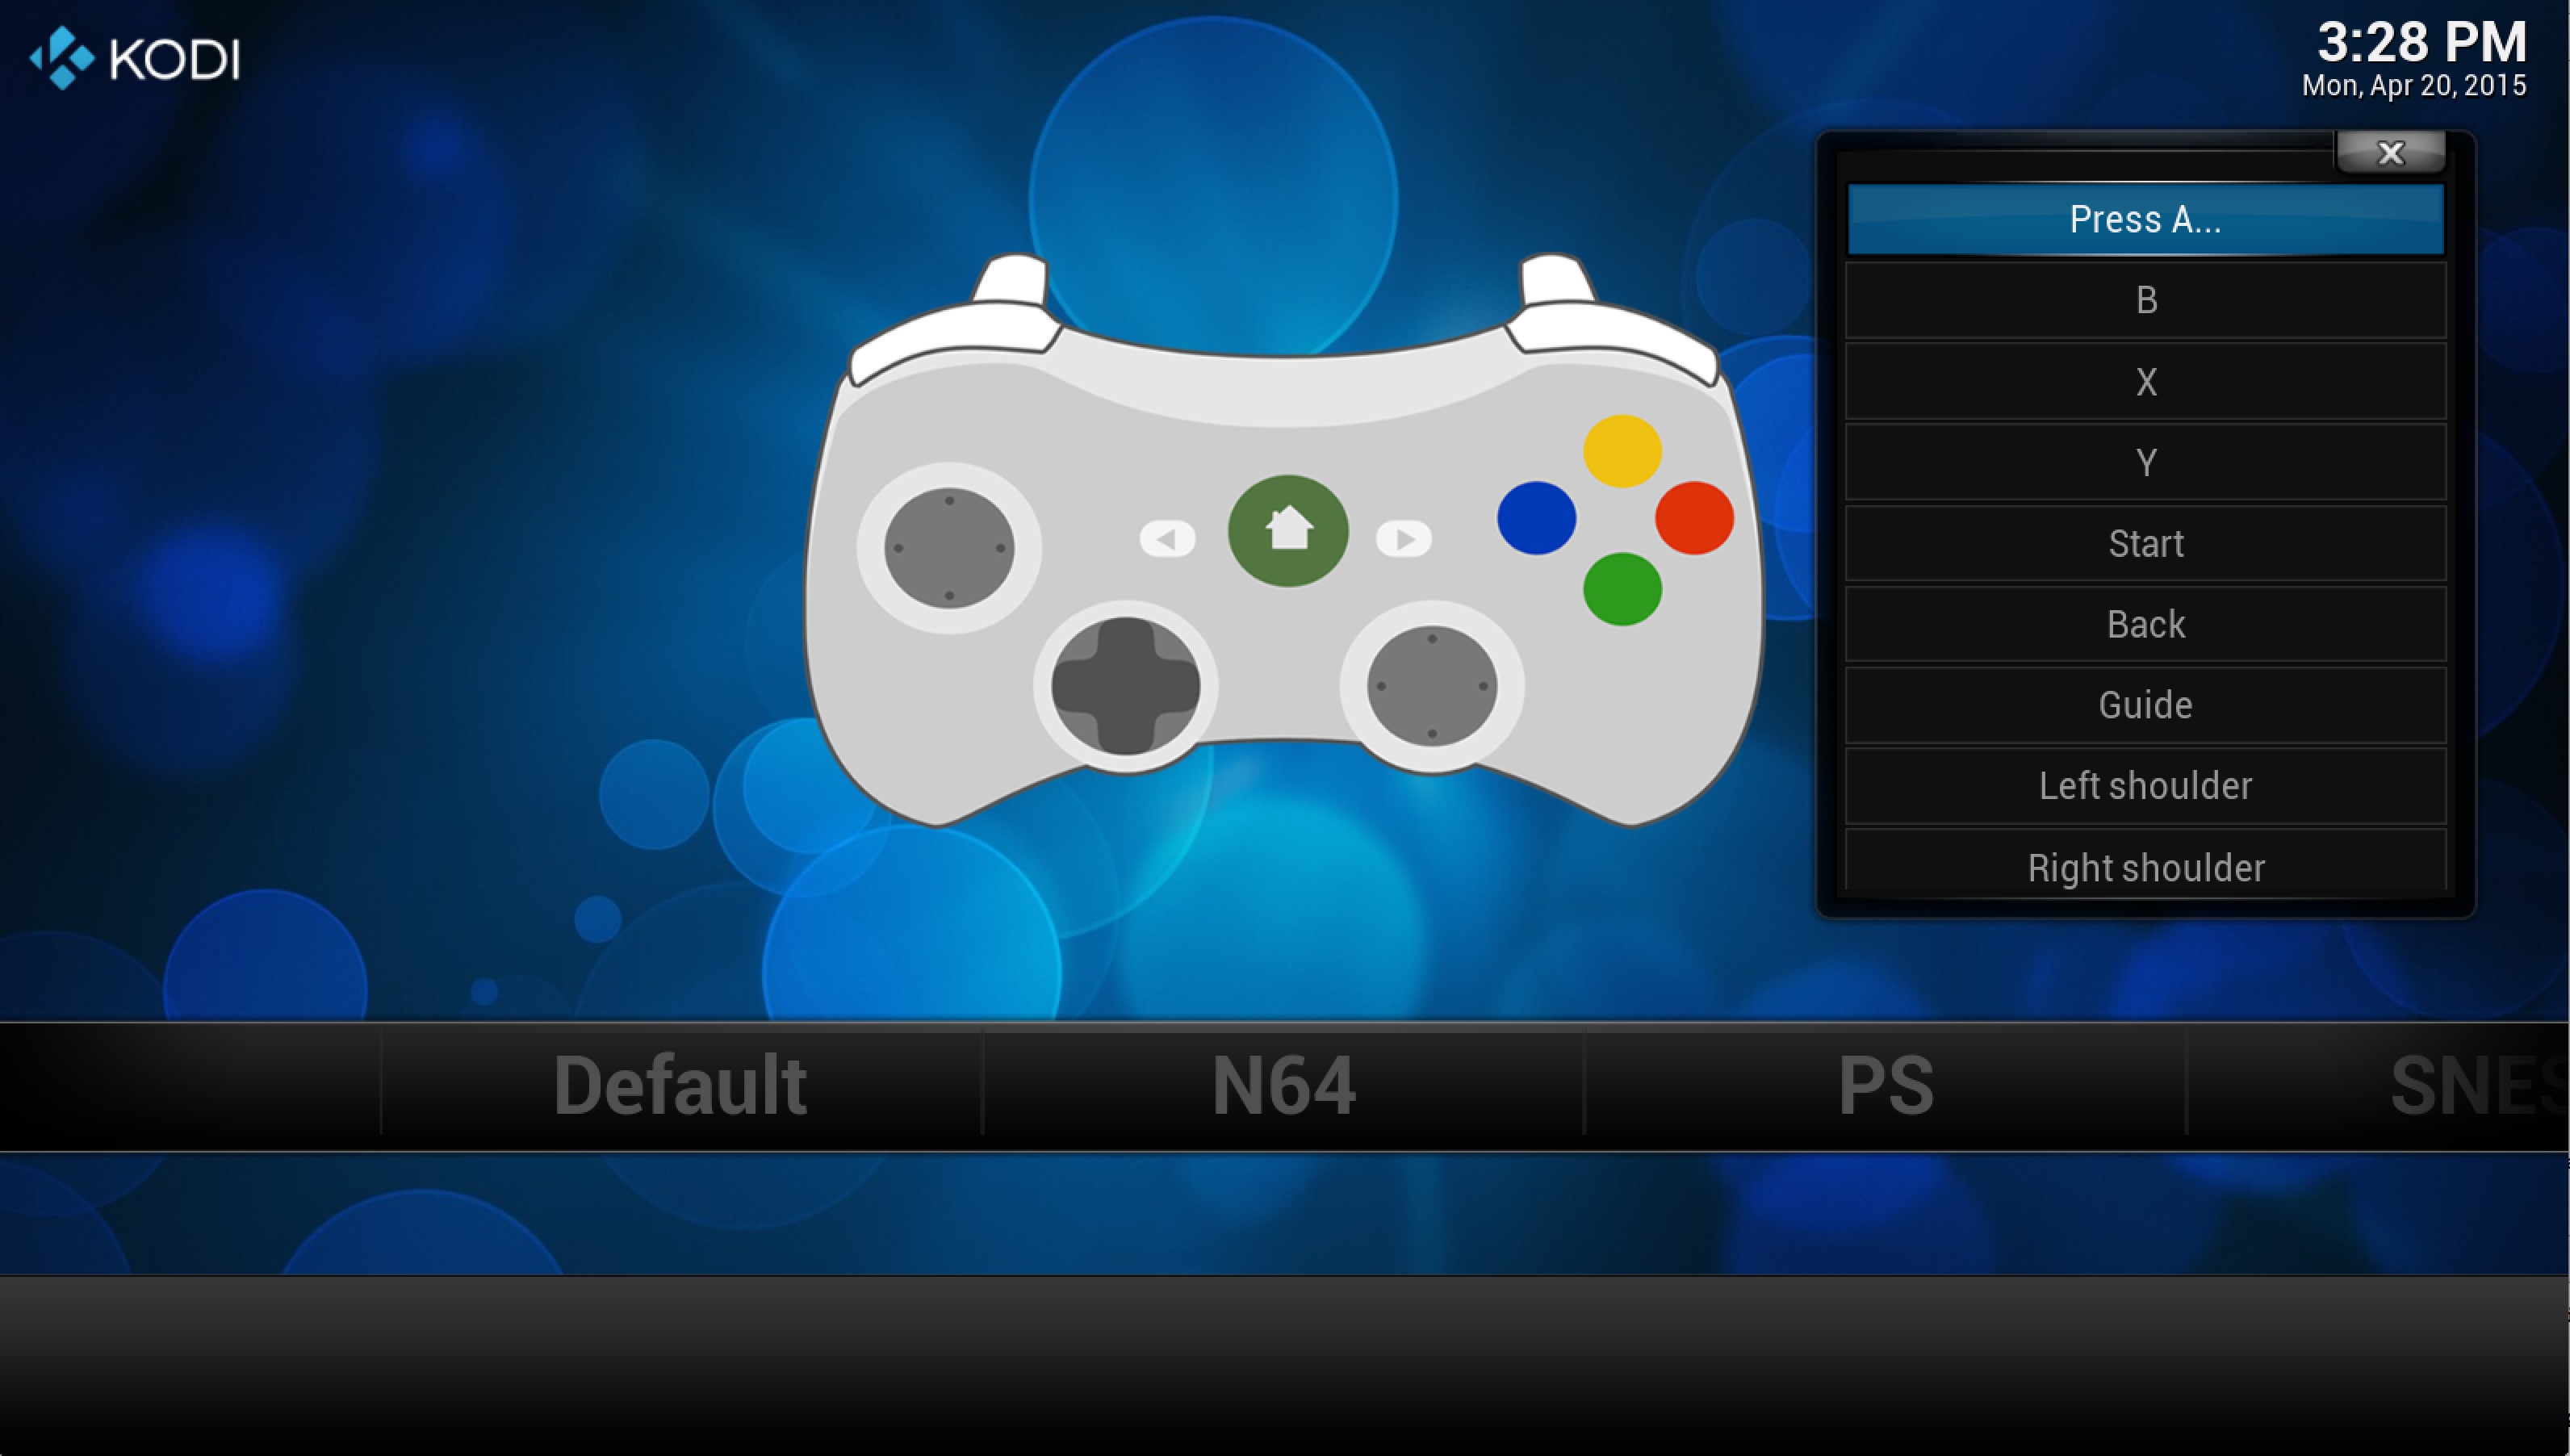
From here, choose a controller, choose a button, and then press the key, button, or trigger that should map to the button. To control Kodi with a physical controller, it will need to be mapped to the "Default" controller. To control NES emulators, the keyboard or controller needs to be mapped to the "NES" controller in the configuration utility. | |||
[[File:Mapping a button.jpg|thumb|600px|left|Mapping a button]] | |||
<div style="clear: both"></div> | |||
Once you have mapped a keyboard or controller to an emulator's platform's controller, you can control that emulator. | |||
If you have troubles following this guide please write to the [http://forum.kodi.tv/forumdisplay.php?fid=194 forum] or ask for help in the #kodi-game IRC channel. This page will then be updated to be more helpful. | |||
[[Category:Development]] | [[Category:Development]] | ||
[[Category:RetroPlayer]] | [[Category:RetroPlayer]] | ||
Revision as of 22:41, 20 April 2015
This tutorial will show you the necessary steps to compile and run the Kodi-Game branch on an Ubuntu system.
Compiling Kodi and binary add-ons
Start by following the steps in the Kodi compile HOWTO. The only difference is you will need to clone the RetroPlayer branch
git clone https://github.com/garbear/xbmc.git
It is recommended that you build add-ons out-of-tree (other compiling options are available here).
mkdir binary-addons
cd binary-addons

cmake -DADDONS_TO_BUILD="peripheral.joystick game.libretro game.libretro.nestopia" \
      -DCMAKE_BUILD_TYPE=Debug \
      -DCMAKE_INSTALL_PREFIX=$HOME/workspace/xbmc/addons \
      -DPACKAGE_ZIP=1 \
      $HOME/workspace/xbmc/project/cmake/addons

make
Run Kodi
Until button map data has been gathered, input needs to be configured manually. Execute ActivateWindow(GameControllers) (which is mapped to "t" until the window can be launched from the GUI).
From here, choose a controller, choose a button, and then press the key, button, or trigger that should map to the button. To control Kodi with a physical controller, it will need to be mapped to the "Default" controller. To control NES emulators, the keyboard or controller needs to be mapped to the "NES" controller in the configuration utility.
Once you have mapped a keyboard or controller to an emulator's platform's controller, you can control that emulator.
If you have troubles following this guide please write to the forum or ask for help in the #kodi-game IRC channel. This page will then be updated to be more helpful.

