Adding video sources: Difference between revisions
(Modify Remote Shares) |
(v21 Updates) |
||
| (16 intermediate revisions by 4 users not shown) | |||
| Line 1: | Line 1: | ||
{{VideoLibraryCreate}} | {{VideoLibraryCreate}} | ||
{{mininav|[[Video library]]}} | {{mininav| [[Video library]] |[[HOW-TO:Create_Video_Library|Create Video Library]] }} | ||
= Introduction = | = Introduction = | ||
{{warning|For media files that are stored on network sources: [[UPnP]] cannot be used to create a library. It is recommended that you share your media using another protocol such as [[SMB]].}} | |||
This | This step of the guide will enable you to complete the following actions: | ||
#''' | #'''Add Sources''' - Add the Source folder to {{Kodi}} | ||
#'''Set | #'''Set Content''' - Advise {{kodi}} what type of media is in the Source | ||
#'''Scraper Settings''' - | #'''Scraper Settings''' - Adjust the scraper settings to your preferences, or change to a different scraper | ||
#'''Add to Library''' - Scrape | #'''Add to Library''' - Scrape the media into the library | ||
Each section is a direct continuation of the previous section, and only separated for clarity. | {{note|Each section is a direct continuation of the previous section, and only separated for clarity.}} | ||
= Adding Sources = | = Adding Sources = | ||
<gallery widths=500px heights=283px> | <gallery mode="packed" widths="500px" heights="283px"> | ||
File:Quick-start-1.png|'''{{big|Step 1}}:''' Select '''VIDEOS''' in the home screen menu. <br />(Or select ''Enter files section'' if that button is visible) | File:Quick-start-1.png|'''{{big|Step 1}}:''' Select '''VIDEOS''' in the home screen menu. <br />(Or select ''Enter files section'' if that button is visible) | ||
File:Quick-start-2.png|'''{{big|Step 2}}:''' Select '''FILES''' | File:Quick-start-2.png|'''{{big|Step 2}}:''' Select '''FILES''' | ||
File:Quick-start-2.1.png|'''{{big|Step 3}}:''' Select '''ADD VIDEOS...'''.<br /> | File:Quick-start-2.1.png|'''{{big|Step 3}}:''' Select '''ADD VIDEOS...'''.<br /> | ||
File:Quick-start-3.png|'''{{big|Step 4}}:''' Select the '''BROWSE''' | |||
File:Quick-start-3.png|'''{{big|Step 4}}:''' Select the '''BROWSE''' | File:Quick-start-4.png|'''{{big|Step 5}}:''' Browse to locate your Source folder. Enter the Source folder so you see your titles. Select '''OK''' | ||
File:Quick-start-4.png|'''{{big|Step 5}}:''' | File:Quick-start-5.png|'''{{big|Step 6}}:''' Either use the default name or rename the Source. The name doesn't matter to Kodi, but keep the names unique for ease of maintenance.<br>Then select '''OK'''. | ||
File:Quick-start-5.png|'''{{big|Step 6}}:''' Either use the default name or rename the Source. The name doesn't matter to Kodi, but keep the names unique for ease of maintenance. Then select '''OK'''. | |||
</gallery> | </gallery> | ||
| Line 36: | Line 29: | ||
= Set Content = | = Set Content = | ||
<gallery widths= | <gallery mode="packed" widths="600px" heights="337px"> | ||
File:Quick-start- | File:Quick-start-6a.jpg|'''{{big|Step 7}}:''' The set content window will display. This is where the media type is set. <br>Select the option '''This directory contains'''. | ||
File:Quick-start-6.1.png|'''{{big|Step 8}}:''' Select the type of media that is in the Source | File:Quick-start-6.1.png|'''{{big|Step 8}}:''' Select the type of media that is in the Source. | ||
</gallery> | </gallery> | ||
;{{ | {| | ||
: | ! style="width: 45%;" | {{resize|1.4em|Set Content for Movies}} | ||
:: | ! style="width: 10%;" | | ||
:: | ! style="width: 45%;" | {{resize|1.4em|Set Content for TV Shows}} | ||
|- | |||
:''' | | style="width: 45%; text-align:center;" | [[File:Set-content-Movies.jpg|600px]]<br>'''{{big|Step 9a}}''': Select '''OK''' when done | ||
:: | | style="width: 10%;" | | ||
| style="width: 45%; text-align:center;" | [[File:Set-content-TV-Shows.jpg|600px]]<br>'''{{big|Step 9b}}''': Select '''OK''' when done | |||
:''' | |- | ||
| || || | |||
|- | |||
| style="width: 40%;" | | |||
;Choose information provider | |||
:Select this setting to change the scraper that this Source uses<br> | |||
:{{note|If your preferred scraper is not listed, use the '''Get more...''' button.}} | |||
:''' | ;Settings | ||
: | :Adjust the scraper settings, '''for this Source only'''. | ||
:{{note|Default movie scraper settings are explained in the wiki page for each scraper.}} | |||
;Movies are in separate folders that match the movie title | |||
:If your movies are in Movie folders, '''Enable''' this setting | |||
:*If '''Enabled''' {{Kodi}} will use the '''folder''' name to scrape the movie | |||
::*Kodi will [[NFO files/Movies#nfo Placement| load NFO files]] from NFO files named '''movie.nfo''', but will fallback to ''<videofilename>.nfo'' as required | |||
::*Kodi will load artwork files using the short format ''<artworktype>.jpg/png'' filenames, but will fallback to the longer ''<NameOfVideoFile>-<artworktype>.jpg/png'' format as required. | |||
:*If '''Disabled''' {{kodi}} will use the '''filename''' to scrape the movie | |||
::*NFO files must be named the long format ''<MovieFileName>.nfo'' filename. | |||
::*Artwork files must be named using the long format ''<NameOfVideoFile>-<artworktype>.jpg/png'' filenames. | |||
; | ;Scan Recursively | ||
: | :Used for deep folder structures such as when additional Genre or Movie Set folders are used. Will allow the video scanner to search deeper to find the playable file | ||
;Selected folder contains a single video; | |||
:Available only when you have selected '''''Change content''''' from the '''''[[Basic_controls#Context_Menu|Context Menu]]''''' on a Movie folder, instead of the Source folder. Allows you to adjust scraper settings for a particular movie which is different to the rest of the Source. | |||
;Exclude path from library updates | |||
:Prevents the Source from being scanned when an Update Library is running. When '''Enabled''' it will speed up the Update Library process in large libraries if the Source no longer has content added to it. | |||
;Skip filename matching for external audio tracks | |||
: When enabled Kodi skips name checks of external audio files in the folder and returns '''all''' found audio tracks to the player for the video. <ref>https://github.com/xbmc/xbmc/pull/16273</ref> | |||
| style="width: 10%;" | | |||
| style="width: 45%; text-align:left; vertical-align:top;" | | |||
;Choose information provider | |||
{{ | :Select this setting to change the scraper that this Source uses<br> | ||
:{{note|If your preferred scraper is not listed, use the '''Get more...''' button.}} | |||
;Settings | |||
:Adjust the scraper settings, '''for this Source only'''. | |||
:{{note|Default movie scraper settings are explained in the wiki page for each scraper.}} | |||
;Selected folder contains a single TV show | |||
:Allows you to change the Content settings for a particular TV Show without affecting the entire Source. Disabled when a Source is selected. Becomes Enabled when a TV Show folder is selected. | |||
;Exclude path from library updates | |||
:Prevents the Source from being scanned when an Update Library is running. When '''Enabled''' it will speed up the Update Library process in large libraries if the Source no longer has content added to it. | |||
;Skip filename matching for external audio tracks | |||
: When enabled Kodi skips name checks of external audio files in the folder and returns '''all''' found audio tracks to the player for the video. <ref>https://github.com/xbmc/xbmc/pull/16273</ref> | |||
|} | |||
'''Note:''' Additional scrapers are available. | |||
{| class="mw-collapsible mw-collapsed wikitable" style="margin: 0.0em 0 0.0em 0em; {{border-radius|5px}}; {{box-shadow|0px|1px|3px|#878787}};" | |||
! scope="row" style="width:500px; background-color:#dfedf0; text-align:left;"| List of Movie scrapers compatible with v20 Nexus | |||
|- | |||
| | |||
<dpl> | |||
category = Omega_add-on_repository | |||
category = Movie scraper add-ons | |||
notcategory = Broken add-ons | |||
</dpl> | |||
|} | |||
{| class="mw-collapsible mw-collapsed wikitable" style="margin: 0.0em 0 0.0em 0em; {{border-radius|5px}}; {{box-shadow|0px|1px|3px|#878787}};" | |||
{{# | ! scope="row" style="width:500px; background-color:#dfedf0; text-align:left;"| List of TV Show scrapers compatible with v20 Nexus | ||
|- | |||
| | |||
<dpl> | |||
category = Omega_add-on_repository | |||
category = TV scraper add-ons | |||
notcategory = Broken add-ons | |||
</dpl> | |||
|} | |||
{| class="mw-collapsible mw-collapsed wikitable" style="margin: 0.0em 0 0.0em 0em; {{border-radius|5px}}; {{box-shadow|0px|1px|3px|#878787}};" | |||
! scope="row" style="width:500px; background-color:#dfedf0; text-align:left;"| List of Music Video scrapers compatible with v20 Nexus | |||
|- | |||
| | |||
<dpl> | |||
category = Omega_add-on_repository | |||
category = Category:Music_video_scraper_add-ons | |||
notcategory = Broken add-ons | |||
</dpl> | |||
|} | |||
= Add to Library = | = Add to Library = | ||
<gallery widths= | <gallery mode="packed" widths="600px" heights="337px"> | ||
File:Quick-start-8.png|'''{{big|Step 10}}:''' Press '''Yes''' to scrape the content to the library <br /> | File:Quick-start-8.png|'''{{big|Step 10}}:''' Press '''Yes''' to scrape the content to the library <br />If '''No''' is selected, it can be scanned later from the '''''[[Basic_controls#Context_Menu|Context Menu]]''''' of the Source | ||
</gallery> | </gallery> | ||
<section end="adding video" /> | <section end="adding video" /> | ||
Once you press '''Yes''', {{kodi}} will scan your library and attempt to match each title in your library to the title at the site of the Information Provider. If a match is found, the metadata and artwork | * Once you press '''Yes''', {{kodi}} will scan your library and attempt to match each title in your library to the title at the site of the Information Provider. If a match is found, the metadata and artwork are downloaded and used for the library display. | ||
* Depending upon the size of your library, this could take some time. A single movie could take approx 30 seconds, a library of 400 movies could take over an hour. | |||
When the scraping process is complete, be sure to check the '''''[[Event_Log|Event Log]]''''' to view any titles that were not added to the library, which is normally due to incorrect naming. '''''See... [[Incorrect_and_missing_videos|Scraping Problems]]''''' | When the scraping process is complete, be sure to check the '''''[[Event_Log|Event Log]]''''' to view any titles that were not added to the library, which is normally due to incorrect naming. '''''See... [[Incorrect_and_missing_videos|Scraping Problems]]''''' | ||
<center>'''{{big|{{green|At this point, you should now have a fully functioning video library. Repeat the steps on this page to add the remainder of your media.}}}}</center> | <center>'''{{big|{{green|At this point, you should now have a fully functioning video library. Repeat the steps on this page to add the remainder of your media Sources.}}}}'''</center> | ||
= References = | |||
<references /> | |||
<center> | |||
{| style="border: 1px solid black;" | |||
| scope="row" rowspan="2" style=" text-align:center;" | [[File:Mergefrom.gif|60px|link=Naming_video_files/Episodes]] | |||
| style="width:200px; text-align:center;" | '''Previous step''' | |||
|- | |||
| style="width:200px; text-align:center;" | '''[[Naming_video_files/Episodes|Episodes Setup]]''' | |||
|}</center> | |||
{{top}} | {{top}} | ||
{{updated|21}} | |||
[[Category:Karellen]] | [[Category:Karellen]] | ||
[[Category:Video library]] | [[Category:Video library]] | ||
Latest revision as of 02:17, 22 April 2024
| Create Video Libraries |
| 1. The Basics |
| 2. Source Folder |
| 3. Movie Setup |
| 4a. TV Show Setup |
| 4b. Seasons Setup |
| 4c. Episodes Setup |
| 5. Music Videos Setup |
| 6. Add Source & Scrape |
| 7. Scraping Problems |
Introduction
| For media files that are stored on network sources: UPnP cannot be used to create a library. It is recommended that you share your media using another protocol such as SMB. |
This step of the guide will enable you to complete the following actions:
- Add Sources - Add the Source folder to Kodi
- Set Content - Advise Kodi what type of media is in the Source
- Scraper Settings - Adjust the scraper settings to your preferences, or change to a different scraper
- Add to Library - Scrape the media into the library
Note: Each section is a direct continuation of the previous section, and only separated for clarity.
Adding Sources
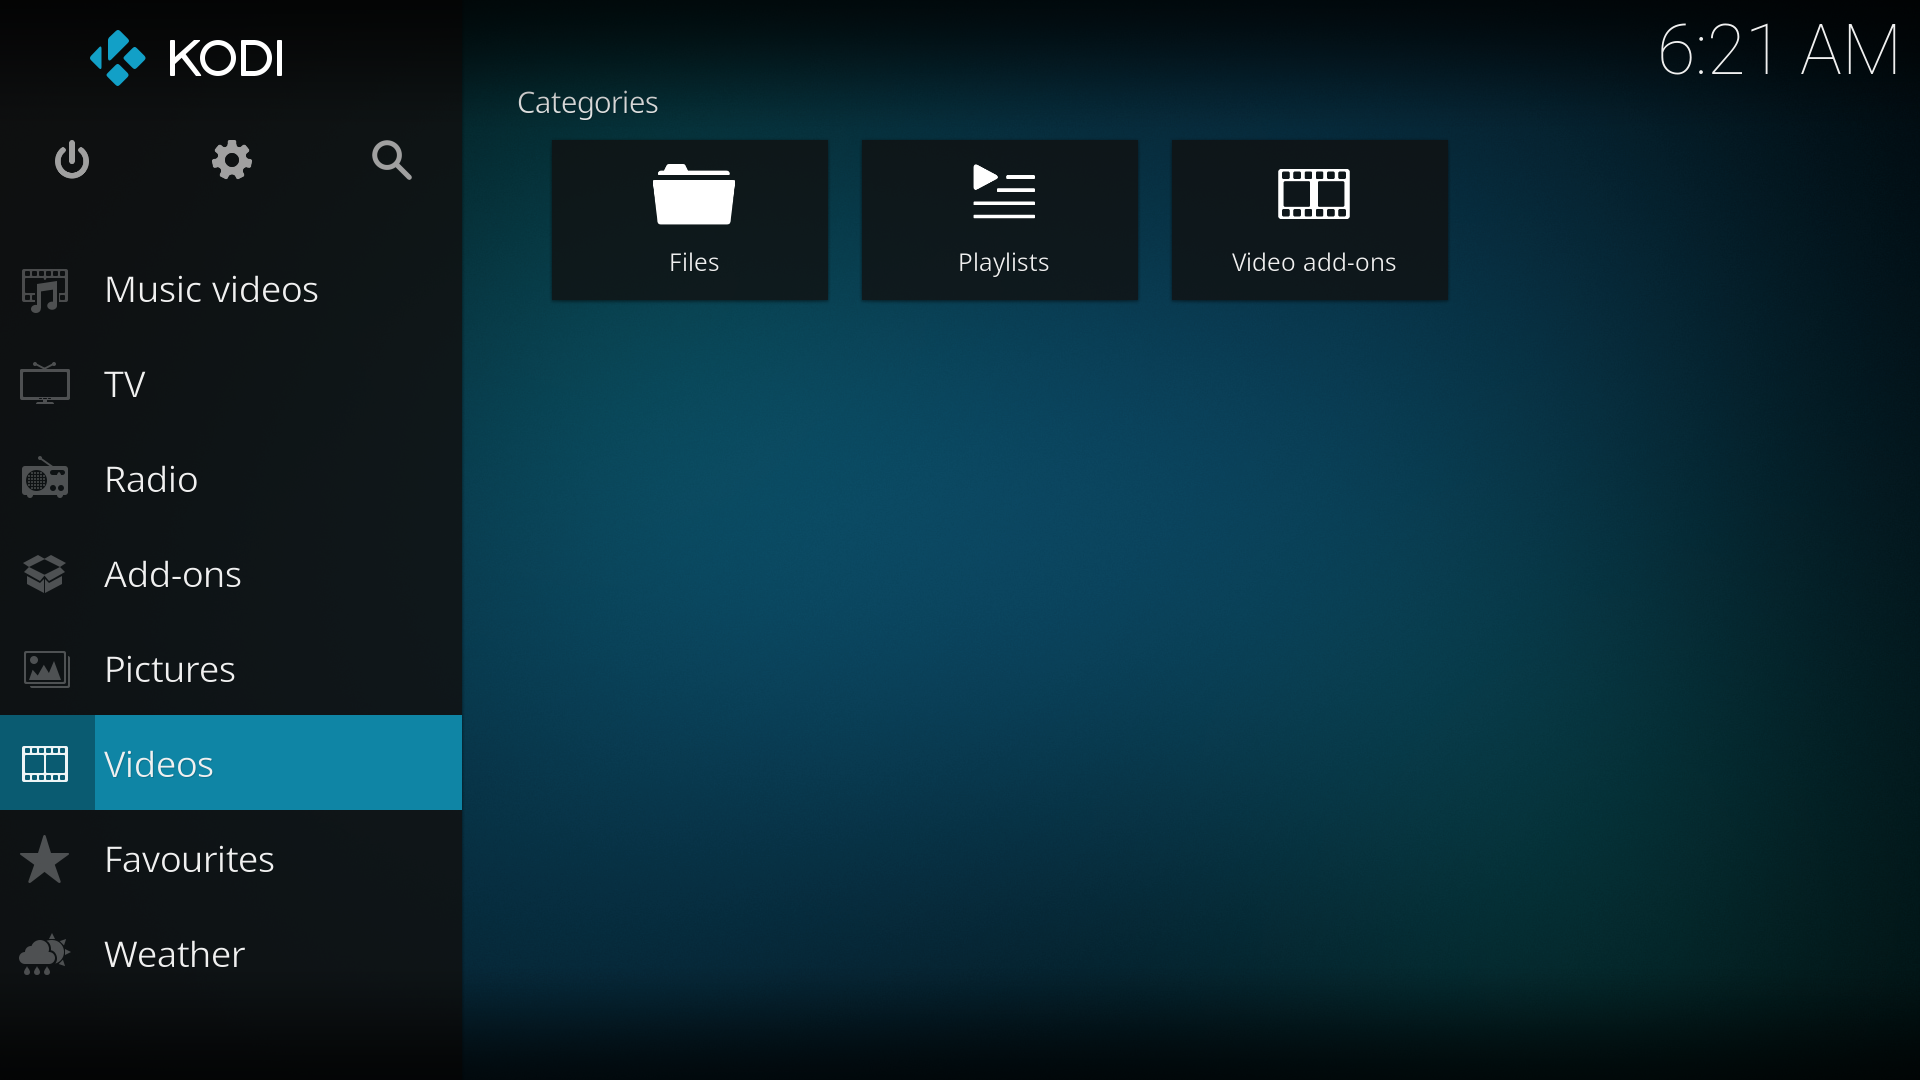
Step 1: Select VIDEOS in the home screen menu.
(Or select Enter files section if that button is visible)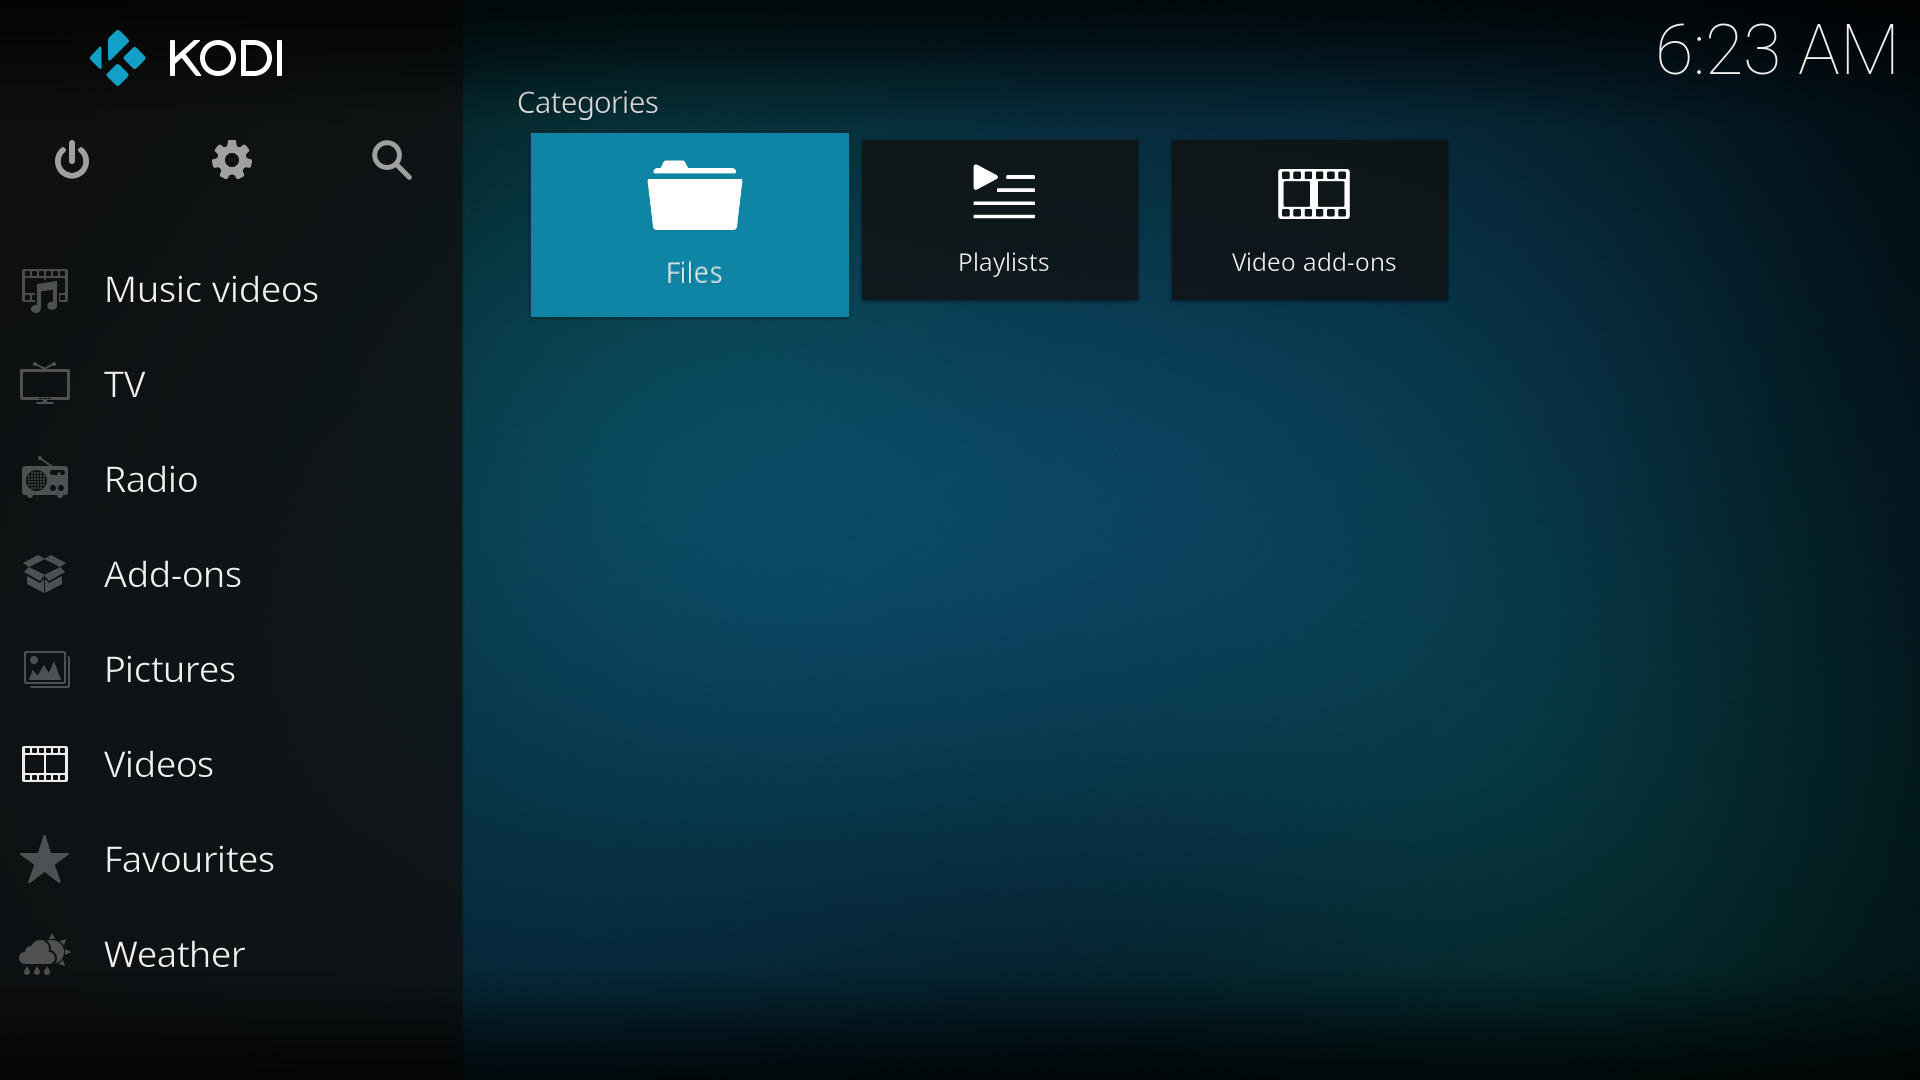
Step 2: Select FILES
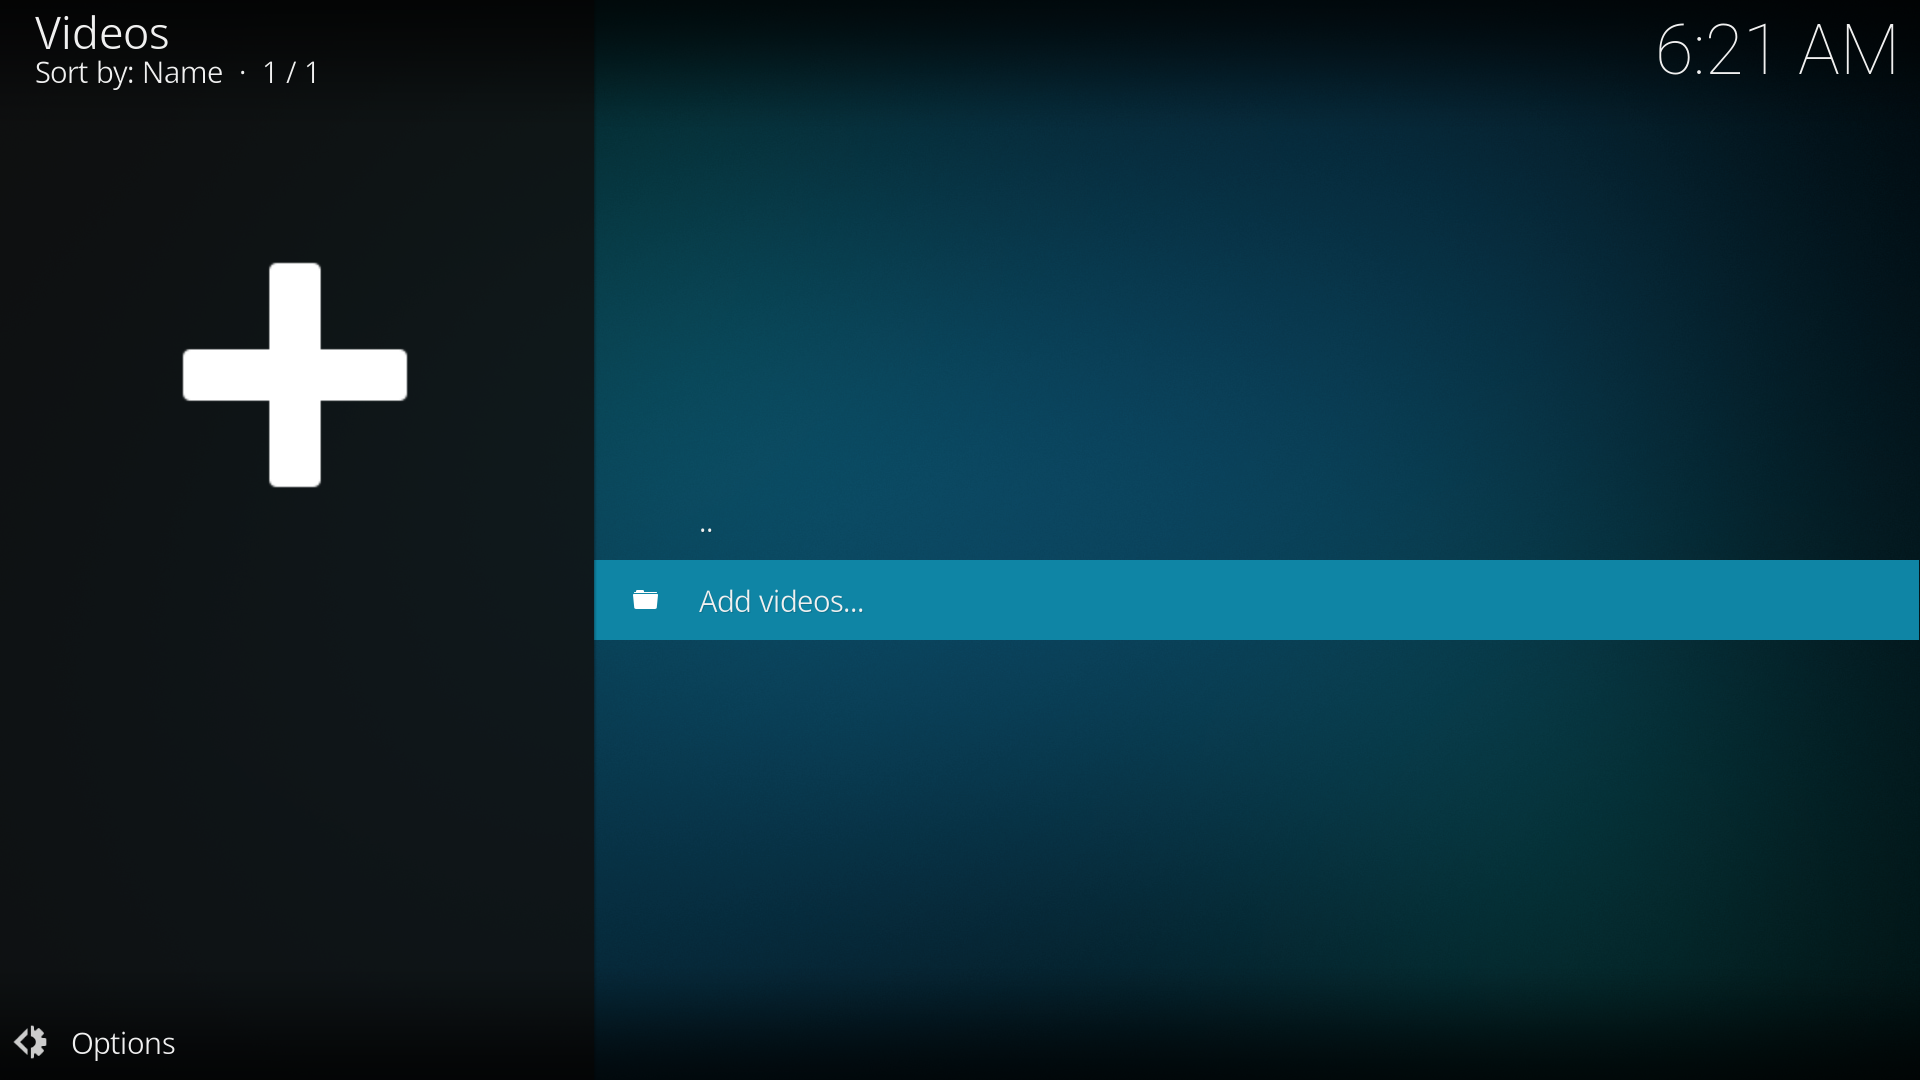
Step 3: Select ADD VIDEOS....
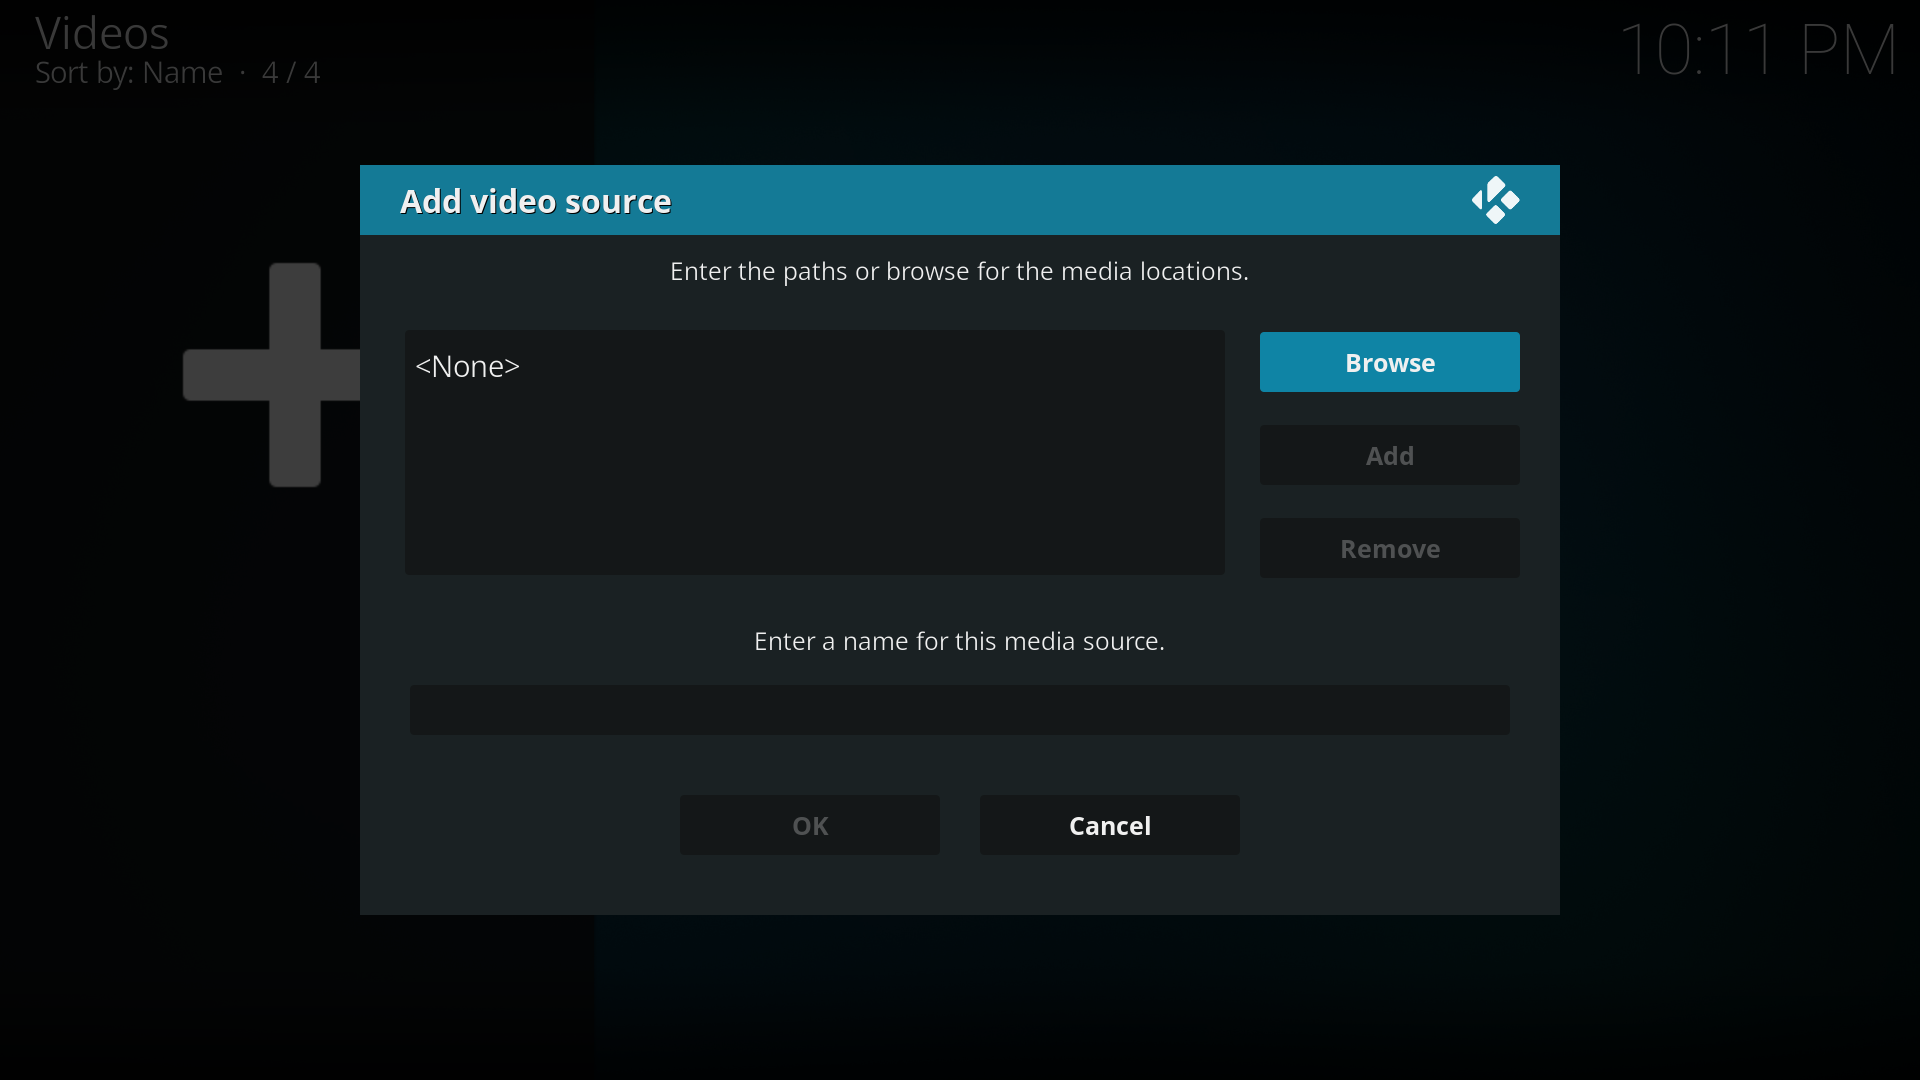
Step 4: Select the BROWSE
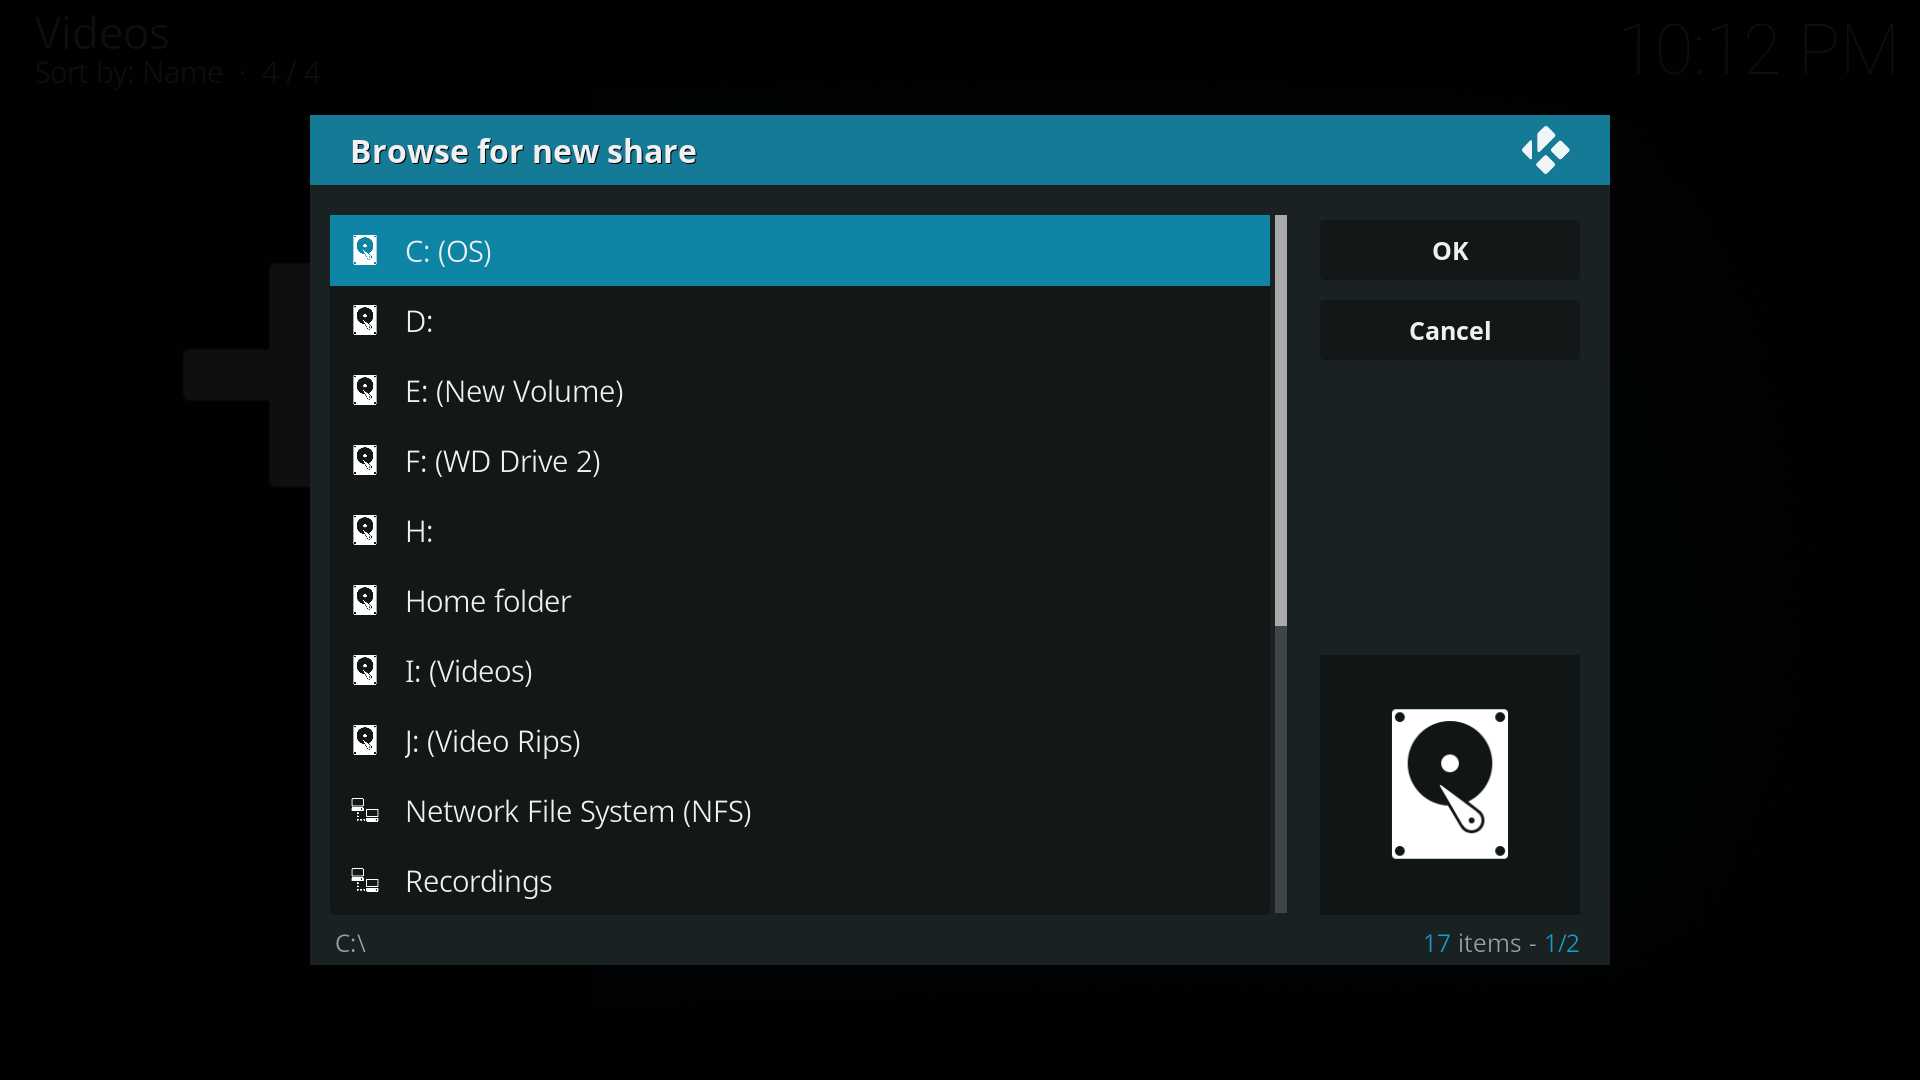
Step 5: Browse to locate your Source folder. Enter the Source folder so you see your titles. Select OK
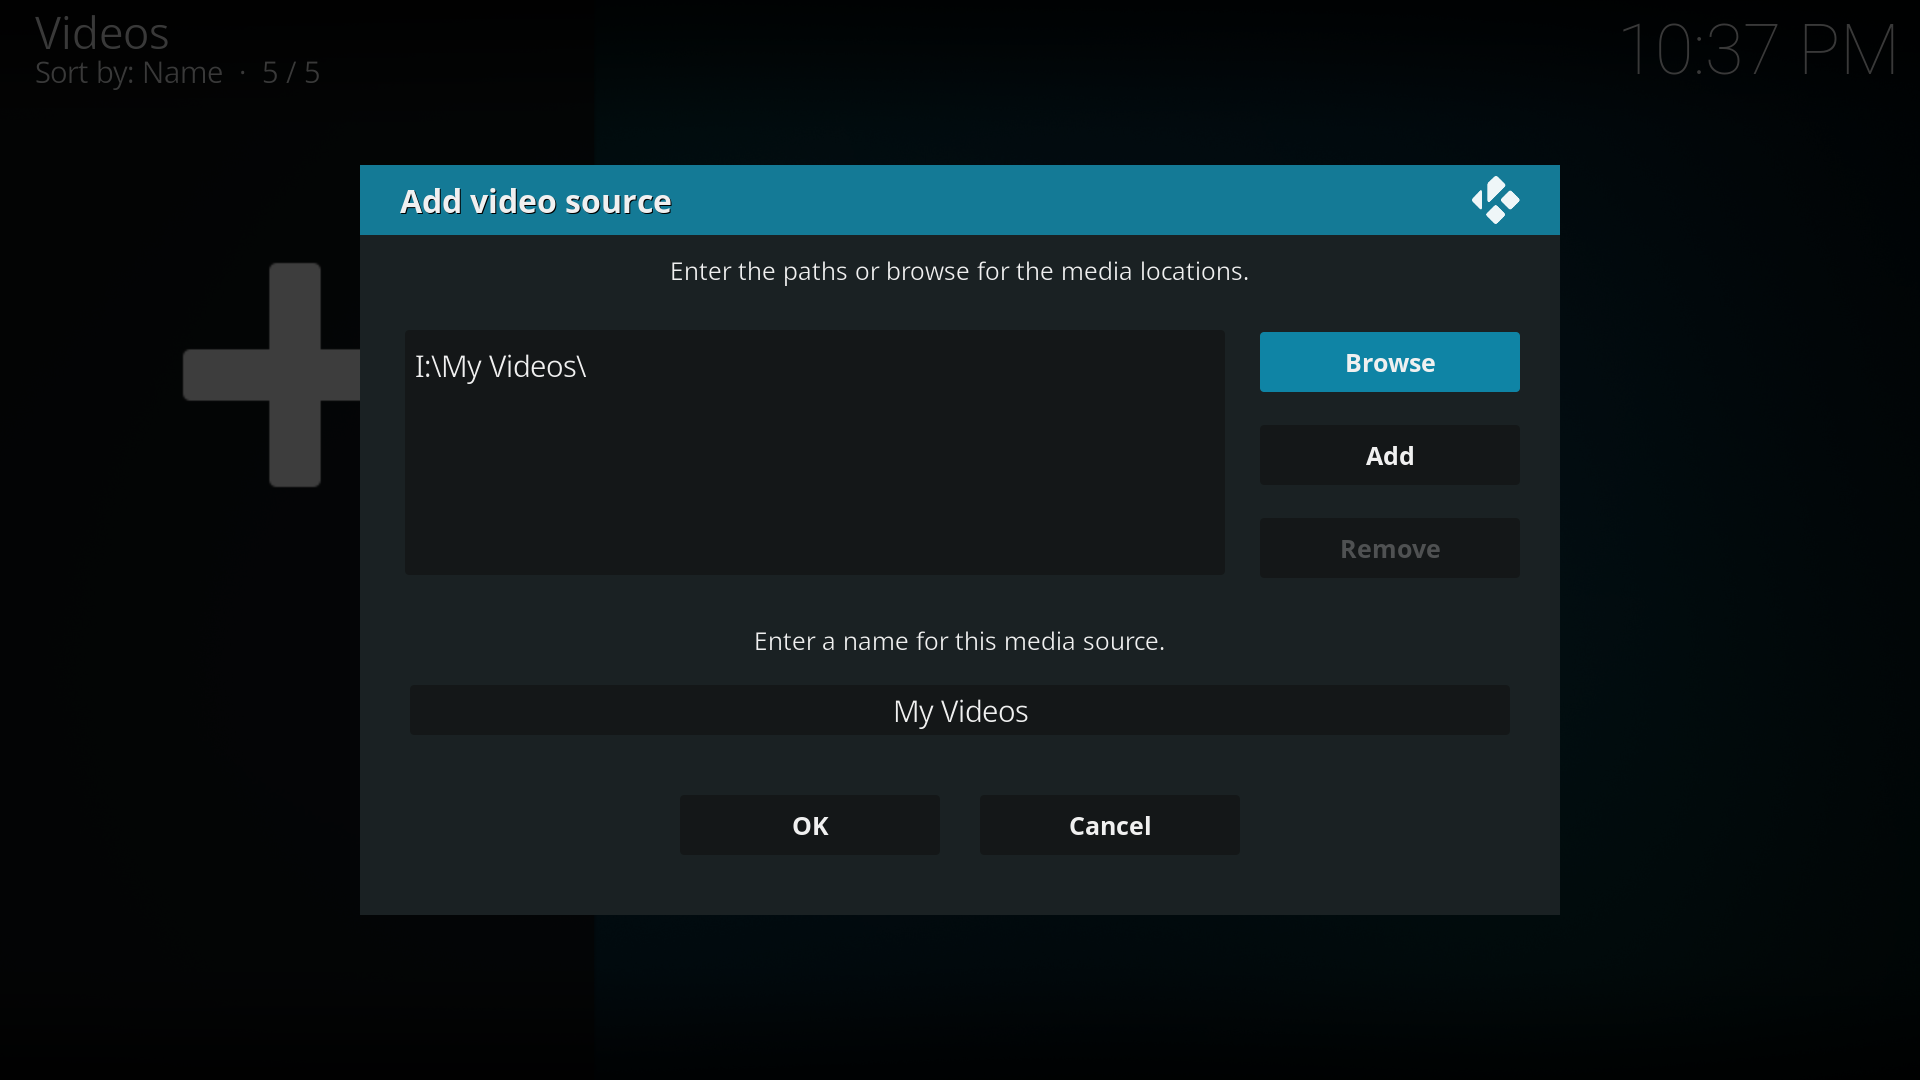
Step 6: Either use the default name or rename the Source. The name doesn't matter to Kodi, but keep the names unique for ease of maintenance.
Then select OK.


Set Content
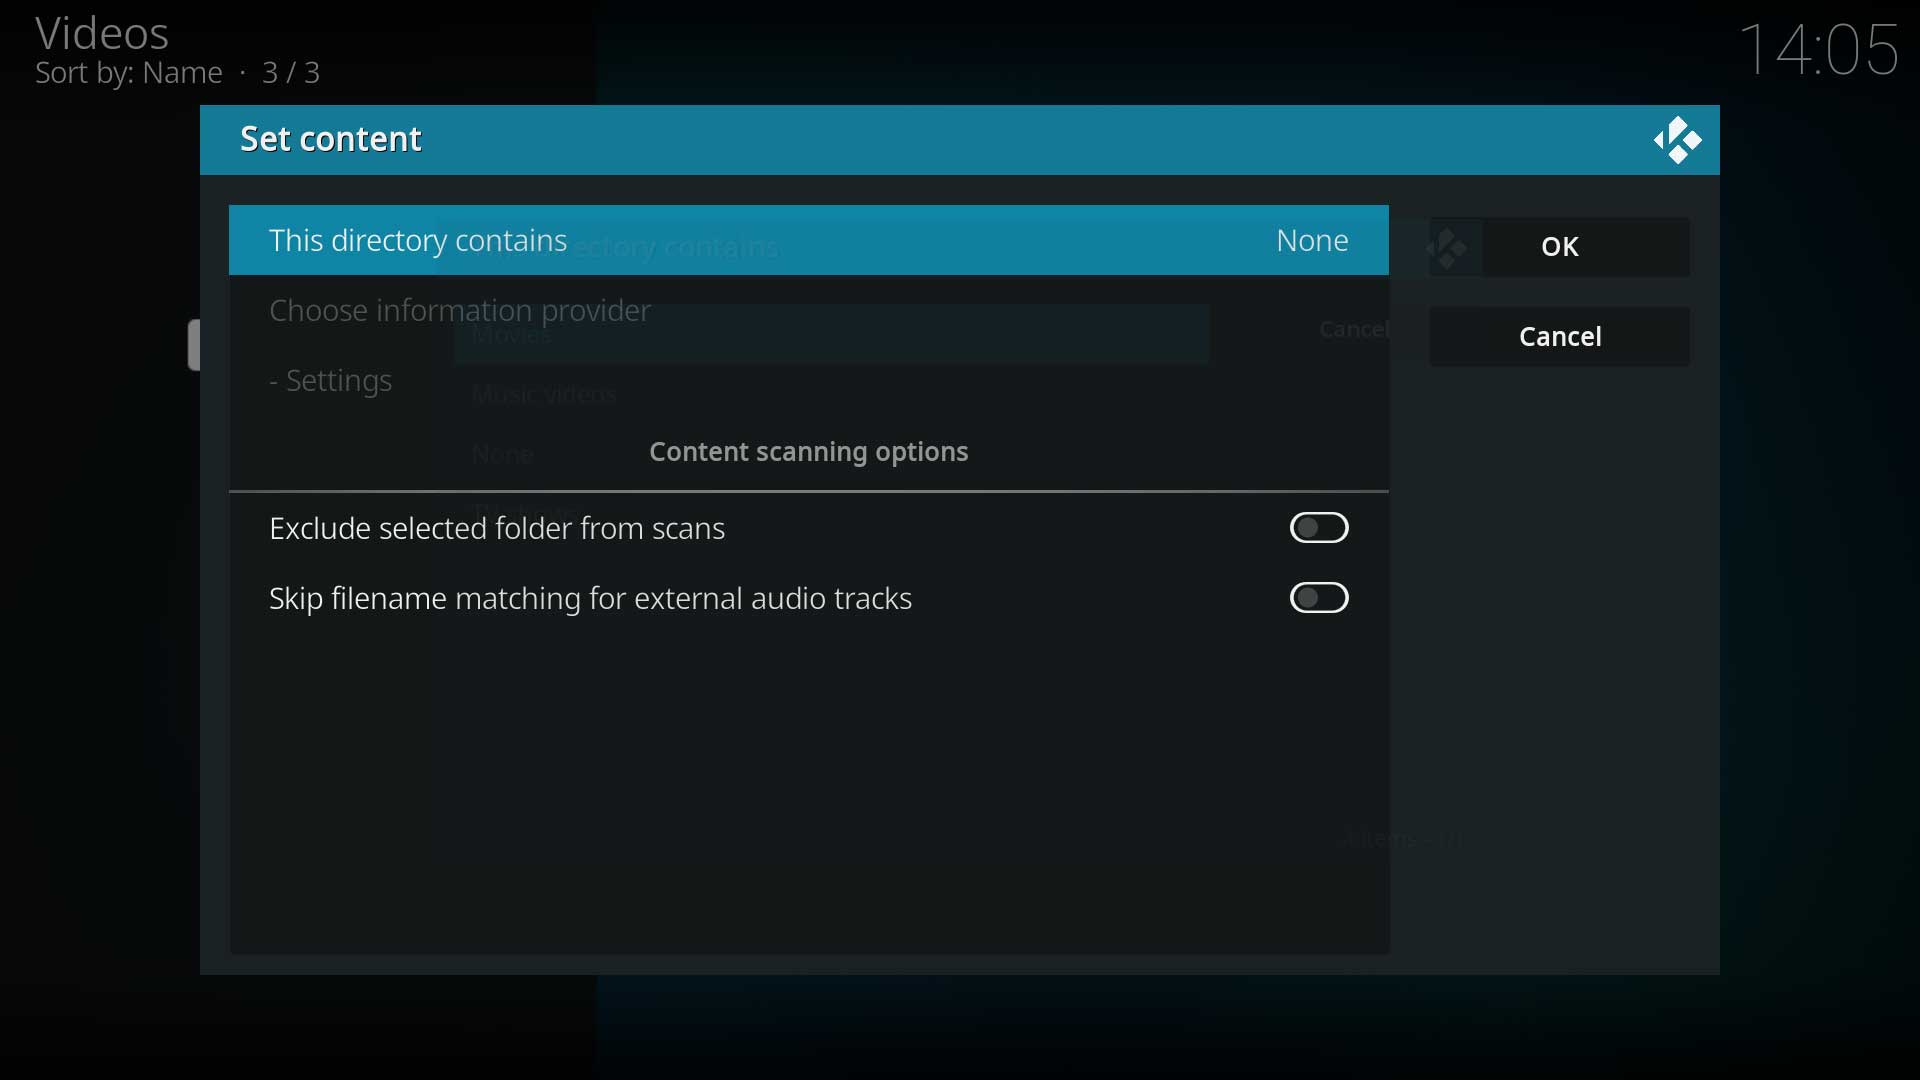
Step 7: The set content window will display. This is where the media type is set.
Select the option This directory contains.
Step 8: Select the type of media that is in the Source.


| Set Content for Movies | Set Content for TV Shows | |
|---|---|---|
 Step 9a: Select OK when done |
 Step 9b: Select OK when done | |
|
|
Note: Additional scrapers are available.
| List of Movie scrapers compatible with v20 Nexus |
|---|
| List of TV Show scrapers compatible with v20 Nexus |
|---|
| List of Music Video scrapers compatible with v20 Nexus |
|---|
Add to Library
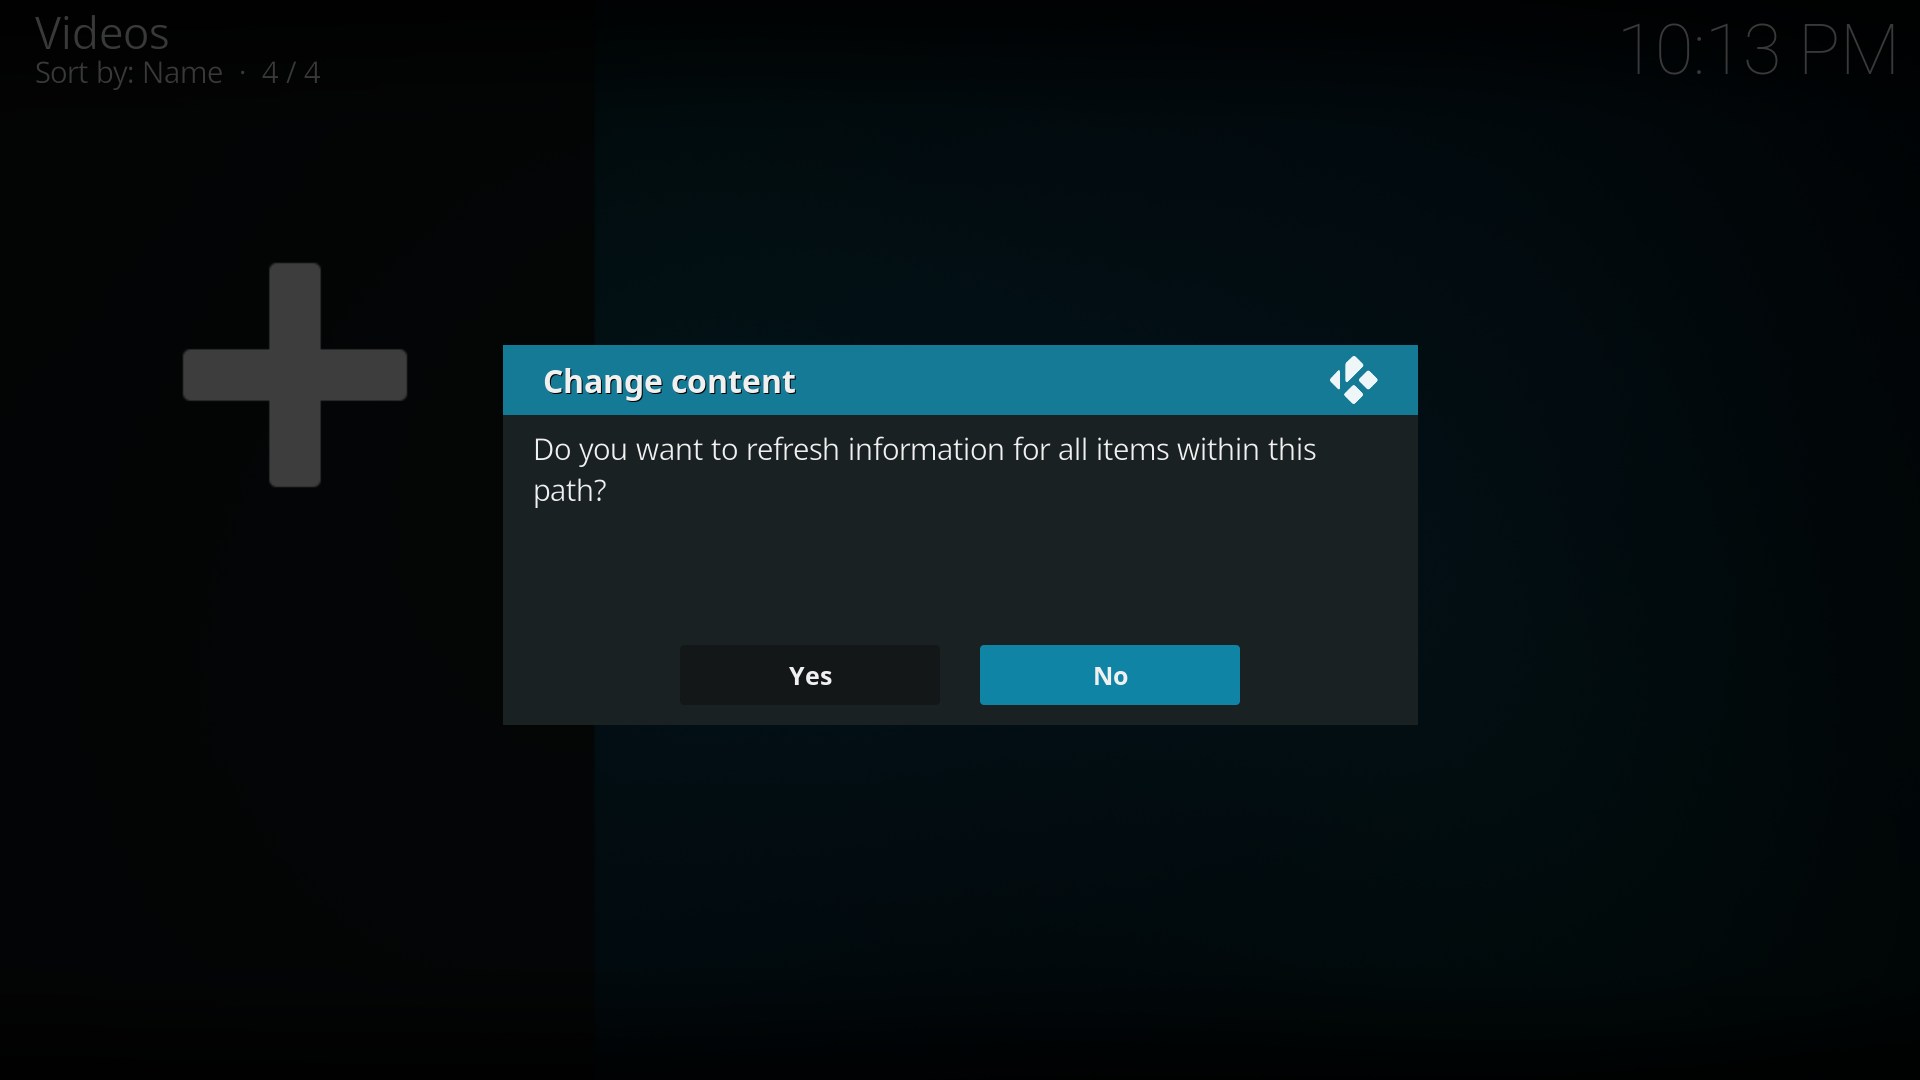
Step 10: Press Yes to scrape the content to the library
If No is selected, it can be scanned later from the Context Menu of the Source

- Once you press Yes, Kodi will scan your library and attempt to match each title in your library to the title at the site of the Information Provider. If a match is found, the metadata and artwork are downloaded and used for the library display.
- Depending upon the size of your library, this could take some time. A single movie could take approx 30 seconds, a library of 400 movies could take over an hour.
When the scraping process is complete, be sure to check the Event Log to view any titles that were not added to the library, which is normally due to incorrect naming. See... Scraping Problems
References
| Previous step | |
| Episodes Setup |
| Return to top |
|---|