Add-on:AppTV: Difference between revisions
m (Addon-Bot repo category update) |
RogueScholar (talk | contribs) m (Remove Gotham version compatibility and add Jarvis/Krypton) |
||
| Line 149: | Line 149: | ||
| Works with Eden = {{no}} | | Works with Eden = {{no}} | ||
| Works with Frodo = {{no}} | | Works with Frodo = {{no}} | ||
| Works with Gotham = {{ | | Works with Gotham = {{no}} | ||
| Works with Helix = {{yes}} | | Works with Helix = {{yes}} | ||
| Works with Isengard = {{yes}} | | Works with Isengard = {{yes}} | ||
| Works with Jarvis = {{yes}} | |||
| Works with Krypton = {{yes}} | |||
| Works with Leia = {{no}} | |||
}} | }} | ||
Revision as of 17:02, 13 March 2018
| AppTV | ||||||||||||||
| ||||||||||||||
| Need help with this add-on? See here. |
AppTV is a AppleTV inspired skin for Kodi. It provides a very light weight minimalist gui while also allowing access to a number of advanced Kodi features not available in the original AppleTV interface.
Installing
This add-on is installed from the Add-on browser located in Kodi as follows:
Required add-ons
To get the most out of AppTV the following add-ons are required. These add-ons should be installed automatically when you install the skin. If they are not, please install manually using the links below. Certain skin features will not be available if one or more of these add-ons are not installed on your system.
Supported add-ons
The following add-ons are not required but the skin does have support built-in. You might need to install these manually through Kodi's Add-on Browser if not already installed by another skin.
- Artist Slideshow
- Artwork Downloader
- Cinema Experience
- Library Editor
- Play Album
- TV Show Next Aired
- Tv Tunes
- Video Extras
- Windows Media Center PVR
Special skin features
- Artist Slideshow
- Artwork Downloader
- cdArt
- Cinema Experience
- Clear Art
- Custom home items via Favourites script
- Extra Fanart
- Global Search
- Library Editor script in video info screen
- service.library.data.provider script used thru-out the skin
- Live TV/PVR
- Logos
- Play Album in Music info screens
- Custom start-up image
- Custom start-up intro movie
- Custom start-up playlists
- TvTunes
- Windows Media Center PVR
- VideoExtras
- XBMC Log Uploader accessible from skins support menu
Screenshots
Home Screens
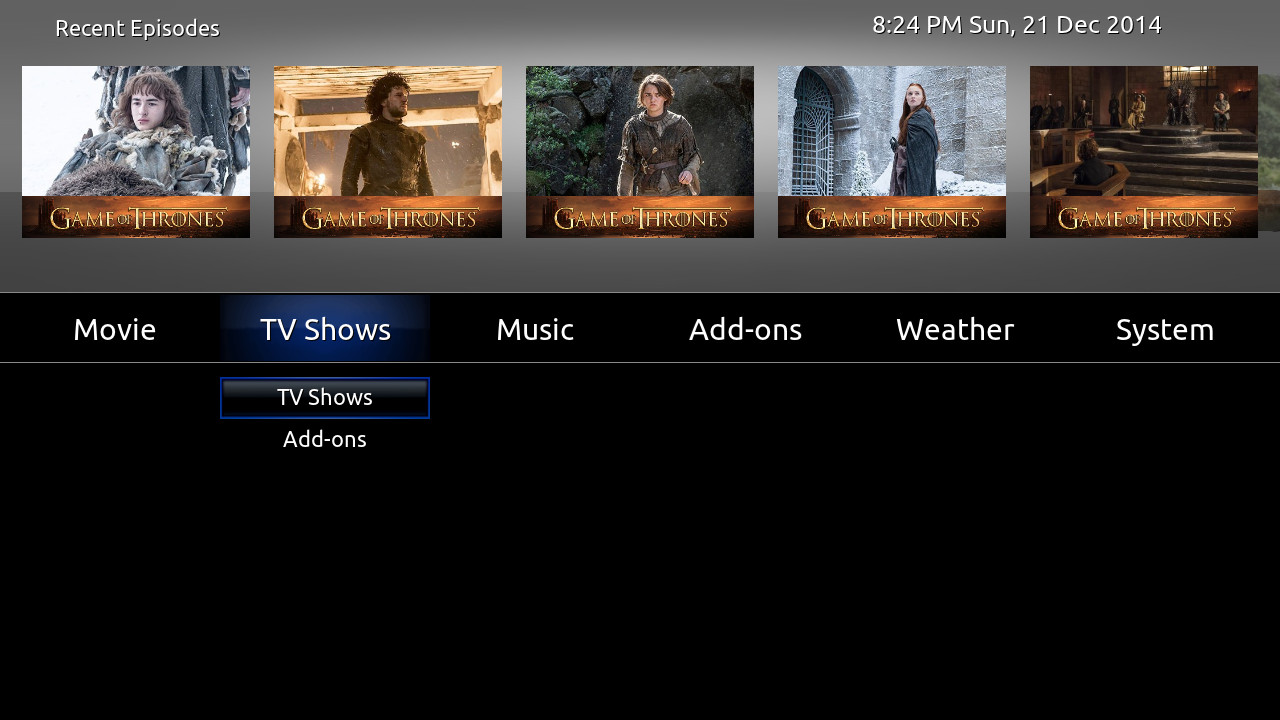
Horizontal style Home menu
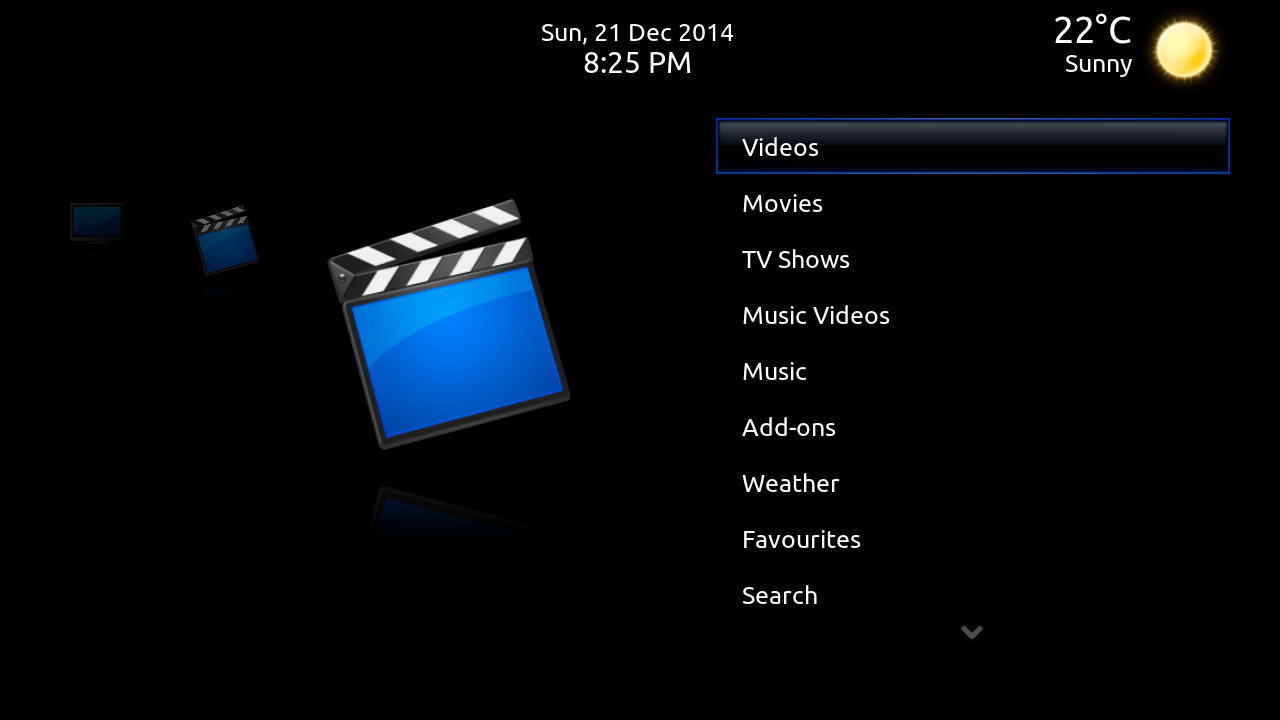
Original style Home menu
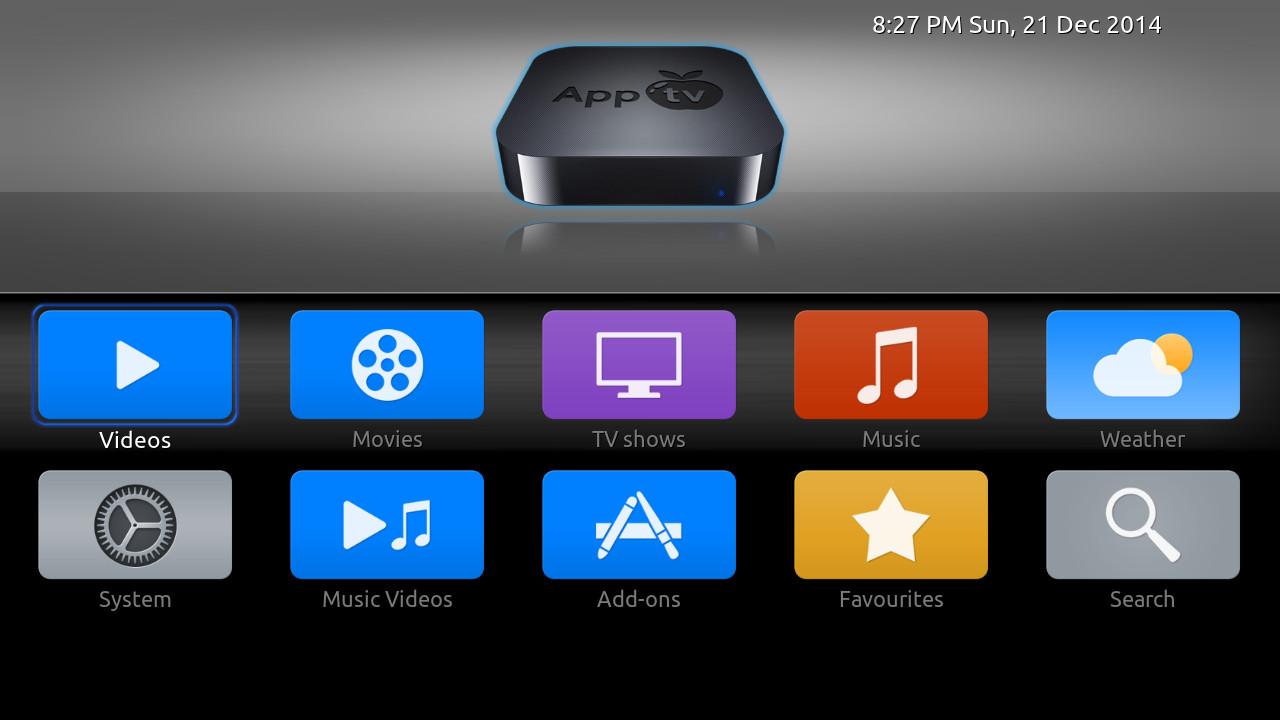
Icon style Home menu


Weather Screens
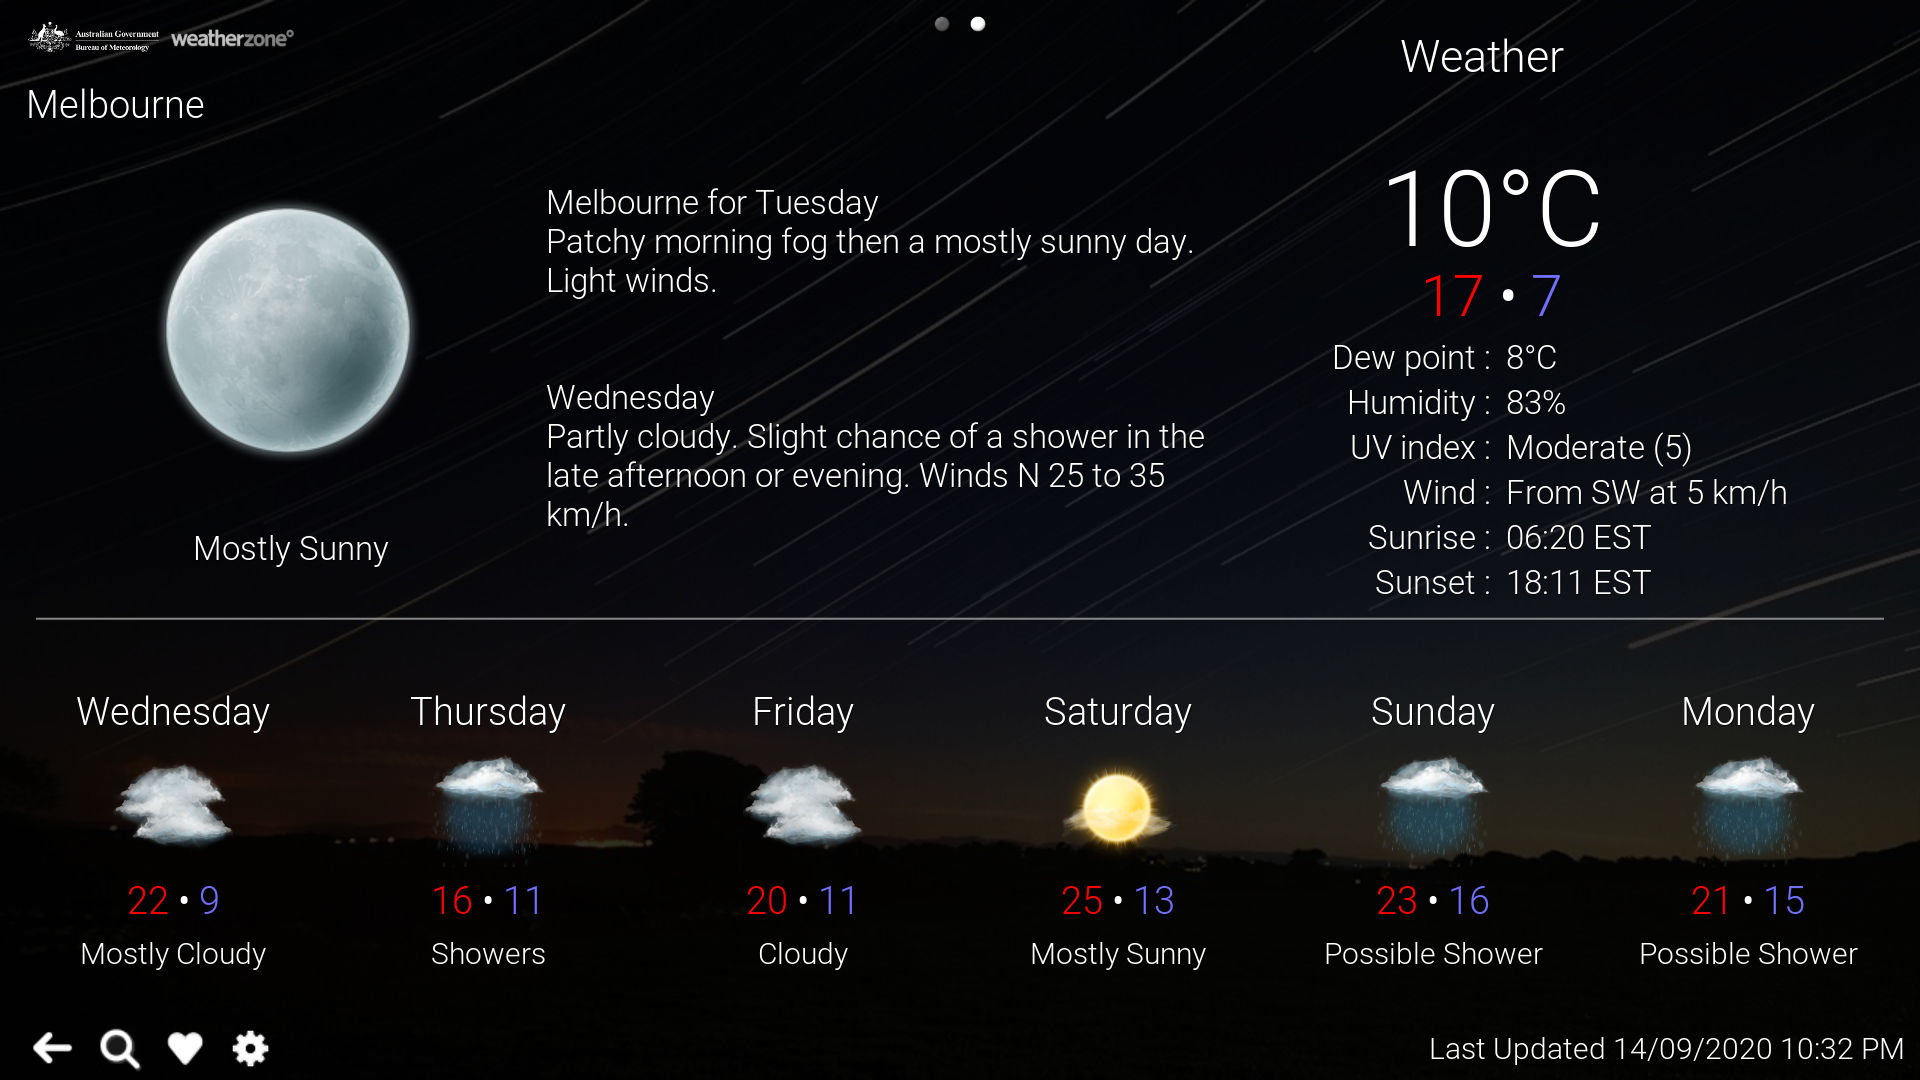
Current Weather screen
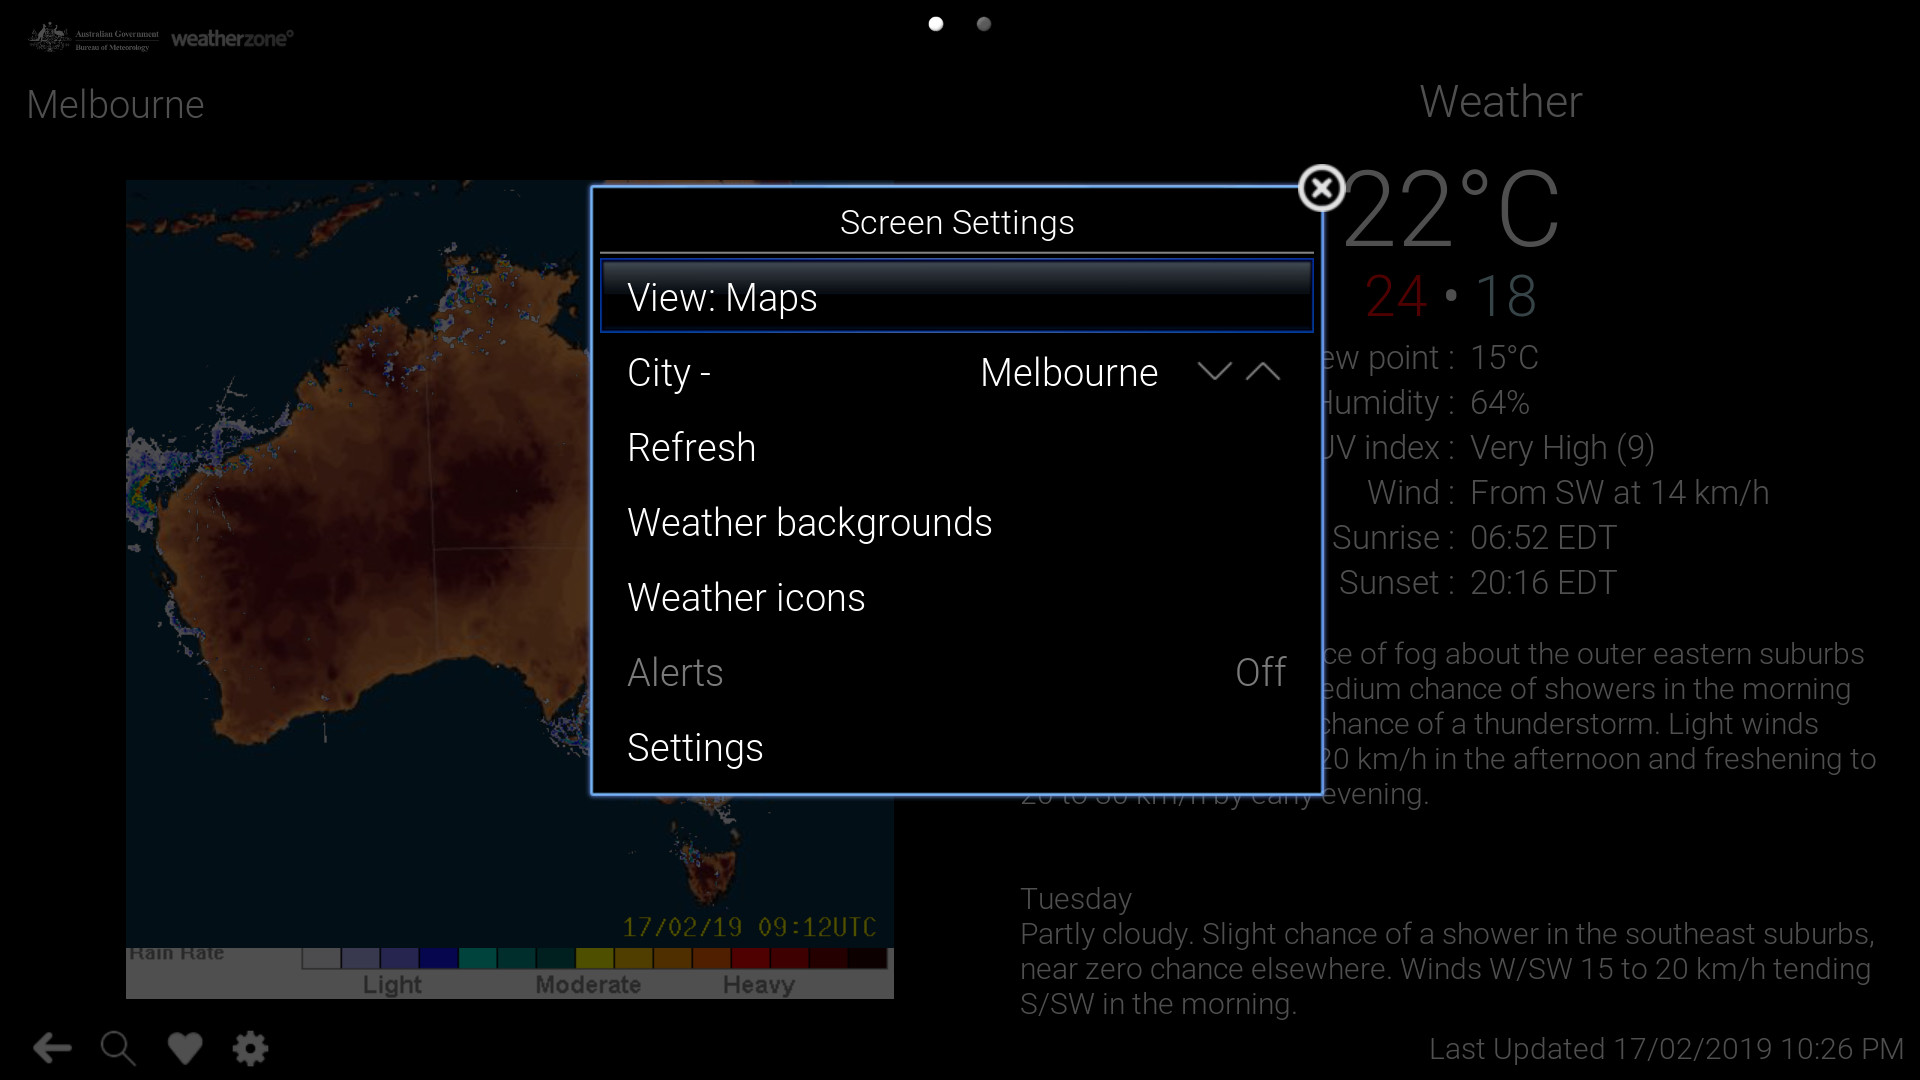
Weather Radar screen


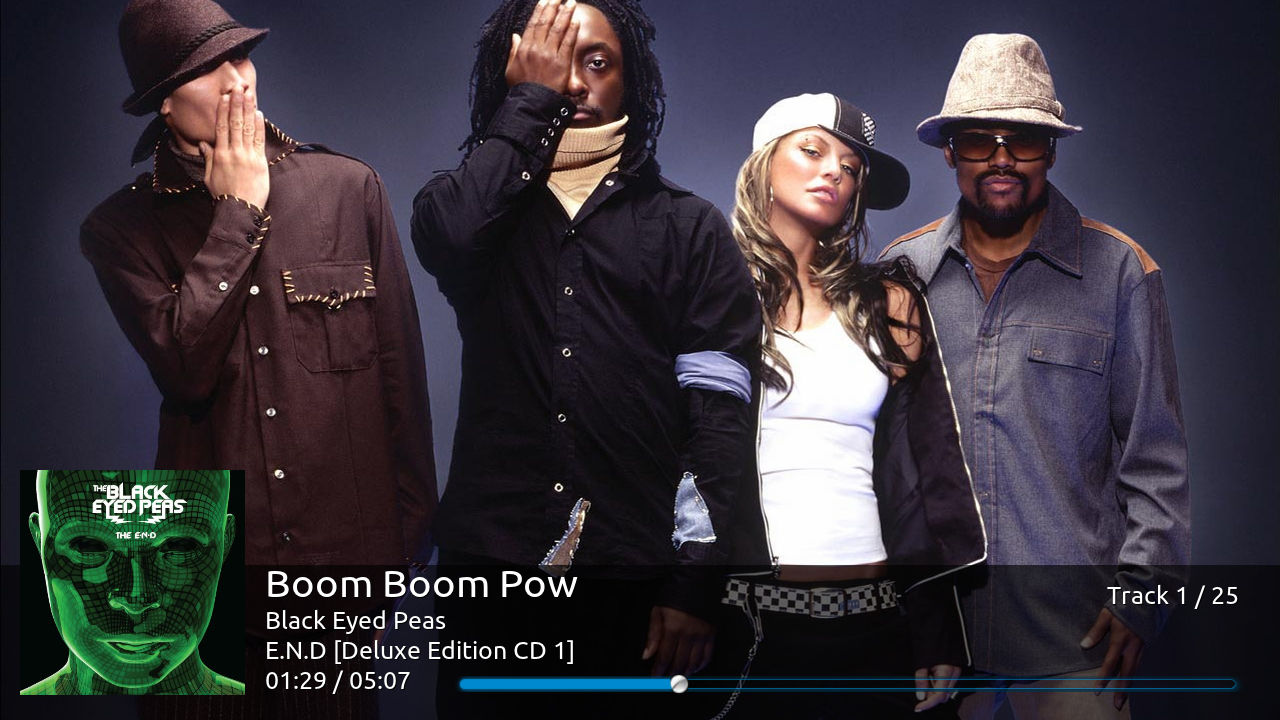
Video Screens
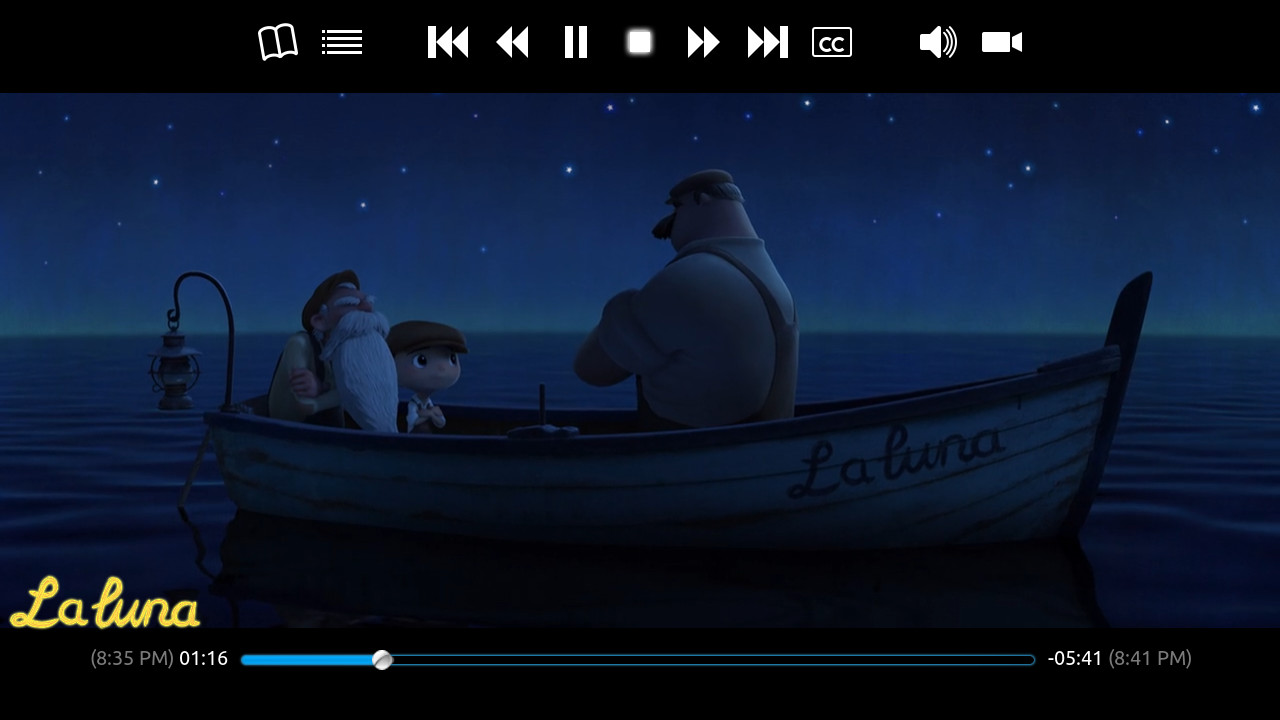
Video OSD screen
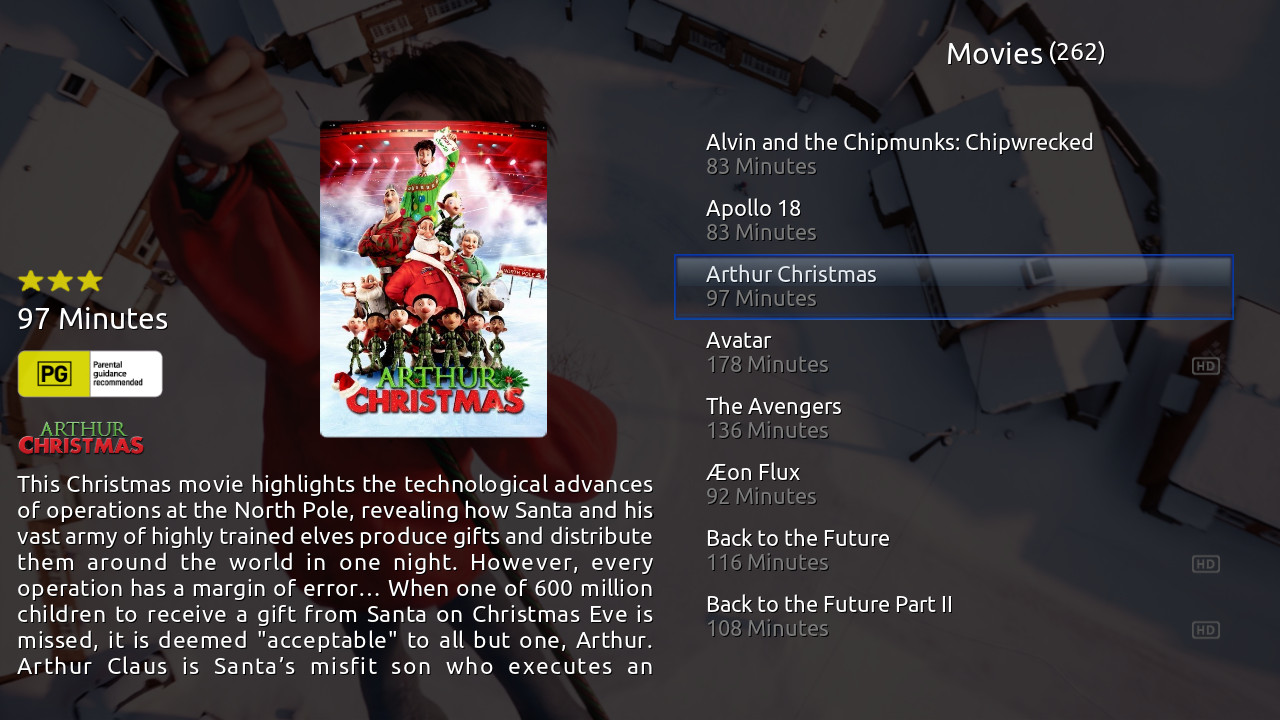
Video 'List' view
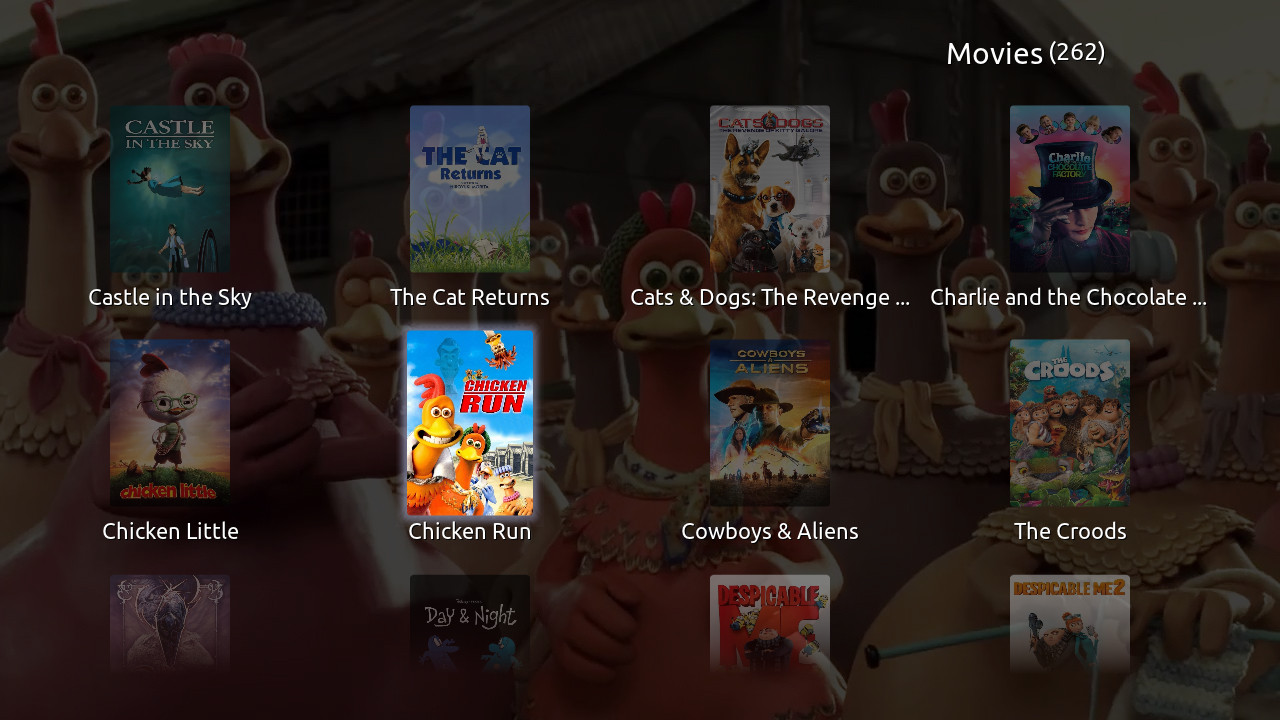
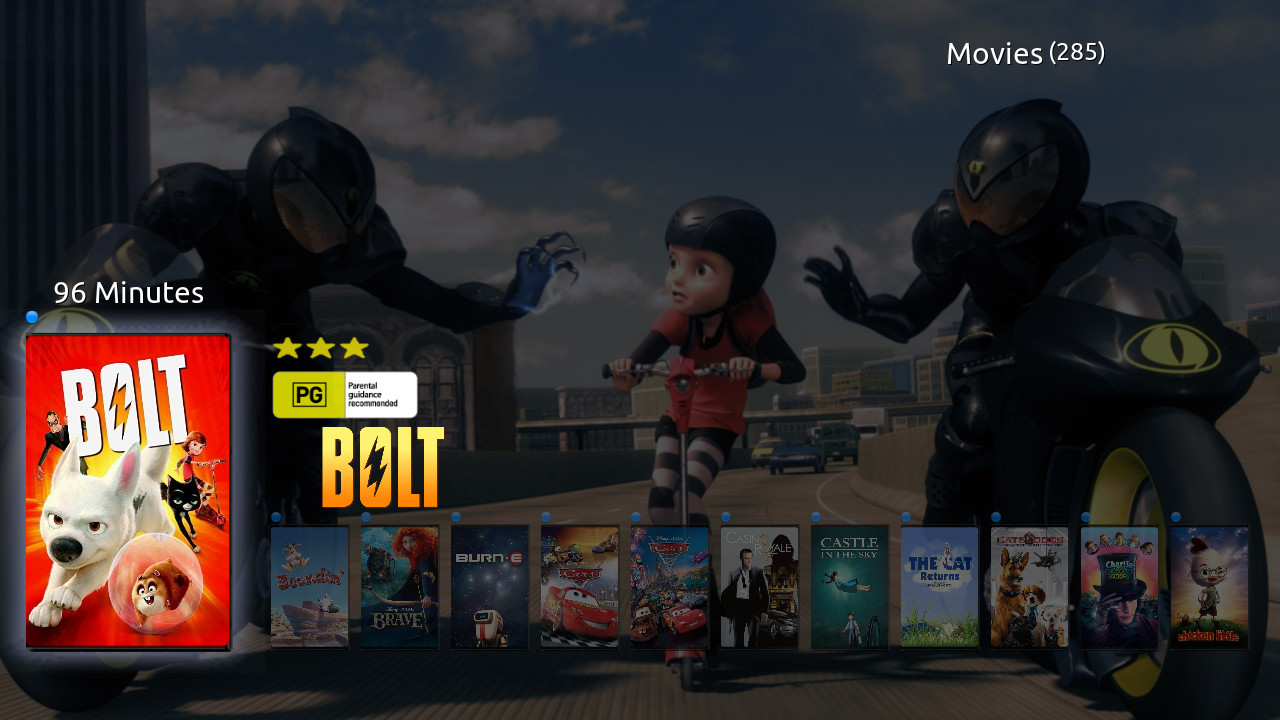
Video 'Icon' view
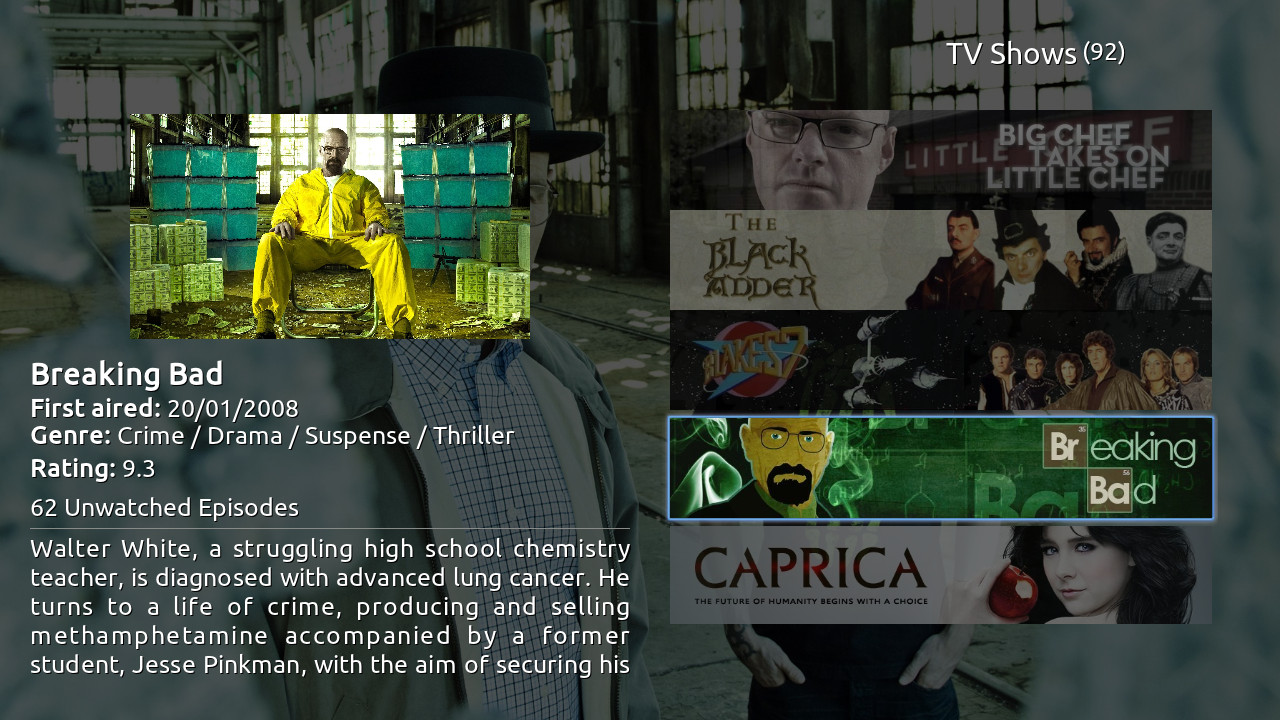
Video 'Banner' view
Video 'Wrap' view
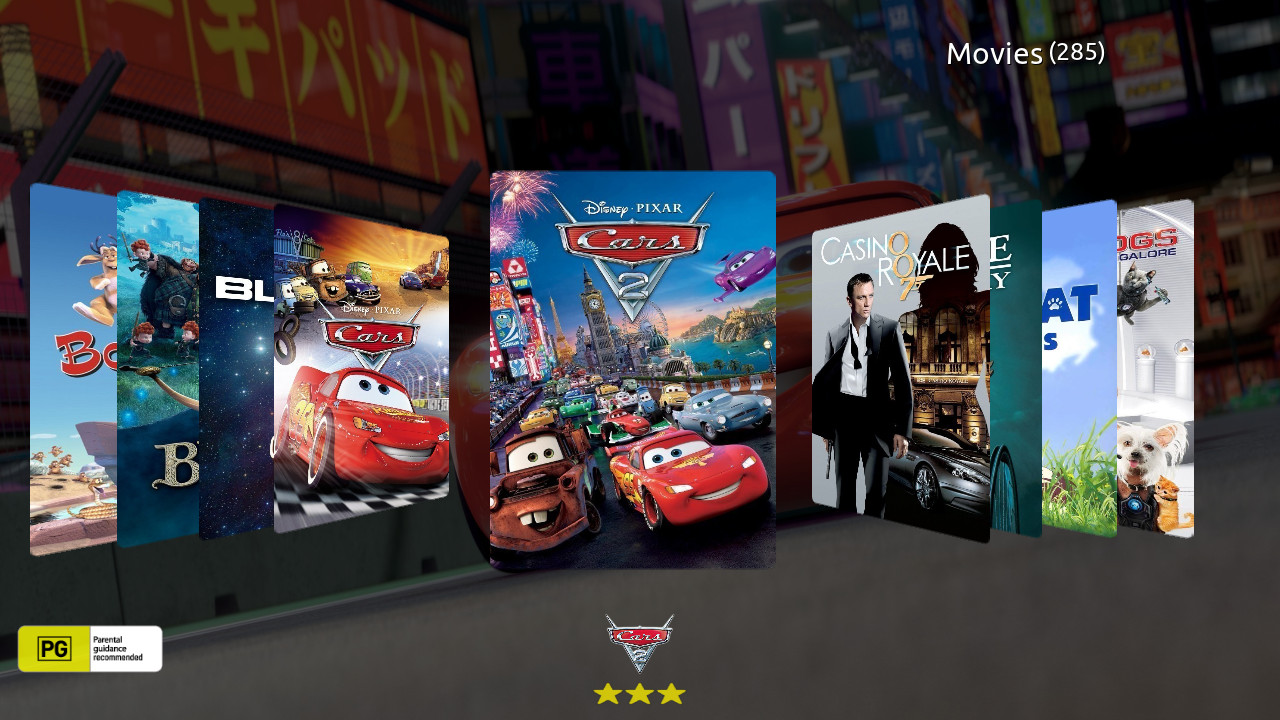
Video 'Coverflow' view
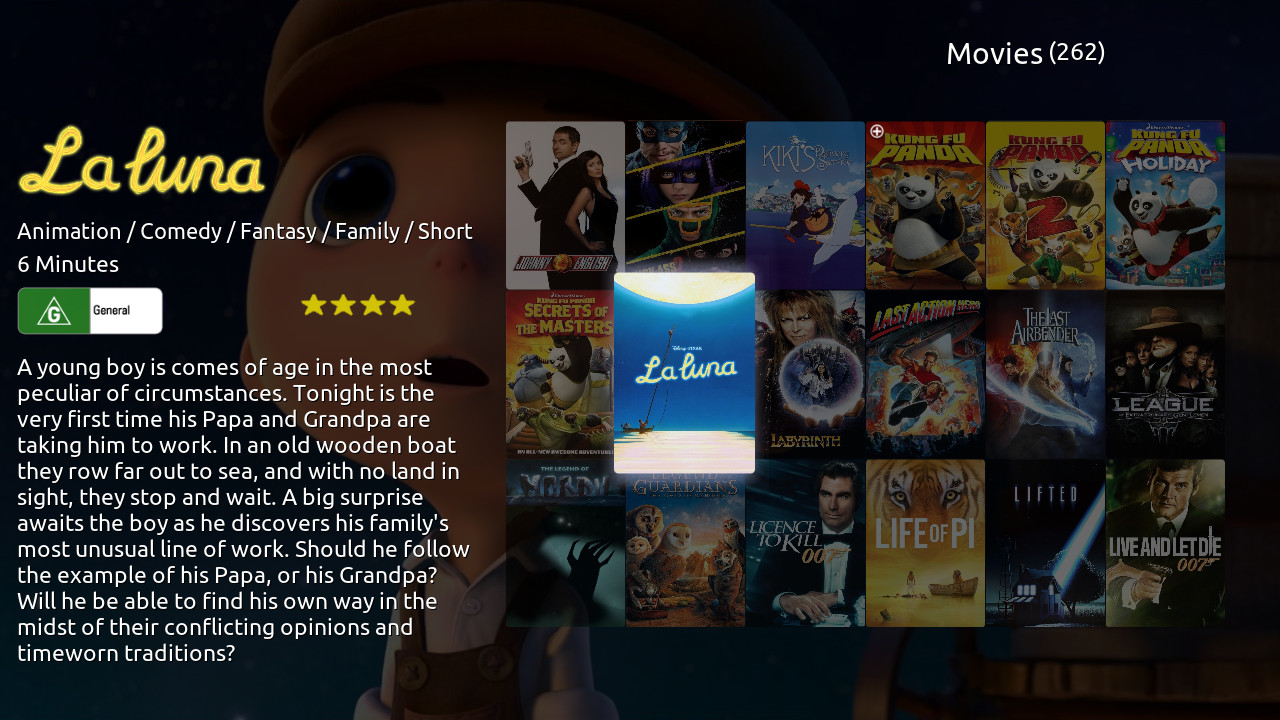
Video 'Wall' view

Video Info screen


Music Screens
Music Artist Fanart visualisation screen

Keyboards
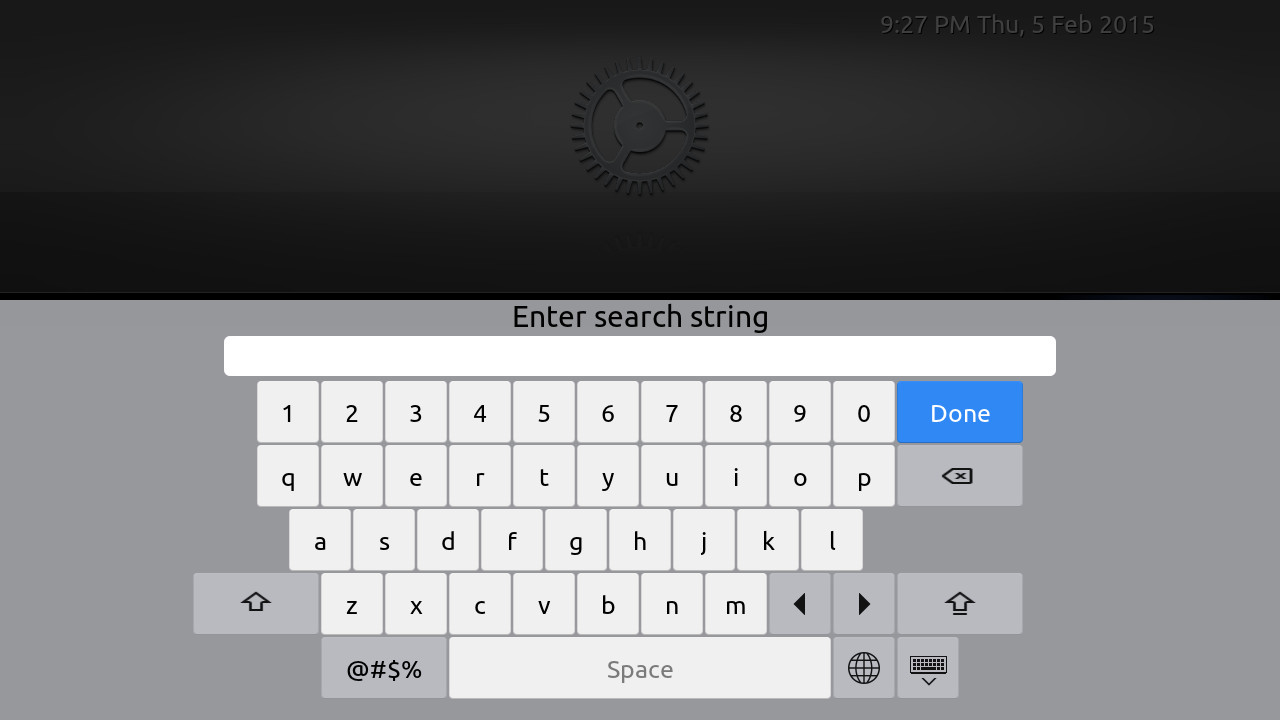
Alphanumeric keyboard

FAQ's
How can I add custom menu's to the skin's Home screen?
Navigate to the item that you want to add to the Home screen and make it a favourite via the context menu. Then head over to the skin's setting menu and select the "Custom Favourites" menu. From there select which menu heading you wish to place menu item under and select a empty favourite slot and follow the prompts.