File manager
Introduction
The File Manager allows the maintenace of files from within Kodi on platforms that have no underlying and easily accessible operating system. It will allow you to perform functions such as Move, Copy and Delete to name a few.
If you have Kodi installed on a desktop type operating system such as Windows, or you are able to access Kodi and the media folder system via a network share, there is no need to use this feature as Windows Explorer or equivelant may be easier and have more functionality to manage your files.
If you have arrived at this page looking for details on how to set up File Sharing, then head over to File sharing
Access
The File Manager is accessed from the Settings screen.
Using
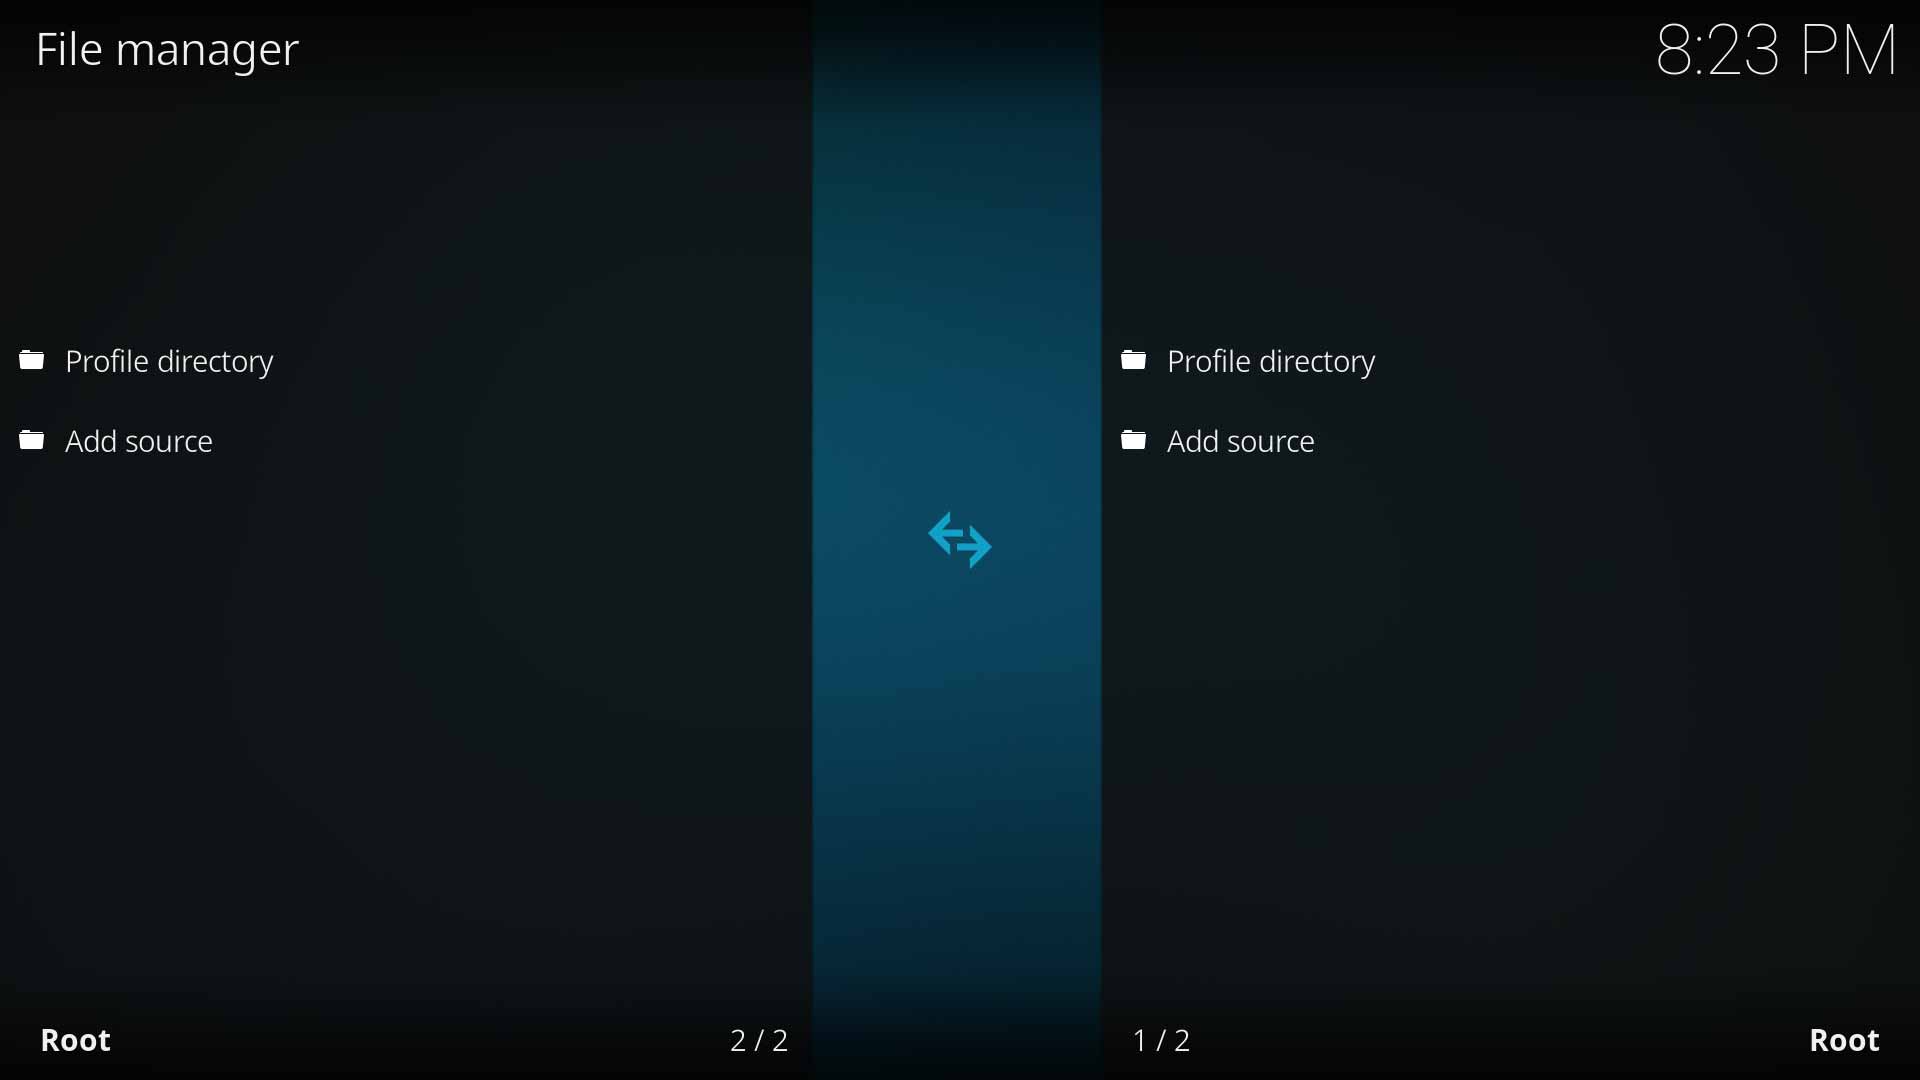
The File Manager screen.

The File Manager Context Menu.
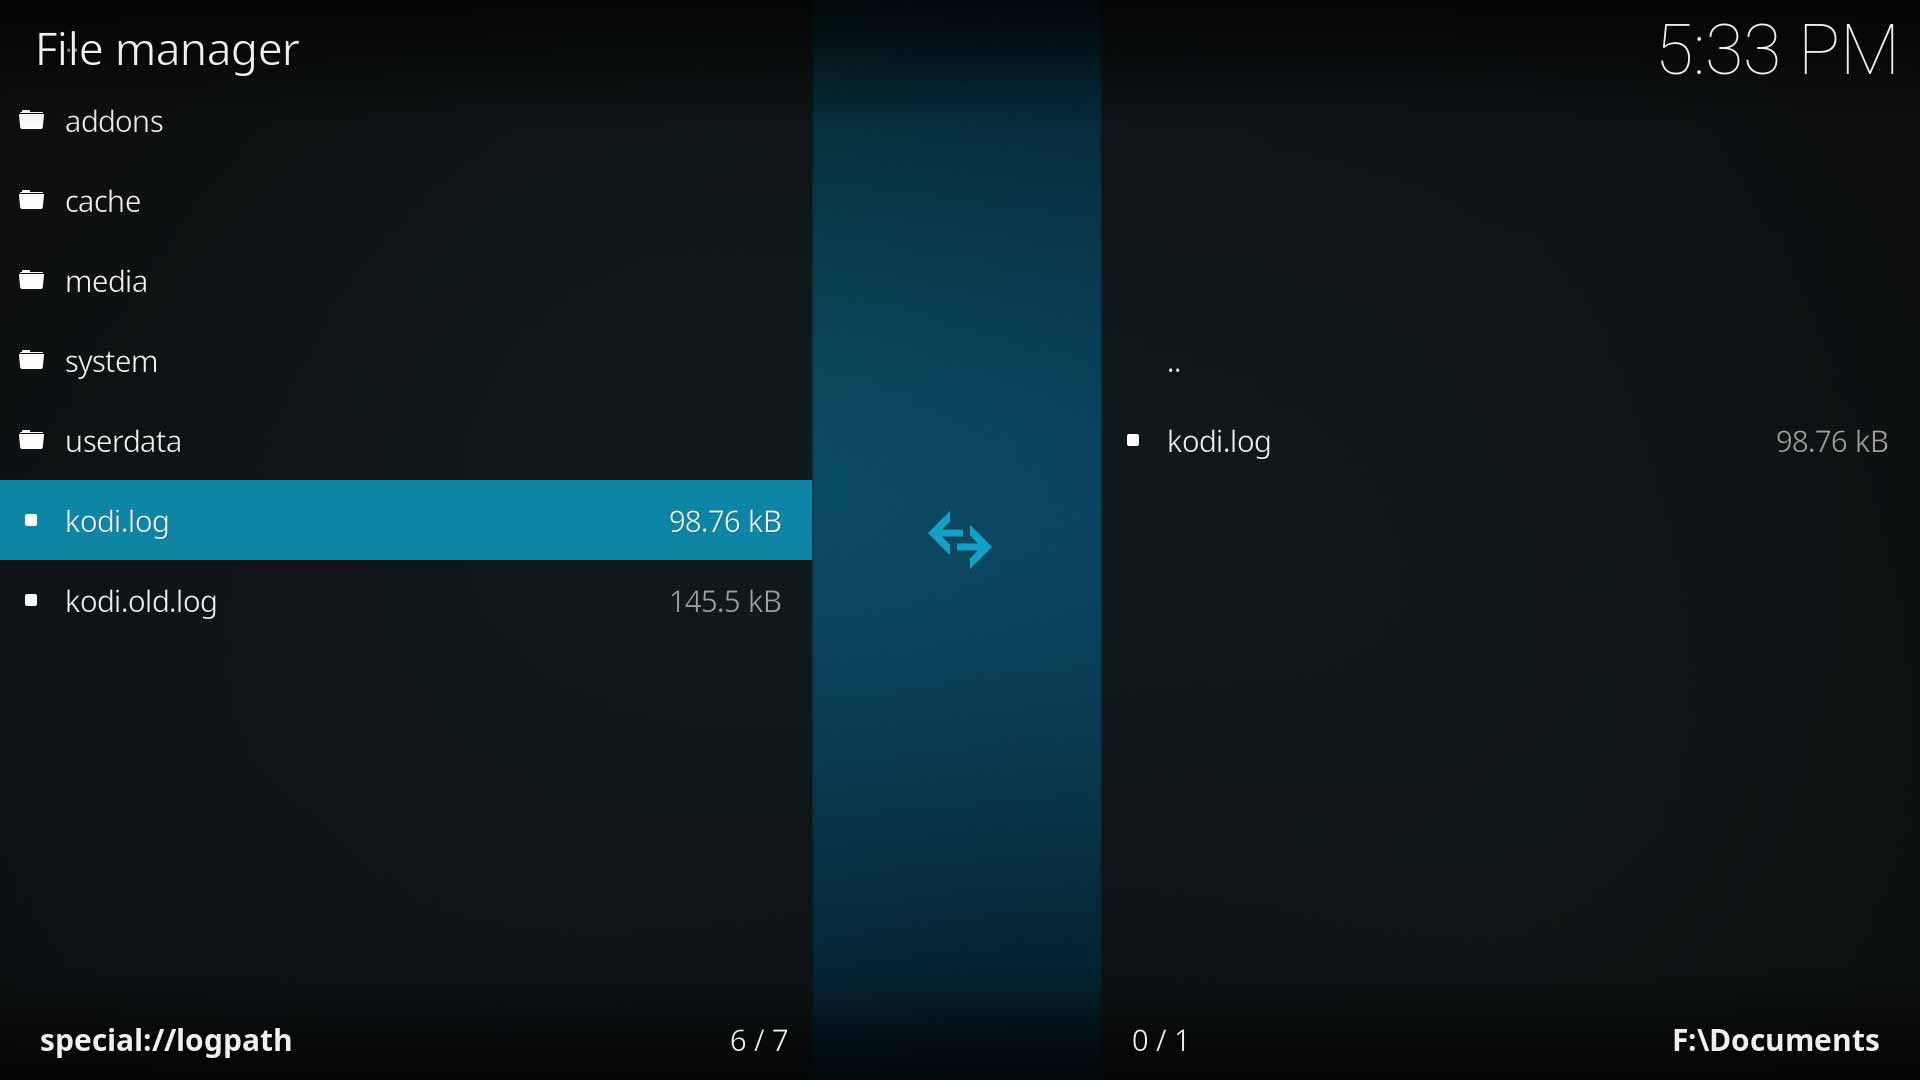
Copying files from one folder (Panel A- left) to another folder (Panel B- right)


The File Manager is a remote control friendly interface that uses an A-B panel system. For example, when copying files, Panel A (left panel) contains the original file and Panel B (right panel) will be the selected location the file is copied to.
- Adding a Source here is the same process as adding a Source for Movies, TV Shows, Music and Pictures. Sources added here will not show in the Media Sources page and vice-versa.
- Use the option Switch Media to send the highlighted folder as a Source to either Movies, TV Shows or Pictures. You will still need to Set Content on the Source for Movies and TV Shows and that Source must hold the correct class of media.
- Navigate around the screen using the ↑ ↓ ← → keys on your keyboard or remote control. Once an item is highlighted, use the Context Menu to see available actions.
- Select multiple files by highlighting each item and pressing 0 on a remote or Space on a keyboard. Selected files will show in a green coloured font.
- To use the Rename or Delete actions, you must enable Allow file renaming and deletion in the settings page.
- To add Kodi folders such as Userdata, Profile and others as a Source, use the Special Protocol address. For an example use, see Step 4 in Debug Log Special Protocol.
Tips and tricks
The following are typical uses of the File Manager.
Debug Log Access
- Log_file/File_manager_access
- This page describes another method to access the log file using the Kodi File manager. This method can be used as the fallback option if the Kodi Logfile Uploader is not functioning on your installation. If you are using a desktop type operating system such as Windows, using the Kodi File Manager is not necessary as all files can be accessed through the file browser of the operating system.
Special Protocols
- Special_protocol
- The "Special Protocol" is Kodi's solution to platform dependent directories. Common directory names are assigned a special://[name] path which is passed around inside Kodi and then translated to the platform specific path before the operating system sees it. This helps keep most of the platform mess centralized in the code.
- These Special Protocols are shortcuts to the Kodi file system including all the Media Sources and can be used in place of full paths when adding a Source in the File Manager.
Using Playlists
To copy multiple files to another location without the need to individually select each one can be achieved with the use of Smart Playlists.
- Create a Smart Playlist in the Video or Music section of Kodi and add filters to capture the required Movies or TV Shows, Artists, Albums or Songs
- Back to the File Manager, add the Source that is to receive the files. This could be a network share or USB disk
- Add the special://videoplaylists Special Protocol as a Source for Videos or special://musicplaylists for Music
- Browse to Playlists and enter Playlist
- Locate your playlist and enter the playlist to see the listing of titles
- From the context menu choose Select All
- Call up the context menu again and choose your action- Delete, Copy etc
| Return to top |
|---|